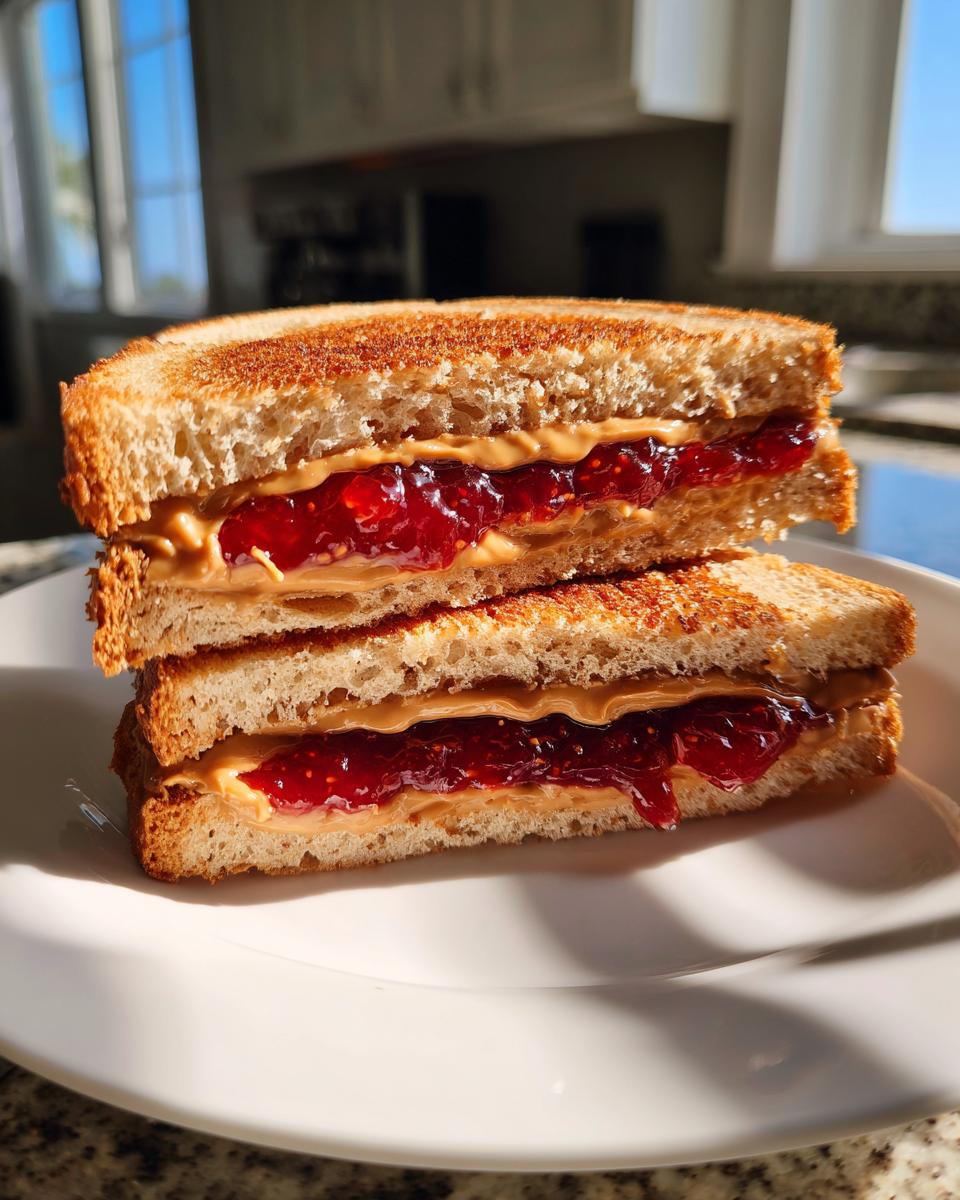
Hey there! As a mom myself, I totally get how hectic mornings can be. Trying to get everyone out the door, lunches packed, and maybe, just maybe, even grabbing a cup of coffee before it gets cold? It’s a juggling act! That’s why I just *have* to share my secret weapon: homemade freezer PB&J sandwiches. Seriously, these little guys have been an absolute lifesaver in my kitchen. My name is Catherine, and at Unfold Recipes, I’m all about making life just a little bit easier and a whole lot tastier, and these sandwiches fit that bill perfectly. It’s a total game-changer for school lunches, I promise!
- Why You'll Love These Freezer PB&J Sandwiches
- Essential Ingredients for Perfect Homemade Freezer PB&J Sandwiches
- Mastering the Art of the Make Ahead PB&J
- Tips for Success with Your Meal Prep Sandwiches
- Frequently Asked Questions about Freezer PB&J
- Serving Suggestions for Your Homemade Freezer PB&J Sandwiches
- Storing and Reheating Your Make Ahead PB&J
- Nutritional Snapshot of Your Homemade Freezer PB&J Sandwiches
- Share Your Freezer PB&J Success!
Why You’ll Love These Freezer PB&J Sandwiches
Honestly, why wouldn’t you love these? They’re a total game-changer for busy parents!
- Super Convenient: Just grab and go from the freezer when you’re in a rush. No more last-minute sandwich sastop!
- Time Saver: Prep them all at once on a Sunday and have lunches sorted for the week. Seriously, it’s a huge school lunch hack.
- Kid-Approved: Who doesn’t love a classic PB&J? They’ll be thrilled to find these in their lunchbox.
- Customizable: You can tweak the peanut butter and jelly to your kiddo’s favorites!
Essential Ingredients for Perfect Homemade Freezer PB&J Sandwiches
Alright, let’s talk about what you’ll need to make these magic little sandwiches. It’s super simple, really. You’ll want:
- 12 slices of your favorite white bread. Trust me, white bread just seems to hold up the best when it’s frozen and thawed, but whole wheat works too!
- 1/2 cup of creamy peanut butter. Use whatever brand your family loves!
- 1/2 cup of jelly or jam. This is where you can really play! For the best results and to avoid any sogginess, I really recommend using a thicker jam or jelly. Strawberry or grape are classic choices that kids adore!
Mastering the Art of the Make Ahead PB&J
Okay, so you’ve got your ingredients ready, and now it’s time to actually make these fantastic make ahead PB&J sandwiches that you can just pull right out of the freezer. It’s honestly so simple, and once you do it once, you’ll be hooked! We’re aiming for sandwiches that come out perfectly thawed and ready to eat, not sad and soggy.
The Secret to Preventing Soggy Bread
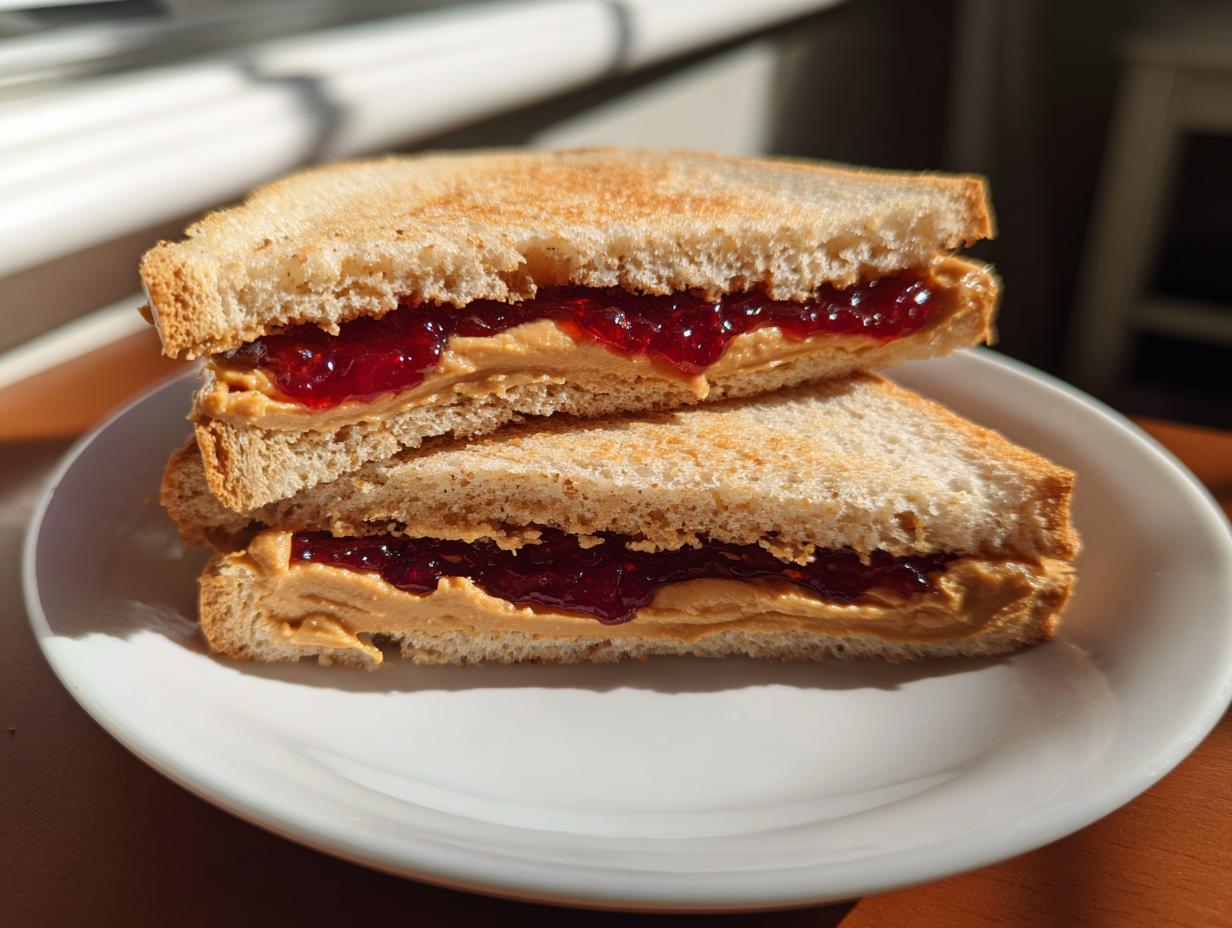
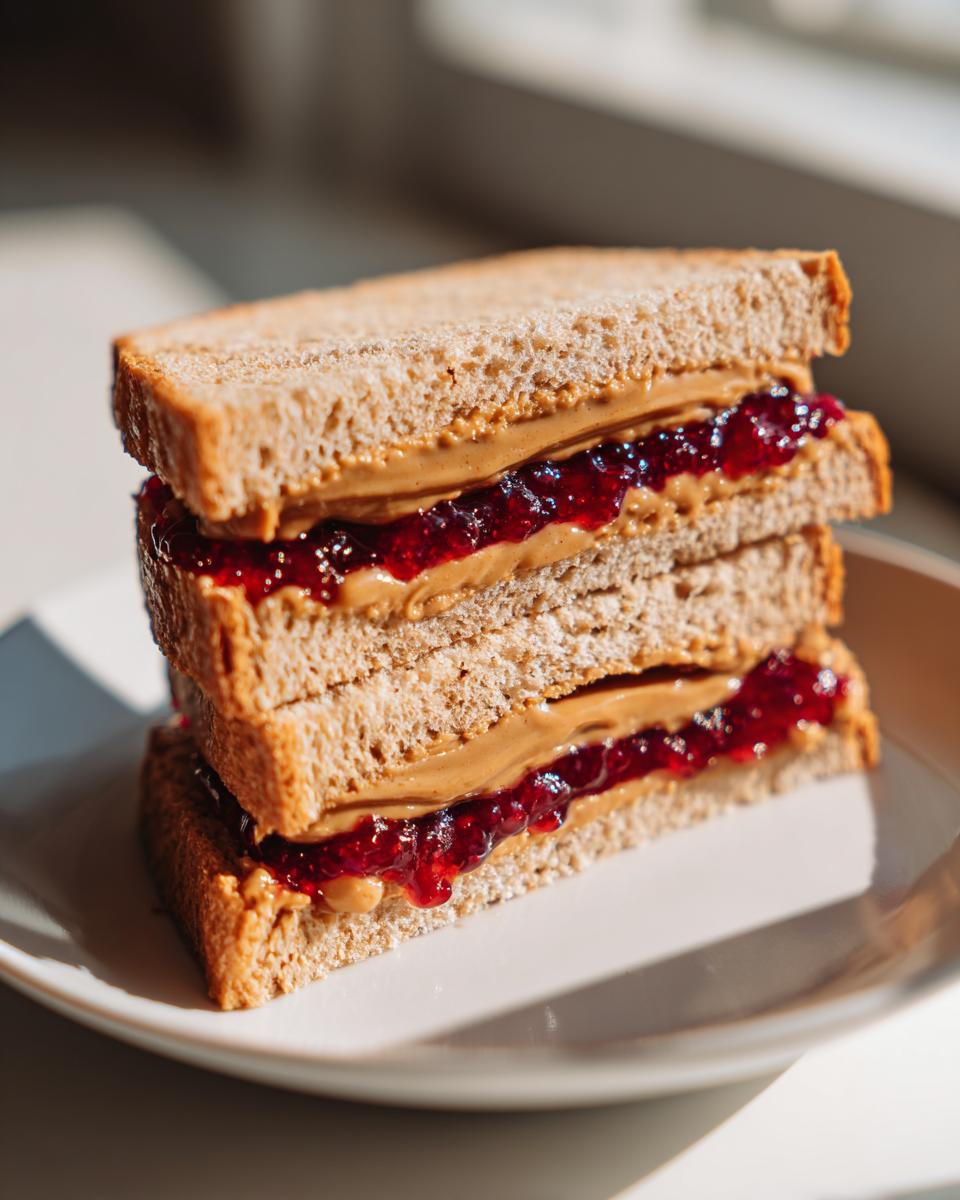
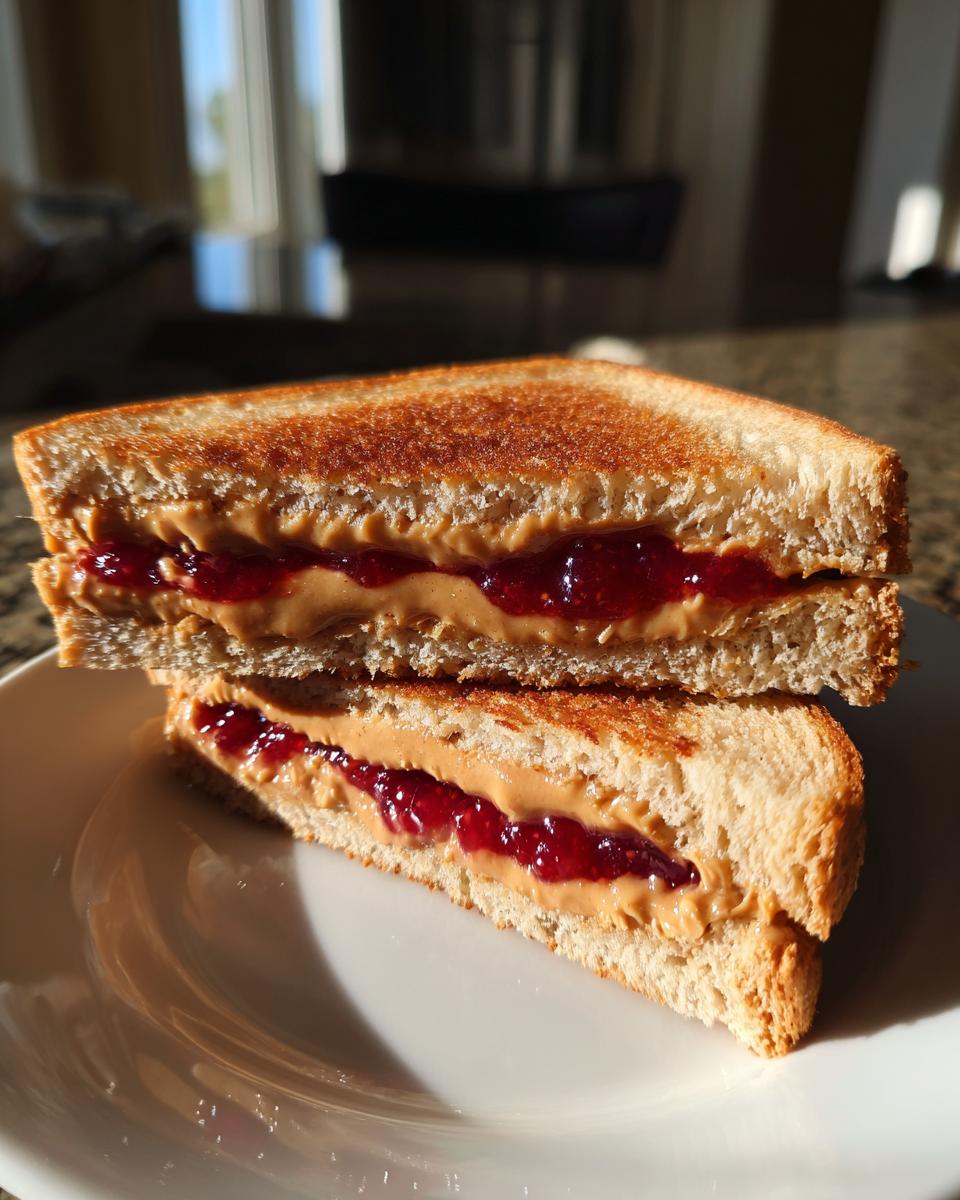
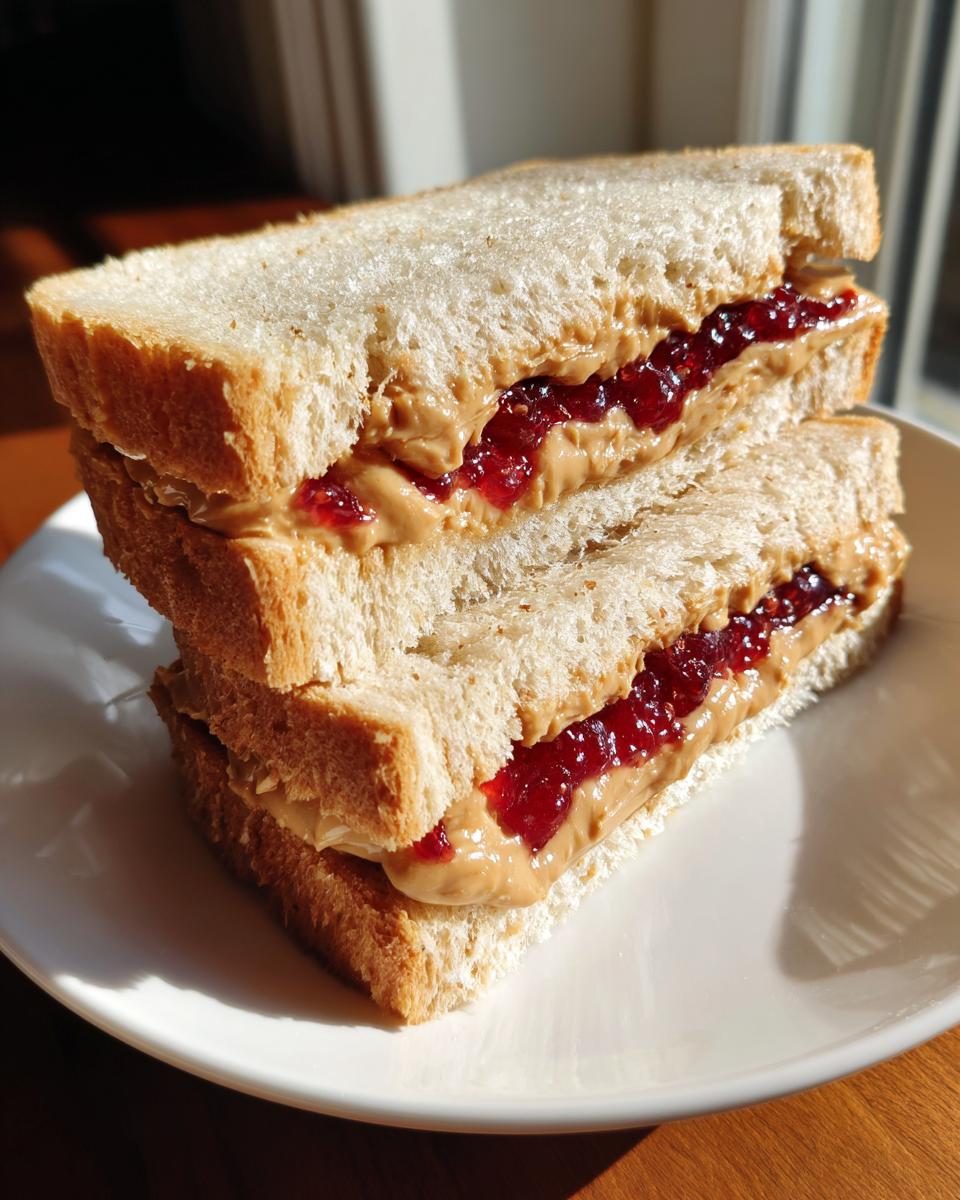
This is the big one, guys! The number one reason a frozen PB&J can go wrong is soggy bread. But don’t worry, we’ve got this. My absolute favorite trick for my homemade freezer PB&J sandwiches is to spread a *thin* layer of peanut butter on BOTH slices of bread. Then, on one of those peanut butter-covered slices, you spread your jelly or jam. The peanut butter acts like a little barrier, keeping the jelly from soaking into the bread. And whatever you do, don’t spread that jelly all the way to the edges! Leave a little border; it really makes a difference.
Freezing Your Peanut Butter Jelly Freezer Creations
Once your sandwiches are assembled with that soggy-proof magic, it’s time to get them ready for their chilly nap. Wrap each sandwich up super snug in plastic wrap. I mean really wrap them well! Then, place your individually wrapped sandwiches into a freezer-safe bag or a good airtight container. This double-layer protection is key to keeping them fresh and preventing freezer burn. You can tuck these away in the freezer for up to 3 months, which gives you plenty of time to get ahead on those lunches!
Thawing Your Freezer PB&J Sandwiches
When it’s time to serve, just pull out however many you need. Honestly, the easiest way is just to let them thaw at room temperature for about 30 to 60 minutes. They’ll be perfectly soft and ready to go, no microwaving needed. It’s like magic – a fresh-made sandwich with zero effort that morning!
Tips for Success with Your Meal Prep Sandwiches
Okay, let’s talk about making these meal prep sandwiches even better! A few little tricks up your sleeve can really make these freezer PB&Js shine. First off, the bread choice really does matter. While white bread is my go-to because it just thaws so nicely, a good sturdy whole wheat or even a honey wheat can work wonders too. Just avoid super soft, brioche-like breads – they can get a bit mushy. Cutting off the crusts is totally optional but a big hit with the little ones, so don’t hesitate if that’s your jam!
Frequently Asked Questions about Freezer PB&J
I know you’ve probably got a few questions buzzing around your head about these freezer marvels, and that’s totally normal! Let’s clear a few things up so you can get totally comfortable with this whole make ahead PB&J thing.
Can I use different types of bread?
Absolutely! While white bread is my personal favorite for freezing because it thaws out so nicely, you can definitely use other types. A good, sturdy whole wheat or a soft honey wheat are also great options. Just try to avoid really delicate or super-soft enriched breads, as they can sometimes get a little sad and mushy after thawing. The key is a bread that has a bit of structure!
What kind of jelly is best for freezing?
This is super important for avoiding sogginess! I always lean towards a thicker jam or preserves over a thin, watery jelly. Think strawberry, raspberry, or even apple butter. The less moisture content, the better! Also, remember my tip about spreading it just a little bit away from the edges? That helps keep everything contained and prevents sneaky jelly leaks.
How do I store them in the freezer?
The trick is good wrapping! I always wrap each sandwich tightly in plastic wrap first. This creates a protective barrier. Then, I pop those individually wrapped sandwiches into a heavy-duty freezer bag or an airtight container. This double protection really helps prevent freezer burn and keeps them tasting fresh until you’re ready to use them. They’ll stay good for about 3 months this way!
Can I add other ingredients?
That’s a fun question! While a classic PB&J is pretty perfect on its own, you *could* try adding a *very* thin layer of marshmallow fluff or even some sprinkles for a fun treat. However, just be mindful that adding more ingredients, especially softer ones, can sometimes increase the risk of sogginess. For your first few batches, I’d stick to the classic combo to get the technique down perfectly!
Serving Suggestions for Your Homemade Freezer PB&J Sandwiches
These little homemade freezer PB&J sandwiches are superstars on their own, but they make an even better lunch when paired with a few extra goodies! Think of them as the perfect centerpiece for a fun bento box. I love adding a side of apple slices or some crunchy carrot sticks. Maybe a little container of yogurt or some grapes. It turns that simple sandwich into a full, kid-approved meal that’s still a total school lunch hack. Easy peasy, and they’ll actually *eat* it!
Storing and Reheating Your Make Ahead PB&J
Now, since we’re mostly talking about freezing these bad boys, the real “storage” is all about how long they hang out in the freezer! Remember, they’re good for up to 3 months when wrapped tightly and stored properly. If for some wild reason you end up with a sandwich you didn’t freeze that day, just pop it in an airtight container or a zip-top bag and keep it at room temperature for a day or maybe two. But honestly, the freezer is where they really shine for school lunches!
Nutritional Snapshot of Your Homemade Freezer PB&J Sandwiches
Okay, so let’s chat real quick about what’s actually *in* these yummy sandwiches. Keep in mind these are just estimates, because, you know, every jar of peanut butter and jelly is a little different! But generally, one of these delightful homemade freezer PB&J sandwiches will clock in at around 250 calories. You’re looking at about 8 grams of protein to keep those little ones going, roughly 30 grams of carbs, and 12 grams of fat. Plus, about 15 grams of sugar, which is pretty typical for a PB&J. It’s a good little energy boost for school!
Share Your Freezer PB&J Success!
Have you tried making these homemade freezer PB&J sandwiches yet? I’d absolutely LOVE to hear how they turned out for you and your little ones! Did you discover any amazing variations or have a genius tip to share? Drop a comment below and let us know your experience – it’s so helpful for other parents!
PrintHomemade Freezer PB&J Sandwiches
Learn how to make and freeze peanut butter and jelly sandwiches for easy school lunches. Prevent soggy bread with these simple tips.
- Prep Time: 10 min
- Cook Time: 0 min
- Total Time: 10 min
- Yield: 6 sandwiches 1x
- Category: Lunch
- Method: Freezing
- Cuisine: American
- Diet: Vegetarian
Ingredients
- 12 slices white bread
- 1/2 cup peanut butter
- 1/2 cup jelly or jam
Instructions
- Spread peanut butter on one slice of bread and jelly on another.
- Press the two slices together to form a sandwich.
- Cut off the crusts if desired.
- Wrap each sandwich tightly in plastic wrap.
- Place wrapped sandwiches in a freezer-safe bag or container.
- Freeze for up to 3 months.
- To serve, remove from freezer and let thaw at room temperature for about 30-60 minutes.
Notes
- For best results, use a thicker jelly or jam to prevent sogginess.
- Avoid spreading jelly too close to the edges of the bread.
- Consider using a bread that holds up well to freezing, like white or whole wheat.
- To prevent sogginess, you can spread a thin layer of peanut butter on both slices of bread before adding the jelly to one side.
Nutrition
- Serving Size: 1 sandwich
- Calories: 250
- Sugar: 15g
- Sodium: 200mg
- Fat: 12g
- Saturated Fat: 3g
- Unsaturated Fat: 9g
- Trans Fat: 0g
- Carbohydrates: 30g
- Fiber: 3g
- Protein: 8g
- Cholesterol: 0mg

