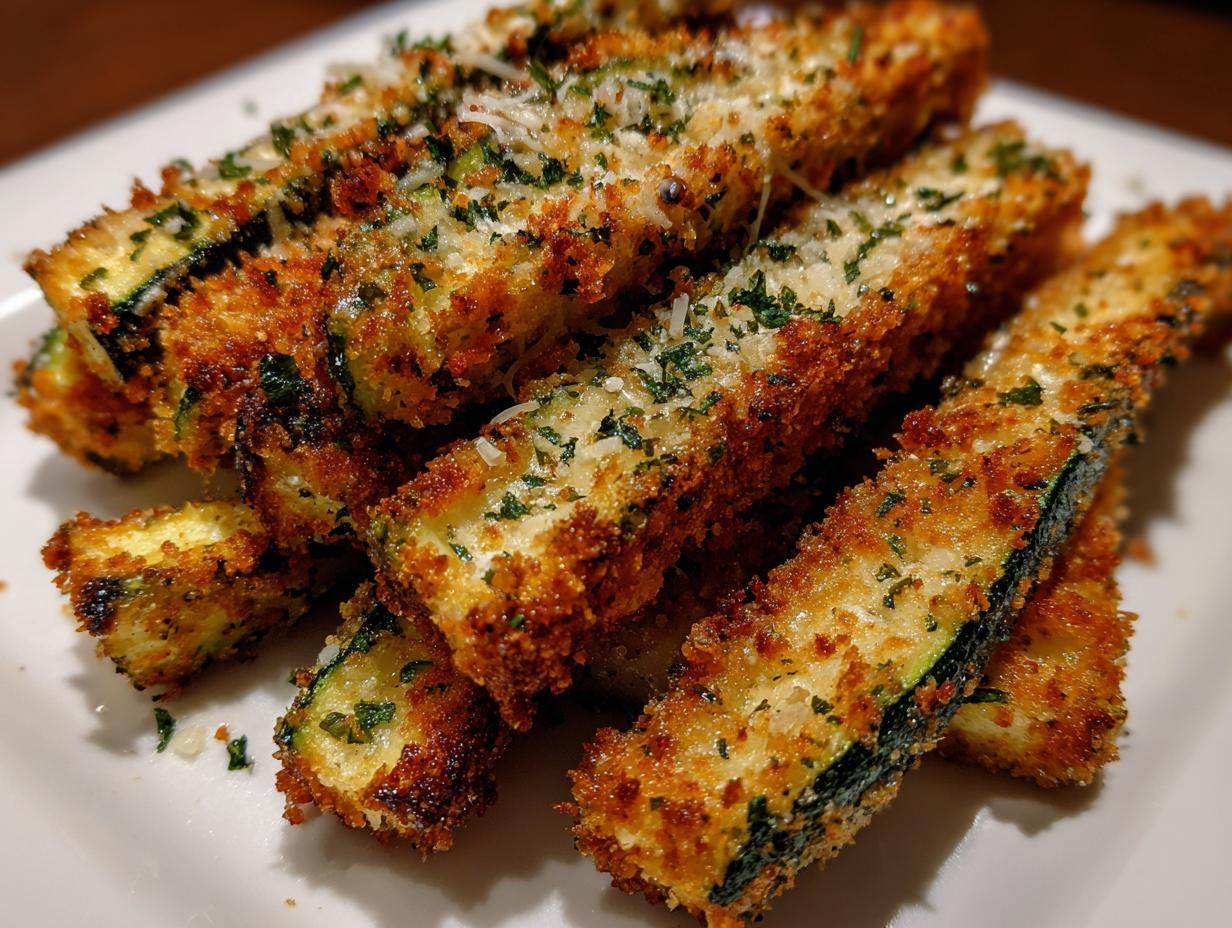

You know, summer just hits differently when you’ve got a surplus of zucchini from the garden, or maybe your farmer’s market haul is just bursting with them! Instead of letting them sit around, I’ve got the *perfect* answer: baked zucchini fries. Trust me, these aren’t your average mushy veggies. They’re delightfully crispy on the outside, tender on the inside, and just begging to be dipped into something yummy. It’s such a simple way to get a healthy, kid-friendly snack on the table super fast, and who doesn’t love that?
- Why You'll Love These Baked Zucchini Fries
- Gather Your Ingredients for Baked Zucchini Fries
- Step-by-Step Guide to Oven Zucchini Sticks
- Tips for Perfectly Crispy Baked Zucchini Fries
- Serving Suggestions and Dipping Sauces
- Ingredient Spotlight: The Magic of Panko
- Frequently Asked Questions about Baked Zucchini Fries
- Nutritional Information for Healthy Baked Zucchini Fries
- Share Your Baked Zucchini Fries Creations!
Why You’ll Love These Baked Zucchini Fries
You’ll seriously love these baked zucchini fries for so many reasons!
- Super Healthy: They’re a fantastic, low-calorie way to enjoy a crispy fry-like snack using fresh zucchini.
- So Kid-Friendly: Even the pickiest eaters will gobble these up!
- Seriously Easy: You can whip these up with minimal fuss, perfect for busy weeknights.
- Quick Too! Ready in under 40 minutes from start to finish.
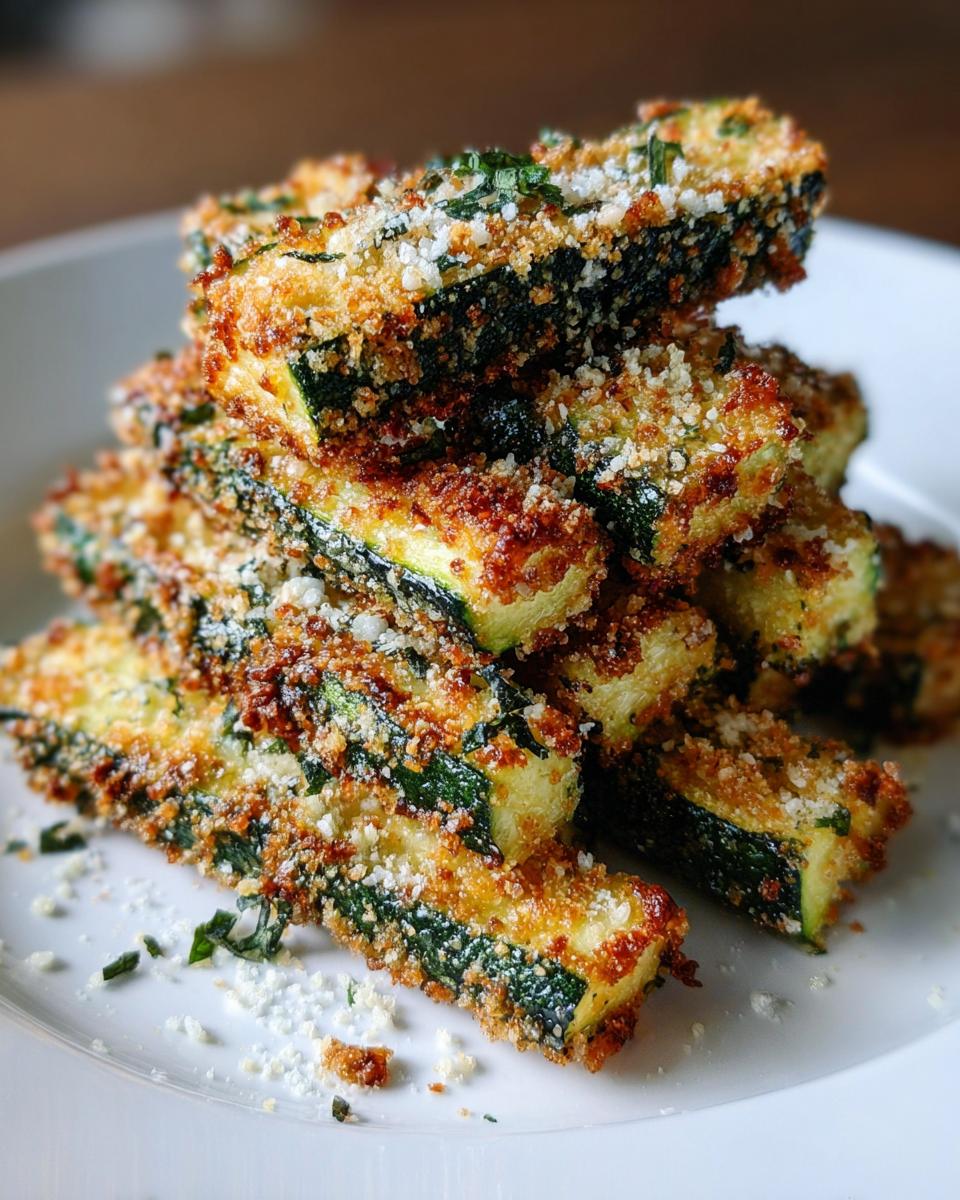
- That Crispy Texture: We nail that satisfying crunch you expect from fries, but without the deep frying.
- It’s a wonderful way to use up that summer zucchini bounty!
Gather Your Ingredients for Baked Zucchini Fries
Let’s get everything ready to make these amazing zukes! You’ll need:
- Two medium zucchini – look for ones that feel firm and aren’t too huge.
- About half a cup of panko breadcrumbs for that fantastic crunch.
- A quarter cup of grated Parmesan cheese – it adds that salty, nutty flavor.
- One teaspoon of garlic powder for a little zing.
- Half a teaspoon of dried oregano; it just sings with the zucchini.
- A quarter teaspoon each of salt and black pepper to make all the flavors pop.
- One large egg, beaten, to help all that goodness stick!
- And finally, two tablespoons of olive oil to give them that lovely golden finish.
Step-by-Step Guide to Oven Zucchini Sticks
Alright, let’s get these veggies into fry shape! Making homemade oven zucchini sticks is totally doable, and honestly, pretty fun. Just follow these steps and you’ll have a fantastic snack ready before you know it.
Prep Your Oven and Baking Sheet
First things first, let’s get that oven nice and hot! Preheat it to 400°F (that’s 200°C). While it’s warming up, grab a baking sheet and line it with parchment paper. This is my secret weapon for a no-fuss cleanup!
Prepare the Zucchini
Now, grab your zucchini. Give them a good wash, and then trim off those ends. I usually cut each zucchini in half crosswise, and then each of those halves lengthwise into sticks that look like fries. Try to make them all about the same size so they bake evenly.
Create the Crispy Coating
Okay, time for the magic coating! Get a shallow dish or a pie plate ready. Pour in your panko breadcrumbs, the grated Parmesan cheese, garlic powder, oregano, salt, and pepper. Give it a little whisk with a fork to mix it all up.
Coat the Zucchini Sticks
This is where your zucchini turns into a fry! Take each zucchini stick, dip it into the beaten egg, making sure it’s coated all over. Let any extra egg drip back into the bowl for just a second. Then, roll it in that panko mixture, pressing gently so the crumbs really stick.
Arrange and Bake to Perfection
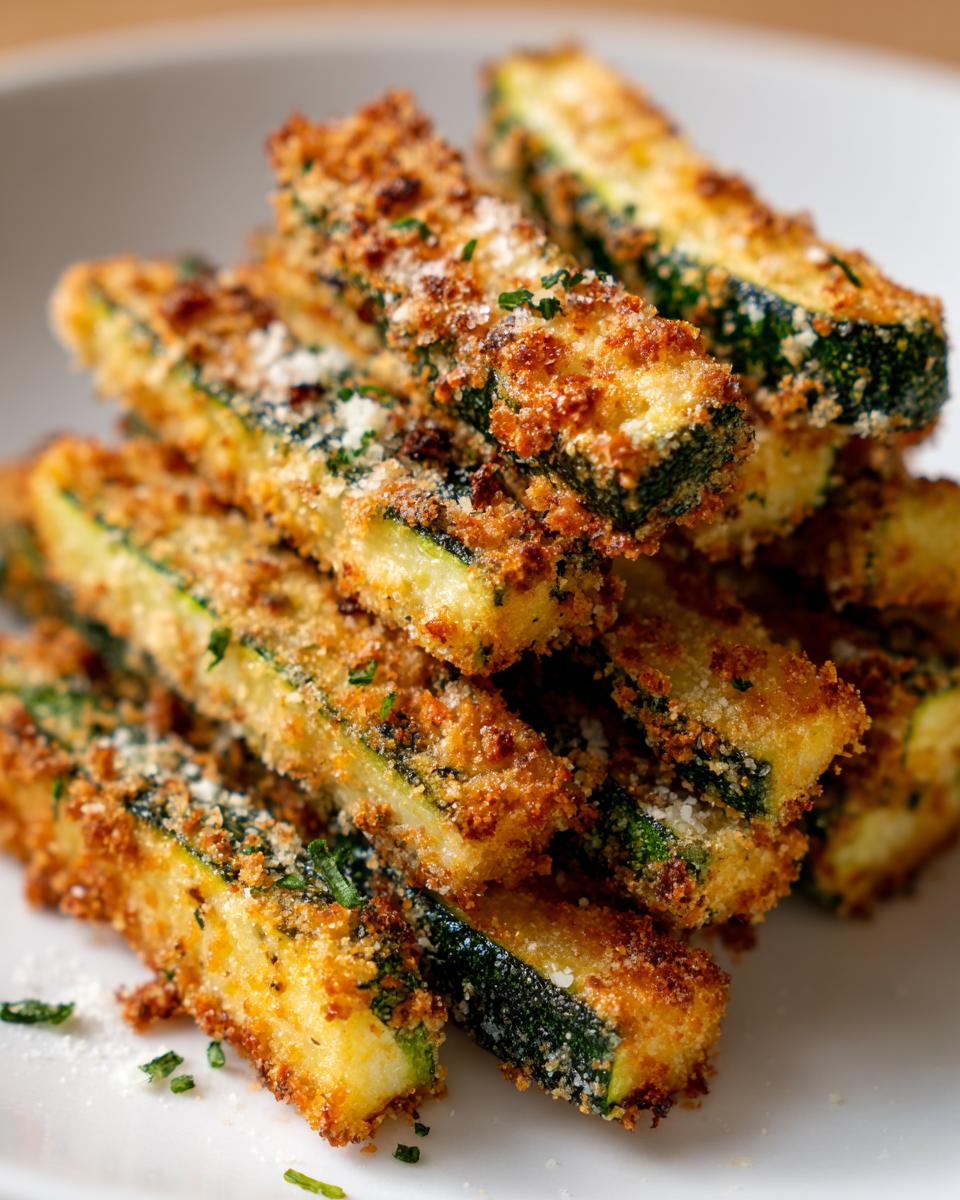
Lay your beautifully coated zucchini sticks on that prepared baking sheet in a single layer – make sure they aren’t all piled up! Then, drizzle that olive oil over the top. Now, pop them into the hot oven for about 15 to 20 minutes. Halfway through, give them a flip so they get golden brown and nice and crispy on all sides. You’re looking for that beautiful golden color!

Tips for Perfectly Crispy Baked Zucchini Fries
Okay, so you want those baked zucchini fries to be *perfectly* crispy, right? I get it! The absolute biggest thing is not to cram them onto the baking sheet. Give them plenty of space so the air can get all around them. I also like to gently pat the zucchini dry with a paper towel *before* I coat them, because extra moisture is the enemy of crispiness! If they’re not quite gold enough after the first bake, just leave them in a few minutes longer, but keep a close eye so they don’t burn. It’s a balancing act!
Serving Suggestions and Dipping Sauces
These baked zucchini fries are just begging for a dip! My go-to is usually a cool ranch or a zingy ketchup, but a creamy aioli is fantastic too. Whatever you choose, having a yummy sauce makes this healthy snack even more satisfying, plus it’s a great way to serve up a bunch of veggies without anyone even noticing they’re eating them!
Ingredient Spotlight: The Magic of Panko
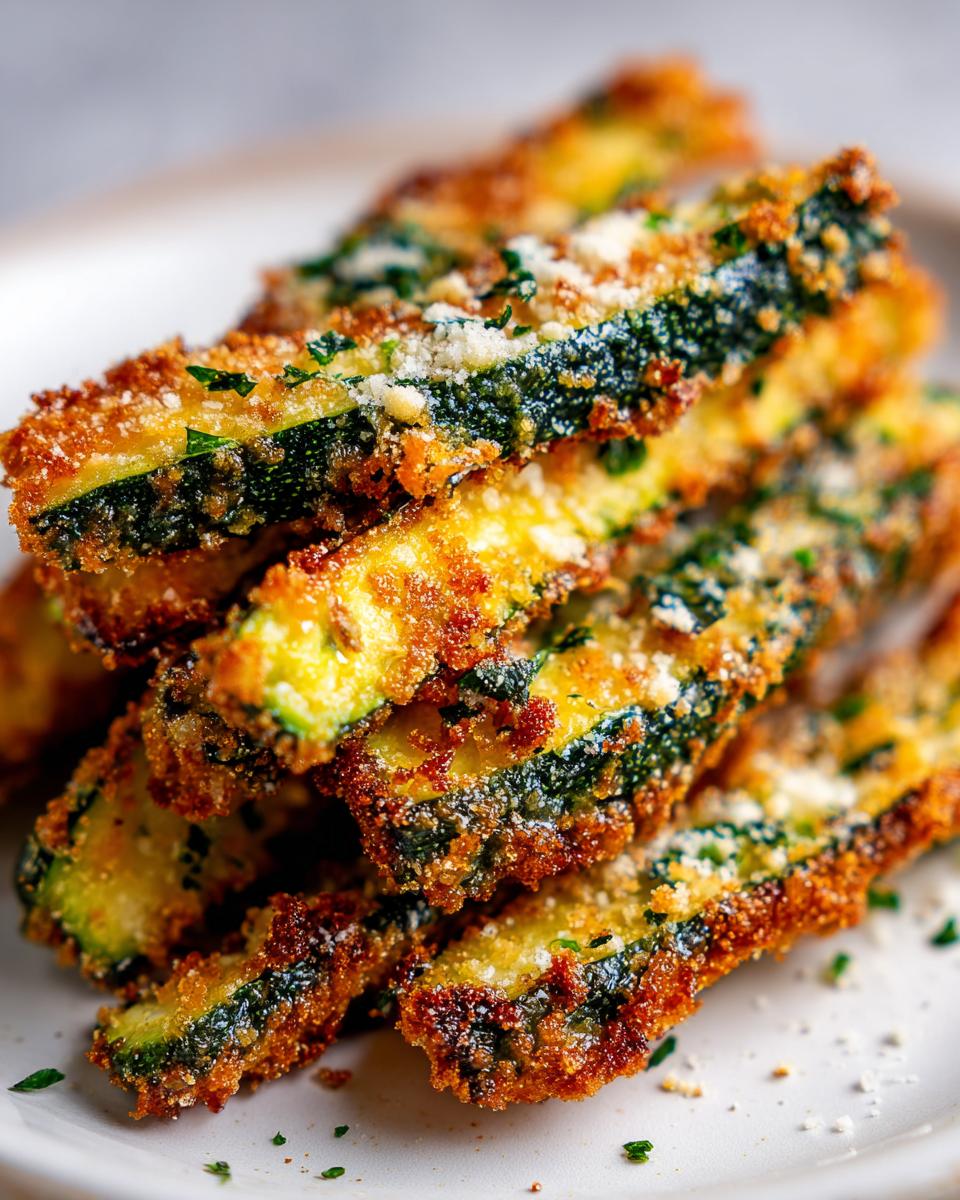
Now, let me tell you about panko breadcrumbs. You *could* use regular breadcrumbs, but panko? It’s a game-changer for crispiness! Panko is made from white bread that’s been baked into crusts, then ground into airy, flaky chunks. It bakes up like *magic*, creating this incredible light, airy crunch that regular crumbs just can’t match. It’s the secret to making these zucchini sticks taste like a real treat!
Frequently Asked Questions about Baked Zucchini Fries
Got some questions swirling around about making these yummy baked zucchini fries? I totally get it! Here are a few things people often ask:
Can I make these ahead of time?
Honestly, these are best enjoyed fresh out of the oven when they’re nice and crispy! Making them ahead and then reheating can sometimes make them a bit soggy. They’re so quick to whip up, though, that baking a fresh batch is usually the way to go. They disappear pretty fast anyway!
Can I make these without the egg?
You sure can! If you need to skip the egg, just try a little unsweetened applesauce or even some plain Greek yogurt. You’ll want about a tablespoon or two per zucchini batch to help the breadcrumbs stick. It might not be *exactly* the same, but it works for getting those tasty coatings on your veggie fries!
How can I make them even crispier?
Ah, the quest for maximum crispiness! A few things help. Make sure your zucchini sticks are super dry before you coat them. Don’t overcrowd the baking sheet; give them space! And if they aren’t as crisp as you’d like after the first bake, you can totally bake them for another 5 minutes or so. Just keep a close eye on them so they don’t go from golden to burnt!
Can I use regular breadcrumbs instead of panko?
You can, but panko really is the star here for that amazing crispiness! Regular breadcrumbs tend to absorb more moisture and can make them a little softer. If you do use them, make sure they’re nice and finely ground. But trust me, the panko is worth seeking out for these healthy baked zucchini fries!
Nutritional Information for Healthy Baked Zucchini Fries
Now, let’s talk about what makes these healthy baked zucchini fries such a smart choice! Keep in mind that these numbers are estimates, because, you know, zucchini sizes can vary and we all use slightly different amounts of olive oil. But generally, you’re looking at about 150 calories per serving, with around 8 grams of fat, about 5 grams of protein, and 15 grams of carbs. Plus, you get a nice bit of fiber in there too!
Share Your Baked Zucchini Fries Creations!
I absolutely *love* seeing what you all make in your kitchens! If you try these baked zucchini fries, please drop a comment below and let me know how they turned out. If you have any fun variations or tasty dipping sauce ideas, I’m all ears! And if you snap a picture, tag me on social media – I can’t wait to see your beautiful creations!
PrintBaked Zucchini Fries
Crispy baked zucchini fries, a healthy and kid-friendly alternative to traditional french fries. Perfect for a quick snack.
- Prep Time: 15 min
- Cook Time: 20 min
- Total Time: 35 min
- Yield: 4 servings 1x
- Category: Snack
- Method: Baking
- Cuisine: American
- Diet: Vegetarian
Ingredients
- 2 medium zucchini
- 1/2 cup panko breadcrumbs
- 1/4 cup grated Parmesan cheese
- 1 teaspoon garlic powder
- 1/2 teaspoon dried oregano
- 1/4 teaspoon salt
- 1/4 teaspoon black pepper
- 1 large egg, beaten
- 2 tablespoons olive oil
Instructions
- Preheat your oven to 400°F (200°C). Line a baking sheet with parchment paper.
- Wash and trim the ends of the zucchini. Cut each zucchini in half crosswise, then cut each half lengthwise into fry-like sticks.
- In a shallow dish, combine panko breadcrumbs, Parmesan cheese, garlic powder, oregano, salt, and pepper.
- Dip each zucchini stick into the beaten egg, letting any excess drip off.
- Roll the egg-coated zucchini sticks in the breadcrumb mixture, pressing gently to coat evenly.
- Arrange the coated zucchini sticks in a single layer on the prepared baking sheet.
- Drizzle with olive oil.
- Bake for 15-20 minutes, flipping halfway through, until golden brown and crispy.
Notes
- Serve immediately with your favorite dipping sauce like ketchup, ranch, or aioli.
- For extra crispiness, you can bake them a few minutes longer, watching carefully to prevent burning.
- These are a great way to use up summer zucchini.
Nutrition
- Serving Size: 1 serving
- Calories: 150
- Sugar: 4g
- Sodium: 300mg
- Fat: 8g
- Saturated Fat: 2g
- Unsaturated Fat: 6g
- Trans Fat: 0g
- Carbohydrates: 15g
- Fiber: 3g
- Protein: 5g
- Cholesterol: 30mg