

Oh, you know that feeling, right? You’ve got cucumbers tumbling out of your garden, practically begging to be made into something delicious. And if you’re anything like me, you love a good pickle but maybe don’t always have the time or energy for full-on canning. That’s where these refrigerator dill pickles come in! They’re seriously my favorite way to use up a garden bounty because they’re so quick and easy, and you don’t need any fancy canning equipment. My mom always said food is how we talk to each other, our own little love language, and these pickles are just that – a simple, approachable way to share something wonderful. You get that sophisticated, crunchy pickle experience without any stress, and trust me, they’re recipes you can count on for pure deliciousness every single time. It’s honestly a little bit of approachable elegance right there in your fridge!
- Gather Your Ingredients for Refrigerator Dill Pickles
- How to Make Quick Refrigerator Dill Pickles
- Why You'll Love These Refrigerator Dill Pickles
- Tips for Success with Refrigerator Dill Pickles
- Ingredient Spotlight: The Magic of Refrigerator Dill Pickles
- Serving and Storing Your Refrigerator Dill Pickles
- Frequently Asked Questions about Refrigerator Dill Pickles
- Understanding the Nutritional Value of Refrigerator Dill Pickles
- Share Your Refrigerator Dill Pickle Creations
Gather Your Ingredients for Refrigerator Dill Pickles
Alrighty, friends! To whip up these amazing refrigerator dill pickles, you’ll only need a few things. It’s pretty straightforward. First up, you’ll need 3 cups of water and 3 cups of white vinegar – the usual suspects for a good brine. Then, we’ve got 3 tablespoons of kosher salt and just 1 tablespoon of sugar to balance it all out. For those classic pickle spices, grab 1 teaspoon each of mustard seeds, dill seeds, black peppercorns, and coriander seeds. A little pinch of 1/2 teaspoon red pepper flakes will give it a tiny kick! And of course, the star: 4 to 5 big sprigs of fresh dill, and 2 to 3 cloves of garlic, just smashed open a bit. Finally, you’ll need about 2 pounds of pickling cucumbers, and you can cut these however you like – spears are my go-to!
How to Make Quick Refrigerator Dill Pickles
Okay, this is the fun part! It’s really pretty simple, honestly. You’re going to create this super flavorful brine, pack it all into jars, and let the magic happen in your fridge. It’s one of those things that feels too good to be true because they’re ready so fast!
Preparing the Brine for Refrigerator Dill Pickles
First things first, you’ll want to grab a saucepan. Into that, pour your 3 cups of water and 3 cups of white vinegar. Toss in that kosher salt and sugar too. Now, put it over medium-high heat and stir it around until all that salt and sugar has totally dissolved. Once it’s bubbling away nicely, take it off the heat. Now for the flavor explosion: toss in your mustard seeds, dill seeds, peppercorns, coriander seeds, and those red pepper flakes. Give it all a good stir to mix everything in.
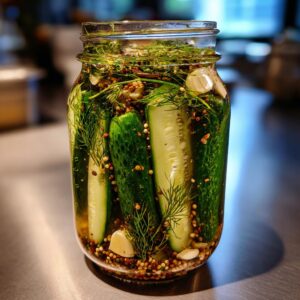
Packing Jars for Perfect Refrigerator Dill Pickles
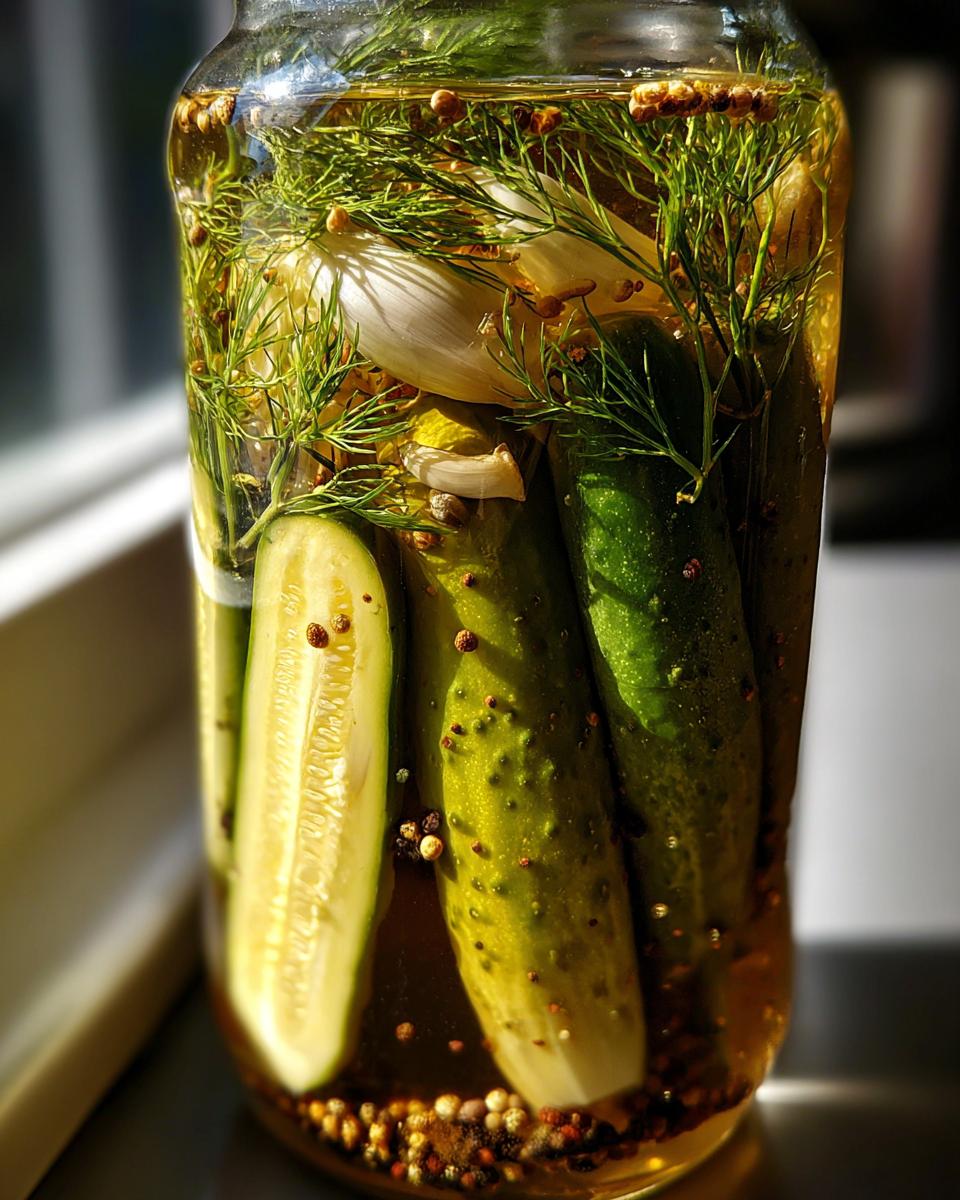
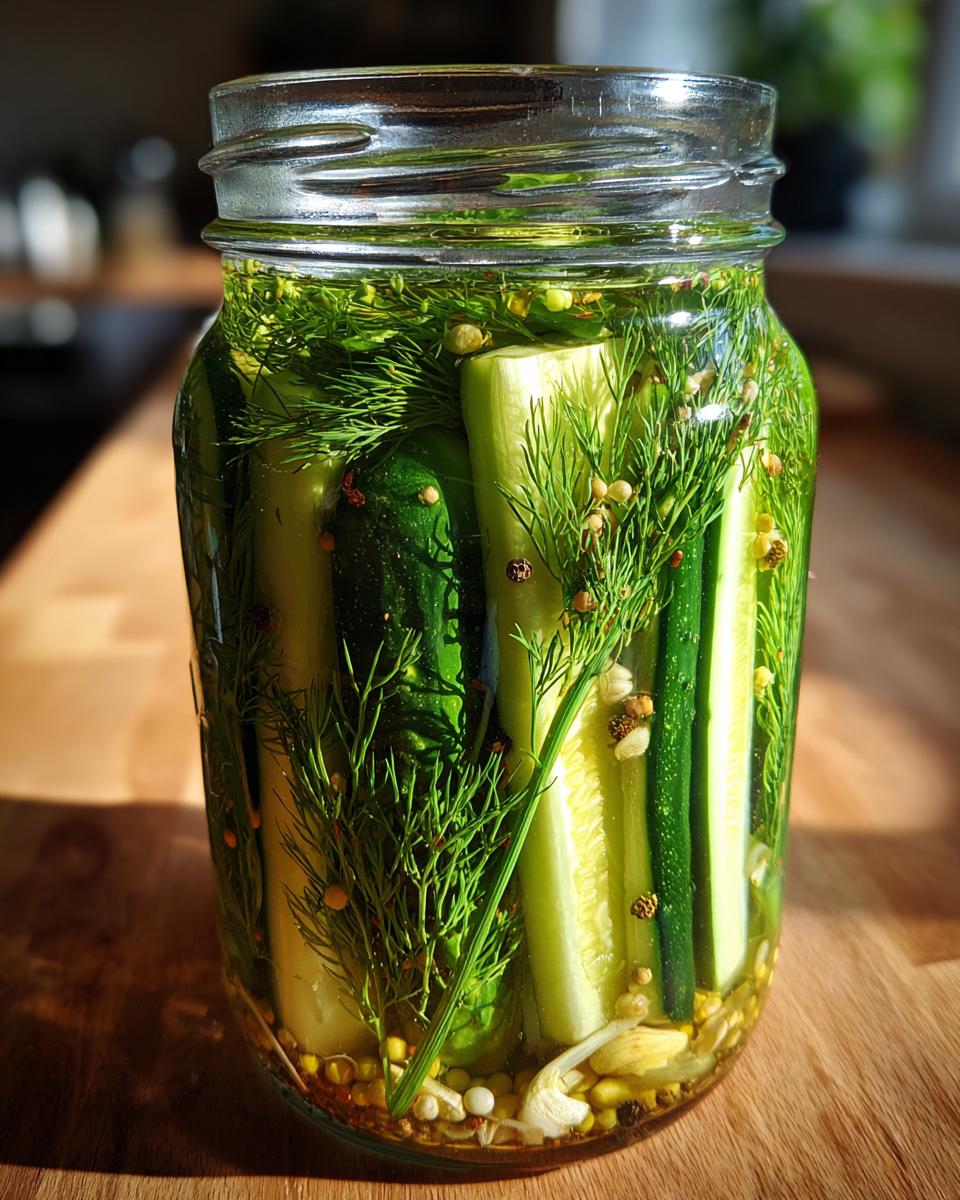
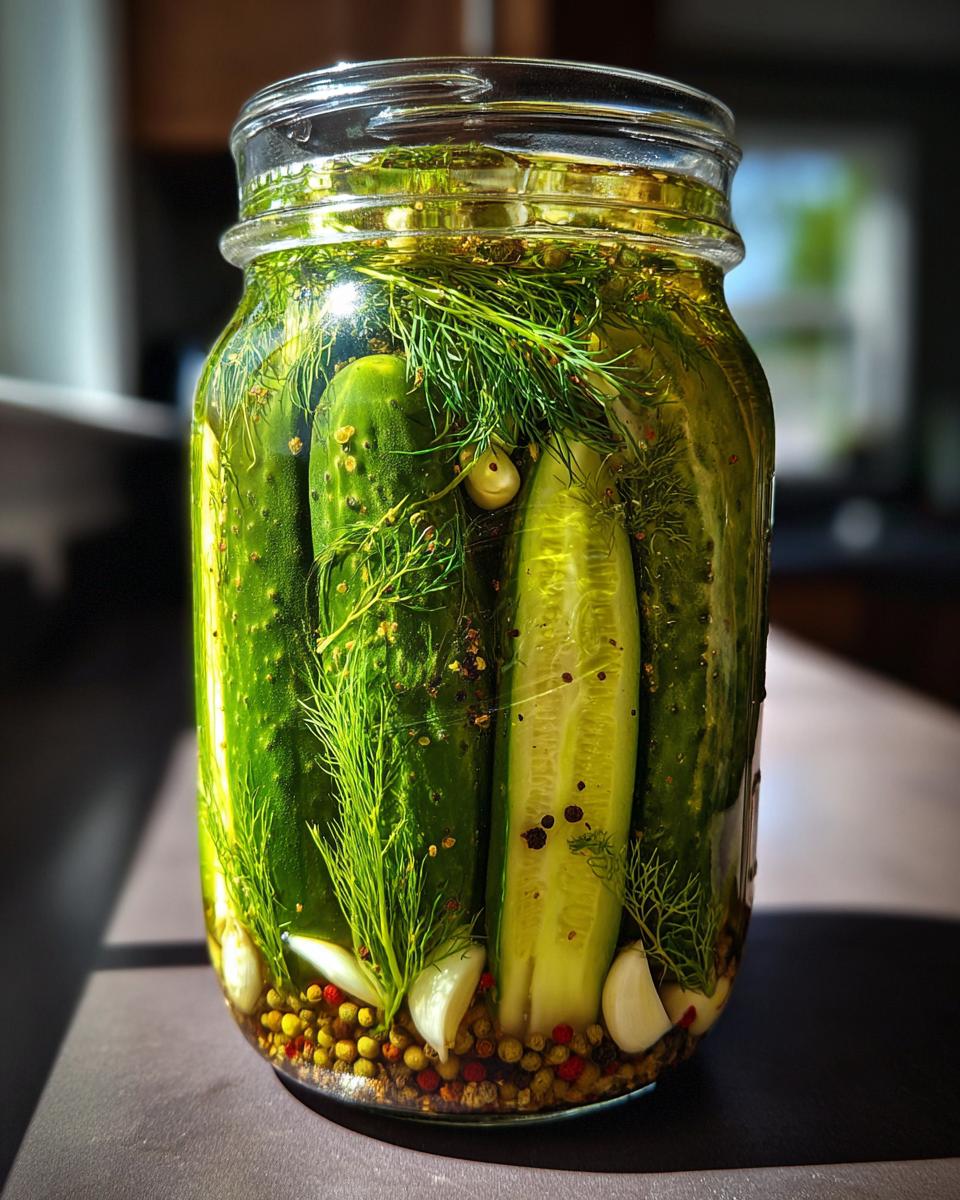
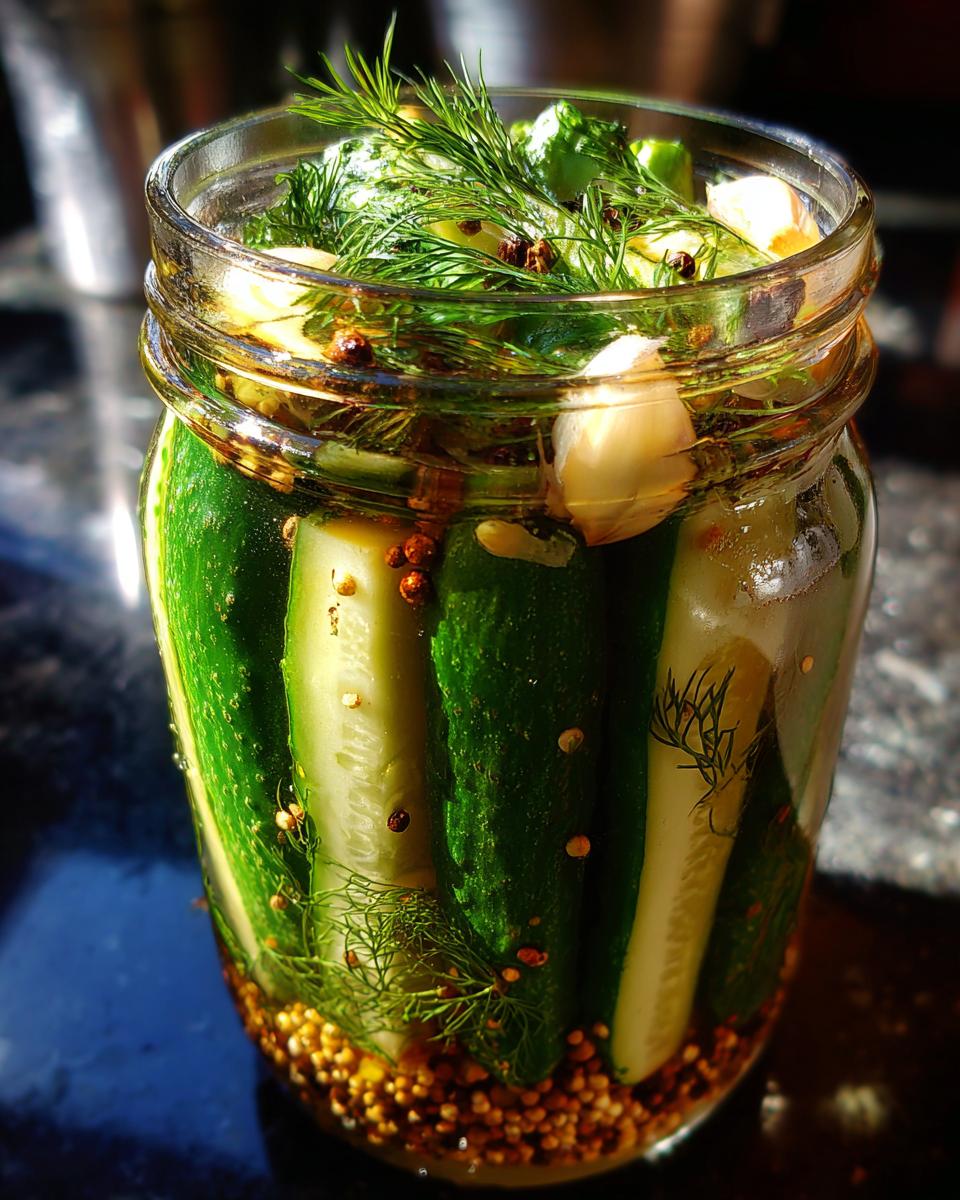
Next up, grab your clean jars – I usually use pint or quart jars for this. You want to pack those cucumber spears or slices in there, and I mean *pack* them! Really get them in there snugly. Now, tuck in your fresh dill sprigs and those smashed garlic cloves amongst the cucumbers. It’s okay if they’re a bit squished; that just helps get all that yummy flavor into the pickles. We want to make sure all those goodies are packed down nicely so they’ll be covered by the brine.
Cooling and Refrigerating Your Refrigerator Dill Pickles
Carefully ladle that hot, spice-filled brine over everything in the jars. Make sure those cucumbers are completely covered and submerged in the brine. Leave about half an inch of space at the very top of the jar – that’s called headspace! Wipe the rims of the jars really well, just get any brine off there, and screw on the lids tightly. Now, just let those jars sit on your counter for about an hour to cool down a bit. After they’ve cooled down, it’s fridge time! Just pop them in there, and trust me, you’ll want to wait at least 24 hours before you dig in, but then? Oh my goodness, they’re ready!
Why You’ll Love These Refrigerator Dill Pickles
Seriously, these pickles are a game-changer! You’ll love how:
- They’re super quick – ready in just 24 hours!
- It’s a no-canning recipe, so easy peasy.
- You get that perfect, satisfying crunch every time.
- They’re the absolute best way to use up all those extra garden cucumbers.
- They taste SO fresh and perfectly dill-y!
Tips for Success with Refrigerator Dill Pickles
Okay, so making these refrigerator dill pickles is pretty foolproof, but here are a few little things I’ve learned that’ll make them even more amazing. First off, for that ultimate crunch, try to use actual pickling cucumbers like Kirby or Boston picklers. They just hold up better! If you can’t find them, smaller, firmer salad cucumbers will work in a pinch, just make sure they’re really fresh. Don’t be shy with the spices or the garlic either; you can totally tweak those to what *you* love. And a clean jar is a happy jar – make sure everything is super clean before you start packing to keep those pickles tasting fresh for weeks!
Ingredient Spotlight: The Magic of Refrigerator Dill Pickles
You know, the real hero in these refrigerator dill pickles, besides the brine of course, has to be the cucumbers themselves. Using those specific pickling cucumbers, like Kirbys, is key for that shatteringly texture we all love. They’ve got a firmer skin and less water content, so they don’t get all mushy in the brine. And let’s not forget the dill seeds! They pack way more flavor than just fresh dill alone, giving you that perfect, authentic dill pickle taste. It’s these little guys that really make a difference!
Serving and Storing Your Refrigerator Dill Pickles
Once your refrigerator dill pickles have chilled in the fridge for a full 24 hours, it’s time for the best part: eating them! They are just *perfection* sliced up and piled high on a juicy burger or a classic deli sandwich. I also love them on a cheese board or just straight out of the jar when I need a little tangy, crunchy snack. They add such a bright, fresh pop to almost anything. Storing them is super easy; just keep them in their original jars in the refrigerator. Thanks to that vinegar and salt, they’ll stay nice and crisp for several weeks – usually about 3 to 4 weeks is a good guideline. Just make sure they’re always stored in that brine!
Frequently Asked Questions about Refrigerator Dill Pickles
Got questions about these zippy little pickles? I’ve got answers!
How long do these refrigerator dill pickles last?
That’s a great question! Because we’re not canning them and they’re living in the fridge, these refrigerator dill pickles will stay nice and crunchy for a good 3 to 4 weeks. Just make sure they’re always submerged in their brine, and they’ll be good to go!
Can I use different types of cucumbers for these pickles?
While I really, really recommend using pickling cucumbers — they’re bred for this and give you the best crunch! — you can totally try other cucumbers if that’s what you have. Just make sure they’re firm and fresh. So-called “salad” cucumbers that are on the smaller side can work, but avoid anything that feels soft or mushy, or your crunchy dill pickles might turn into, well, not-so-crunchy pickles. Nobody wants that!
Why aren’t my pickles crunchy? What went wrong?
Oh no! The most common reason for pickles not staying crunchy is usually the cucumber itself – sometimes they just have too much water. Using pickling cucumbers is the best defense! Also, make sure your brine is hot enough when you pour it over, and don’t overcook the cucumbers (which isn’t really an issue with this quick pickled cucumbers recipe since we don’t cook them in the brine). Another tip? Chill them right away after the initial cooling period. The cold really helps keep that crunch!
Understanding the Nutritional Value of Refrigerator Dill Pickles
So, while these refrigerator dill pickles are a flavor explosion, they’re also pretty light on the calorie front! Generally, a serving (about a quarter cup) will have around 15 calories. You’ll find minimal fat and protein, just a few carbs, and the sodium content comes from the salt in the brine, usually about 450mg per serving. Just remember, these numbers are estimates, okay? They can change a little depending on the exact amount of salt and sugar you use and the size of your pickles!
Share Your Refrigerator Dill Pickle Creations
I just *love* hearing from you all! If you make these refrigerator dill pickles, please, please leave a comment below and tell me how they turned out. Did you jazz up the spices? What did you serve them with? I’d be thrilled if you’d rate the recipe too – it really helps other cooks find these yummy pickles! And if you’re on social media, tag me in your photos, I’d love to see your crunchy dill pickles in action!
PrintQuick Refrigerator Dill Pickles
Make crunchy dill pickles in your refrigerator in just 24 hours. This no-canning recipe is perfect for using up extra cucumbers from your garden.
- Prep Time: 20 min
- Cook Time: 5 min
- Total Time: 25 min
- Yield: 4–6 servings 1x
- Category: Condiments
- Method: Refrigerator Pickling
- Cuisine: American
- Diet: Vegetarian
Ingredients
- 3 cups water
- 3 cups white vinegar
- 3 tablespoons kosher salt
- 1 tablespoon granulated sugar
- 1 teaspoon mustard seeds
- 1 teaspoon dill seeds
- 1 teaspoon black peppercorns
- 1 teaspoon coriander seeds
- 1/2 teaspoon red pepper flakes
- 4–5 large fresh dill sprigs
- 2–3 cloves garlic, smashed
- 2 pounds pickling cucumbers, cut into spears or slices
Instructions
- In a saucepan, combine water, vinegar, kosher salt, and sugar. Bring to a boil, stirring until salt and sugar dissolve. Remove from heat.
- Add mustard seeds, dill seeds, peppercorns, coriander seeds, and red pepper flakes to the hot brine. Stir well.
- Pack the cucumber spears or slices tightly into clean jars. Add fresh dill sprigs and smashed garlic cloves to each jar.
- Pour the hot brine over the cucumbers, ensuring they are fully submerged. Leave about 1/2 inch of headspace at the top of the jars.
- Wipe the jar rims clean and secure the lids. Let the jars cool on the counter for about an hour.
- Transfer the jars to the refrigerator. The pickles will be ready to eat in 24 hours.
Notes
- For best results, use pickling cucumbers.
- Adjust the garlic and red pepper flakes to your preference.
- These pickles will last for several weeks in the refrigerator.
Nutrition
- Serving Size: 1/4 cup
- Calories: 15
- Sugar: 2g
- Sodium: 450mg
- Fat: 0g
- Saturated Fat: 0g
- Unsaturated Fat: 0g
- Trans Fat: 0g
- Carbohydrates: 3g
- Fiber: 0g
- Protein: 0g
- Cholesterol: 0mg