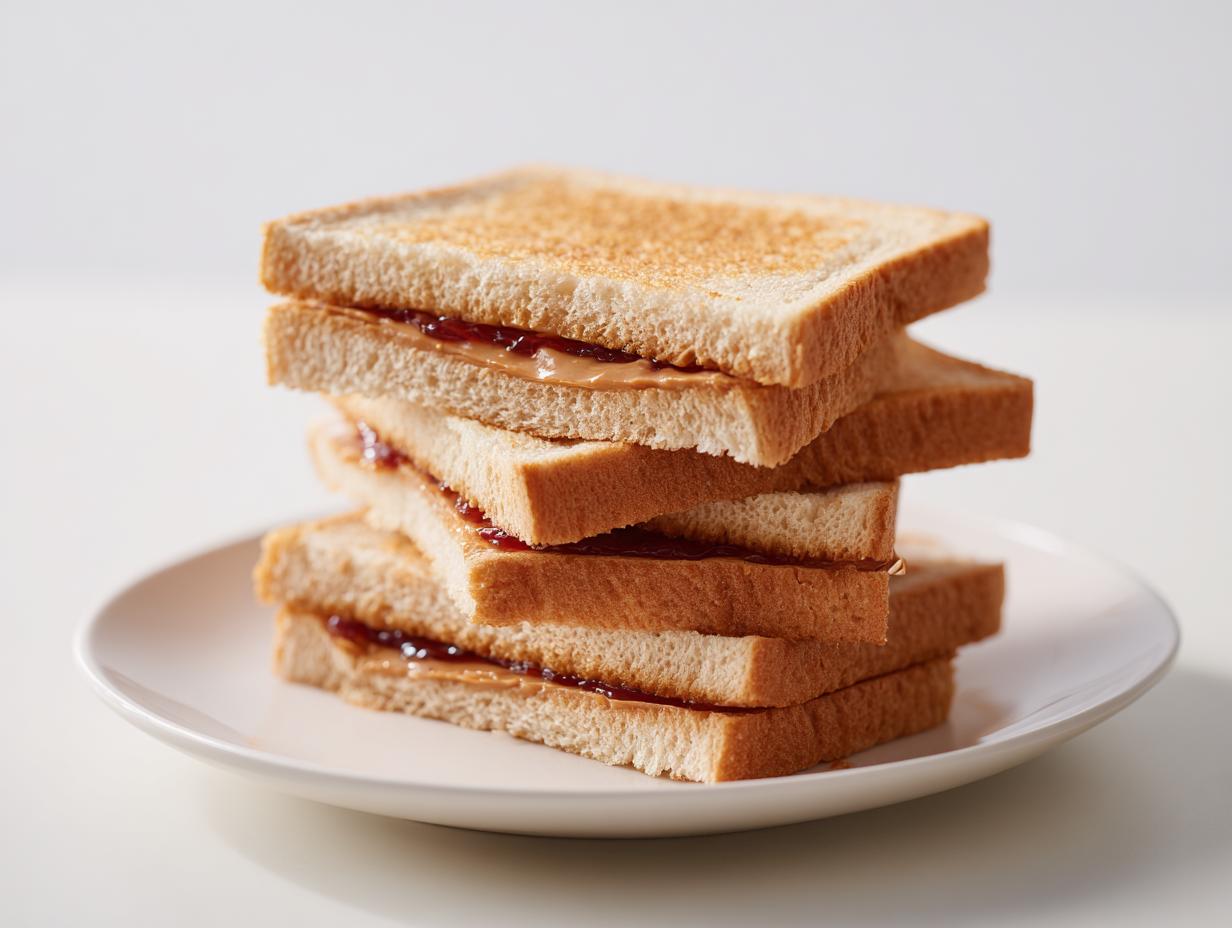
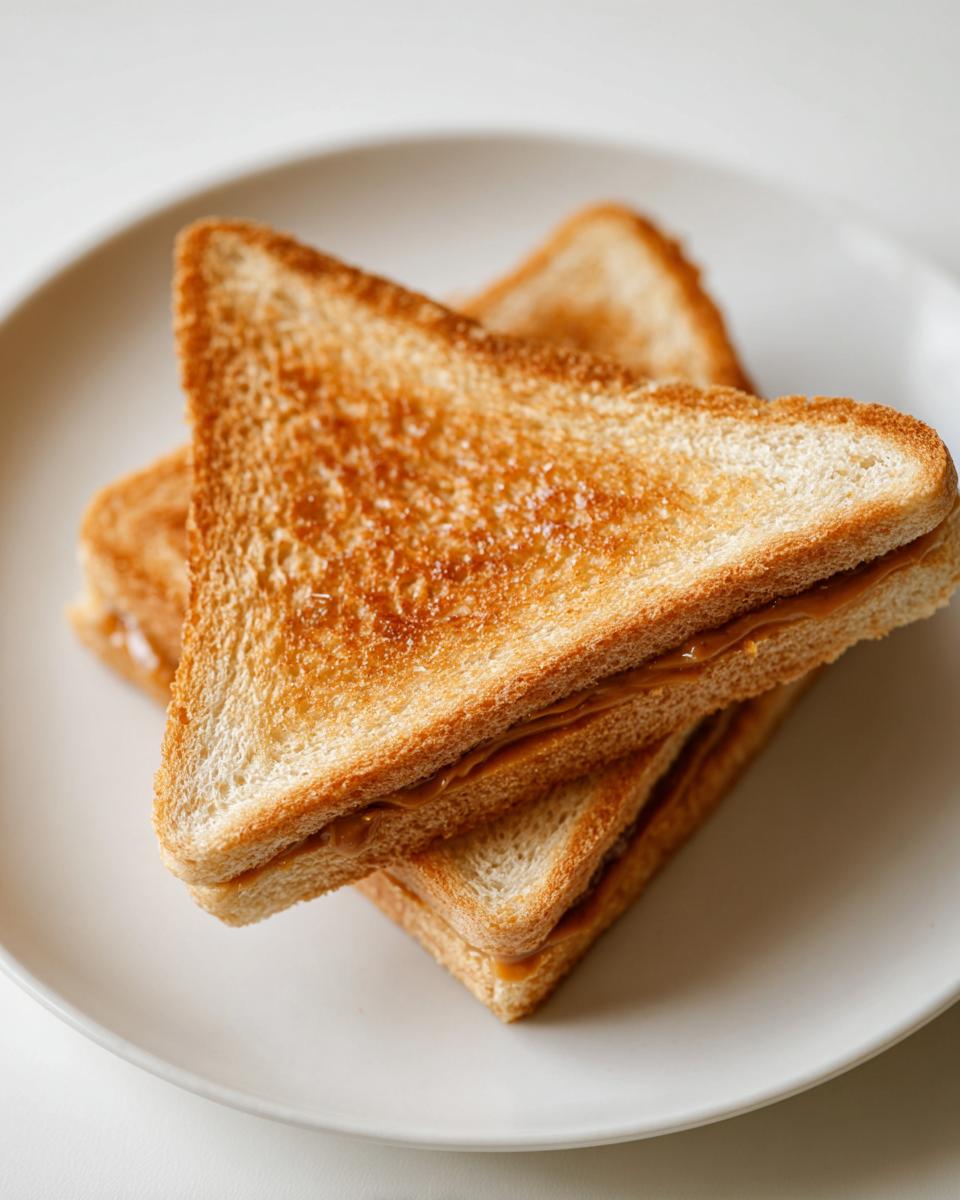
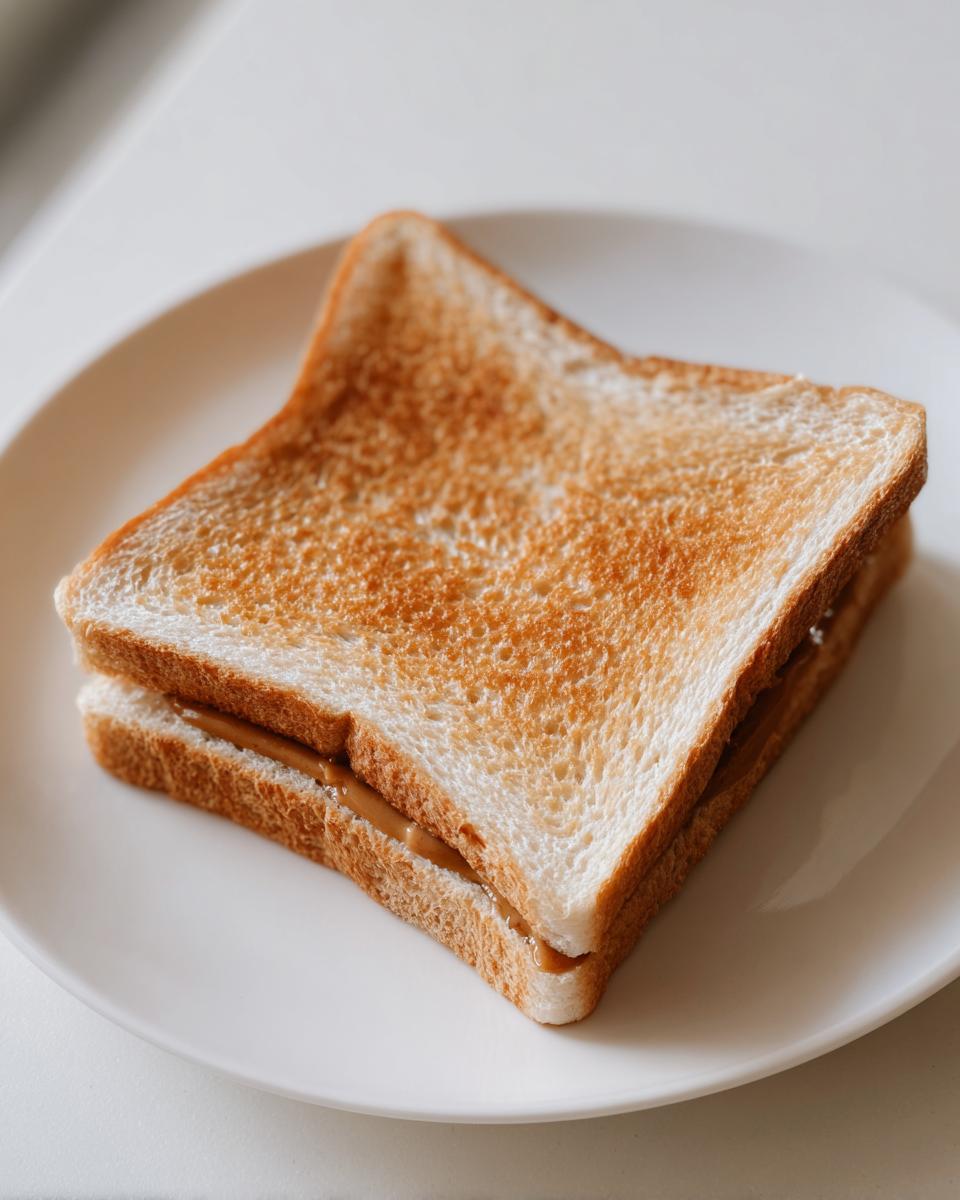
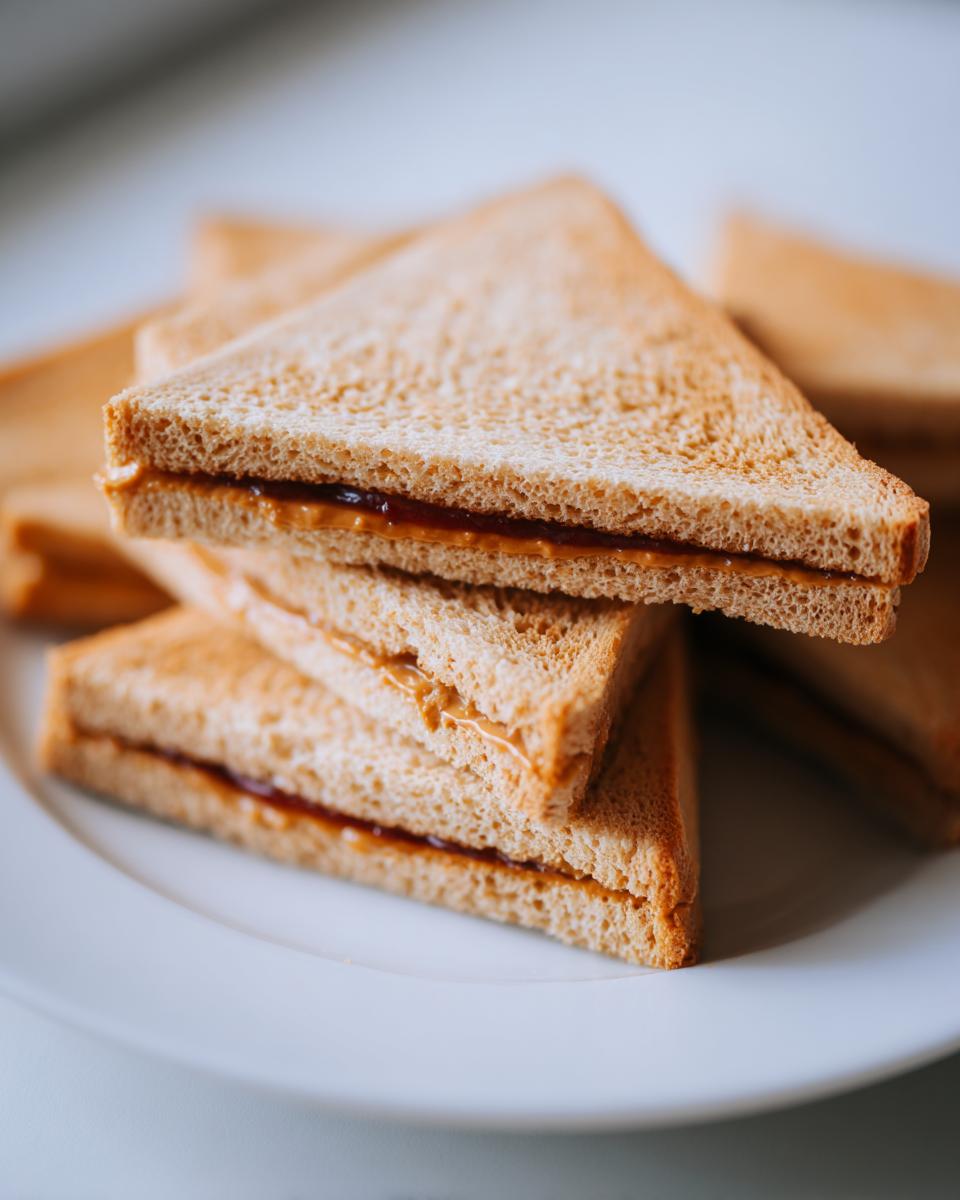
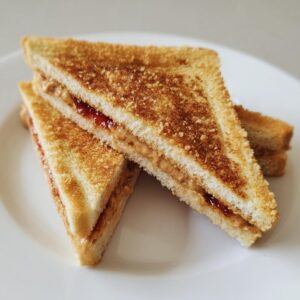
Those little sealed circles of pure joy, right?! Store-bought Uncrustables are such a lifesaver for busy mornings and packed lunches, and honestly, they bring back a little bit of that childhood nostalgia for me too. But sometimes, you just want to know exactly what’s going into your kids’ (or even your own!) tummies, and maybe sneak in something a little more wholesome. That’s where making your own Homemade Uncrustables comes in! It’s surprisingly simple, totally customizable, and honestly, just as fun to make. I really believe that the best recipes are the ones that are reliable and bring a smile to your face, and these little DIY PB&J pockets definitely do that for me. You get all the convenience without any of the fuss, and the control over your ingredients is just fantastic.
- Why You'll Love These Homemade Uncrustables
- Crafting Your Perfect Homemade Uncrustables
- Tips for Freezer Friendly Sandwiches Success
- Variations for Your Homemade Uncrustables
- Frequently Asked Questions About Homemade Uncrustables
- Nutritional Information for Homemade Uncrustables
- Share Your Homemade Uncrustables Creations!
Why You’ll Love These Homemade Uncrustables
Honestly, making your own Homemade Uncrustables is such a game-changer! You’ll totally get why I’m obsessed:
- They’re ridiculously easy to whip up – seriously, you can make a whole batch in minutes!
- Kids absolutely adore them, and they’re perfect for picky eaters who love their no crust peanut butter sandwiches.
- You get to pick your favorite bread and jelly combos, making them the ultimate customizable lunchbox snack ideas.
- Plus, they’re way more budget-friendly than buying them pre-made. Win-win!
Crafting Your Perfect Homemade Uncrustables
Alright, ready to make some magic happen? Making Homemade Uncrustables is easier than you think! We’re going to take basic ingredients and turn them into these perfectly sealed, crustless little pockets of deliciousness. It’s honestly the easiest way to get that beloved sandwich without any fuss.
Ingredients for Your DIY PB&J Pockets
You only need a few simple things for these, and chances are you already have most of them! For each sandwich, you’ll grab:
- Two slices of your favorite bread – I really prefer softer bread, like white or whole wheat, because it seals better.
- About 2 tablespoons of creamy or crunchy peanut butter, whatever floats your boat!
- 1 tablespoon of your go-to jelly or jam. Grape and strawberry are classic for these, but honestly, any flavor works!
Essential Equipment for Homemade Uncrustables
You don’t need anything fancy for this at all! Just a few kitchen staples will do the trick:
- A round cookie cutter or even a sturdy glass – about 3-4 inches in diameter is perfect.
- A butter knife or a small offset spatula for spreading.
- A cutting board or a clean surface to work on.
Step-by-Step Guide to Making Homemade Uncrustables
Okay, this is where the fun really begins! Here’s how to get these perfect:
- First things first, spread your peanut butter evenly on one slice of bread, right to the edges.
- Now, spread your jelly on the other slice of bread. Try not to go too close to the very edge so it doesn’t squish out everywhere later.
- Carefully place the jelly-covered slice on top of the peanut butter slice.
- Here comes the magic! Grab your cookie cutter or glass and place it over the bread, pressing straight down with a good amount of force. This seals the edges together beautifully!
- Once you’ve pressed firmly, lift off the cutter. If there are little crusty bits left, you can just gently pinch them off to create that signature smooth edge. You’ve just made Homemade Uncrustables!
- Repeat with your remaining ingredients until all your sandwiches are made. Ta-da!
Tips for Freezer Friendly Sandwiches Success
These Homemade Uncrustables are absolute stars when it comes to making ahead! They’re perfect for those mornings when things get a little hectic, letting you have a ready-made treasure for a make ahead kids lunch. Turning them into freezer friendly sandwiches is super simple and means you’re always prepared.
Best Practices for Freezing Homemade Uncrustables
To keep your Homemade Uncrustables tasting their absolute best after freezing, I always pack them carefully. Once they’re made and sealed, and if you’re not eating them right away, I pop a small piece of parchment paper between each sandwich. Then, I slide them into a freezer-safe bag or an airtight container. This stops them from sticking together and stops them from getting any weird freezer burn. You can honestly have these ready to go for weeks!
Thawing Your DIY PB&J Pockets
When it’s time to enjoy them, just pull them out of the freezer. Let your DIY PB&J pockets sit on the counter for about 20-30 minutes, or until they’re thawed but still nice and cool. They’re usually perfect for grabbing and heading out the door!
Variations for Your Homemade Uncrustables
Part of the joy of making Homemade Uncrustables is playing around with them! Don’t just stick to the classic PB&J if you don’t want to. You can totally switch up the nut butters – almond butter or even cashew butter are delicious alternatives. And for the jelly? Anything goes! Try a nice apple butter, or maybe even a bit of cream cheese swirled with raspberry jam. A tiny pinch of cinnamon mixed into the peanut butter can also be a fun little twist!
Frequently Asked Questions About Homemade Uncrustables
Got questions about making these awesome Homemade Uncrustables? I totally get it! Here are a few things people often ask, and I’m happy to help clear them up. You’ll see why these are such great lunchbox snack ideas and perfect as no crust peanut butter sandwiches!
Can I use different types of bread for my Homemade Uncrustables?
Oh sure, you can use lots of different breads! My absolute favorite is a soft white or whole wheat bread because it seals so nicely. Really crusty breads can be a bit trickier to get a good seal on, you know? Just make sure it’s not too thin or it might tear when you’re pressing.
What’s the best way to seal the edges of my DIY PB&J pockets?
Sealing them is the key part! I find using a round cookie cutter, like a 3 or 4-inch one, and just pressing straight down firmly works like a charm every single time. You want to go all the way around to create that nice, tight seal. My trick is to gently pinch off any little bits of crust that are left sticking out after you cut.
How long do Homemade Uncrustables last in the freezer?
These are fantastic freezer friendly sandwiches! If you store them properly, like I mentioned with the parchment paper, they’ll stay good in the freezer for a good 2 to 3 months. They really hold up well, which is why they’re so perfect for making ahead.
Nutritional Information for Homemade Uncrustables
Just so you know, the numbers below are estimates per sandwich, and they can totally change based on the exact bread, peanut butter, and jelly you use. It’s a good general idea, though, for these amazing Homemade Uncrustables!
To keep your food safe, refer to FoodSafety.gov cold food storage charts for guidelines.
Share Your Homemade Uncrustables Creations!
I just LOVE hearing from you all! Have you made these Homemade Uncrustables yet? What kind of jelly or peanut butter did you use? I’d be so thrilled if you popped down in the comments below to share your experience, or even just left a quick star rating. Your feedback helps me so much!
PrintHomemade Uncrustables
Create your own sealed, crustless peanut butter and jelly sandwiches, just like the store-bought favorite. Perfect for lunchboxes and easy to freeze.
- Prep Time: 5 min
- Cook Time: 0 min
- Total Time: 5 min
- Yield: 1 sandwich 1x
- Category: Snack
- Method: Assembly
- Cuisine: American
- Diet: Vegetarian
Ingredients
- 2 slices bread
- 2 tablespoons peanut butter
- 1 tablespoon jelly or jam
Instructions
- Spread peanut butter on one slice of bread and jelly on the other.
- Place the jelly-covered slice on top of the peanut butter-covered slice.
- Use a round cookie cutter or a glass to cut out a circle, pressing firmly to seal the edges.
- Remove the crusts.
- Repeat with remaining bread, peanut butter, and jelly.
Notes
- For best results, use soft bread.
- You can freeze these sandwiches for up to 3 months. Pack them in a freezer bag with parchment paper between layers.
- Let them thaw at room temperature for about 30 minutes before serving.
Nutrition
- Serving Size: 1 sandwich
- Calories: 350
- Sugar: 15g
- Sodium: 300mg
- Fat: 18g
- Saturated Fat: 3g
- Unsaturated Fat: 15g
- Trans Fat: 0g
- Carbohydrates: 35g
- Fiber: 3g
- Protein: 12g
- Cholesterol: 0mg

