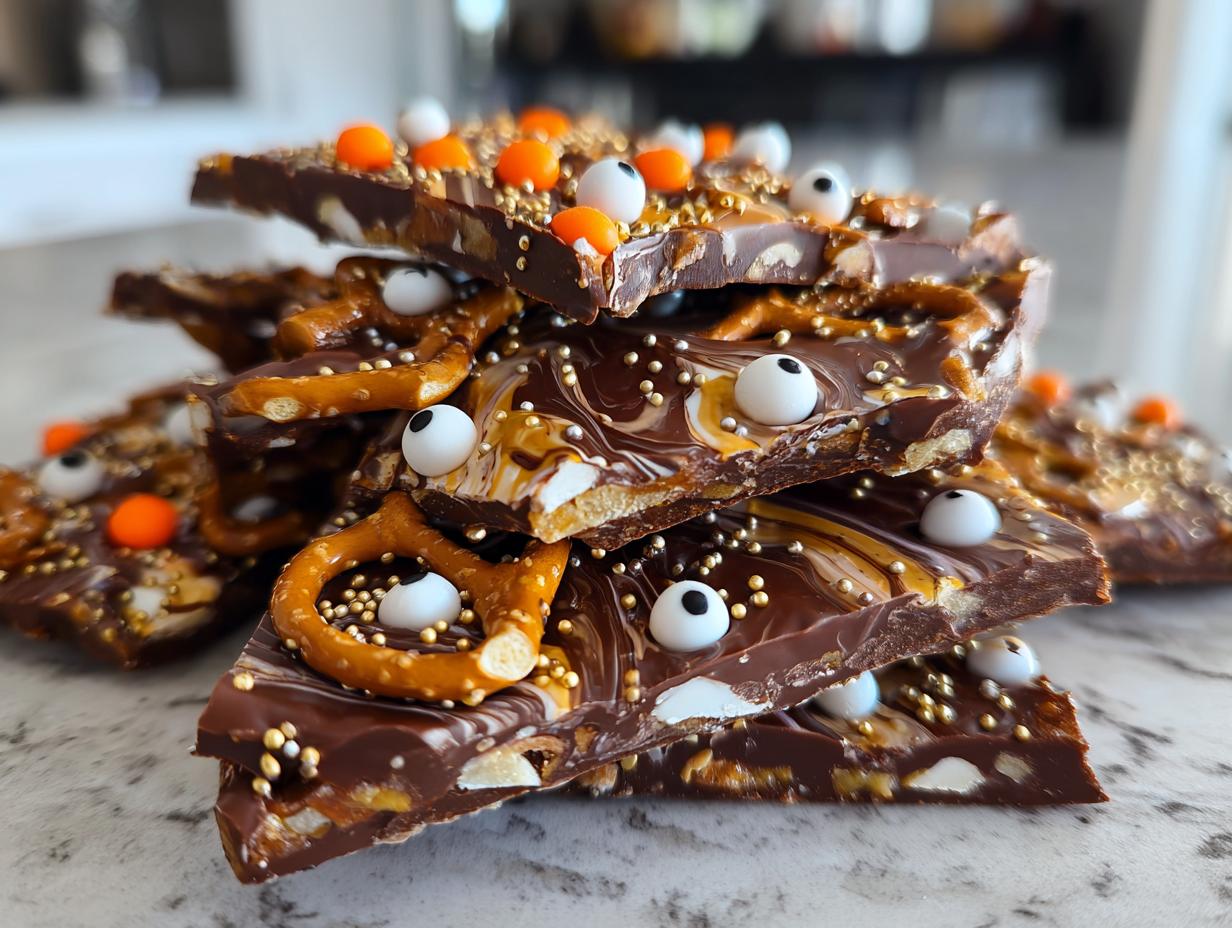

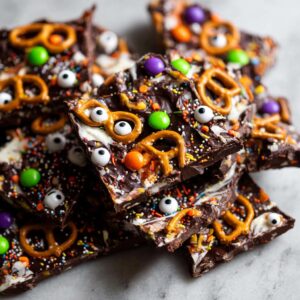
Okay, you guys, prepare for some serious Halloween fun squeezed into just a few minutes! This Halloween chocolate bark is seriously my new favorite thing to whip up when I need a showstopper that doesn’t involve any actual baking. Imagine vibrant, swirly chocolate landscapes dotted with spooky candy eyes and all the best Halloween sprinkles. It’s the ultimate no-bake crowd-pleaser, perfect for when your favorite meal planning app is giving you grief, or when you just need a last-minute dessert that looks like you spent hours on it. As Catherine always says, it’s all about that approachable elegance, and this bark *screams* that!
- Why You'll Love This Halloween Chocolate Bark
- Ingredients for Your Spooky Candy Bark
- How to Make Halloween Chocolate Bark: A Step-by-Step Guide
- Tips for Perfect Halloween Chocolate Bark
- Variations and Creative Halloween Bark Toppings
- Storing Your Halloween Chocolate Bark
- Frequently Asked Questions About Halloween Chocolate Bark
- Nutritional Information for Halloween Chocolate Bark
- Share Your Spooky Creations!
Why You’ll Love This Halloween Chocolate Bark
This Halloween chocolate bark is just the easiest, most fun way to get into the spooky spirit without breaking a sweat. Honestly, it’s kind of a miracle! You’ll love it because:
- It’s ridiculously easy – seriously, just melt, swirl, top, and break!
- Completely no-bake, which means no oven time needed, ever.
- Super customizable; you can use any Halloween candy or sprinkles you adore.
- Looks incredibly festive and impressive, totally fooling people into thinking you’re a baking pro.
- Perfect for last-minute parties or gifting because it comes together so quickly.
- It’s a fantastic way to get the kids involved in the kitchen for some spooky fun!
Ingredients for Your Spooky Candy Bark
Alright, let’s get our spooky ingredients ready! For this frightfully fun Halloween chocolate bark, you’ll need:
- 12 ounces good quality white chocolate chips – Or use white candy melts if you want to skip tempering entirely!
- 12 ounces good quality dark chocolate chips – Same here, semi-sweet or milk chocolate chips work too, or milk chocolate candy melts.
- Assorted Halloween-themed sprinkles – Get creative! Think ghosts, bats, pumpkins, and all those neon colors.
- Candy eyeballs – You can’t have spooky bark without them staring back at you!
- Pretzel pieces – A little salty crunch is the perfect contrast, trust me.
- Chopped nuts (optional) – If you’re making this for everyone, definitely skip these or make a separate batch. Otherwise, walnuts or pecans are great!
Remember, using good quality chocolate really does make a difference here, both in flavor and in how smoothly it melts. And if you need a totally nut-free treat, just double-check that your sprinkles and any other additions are clear of any cross-contamination!
How to Make Halloween Chocolate Bark: A Step-by-Step Guide
Okay, so here’s where the magic happens! Making this Halloween chocolate bark is honestly so straightforward, you’ll wonder why you haven’t made it every year. It’s all about a few simple steps to get that gorgeous swirl and perfect crunch. Think of it like painting with chocolate! It’s almost as easy as making chocolate chip cookie bars, but with way more festive drama!
Melting Your Chocolate for Halloween Bark
First things first, let’s get that chocolate ready. You want both your white and dark chocolate chips melted until they’re silky smooth. The easiest way? Pop them in microwave-safe bowls and heat in 30-second bursts, stirring really well in between each one. Keep going until there are no lumps left. If you’re feeling fancy or a little nervous about the microwave, a double boiler works beautifully too. Just be super careful not to let any water get into the chocolate, or it’ll seize up on you!
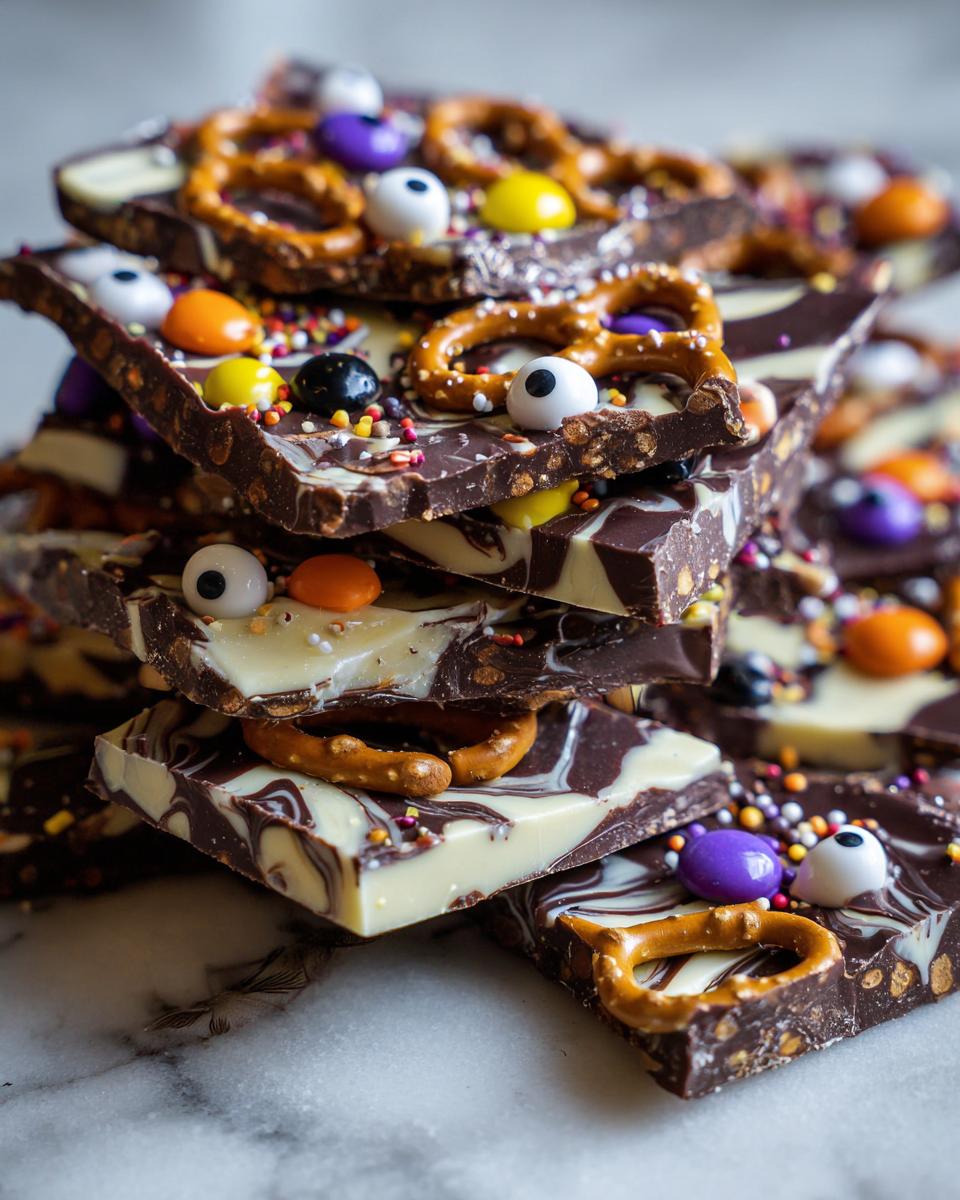
Creating the Swirl Effect in Halloween Chocolate Bark
Now for the fun part – the swirl! Pour your perfectly melted dark chocolate onto a baking sheet lined with parchment paper, like you’re creating a dark, chocolatey canvas. Spread it out nice and even with a spatula. Then, drizzle that luscious white chocolate right over the dark. Grab a toothpick, a skewer, or even a butter knife, and gently swirl the two together. You want to get that marbled look, so don’t overmix it! Just a few passes will do. We need to work fast here, before the chocolate starts to set, almost like when you can’t wait to finish that edible cookie dough!

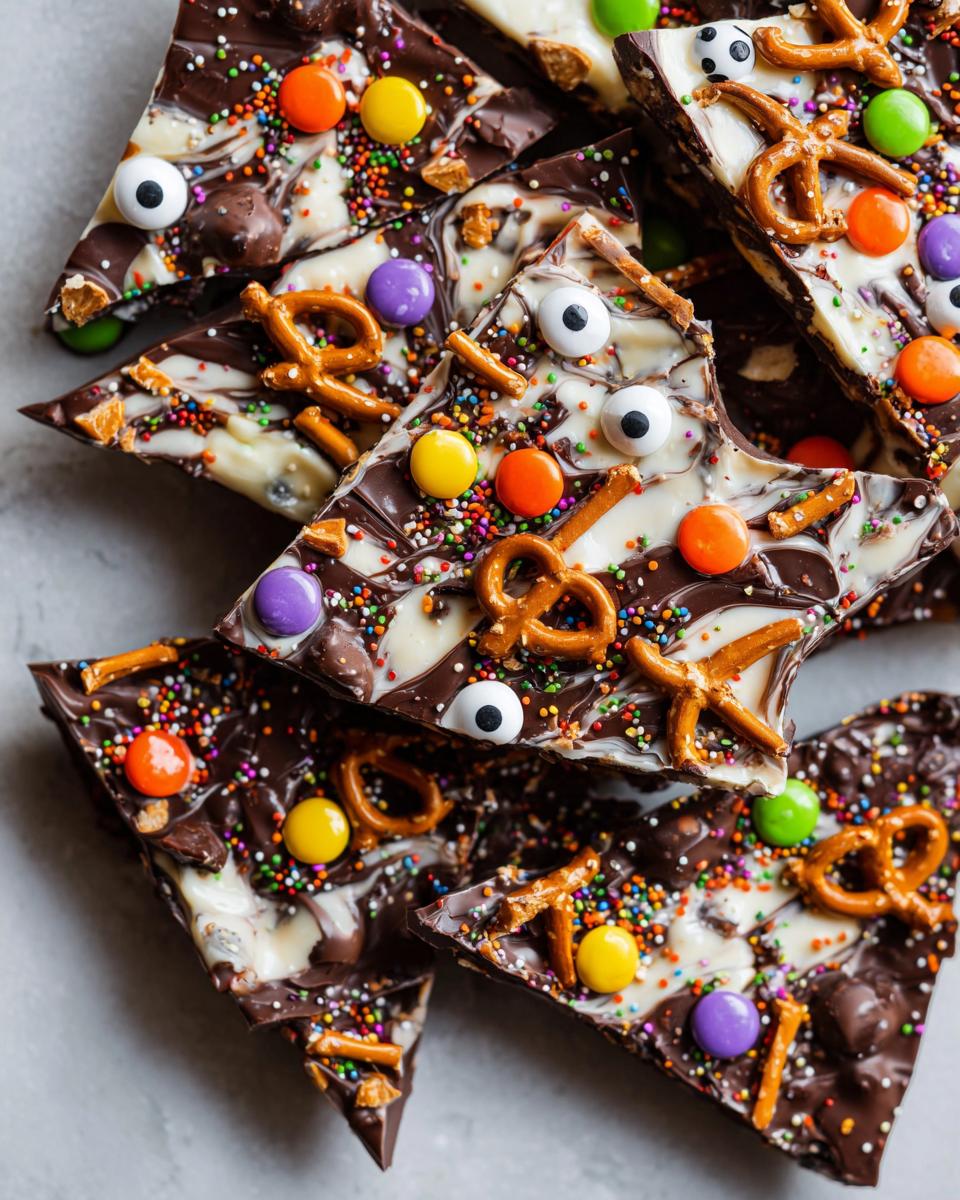
Adding Halloween Bark Toppings
Okay, this is where your bark gets its spooky personality! As soon as you’ve finished swirling, go ahead and shower your toppings all over it. I like to press them in just a little bit so they really stick. Scatter those candy eyeballs like they’re watching you, sprinkle on ghosts and bats, and tuck in those pretzel pieces for a salty surprise. For everyone’s safety, if you’re doing a nut-free batch, just make sure all your fun toppings are clearly labeled as nut-free!
Setting and Breaking Your Halloween Chocolate Bark
Once all your spooky goodies are nestled in, it’s time for the bark to do its thing. You can let it set up all by itself on the counter, which usually takes about an hour, or if you’re impatient like me, pop it in the fridge for about 15-20 minutes. Once it’s totally firm and solid, just lift the parchment paper and break it into fun, irregular pieces. You can get big shards or little chunks, whatever you fancy!
Tips for Perfect Halloween Chocolate Bark
Alright, let’s talk about making this halloween chocolate bark absolutely *perfect*. Catherine always says the little details make a huge difference, and it’s so true! When my chocolate gets that weird grainy texture, or it looks all streaky and sad, I used to get so frustrated. But I’ve learned a few tricks that totally save the day. It’s all about picking the right base and being mindful of a couple of things, like how we’d prep for a big party appetizer like our Million Dollar Dip – a little care goes a long way!
Choosing the Best Chocolate for Bark (No Tempering Needed)
Okay, so here’s a secret weapon: candy melts! If you want the absolute easiest, most foolproof way to make this spooky candy bark, go for candy melts instead of real chocolate chips. They’re designed to melt smoothly and set up hard without any fuss – no tempering required, which can be tricky! If you do use chocolate chips, just be super gentle when melting to avoid moisture or overheating, which can make it seize up. Quality chocolate tastes amazing, but for pure ease, candy melts are your best friend here.
Nut-Free Halloween Treats: Ensuring Safety
Making sure everyone can enjoy this fun treat is super important, especially if you have guests with nut allergies. The best way to guarantee your halloween chocolate bark is nut-free? Just double-check everything! Read the labels on your sprinkles, your candy eyeballs, and any other fun add-ins. Sometimes, even things that don’t have nuts can be made on shared equipment. Better safe than sorry, right? It’s a simple step that makes your dessert totally worry-free for all your guests!
Variations and Creative Halloween Bark Toppings
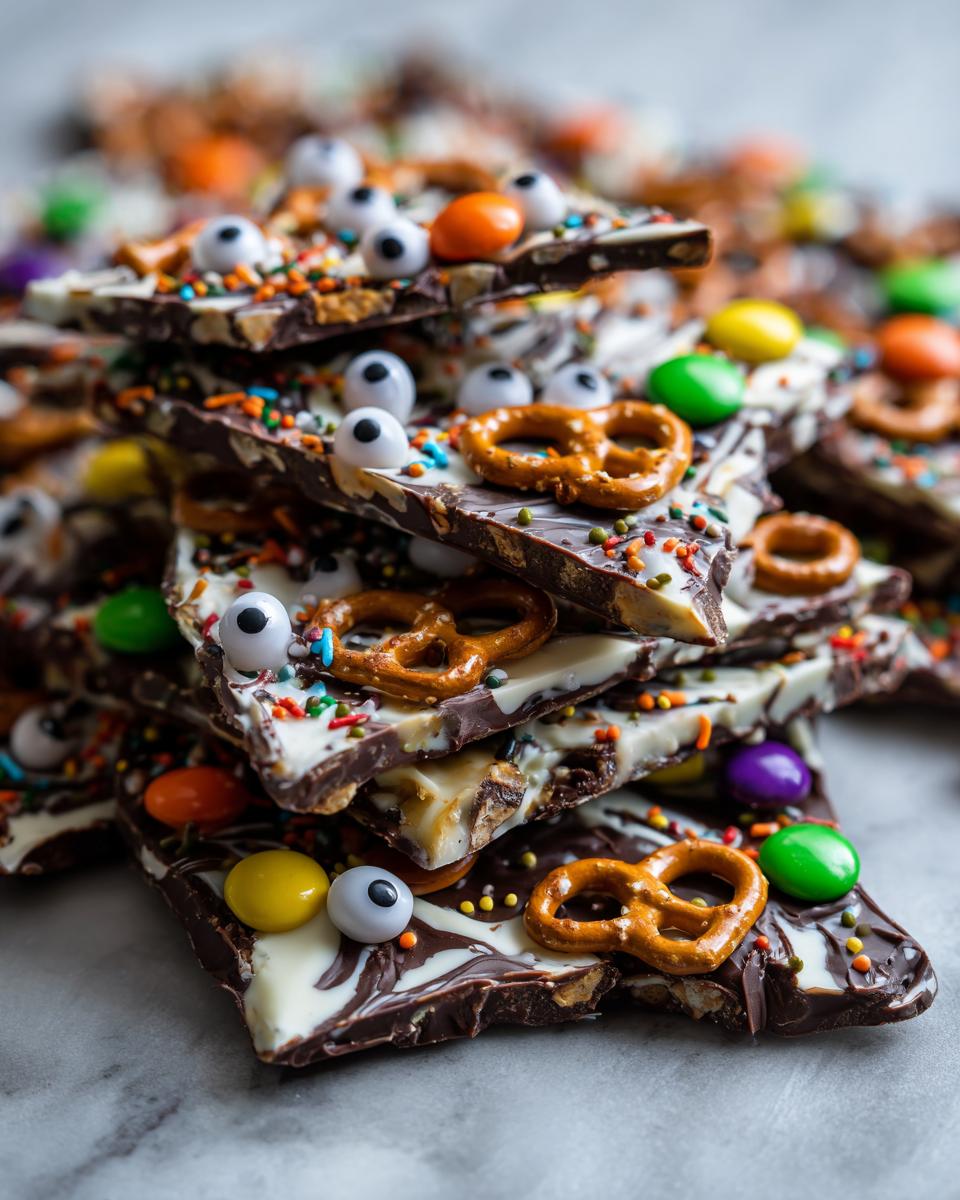
This halloween chocolate bark is honestly a blank canvas for all your spooky, creative ideas! You can totally change up the look and feel with different colors and toppings. For a really dramatic effect, try swirling in some neon green or electric purple candy melts with your white and dark chocolate. It makes it look so cool and “spooky candy bark”-ish! And don’t even get me started on the toppings – beyond the candy eyeballs (a must for that ‘eyeball candy bark’ vibe!), think about adding mini candy corn, chocolate-covered peanuts, or even little Halloween-themed cookie pieces. It’s almost as fun as experimenting with different mix-ins for froyo bark, or even a healthier treat like frozen yogurt bark!
Storing Your Halloween Chocolate Bark
Once your spooky halloween chocolate bark masterpiece is all broken into those perfect, jagged pieces, the big question is how to keep it yummy for as long as possible! Honestly, the best way is to tuck it into an airtight container. I usually use a good zip-top bag or a plastic container with a tight-fitting lid. Keep it at room temperature – that’s key! If it’s too warm, the chocolate might get soft, and if it’s too cold (like in the fridge for too long), you might get that whiteish bloom on it. When stored this way, it stays nice and fresh for about a week, which is usually plenty of time for everyone to grab a piece!
Frequently Asked Questions About Halloween Chocolate Bark
Got questions about making this spooky, swirly Halloween chocolate bark? I totally get it! It’s super easy, but a couple of things can trip you up if you’re not careful. Let’s dive into some of those common head-scratchers so your candy bark is perfect every time, just like our fun mummy dogs!
Can I use candy melts instead of chocolate for Halloween bark?
Absolutely! Actually, I sometimes prefer candy melts for this halloween chocolate bark. They’re made to melt beautifully and set up firm without any fuss, so you don’t have to worry about tempering or seizing. Plus, they come in all sorts of fun Halloween colors! Just grab your favorite shades and melt them according to package directions. You’ll get a fantastic result with zero stress. It’s a great shortcut for busy parents!
How do I get those clean, sharp breaks in my Halloween chocolate bark?
Ah, the satisfying crunch! The secret to getting those nice, irregular breaks in your spooky candy bark really comes down to how you let it set. If you let it cool completely at room temperature, it tends to set up a bit more brittle, making it easier to snap. If you chill it too much or too fast in the fridge, it can sometimes get a little too hard and might crack in weird ways. Just give it a good whack on the counter, or use your hands to break it apart once it’s fully firm!
Can this Halloween chocolate bark be made ahead of time?
Yes, totally! This is one of my favorite things about it. You can easily make this halloween chocolate bark a day or two before your party or event. Just make sure it’s completely set and then store it in an airtight container at room temperature. It holds up really well, so you don’t have to stress about it on the day of. It’s a fantastic make-ahead treat that still looks and tastes super fresh!
Nutritional Information for Halloween Chocolate Bark
Alright, let’s talk about the numbers for this spooky goodie! This information is an estimate, of course, since it can totally depend on the exact brands you use and how big some of those chocolatey shards end up. Each serving (about 1 ounce) is roughly 150 calories, with about 9g of fat, mostly from that good chocolate. It’s a festive treat, and we’re focusing on the fun and flavor here!
Share Your Spooky Creations!
Okay, you’ve made your masterpiece! Now I really want to see it! Did you get a fantastic marble swirl? Are your candy eyeballs staring perfectly? Drop a photo in the comments below, or tell me about any fun topping twists you came up with! And please, if you loved this halloween chocolate bark, give it a rating – it helps so much! You can also reach out via my contact page if you have any questions at all.
PrintHalloween Chocolate Bark
Create a spooky and festive Halloween chocolate bark with vibrant swirls and fun toppings. This no-bake treat is perfect for parties and last-minute desserts.
- Prep Time: 15 min
- Cook Time: 5 min
- Total Time: 20 min
- Yield: 16 servings 1x
- Category: Dessert
- Method: No-Bake
- Cuisine: American
- Diet: Vegetarian
Ingredients
- 12 ounces good quality white chocolate chips
- 12 ounces good quality dark chocolate chips
- Assorted Halloween-themed sprinkles
- Candy eyeballs
- Pretzel pieces
- Chopped nuts (optional, for non-nut-free version)
Instructions
- Line a baking sheet with parchment paper.
- Melt the white chocolate chips in a microwave-safe bowl in 30-second intervals, stirring between each, until smooth. Alternatively, melt using a double boiler.
- Melt the dark chocolate chips in a separate microwave-safe bowl using the same method.
- Pour the melted dark chocolate onto the prepared baking sheet and spread it into an even layer using an offset spatula.
- Drizzle the melted white chocolate over the dark chocolate. Use a toothpick or skewer to swirl the two chocolates together, creating a marbled effect.
- Immediately sprinkle your chosen Halloween toppings over the chocolate before it sets. Distribute candy eyeballs, sprinkles, and pretzel pieces evenly.
- Let the chocolate bark set completely at room temperature, or speed up the process by placing it in the refrigerator for about 15-20 minutes.
- Once firm, break the bark into irregular pieces.
- Store the chocolate bark in an airtight container at room temperature for up to a week.
Notes
- For a nut-free option, ensure all your toppings are free from nuts.
- If your chocolate seizes (becomes thick and lumpy), you may have overheated it or introduced moisture. Start over with fresh chocolate.
- Using good quality chocolate will yield the best flavor and texture.
- You can experiment with different colored chocolates and toppings for varied effects.
Nutrition
- Serving Size: 1 ounce
- Calories: 150
- Sugar: 15g
- Sodium: 10mg
- Fat: 9g
- Saturated Fat: 5g
- Unsaturated Fat: 4g
- Trans Fat: 0g
- Carbohydrates: 17g
- Fiber: 1g
- Protein: 2g
- Cholesterol: 5mg