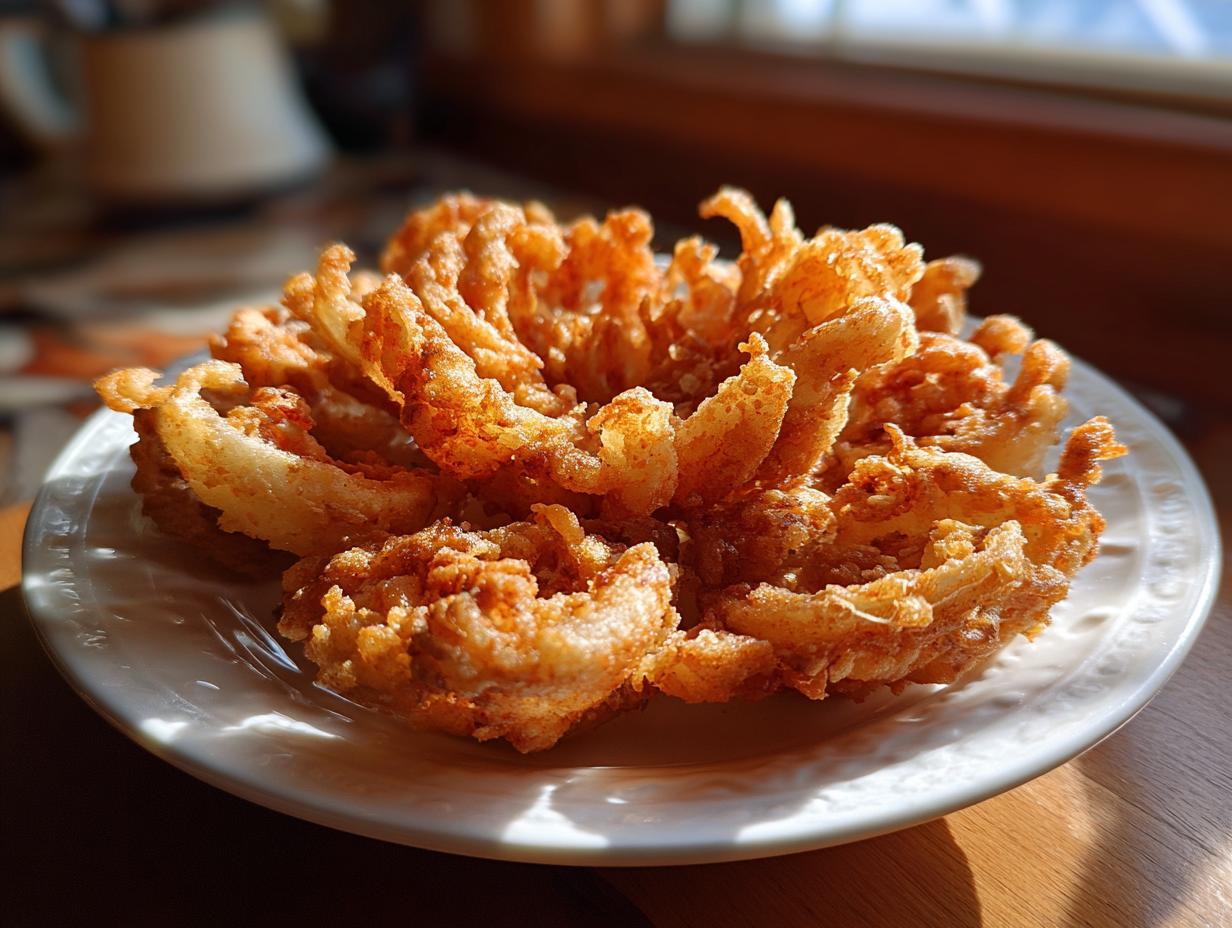

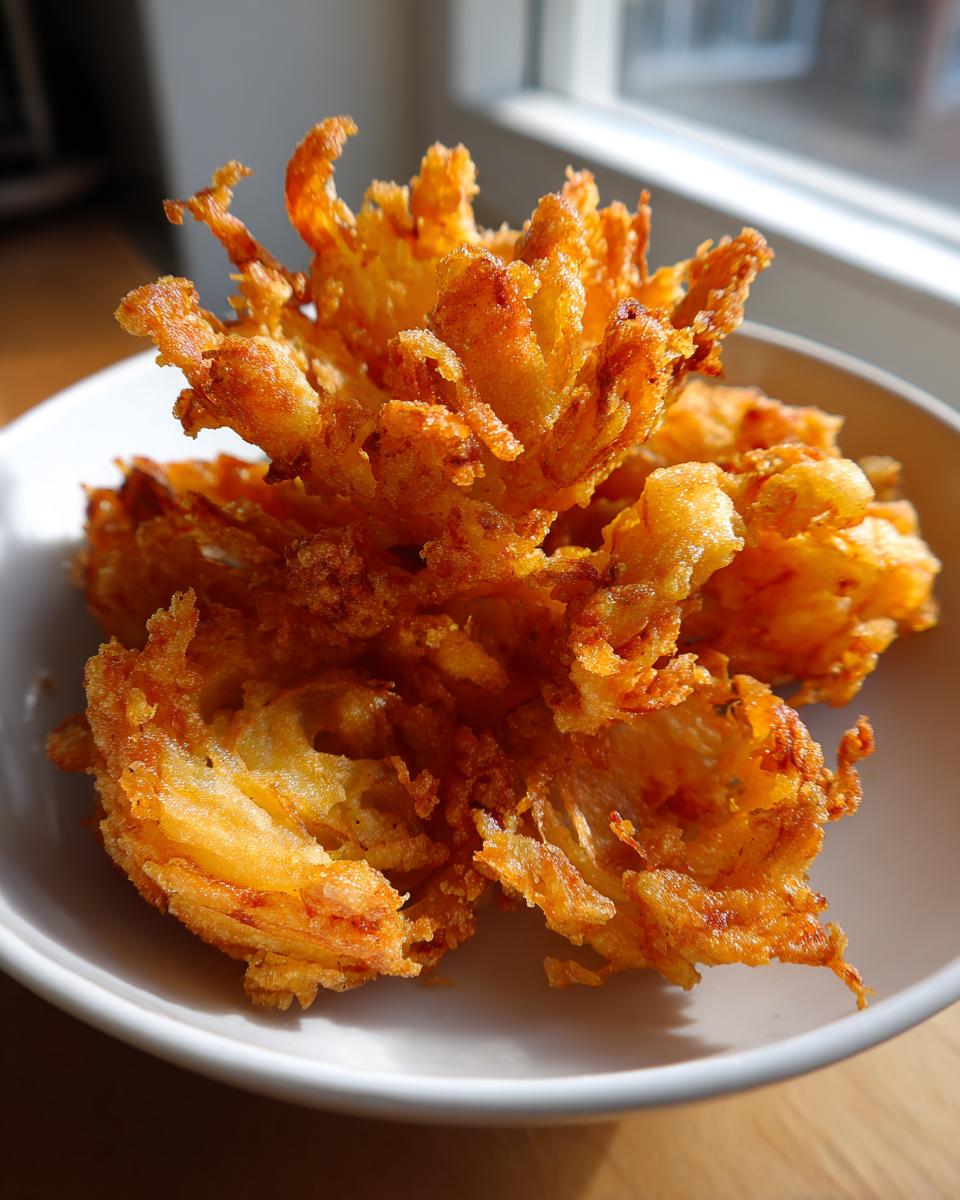
Oh, you know those amazing, flower-shaped onions you get at restaurants that just scream “party appetizer!”? Well, guess what? We can totally make those at home! I remember the first time I tried making a blooming onion myself; I was a little intimidated by the cutting part, but trust me, it’s way easier than you think. It’s one of those show-stopping dishes that looks super fancy but is actually really, really fun to put together. The smell alone, as it fries up golden and crisp, takes me right back to casual get-togethers and happy memories. It’s the perfect shareable snack that always gets rave reviews, and I’m so excited to share my tips for making it shine in your kitchen!
- Why You'll Love This Homemade Blooming Onion
- Ingredients for Your Blooming Onion
- Mastering the Blooming Onion Cut: How to Cut Blossom Onion
- Creating the Perfect Crispy Fried Onion Petals
- The Zesty Dipping Sauce for Your Blooming Onion
- Tips for Blooming Onion Success
- Serving and Storing Your Blooming Onion
- Frequently Asked Questions about Blooming Onion
- Nutritional Information
Why You’ll Love This Homemade Blooming Onion
You are going to absolutely adore making this blooming onion at home! Here’s why:
- Impressive Presentation: Seriously, who doesn’t love a flower-shaped onion? It’s like a beautiful edible sculpture that’s guaranteed to wow your guests before they even take a bite.
- So Easy to Make: Forget those complicated restaurant recipes! This version is totally approachable, and the cutting technique, once you get the hang of it, is almost meditative.
- Incredible Flavor: We’re talking perfectly seasoned, crispy petals with a tender, sweet onion center. It’s pure comfort food magic.
- Perfect Party Snack: It’s ideal for game nights, holiday gatherings, or just a fun weekend treat. Plus, everyone loves sharing food that’s this much fun!
Ingredients for Your Blooming Onion
Alright, let’s gather our goodies because the ingredients are key to this whole bloomin’ operation! For the star of the show, the blooming onion itself, you’ll need one big, beautiful yellow onion. I always go for yellow because they’re naturally a little sweeter, which is lovely once it’s fried up. Then, for that super-crispy coating, we’ve got our dry mix: 2 cups of all-purpose flour, a generous tablespoon of paprika (for that gorgeous color and a little warmth), a teaspoon each of garlic powder and onion powder for oomph, and then about a half teaspoon each of salt and black pepper. A tiny pinch of cayenne pepper is my secret for a hint of heat, but you can skip it if you prefer! That’s for the coating. For the wet part, just a cup of milk and two large eggs whisked together. Easy peasy!
Now, for the seriously addictive dipping sauce that makes the whole thing sing! Grab about a half cup of mayo as your base, a quarter cup of ketchup for that classic tang, a tablespoon of horseradish for a good kick, a teaspoon of Worcestershire sauce for depth, and then a little extra paprika, garlic powder, and another pinch of cayenne to make it really pop. Whisk it all together, and ta-da! You’ve got your irresistible sauce ready to go.
Mastering the Blooming Onion Cut: How to Cut Blossom Onion
Okay, this is where the magic really happens, and honestly, it’s not scary at all once you know the trick! We’re going to tackle the whole how to cut blossom onion thing so you get those perfect, delicate petals. First things first, grab your big yellow onion – make sure it’s fresh and firm. We need to prep it: peel off that papery skin, and then trim just a tiny bit, about a quarter inch, off the very top near the stem. Leave the root end completely alone, though! That’s super important; it’s what holds our beautiful onion flower together.
Now, place the onion cut-side down on your cutting board. Starting about half an inch from that intact root, make a clean, vertical cut straight down, all the way to the board. Don’t cut the root off! Rotate the onion about 90 degrees, and make another cut like the first. Keep going, turning and cutting, until you’ve made four cuts all around the onion, dividing it into quarters. My little trick here? Make sure your knife is really sharp, and take a deep breath – it makes it so much easier!
We’re not done yet, though! We’re going to make it even more spectacular. Turn the onion so one of your previous cuts is facing you, and make a new cut right in the middle of that quarter piece, again stopping half an inch from the root. Rotate and repeat in all four sections. You should now have eight nice, thick petals. For an even more delicate bloom, you can go back and make another cut between each of those eight, giving you twelve or even sixteen petals! Gently spread those petals apart with your fingers. Be a little gentle so they don’t break off, but really open them up so that flour can get everywhere when we coat it.
Creating the Perfect Crispy Fried Onion Petals
Now that our onion is all bloomed and beautiful, it’s time to get it perfectly crispy! This is where the real crunch comes in, and it’s all about the coating and the fry. We’ve got those two shallow bowls ready, right? In one, we have our lovely flour and spice mixture – think of this as the flavor jacket for our onion petals. In the other, that creamy blend of milk and eggs. First, I like to give my bloomed onion a good soak in the milk and egg mixture. Make sure to get it all in between those petals! Let any extra drip off, and then it’s time for the main event: the flour dredge. Get it coated really well, pressing gently. You want to make sure every nook and cranny between those fried onion petals gets coated in those delicious spices. Don’t be shy!
Next up, the hot oil! This is where things get exciting. You’ll want about 3 cups of vegetable oil in a deep pot, heated to around 375°F (that’s 190°C). It’s super important to get the oil to the right temperature; too cool and it’ll be greasy, too hot and it’ll burn before it gets crispy. When the oil is shimmering and ready, carefully lower your coated onion into the pot, root-side down first. Be careful, it might sizzle and splatter a bit! Let it fry for about 3 to 5 minutes. You’re looking for a gorgeous, deep golden-brown color all over. Once it’s perfect, use a spider strainer or some sturdy tongs to lift it out. Let it drain on a paper towel-lined plate for a minute. Wow, doesn’t it look amazing already? You can find more amazing appetizer recipes like this over on my appetizers page, too! And if you love fair food, you absolutely have to check out my recipe for deep-fried Oreos – it’s pure magic!
The Zesty Dipping Sauce for Your Blooming Onion
Okay, so the onion itself is a masterpiece, but it really needs its perfect partner – the dipping sauce! This isn’t just any old ketchup; we’re making something special here that just totally makes the whole experience pop. It’s a creamy, zesty blend that perfectly cuts through the richness of the fried onion. We’re starting with half a cup of good old mayonnaise as our creamy base. Then, we add a quarter cup of ketchup for that familiar sweetness and tang. But here’s where it gets interesting: a tablespoon of horseradish gives it a delightful punch, and a teaspoon of Worcestershire sauce brings this deep, savory note that you just can’t beat. A little extra paprika for color and flavor, some garlic powder for that classic savory goodness, and a pinch of cayenne to bring it all together. Just whisk it all up in a bowl until it’s smooth and lovely!
My little tip? Taste it as you go! If you want it a bit spicier, throw in another tiny pinch of cayenne or even a dash more horseradish. I also love adding a whisper of smoked paprika sometimes if I have it handy – it adds another layer of flavor that’s just divine. It’s great on its own, but perfect for dipping into! If you’re a fan of zesty dips, you’ll also adore my restaurant-style salsa or this amazing pickle de gallo!
Tips for Blooming Onion Success
Alright, home cooks, let’s chat about how to make your blooming onion absolutely perfect every single time. It’s all about a few little tricks I’ve picked up over the years! First off, when you’re picking out your onion, go for a big one – the bigger the better, really. A good, firm yellow onion is your best bet; you want it hefty so it holds its shape beautifully after all the cutting and frying.
Now, keeping that oil temperature just right is super important. Remember, we’re aiming for that 375°F mark. If it’s too cool, your onion will soak up oil and get greasy, not crispy. Too hot, and those delicate petals will burn before the inside is tender. I keep a trusty thermometer handy for this; it’s a lifesaver! If you don’t have one, you can test it by dropping a tiny bit of the flour mixture in – it should sizzle and bubble up cheerfully right away. Oh, and a tip for making sure those petals don’t all stick together in the fryer? Gently spread them apart really well after you cut and coat them, and try not to overcrowd the pot when you fry. Giving them a little breathing room helps them crisp up beautifully. For more general kitchen wisdom, you can always check out my latest blog posts!
Serving and Storing Your Blooming Onion
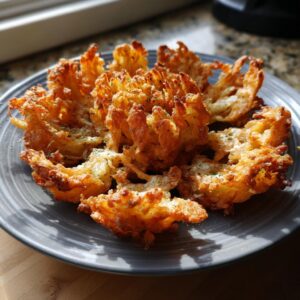
This beautiful blooming onion is really best enjoyed straight from the fryer when those petals are at their absolute crispiest! As soon as it’s drained, transfer it to a serving platter. You can pop the dipping sauce right in the middle for everyone to share. It’s a real centerpiece, you know? Now, if by some miracle you happen to have leftovers (which I HIGHLY doubt!), you can store the onion in an airtight container in the fridge for a day. But honestly, it’s just not the same once it’s cooled down. The dipping sauce, though? That’s a different story! It’ll keep nicely in an airtight container in the fridge for up to a week, so feel free to make extra!
Frequently Asked Questions about Blooming Onion
Got questions about making your own homemade blooming onion? I’ve got answers!
Can I bake a blooming onion instead of frying it?
Oh, baking is an option if you’re trying to lighten things up, but honestly, it just won’t be the same! The magic of a truly spectacular blooming onion comes from that deep-fried crispiness that you just can’t replicate in the oven. The petals get wonderfully crunchy and golden when fried, and the inside stays tender. If you do want to try baking, you’d probably need to brush the petals with oil really generously and bake at a high temperature, but it won’t have quite that irresistible, restaurant-style crunch.
What kind of oil is best for frying?
For getting those perfect, crispy fried onion petals, you want an oil with a high smoke point that doesn’t impart too much flavor. Vegetable oil is your standard go-to, and it works great! Canola oil is another excellent choice. Peanut oil is fantastic too if you don’t have any allergies; it adds a lovely subtle flavor and heats up really well for that perfect crispy texture. Just make sure you have enough oil in your pot so the onion can mostly submerge!
My onion petals keep sticking together. How do I prevent them from falling apart?
This is such a common question when you’re trying to master how to cut blossom onion! The key is in how you prep and coat it. After you’ve made all your cuts, gently spread those petals open as wide as you can without breaking them off. Then, when you’re dredging it in the flour mixture, really make sure you’re pressing the flour down and in between every single petal. Sometimes, if the oil isn’t quite hot enough, they can stick too. Also, try not to overcrowd the pot when you’re frying; give each onion plenty of space to cook properly. A little patience goes a long way here!
Is it possible to make a blooming onion with other vegetables?
That’s a fun thought! While a blooming onion is traditionally made with a whole yellow onion, you could definitely experiment with other large, round vegetables that have layers you can separate. Think oversized sweet onions like Vidalias, or maybe even a large cauliflower if you’re feeling adventurous and want a vegetarian alternative! The cutting technique would be a bit different, of course, but the spiced coating and frying method would be similar. You can always reach out if you have recipe questions through my contact page!
Nutritional Information
Just a heads-up, this decadent blooming onion is a real treat, so the numbers reflect that! Each serving is estimated to have around 1200 calories. You’re looking at about 90g of fat, with roughly 15g of that being saturated fat, and around 80g of carbohydrates. It also contains about 15g of protein and 1500mg of sodium. These are just estimates, of course, and they can totally change depending on the exact size of your onion and how much oil it might soak up. Enjoy it as the special indulgence it is!
PrintBlooming Onion
A crispy, deep-fried whole onion cut into a flower shape, served with a zesty dipping sauce. This recipe recreates a popular restaurant appetizer for home cooks.
- Prep Time: 20 min
- Cook Time: 10 min
- Total Time: 30 min
- Yield: 1 appetizer 1x
- Category: Appetizer
- Method: Deep Frying
- Cuisine: American
- Diet: Vegetarian
Ingredients
- 1 large yellow onion
- 2 cups all-purpose flour
- 1 tablespoon paprika
- 1 teaspoon garlic powder
- 1 teaspoon onion powder
- 1/2 teaspoon salt
- 1/4 teaspoon black pepper
- 1/4 teaspoon cayenne pepper
- 1 cup milk
- 2 large eggs
- 3 cups vegetable oil, for frying
- For the Dipping Sauce:
- 1/2 cup mayonnaise
- 1/4 cup ketchup
- 1 tablespoon horseradish
- 1 teaspoon Worcestershire sauce
- 1/2 teaspoon paprika
- 1/4 teaspoon garlic powder
- Pinch of cayenne pepper
Instructions
- Prepare the onion: Peel the onion. Trim about 1/4 inch off the stem end, but leave the root end intact. Place the onion root-side down on a cutting board.
- Cut the onion: Starting about 1/2 inch from the root, make a vertical cut down to the cutting board. Rotate the onion 90 degrees and make another cut. Repeat this process, making cuts every 45 degrees, for a total of four cuts.
- Continue cutting: Turn the onion so the cuts are between the previous ones. Make cuts between each of the previous cuts, stopping about 1/2 inch from the root. You should have 8-12 petals.
- Separate the petals: Gently spread the onion petals apart with your fingers, being careful not to break them off.
- Prepare the batter: In a shallow bowl, whisk together the flour, paprika, garlic powder, onion powder, salt, black pepper, and cayenne pepper.
- In another shallow bowl, whisk together the milk and eggs.
- Dip the onion: Dip the entire onion into the milk and egg mixture, ensuring all petals are coated.
- Dredge the onion: Lift the onion and let excess liquid drip off. Dredge the onion in the flour mixture, making sure to get the flour between all the petals. Press gently to help the flour adhere.
- Fry the onion: Heat the vegetable oil in a large, deep pot or Dutch oven over medium-high heat to 375°F (190°C).
- Carefully place the coated onion, root-side down, into the hot oil. Fry for 3-5 minutes, or until golden brown and crispy.
- Remove the onion from the oil using a spider strainer or tongs and drain on paper towels.
- Prepare the dipping sauce: In a small bowl, combine mayonnaise, ketchup, horseradish, Worcestershire sauce, paprika, garlic powder, and cayenne pepper. Stir until well combined.
- Serve the blooming onion immediately with the dipping sauce.
Notes
- For a spicier kick, add more cayenne pepper to the flour mixture or dipping sauce.
- Ensure the oil is at the correct temperature for optimal crispiness.
- You can substitute other spices like chili powder or cumin in the flour mixture for different flavor profiles.
Nutrition
- Serving Size: 1 appetizer
- Calories: 1200
- Sugar: 25g
- Sodium: 1500mg
- Fat: 90g
- Saturated Fat: 15g
- Unsaturated Fat: 75g
- Trans Fat: 0g
- Carbohydrates: 80g
- Fiber: 5g
- Protein: 15g
- Cholesterol: 100mg