
Oh, there’s just something magical about a plate piled high with perfectly crispy, golden Southern fried chicken, isn’t there? That irresistible crunch when you bite into it, followed by the most tender, juicy meat you can imagine – it’s pure comfort food bliss! I remember my grandma making it for Sunday dinners, and the whole house would just smell like heaven. Following her footsteps, I’ve finally nailed down the technique for achieving that iconic crispy fried chicken crust and that unbelievably moist inside, right here in my own kitchen. This isn’t just any fried chicken; this is the real deal, the classic Southern fried chicken that’ll have everyone asking for seconds. You can see a bit more about my kitchen journey over on my about page!

- Why You'll Love This Southern Fried Chicken Recipe
- Ingredients for Classic Southern Fried Chicken
- Mastering the Crispy Fried Chicken Technique
- Tips for the Best Buttermilk Fried Chicken
- Serving Suggestions for Southern Fried Chicken
- Storage and Reheating Your Southern Fried Chicken
- Frequently Asked Questions about Southern Fried Chicken
- Estimated Nutritional Information
Why You’ll Love This Southern Fried Chicken Recipe
Seriously Crispy Coating: We’re talking about that loud, satisfying crunch in every single bite. It’s the kind of crust that just *makes* fried chicken.
Juicy, Tender Chicken Inside: Thanks to the magic of buttermilk, the chicken stays incredibly moist and tender, never dry. It’s perfection!
Easy to Make: Even though it tastes like it came from a fancy restaurant, the steps are totally manageable for any home cook. Trust me on this!
Packed with Flavor: The blend of spices in our flour coating is just spot on. It gives the chicken that classic, savory taste that makes you crave more.
Crowd-Pleaser Guaranteed: Whether it’s a family dinner, a potluck, or just a Tuesday night craving, this Southern fried chicken recipe is always a huge hit. Everyone loves it!
Customizable Spice Level: Feel free to adjust the cayenne pepper if you like it extra spicy, or leave it out if you prefer milder flavors. It’s *your* chicken!
Ingredients for Classic Southern Fried Chicken
Alright, let’s talk about what you’ll need for this amazing Southern fried chicken. It’s honestly pretty straightforward, and the magic really happens with just a few key players. Make sure you’ve got these ready to go!
For the Chicken:
- About 4 pounds of chicken pieces. I love using a mix – a few thighs, some drumsticks, maybe a couple of breast pieces cut in half. Whatever you like best works!
- 2 cups of good old buttermilk. This is non-negotiable for that super tender, juicy chicken.
For the Crispy Coating:
- 2 cups of all-purpose flour. Just your regular flour is perfect here.
- 2 tablespoons of paprika. This gives it that lovely golden color and a subtle flavor.
- 1 tablespoon of salt. Gotta have salt for flavor, right?
- 1 tablespoon of black pepper. Freshly ground if you have it, it really makes a difference!
- 1 teaspoon of garlic powder. Garlicy goodness is a must.
- 1 teaspoon of onion powder. Adds another layer of savory.
- 1/2 teaspoon of cayenne pepper. This is totally optional, but it adds a tiny little kick that I just love. You can totally skip it if you’re not into spice!
For Frying:
- Vegetable oil or shortening. You’ll need about 1 to 2 inches in your pan for frying. Vegetable oil is usually what I reach for, but shortening works great too!
See? Nothing too wild, just good, honest ingredients that come together to make something truly special.
Mastering the Crispy Fried Chicken Technique
Okay, so you’ve got your chicken, you’ve got your seasoned flour, and you’re ready to make some magic happen! This is where we turn simple ingredients into that incredible, classic Southern fried chicken we all dream about. Don’t worry, it’s totally doable, and once you get the hang of it, you’ll be frying chicken like a pro. Just follow these steps, and you’ll be golden!
Marinating the Chicken for Ultimate Tenderness
First things first, that beautiful buttermilk soak! Pour that tangy buttermilk all over your chicken pieces in a big ol’ bowl or even a zip-top bag. Make sure every single piece gets coated in that creamy goodness. Pop it in the fridge for at least 4 hours, but honestly, letting it hang out overnight is just the *best*. This is what makes the chicken so tender and unbelievably juicy, so don’t skimp on this step!
Creating the Perfect Seasoned Flour Coating
While the chicken is doing its thing marinating, let’s get our flour mixture ready. Grab a shallow dish or a pie plate – something wide enough to easily coat the chicken. Whisk together your flour, paprika, salt, pepper, garlic powder, onion powder, and that optional cayenne if you’re feeling a little spicy. Give it a good mix so all those spices are evenly distributed. This blend is what gives our Southern fried chicken its personality!
The Art of Dredging and Resting the Chicken
Now, for the fun part: coating the chicken! Take a piece out of the buttermilk, let any excess just drip back into the bowl – don’t rinse it! Then, place it right into your seasoned flour. Really press that flour onto the chicken, making sure it’s totally covered. Get into all the nooks and crannies. Gently shake off any extra flour because we want a nice, thick coating, not a dusty mess. Once they’re all floured up, lay them on a wire rack and let them sit for about 15 to 20 minutes. This little resting period is super important; it lets the coating really stick to the chicken, which means less fallout when you fry it. It’s a key part of getting that perfectly crispy fried chicken!
Achieving the Perfect Fry Temperature
This is probably the most crucial step for that perfect golden crust. You need a good amount of oil – about 1 to 2 inches – in a heavy skillet or Dutch oven. Heat it up to 350°F (175°C). Seriously, use a thermometer if you have one! It makes all the difference. If the oil is too hot, your chicken will burn before it’s cooked through. Too cool, and it’ll get greasy and oily. Keep an eye on it! A tip from my blog over at Unfold Recipes: if you notice the temperature dropping too much, just give it a minute to catch back up before adding more chicken.
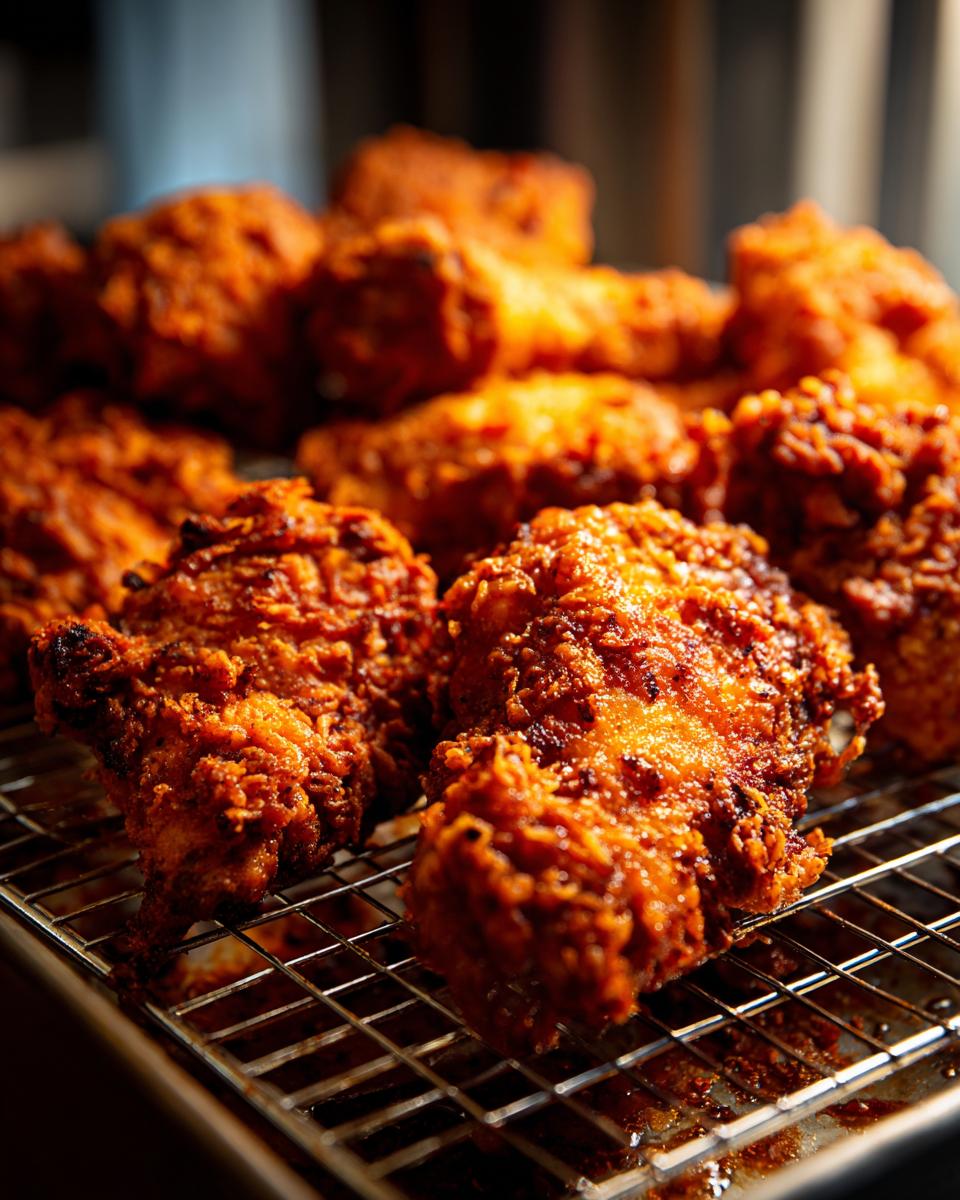
Frying the Southern Fried Chicken to Golden Perfection
Time to fry! Carefully, oh-so-carefully, place your floured chicken pieces into the hot oil. Make sure the skin side is down first. Don’t cram too many pieces in there at once; you don’t want to crowd the pan, or the oil temperature will drop too much. Fry them for about 6 to 8 minutes on each side. You’re looking for that gorgeous deep golden brown color. To make sure it’s cooked through, the internal temperature should hit 165°F (74°C). A meat thermometer is your best friend here!
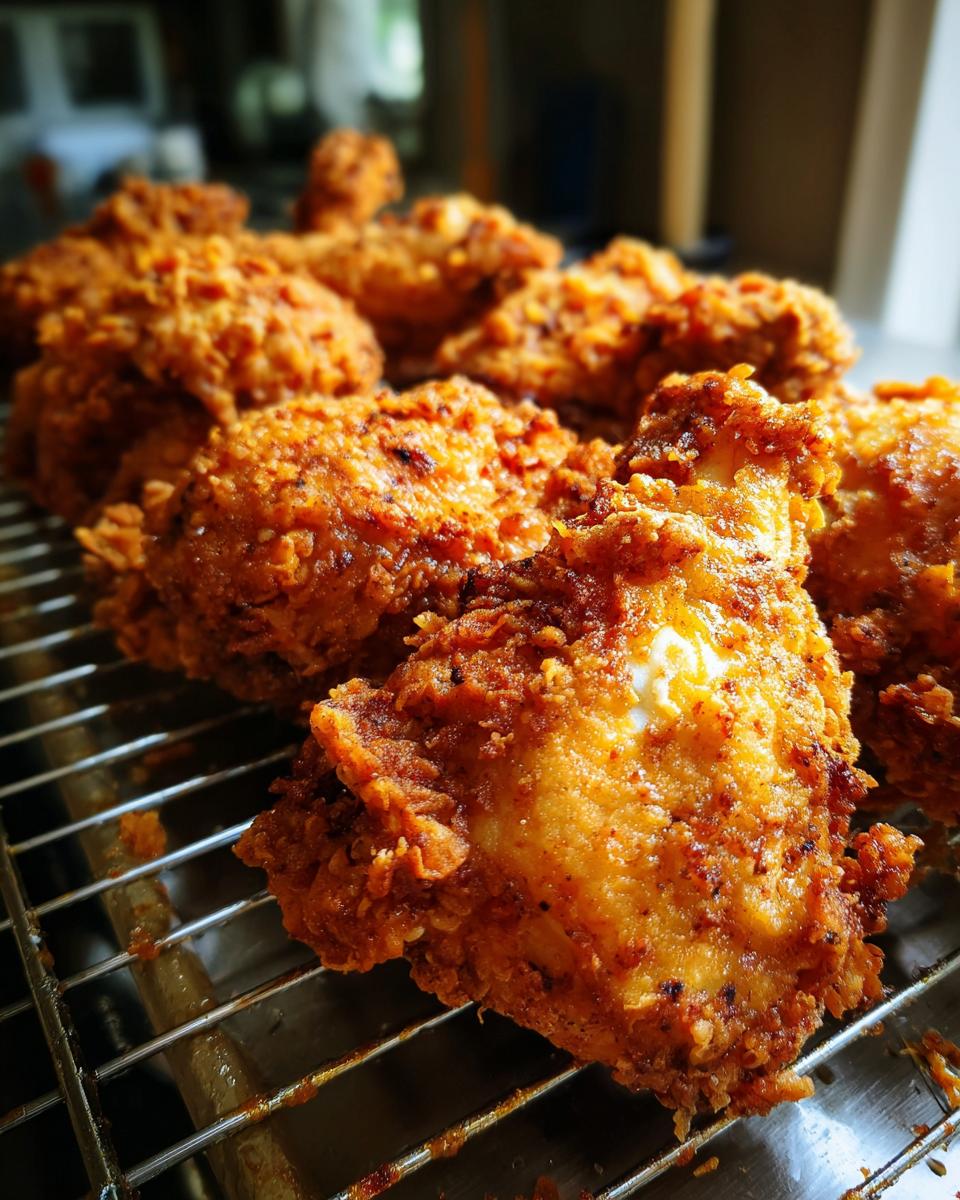
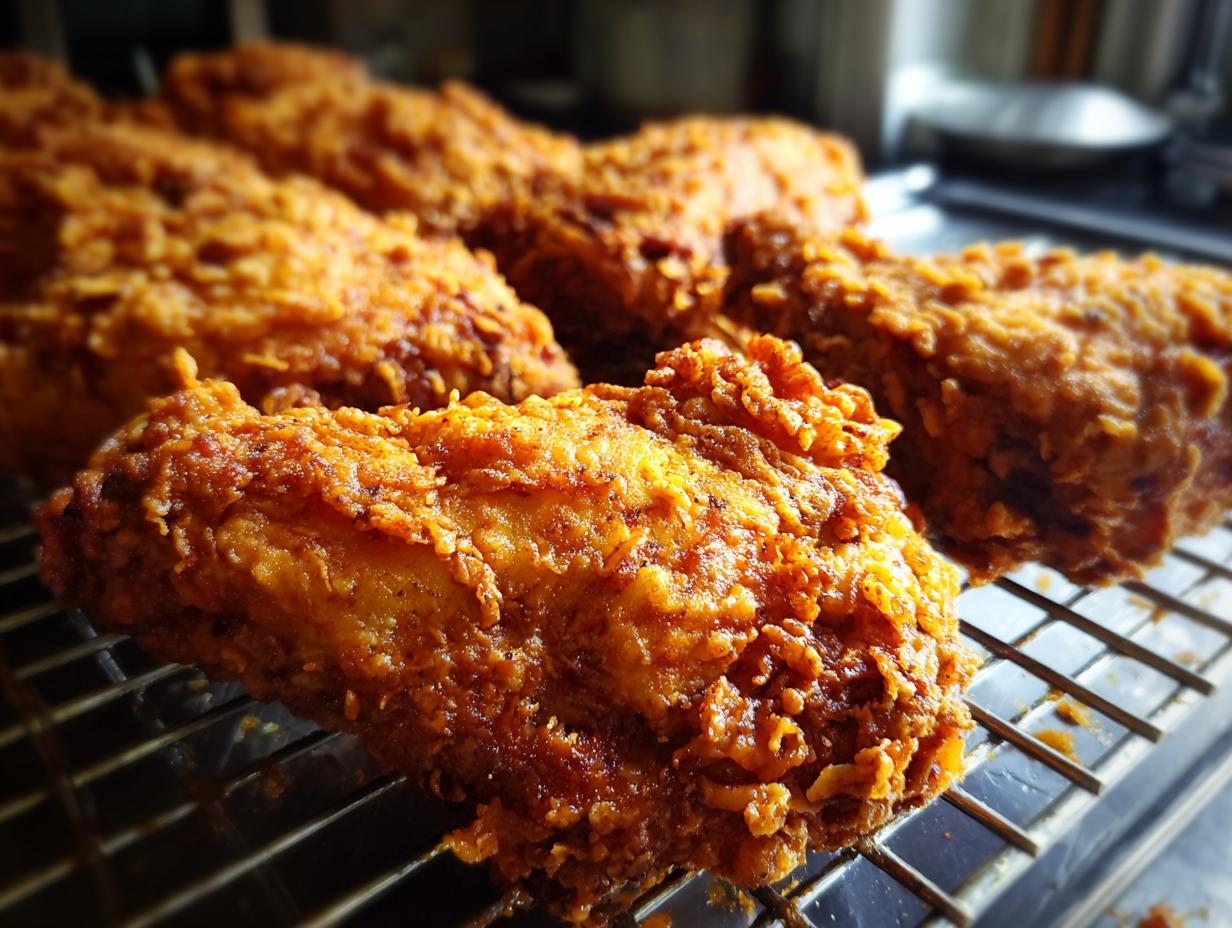
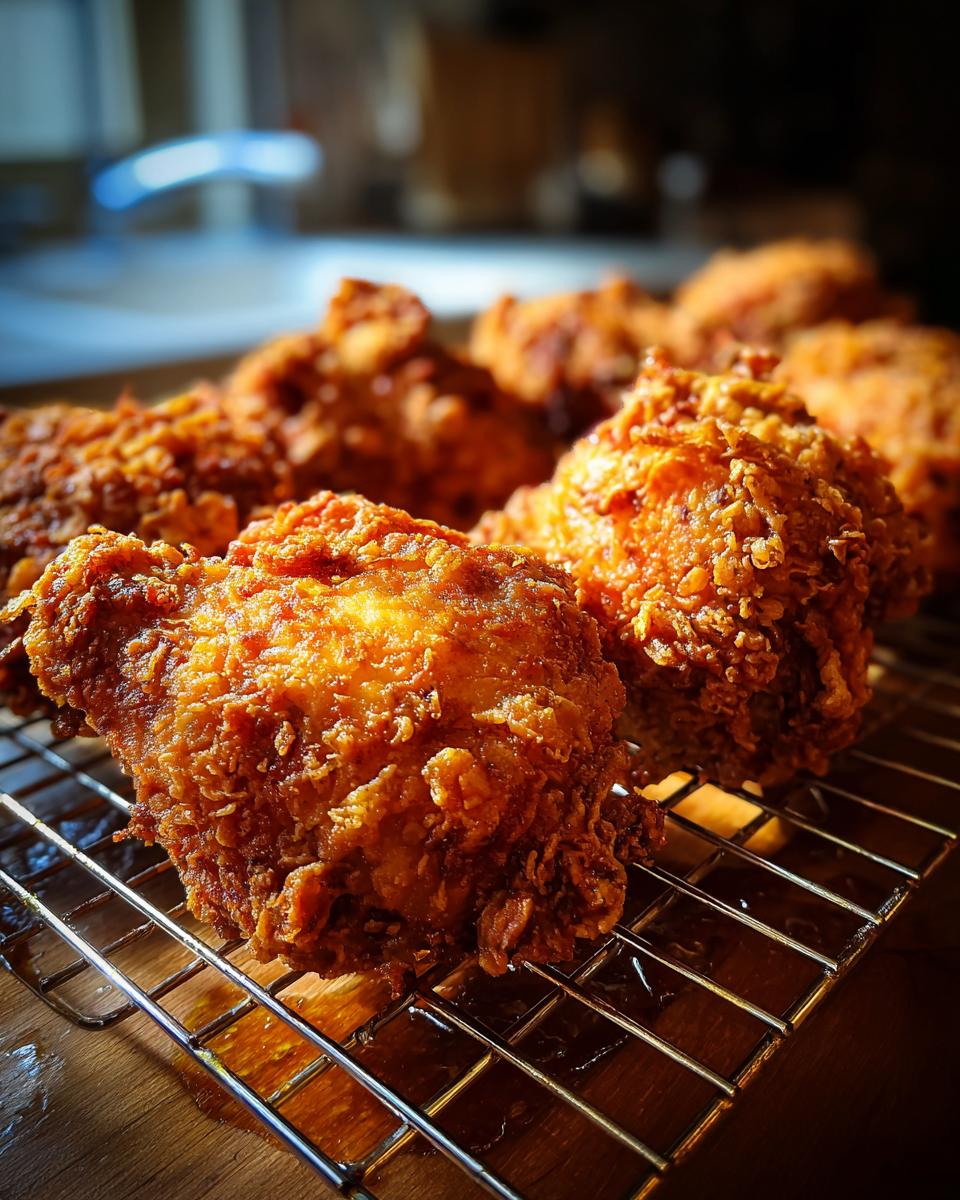
Draining and Resting for Maximum Crispiness
Once your chicken is cooked to perfection, gently take it out of the oil. The best way to drain it and keep that crust super crispy is to place it on a clean wire rack that’s set over a baking sheet. Trust me, don’t skip this and put it directly on paper towels – it’ll make the bottom get all soggy, and nobody wants that!
Tips for the Best Buttermilk Fried Chicken
Alright, so you’ve got the basics down for making amazing Southern fried chicken, but let me tell you, a few little secrets can take it from great to absolutely unforgettable. These are the little things that Catherine always passed down, and they really do make a difference. Don’t be afraid to play around and make it your own!
The Double Dredge Trick: If you want an *extra* crispy crust, try double-coating the chicken. After you dredge it in the flour the first time, dip it back into the buttermilk for a second, then give it another good coating in the seasoned flour. It creates a thicker, crunchier shell that’s just divine. It’s a little more effort, but my goodness, is it worth it!
Oil Temp is Your BFF: Seriously, keep an eye on that oil temperature. If it drops too much, your chicken gets greasy. If it’s too high, you risk burning the outside before the inside is cooked. So, I always keep a thermometer handy. If the temp dips, I just give it a minute or two to heat back up before adding the next batch. It’s all about control for that perfect golden-brown finish.
Spice it Up (or Down!): While my recipe has a fantastic spice blend, don’t be afraid to experiment! Some days I feel like adding a pinch of dried thyme or sage to the flour. It’s such a simple way to change things up. You can check out how I play with flavors in my Chicken Caesar Pasta Salad – it’s all about finding what tastes amazing to you!
Rest, Rest, Rest! Remember that resting period after flouring? It’s crucial. It lets the coating really adhere to the chicken, creating that signature crunch. I actually like to rest mine a bit longer if I can, maybe even 30 minutes. It’s a small step that truly pays off in the final texture. It’s similar to how I prep my Chicken Lettuce Wraps – a little bit of prep makes all the difference!
Serving Suggestions for Southern Fried Chicken
Now that you’ve got this incredible Southern fried chicken, what are you going to serve it with? My grandma always had the perfect pairings, and honestly, this chicken shines with classic comfort sides. Think creamy mashed potatoes, or maybe a nice, sharp vinegar-based potato salad like this German Potato Salad. A hearty soup or chowder is also fantastic – this Corn Chowder is divine with fried chicken! And, of course, you can never go wrong with some collard greens or macaroni and cheese. It’s all about creating that iconic, soul-satisfying meal!
Storage and Reheating Your Southern Fried Chicken
So, you managed to resist eating every last piece of this amazing Southern fried chicken? Good for you! To store leftovers, just let the chicken cool completely, then pop it into an airtight container or wrap it well in plastic wrap and foil. It’ll keep nicely in the fridge for about 3-4 days. Now, the tricky part is reheating it to get that glorious crispiness back. Honestly, the microwave is the enemy here – soggy chicken is just sad. Your best bet is to pop it in a preheated oven at around 375°F (190°C) for about 15-20 minutes, or until it’s warmed through and the skin starts to crisp up again. Some people swear by an air fryer too, which can work wonders!
Frequently Asked Questions about Southern Fried Chicken
Got questions about making the best Southern fried chicken? I totally get it! It’s one of those dishes where knowing a few little tricks can make all the difference between ‘meh’ and ‘OMG amazing!’. Let’s dive into some common things people ask:
Can I bake this Southern fried chicken recipe?
While this recipe is truly designed for that glorious deep-fried crispiness, you *can* adapt it for baking! For an oven-fried version, make sure to coat the chicken really well, then bake it on a wire rack set over a baking sheet at around 400°F (200°C) for about 35-45 minutes, flipping halfway through. It won’t be *exactly* the same as the fried magic, but it’s a great option if you’re trying to cut down on oil. You can find a whole recipe for oven-fried crispy chicken on the site too!
What’s the best oil for frying chicken?
For that perfect classic Southern fried chicken flavor and color, I really love using a neutral vegetable oil or shortening. They have a high smoke point, meaning they can handle the heat without burning, which is exactly what we need. Canola oil or peanut oil are also fantastic choices for getting that beautiful golden crust. Just make sure you use enough oil – at least an inch or two – so the chicken can cook evenly.
How do I prevent the coating from falling off my fried chicken?
Ah, the dreaded coating fallout! The biggest secret is that resting time after you’ve dredged the chicken in the seasoned flour. Letting it sit on the wire rack for 15-20 minutes allows the flour to hydrate and actually stick to the chicken. Also, handle the chicken gently when you’re dredging and, super importantly, don’t crowd the pan when frying! Overcrowding lowers the oil temperature, which can prevent the coating from setting properly.
Why is my fried chicken not crispy?
Usually, if fried chicken isn’t crispy, it’s one of two things: the oil temperature was too low, or there was too much chicken in the pan at once. Remember, we want that steady 350°F (175°C). If the oil is too cool, the chicken absorbs oil and gets heavy instead of crisp. Also, frying in batches is key! Give each piece that hot oil bath it deserves without overcrowding.
Estimated Nutritional Information
Now, let’s talk numbers! While nothing beats the taste of this homemade Southern fried chicken, it’s good to have an idea of what you’re working with. Keep in mind these are just estimates, as it really depends on the exact pieces of chicken you use and how much oil makes its way onto that perfectly crispy coating. Enjoy this classic treat!
- Calories: Around 450 per serving
- Fat: Approximately 25g
- Protein: About 35g
- Carbohydrates: Roughly 20g
- Sodium: Expect about 600mg
Classic Southern Fried Chicken

Learn how to make perfectly crispy and juicy Southern-style fried chicken at home. This recipe uses a buttermilk soak and a seasoned flour coating for authentic flavor and texture.
- Prep Time: 20 min
- Cook Time: 30 min
- Total Time: 4 hours 50 min
- Yield: 6-8 servings 1x
- Category: Main Course
- Method: Frying
- Cuisine: Southern
- Diet: Vegetarian
Ingredients
- 4 lbs chicken pieces (e.g., thighs, drumsticks, breasts)
- 2 cups buttermilk
- 2 cups all-purpose flour
- 2 tablespoons paprika
- 1 tablespoon salt
- 1 tablespoon black pepper
- 1 teaspoon garlic powder
- 1 teaspoon onion powder
- 1/2 teaspoon cayenne pepper (optional)
- Vegetable oil or shortening for frying
Instructions
- Place chicken pieces in a large bowl or resealable bag. Pour buttermilk over chicken, ensuring all pieces are coated. Cover or seal and refrigerate for at least 4 hours, or preferably overnight.
- In a shallow dish or pie plate, whisk together flour, paprika, salt, black pepper, garlic powder, onion powder, and cayenne pepper (if using).
- Remove chicken from buttermilk, letting excess drip off. Do not rinse.
- Dredge each piece of chicken thoroughly in the seasoned flour mixture, pressing to ensure a thick, even coating. Shake off any excess flour.
- Place coated chicken on a wire rack and let it sit for about 15-20 minutes to allow the coating to adhere.
- In a large, heavy skillet or Dutch oven, heat about 1-2 inches of vegetable oil or shortening to 350°F (175°C). Use a thermometer to monitor the temperature.
- Carefully place chicken pieces into the hot oil, skin-side down, without overcrowding the skillet. Fry in batches if necessary.
- Fry chicken for about 6-8 minutes per side, or until golden brown and cooked through. The internal temperature should reach 165°F (74°C).
- Remove chicken from the skillet and place on a clean wire rack set over a baking sheet to drain excess oil.
- Serve hot.
Notes
- For extra crispy skin, you can double-coat the chicken: after the initial dredging, dip the chicken back into the buttermilk and then into the flour mixture again.
- Maintain a consistent oil temperature for even cooking and crispiness. If the oil is too hot, the coating will burn before the chicken is cooked. If it’s too cool, the chicken will absorb too much oil and become greasy.
- You can add other spices to the flour mixture, such as dried thyme or sage, to customize the flavor.
Nutrition
- Serving Size: 1 piece
- Calories: 450
- Sugar: 2g
- Sodium: 600mg
- Fat: 25g
- Saturated Fat: 7g
- Unsaturated Fat: 18g
- Trans Fat: 0g
- Carbohydrates: 20g
- Fiber: 1g
- Protein: 35g
- Cholesterol: 120mg