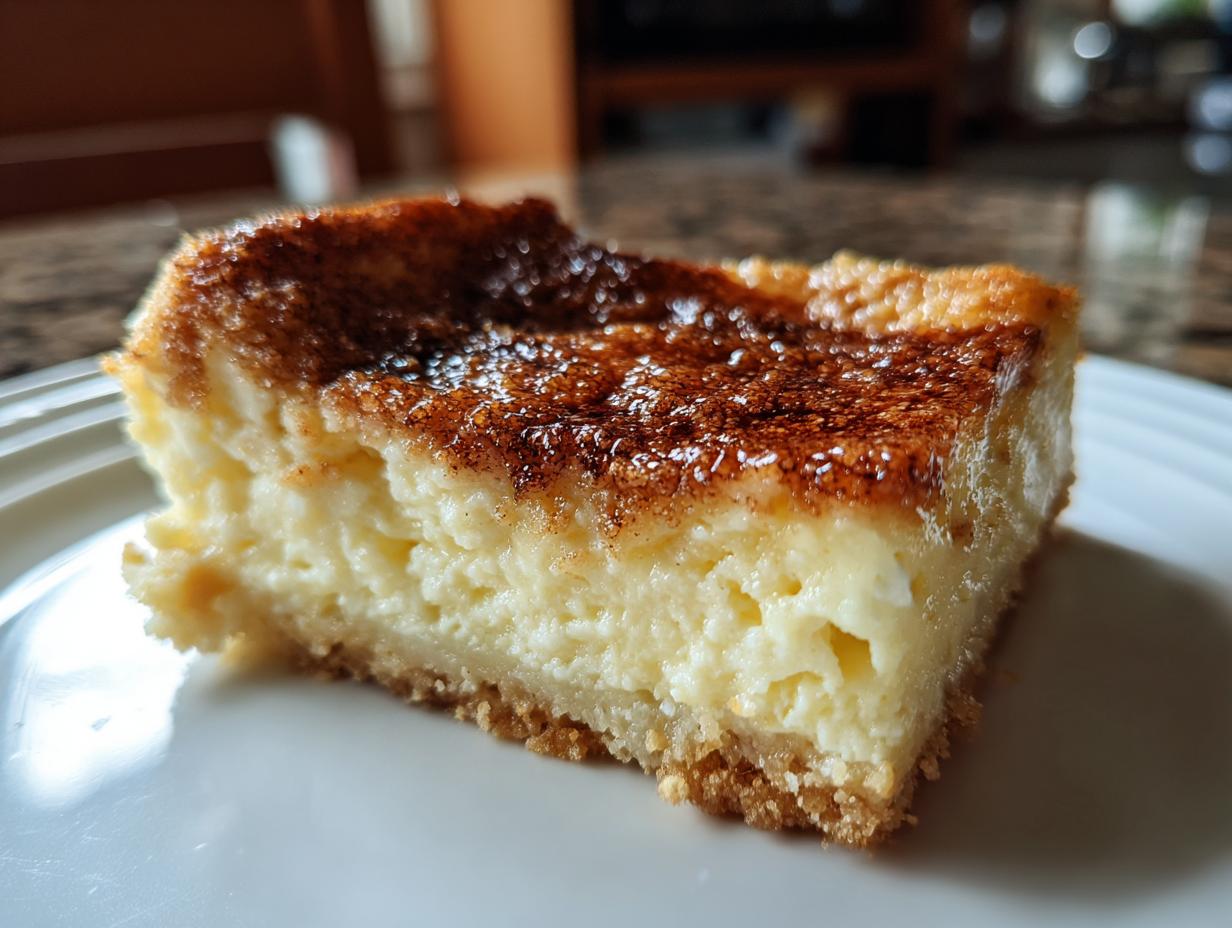

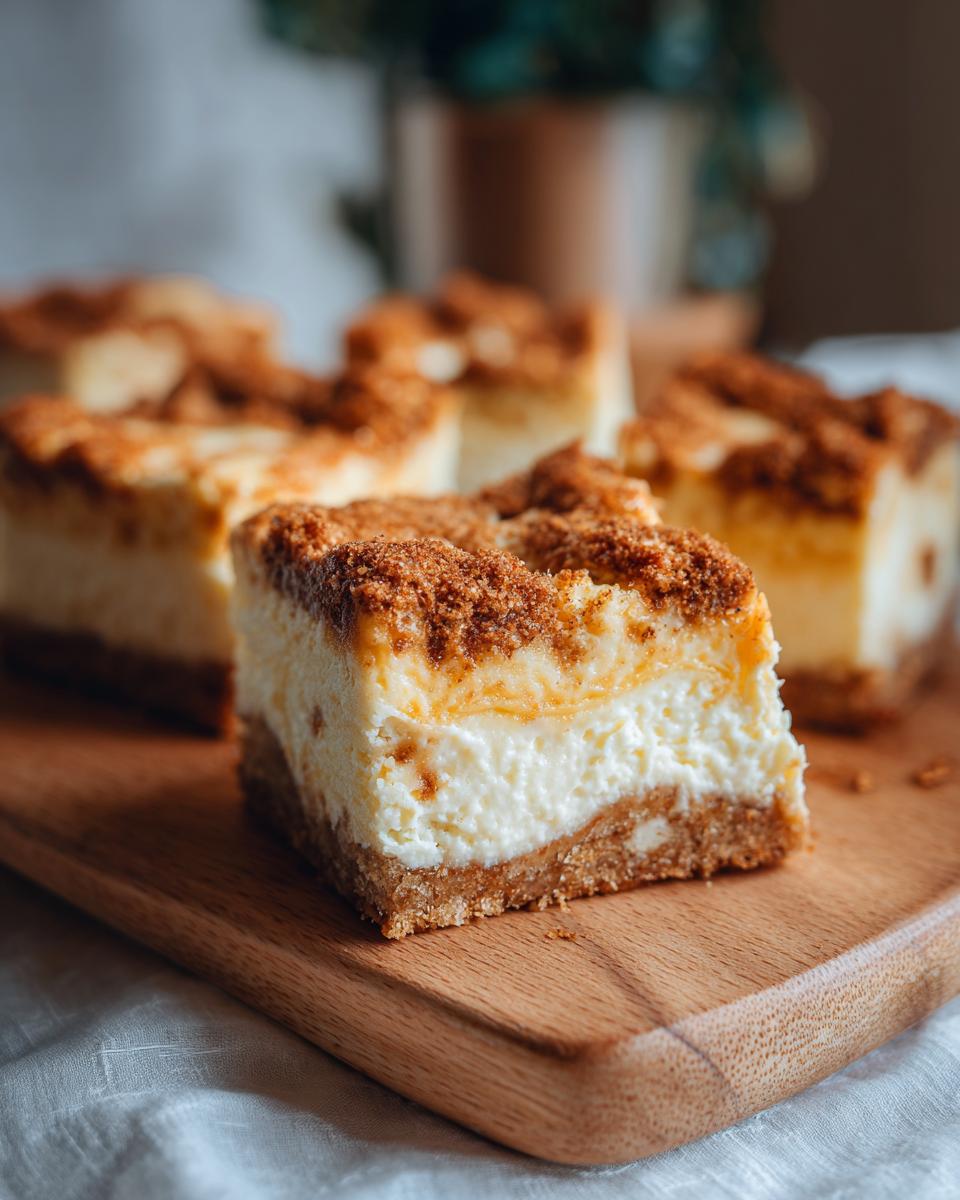
“Okay, so you know how some desserts just *work* all on their own, and then you see something that’s like two amazing desserts doing a happy little dance together? That’s exactly what pulled me into these Sopapilla Cheesecake Bars! They’ve become my absolute go-to for gatherings because, trust me, everyone raves about them. Imagine a crispy, flaky crust, a super creamy cheesecake filling that’s not too sweet, and then that irresistible cinnamon-sugar topping that tastes just like a churro. It’s this fantastic Tex-Mex magic! For me, food has always been about connecting us, like my mom and dad always showed me, and these bars feel like a warm hug, easy enough to whip up but elegant enough to impress. They truly are a testament to how simple things can become something really special, which is exactly what I love to share here at Unfold Recipes.
- Why You'll Love These Sopapilla Cheesecake Bars
- Gather Your Ingredients for Sopapilla Cheesecake Bars
- Crafting Your Sopapilla Cheesecake Bars: Step-by-Step
- Tips for Making the Best Sopapilla Cheesecake Bars
- Serving and Storing Your Easy Tex Mex Cheesecake
- Frequently Asked Questions About Sopapilla Cheesecake Bars
- Nutritional Information for Sopapilla Cheesecake Bars
- Share Your Sopapilla Cheesecake Bar Creations
Why You’ll Love These Sopapilla Cheesecake Bars
- So incredibly easy to make – seriously, you won’t believe how simple!
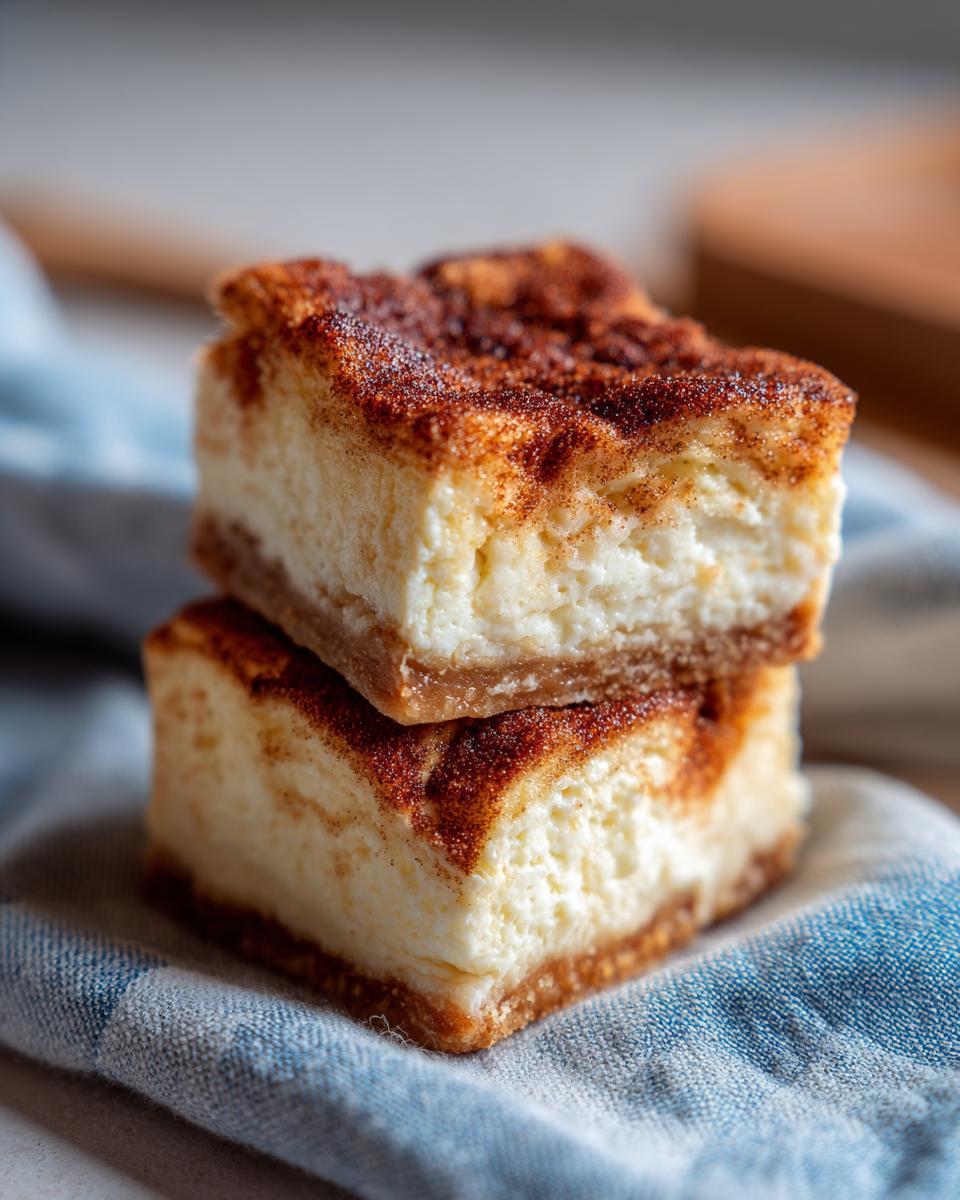
- That dreamy combo of flaky pastry, creamy cheesecake, and sweet cinnamon-sugar topping is pure perfection.
- They taste like a churro met a cheesecake and fell in love – utterly irresistible.
- Everyone always asks for seconds (and thirds!) whenever I bring these to a get-together.
- They’re the perfect make-ahead dessert for parties or busy weekdays.
- They look fancy but are surprisingly straightforward to put together.
Gather Your Ingredients for Sopapilla Cheesecake Bars
Alright, let’s get our party flavors prepped! For these amazing Sopapilla Cheesecake Bars, you’ll find that most of what you need is already lurking in your pantry or fridge. We’re talking simple, good stuff that comes together like magic. You’ll need one package of the refrigerated crescent roll dough – the kind that comes in the pop-open tube, perfect for our base. Then, grab an 8-ounce package of cream cheese, and make sure it’s nice and softened; this is key for that super smooth filling. We’ll also need some granulated sugar, just one egg, a splash of vanilla extract for that warm flavor, and then butter, more sugar, and cinnamon for that incredible topping.
Crafting Your Sopapilla Cheesecake Bars: Step-by-Step
Okay, now for the fun part – putting these amazing Sopapilla Cheesecake Bars together! It’s really not complicated at all, I promise. You’ll be amazed at how quickly these come together. It’s like creating a little edible masterpiece with just a few easy steps. We’ll be layering everything up nice and neat, getting that gorgeous golden topping, and then just letting the oven do its thing. It’s seriously this easy to create a dessert that’ll have everyone asking for the recipe! For more amazing dessert ideas, check out our desserts page!
Preparing the Base for Your Sopapilla Cheesecake Bars
First things first, let’s get that oven nice and cozy. Preheat it to 350°F (175°C). Then, take your can of crescent roll dough, unroll it, and press it right into the bottom of your 9×13 inch baking pan. Just press it out evenly so you have a nice, even layer for our creamy topping to sit on. So easy!
Creating the Creamy Cheesecake Filling
Now, in a medium bowl, it’s time to whip up that luscious cheesecake filling. Take your softened cream cheese, add in a half cup of sugar, one egg, and that teaspoon of vanilla extract. Beat it all together until it’s super smooth and there are no lumps. Seriously, smooth is the goal here!
Assembling the Layers of Your Sopapilla Cheesecake Bars
Carefully spread that dreamy cream cheese mixture evenly over the crescent roll dough base. Try to get it right to the edges. Then, in a separate little bowl, we’ll mix up the magical topping. Melt your butter, grab another half cup of sugar, and stir in that cinnamon. Give it a good mix until it’s all combined. Sprinkle this glorious cinnamon-sugar mixture all over the cream cheese layer. Don’t be shy with it!
Baking Your Sopapilla Cheesecake Squares to Perfection
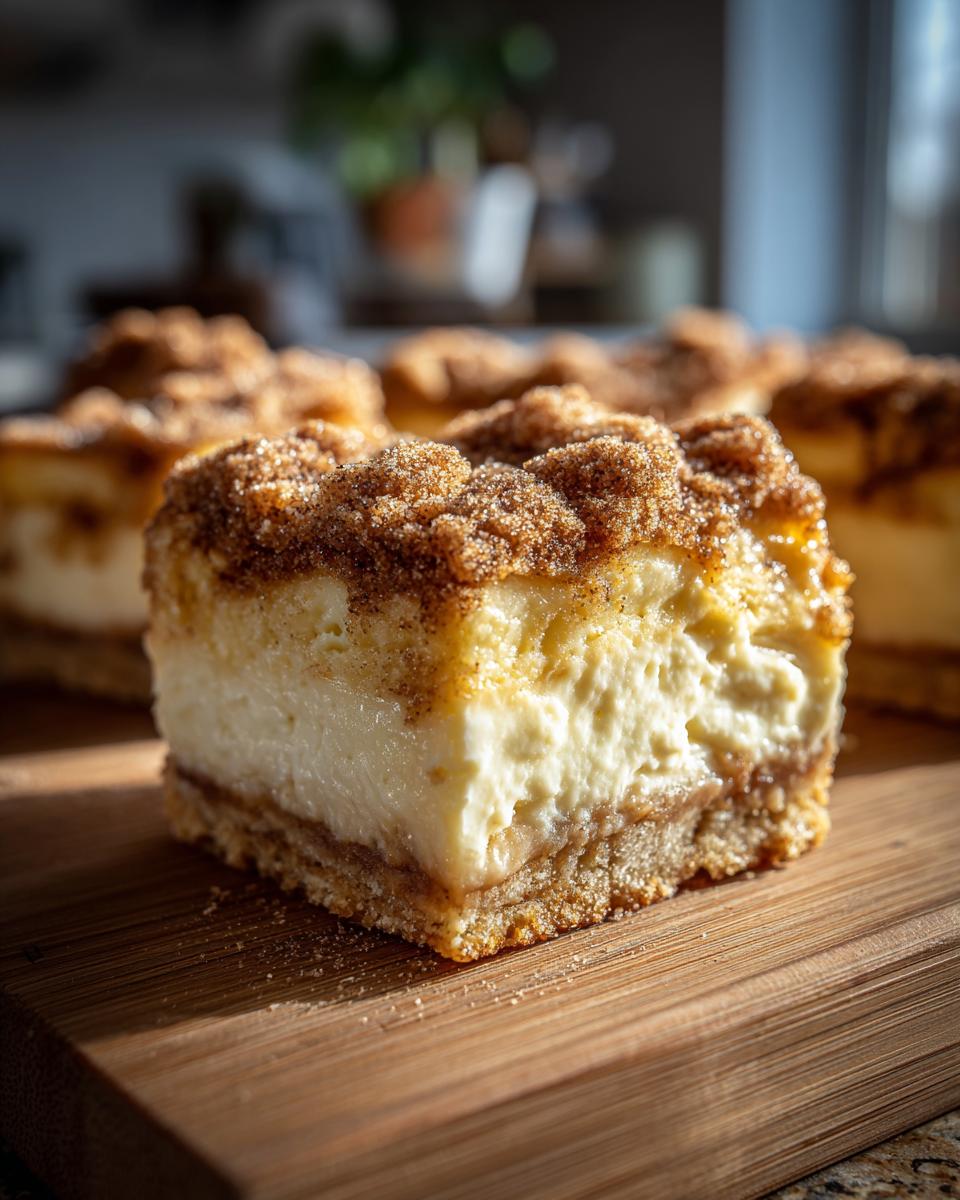
Pop that pan into your preheated oven and let it bake for about 25 to 30 minutes. You’re looking for that topping to turn a beautiful golden brown, and the cream cheese part should look set. These sopapilla cheesecake squares are just divine when they come out golden!
Cooling and Cutting Your Cinnamon Sugar Cream Cheese Bars
This part is crucial, so try to be patient! Let the bars cool down completely in the pan before you even think about cutting them. They need time to firm up properly. Once they’re cool, you can cut them into nice squares. These cinnamon sugar cream cheese bars are worth the wait, believe me!
Tips for Making the Best Sopapilla Cheesecake Bars
Alright, let’s talk about making these Sopapilla Cheesecake Bars absolutely sing! It’s all about a few little tricks that Catherine swears by to get that perfect balance of flaky crust and creamy, dreamy filling. You know, the kind that makes people stop mid-bite and say “Wowza!” We want that gorgeous caramelization on top without burning, and a filling that’s smooth as silk. It’s those little refinements that really make a difference, turning a good dessert into an unforgettable one. This is where that home-cook know-how really comes in handy!
Ingredient Notes and Substitutions
When it comes to the cream cheese, seriously, make sure it’s truly softened. I mean, leave it on the counter for a good hour or so – no microwaving unless you want lumpy filling! If you love a bit more warmth, a tiny dash of almond extract with the vanilla in the filling is divine. And for the topping, while dark brown sugar gives a richer caramel note, you can totally use light brown sugar if that’s what you have. It’ll still be delicious!
Achieving the Perfect Texture in Your Sopapilla Cheesecake Bars
That flaky base comes from pressing the crescent dough out gently, not stretching it too thin or pulling it. And for the filling, when you’re mixing the cream cheese, sugar, egg, and vanilla, just beat it until it’s combined and smooth – don’t go crazy overmixing, as that can make it a bit airy, and we want that dense, fudgy cheesecake texture here. Also, cool these completely – I know it’s hard, but cutting them warm makes for a messy situation!
Serving and Storing Your Easy Tex Mex Cheesecake
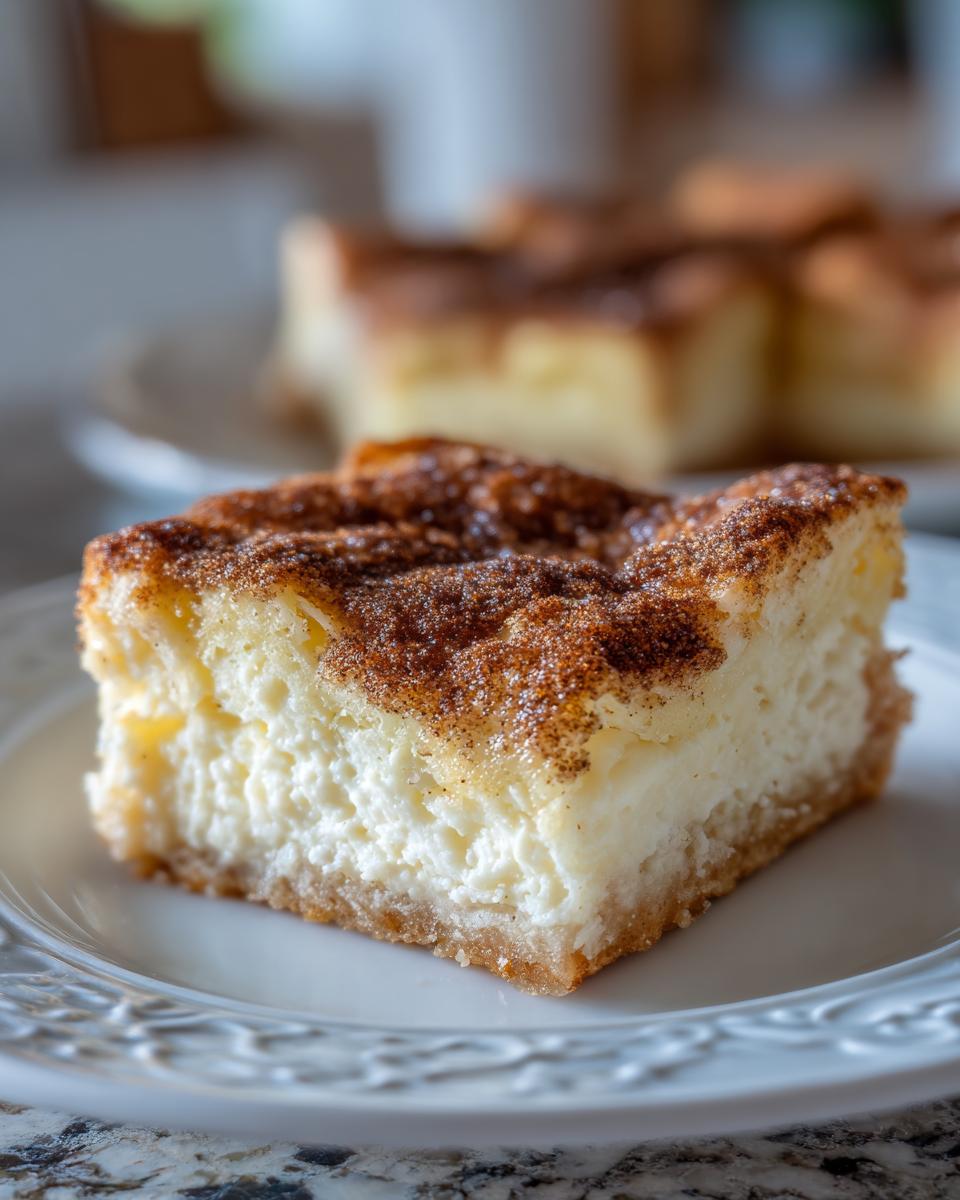
Now that you’ve whipped up these amazing bars, you’re probably wondering how best to enjoy them. These easy Tex Mex cheesecake bars are fantastic served either slightly chilled or at room temperature. I actually find they have a really lovely texture when they’ve had a little time in the fridge, making them easier to slice too! If you have any leftovers – which is rare at my house! – just pop them into an airtight container. They’ll stay delicious in the refrigerator for about 3 to 4 days. For more baking inspiration, feel free to peek at some other treats on our blog!
Frequently Asked Questions About Sopapilla Cheesecake Bars
I get a lot of questions about these delightful bars, and that’s totally understandable! They’re so unique. Let’s clear up a few things so your baking adventure is an absolute breeze.
Can I make these Sopapilla Cheesecake Bars ahead of time?
Absolutely! These bars are a baker’s best friend because they actually taste even better the next day. Just make sure they’re completely cooled, then store them in an airtight container in the refrigerator. They’ll be perfectly ready to dig into whenever a craving strikes!
What kind of pan is best for these crescent roll cheesecake dessert bars?
A standard 9×13 inch baking pan is your best bet for these crescent roll cheesecake dessert bars. It gives you enough space to spread everything out nicely and ensures that delicious cinnamon-sugar topping gets that lovely golden color. Just make sure your pan is about 2 inches deep so everything fits perfectly!
How do I prevent the bottom crust from being soggy?
The key to avoiding a soggy bottom with these sopapilla cheesecake squares really comes down to a few things. First, press that crescent roll dough down really firmly into the pan. You want it to create a nice, even base. Second, make sure the topping is sprinkled all the way to the edges of the cream cheese layer. Oh, and a crucial tip? Let them cool completely before cutting. Cutting them while they’re still warm can make the bottom crust a bit sticky.
Can I use a different kind of sugar for the topping?
You know, while granulated sugar works perfectly for that classic crunchy topping, I’ve found that using dark brown sugar can give it an extra layer of caramel-y depth, which is absolutely delicious! Light brown sugar would also work. Just remember whatever sugar you use, mix it well with the cinnamon and melted butter for that amazing flavor.
Nutritional Information for Sopapilla Cheesecake Bars
Just so you know, the numbers below are estimates – think of them as a handy guide rather than strict fact! What you use for your ingredients can make them tick up or down a little. But generally, one of these delicious sopapilla cheesecake squares will give you about 180 calories, 10g of fat, and a good punch of carbs and sugar, perfect for satisfying that sweet craving!
Share Your Sopapilla Cheesecake Bar Creations
Have you made these incredible bars? I’d just love to hear all about it! Drop a comment below – tell me what you thought, how they turned out, or if you tried any fun twists. And if you really loved them, a quick rating would be amazing. Sharing our kitchen wins is what makes all this fun, right? If you have any tricky questions, feel free to reach out via my contact page. Can’t wait to hear from you!
PrintSopapilla Cheesecake Bars
Easy sopapilla cheesecake bars with a crescent roll crust, creamy cheesecake filling, and a cinnamon-sugar topping. These bars are a delicious Tex-Mex inspired dessert.
- Prep Time: 15 min
- Cook Time: 30 min
- Total Time: 45 min
- Yield: 24 servings 1x
- Category: Dessert
- Method: Baking
- Cuisine: Tex-Mex
- Diet: Vegetarian
Ingredients
- 1 (8 ounce) package refrigerated crescent roll dough
- 1 (8 ounce) package cream cheese, softened
- 1/2 cup granulated sugar
- 1 egg
- 1 teaspoon vanilla extract
- 1/4 cup butter, melted
- 1/2 cup granulated sugar
- 1 teaspoon ground cinnamon
Instructions
- Preheat your oven to 350 degrees F (175 degrees C).
- Press the crescent roll dough into the bottom of a 9×13 inch baking pan.
- In a medium bowl, beat together the softened cream cheese, 1/2 cup sugar, egg, and vanilla extract until smooth.
- Spread the cream cheese mixture evenly over the crescent roll dough.
- In a small bowl, combine the melted butter, 1/2 cup sugar, and cinnamon. Mix well.
- Sprinkle the cinnamon-sugar mixture evenly over the cream cheese layer.
- Bake for 25-30 minutes, or until the topping is golden brown and the cream cheese is set.
- Let the bars cool completely before cutting into squares.
Notes
- For a richer flavor, you can add a touch of almond extract to the cream cheese filling.
- Ensure your cream cheese is fully softened to avoid lumps in the filling.
- These bars are best served chilled or at room temperature.
Nutrition
- Serving Size: 1 bar
- Calories: 180
- Sugar: 15g
- Sodium: 90mg
- Fat: 10g
- Saturated Fat: 5g
- Unsaturated Fat: 5g
- Trans Fat: 0g
- Carbohydrates: 18g
- Fiber: 1g
- Protein: 3g
- Cholesterol: 25mg