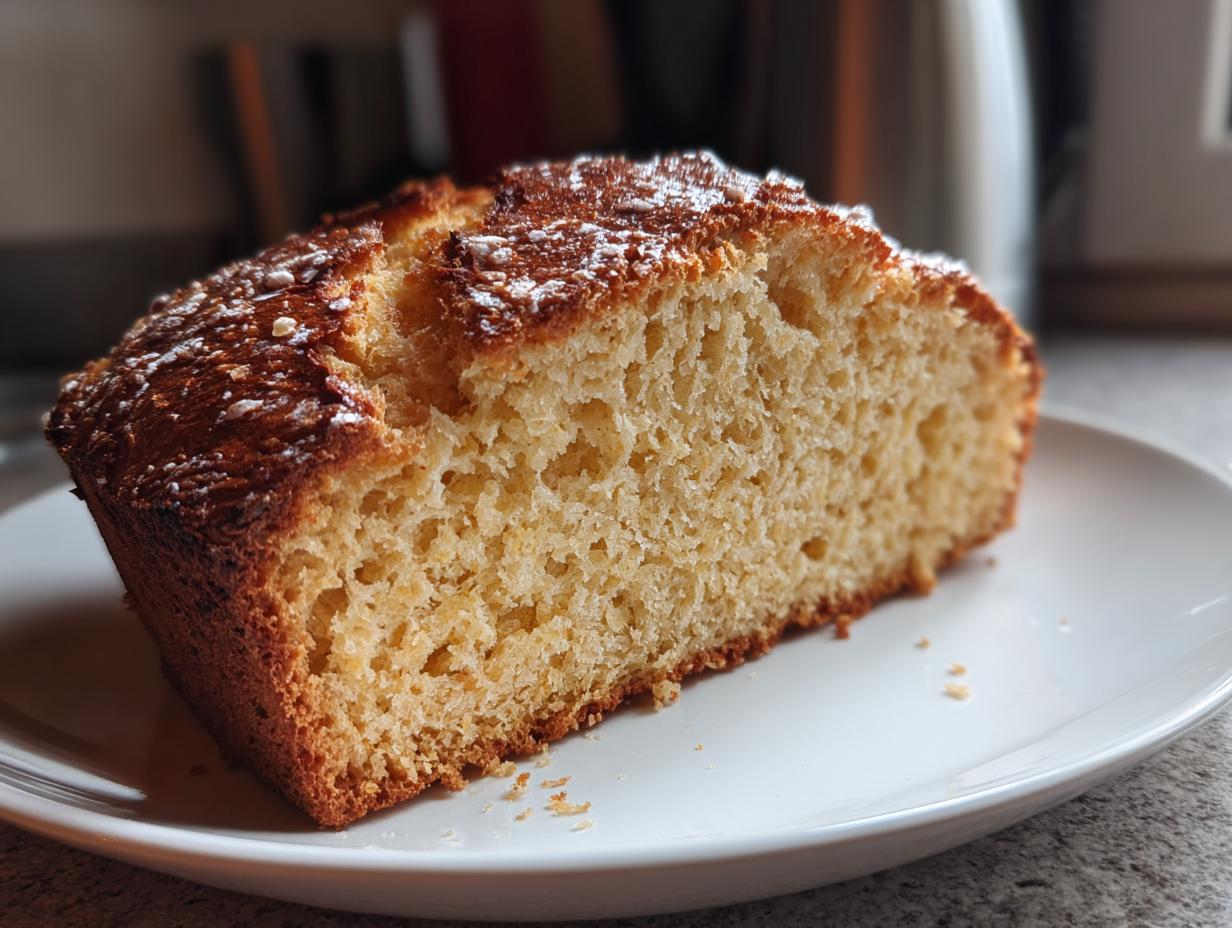

There is something deeply satisfying about pulling a truly rustic, warm loaf of bread from your oven with almost zero fuss. Forget waiting hours for yeast to work its magic! That’s why I’m so thrilled to share my go-to recipe for authentic Irish soda bread. It’s the fastest, most rewarding way to bring simple, honest baking into your home. As I share these reliable recipes here at Unfold Recipes, created with my background in refined cooking and honest home tradition, I just know this quick bread will become a favorite centerpiece on your table. You can learn more about my philosophy of sharing simple, reliable recipes in my About section.
- Why This Traditional Irish Soda Bread Recipe Works So Well
- Gathering Ingredients for Your Soda Bread
- Ingredient Notes and Buttermilk Bread Recipe Swaps
- How To Make Soda Bread: Step-by-Step Instructions
- Tips for Success When Baking Your Soda Bread
- Savory Variations: Making Cheddar Herb Soda Bread
- Serving Suggestions for Homemade Bread Fast
- Storing Your Fresh Soda Bread
- Frequently Asked Questions About Soda Bread
- Share Your Baking Story
Why This Traditional Irish Soda Bread Recipe Works So Well
The magic of this Irish soda bread lies entirely in its simplicity and speed. When I need a beautiful, rustic loaf on the table without any complicated fuss, I reach for this classic method. It’s the ultimate solution for a satisfying, homemade side dish.
- It’s a fantastic Quick Bread Recipe that comes together in less than ten minutes of active work.
- It delivers on its promise of being an Easy No Yeast Bread; no waiting, no kneading, just mix and bake!
- The result is a comforting, hearty loaf perfect for pairing with your favorite meals.
The Beauty of Yeast Free Baking
Because we skip the yeast entirely, we rely on simple chemistry to get that lovely lift. When baking soda meets the acid in the buttermilk, you get an instant reaction. This means as soon as it hits the hot oven, it starts rising immediately. It’s truly proof that you don’t need a lengthy process to achieve excellent results in Irish Baking Recipes.
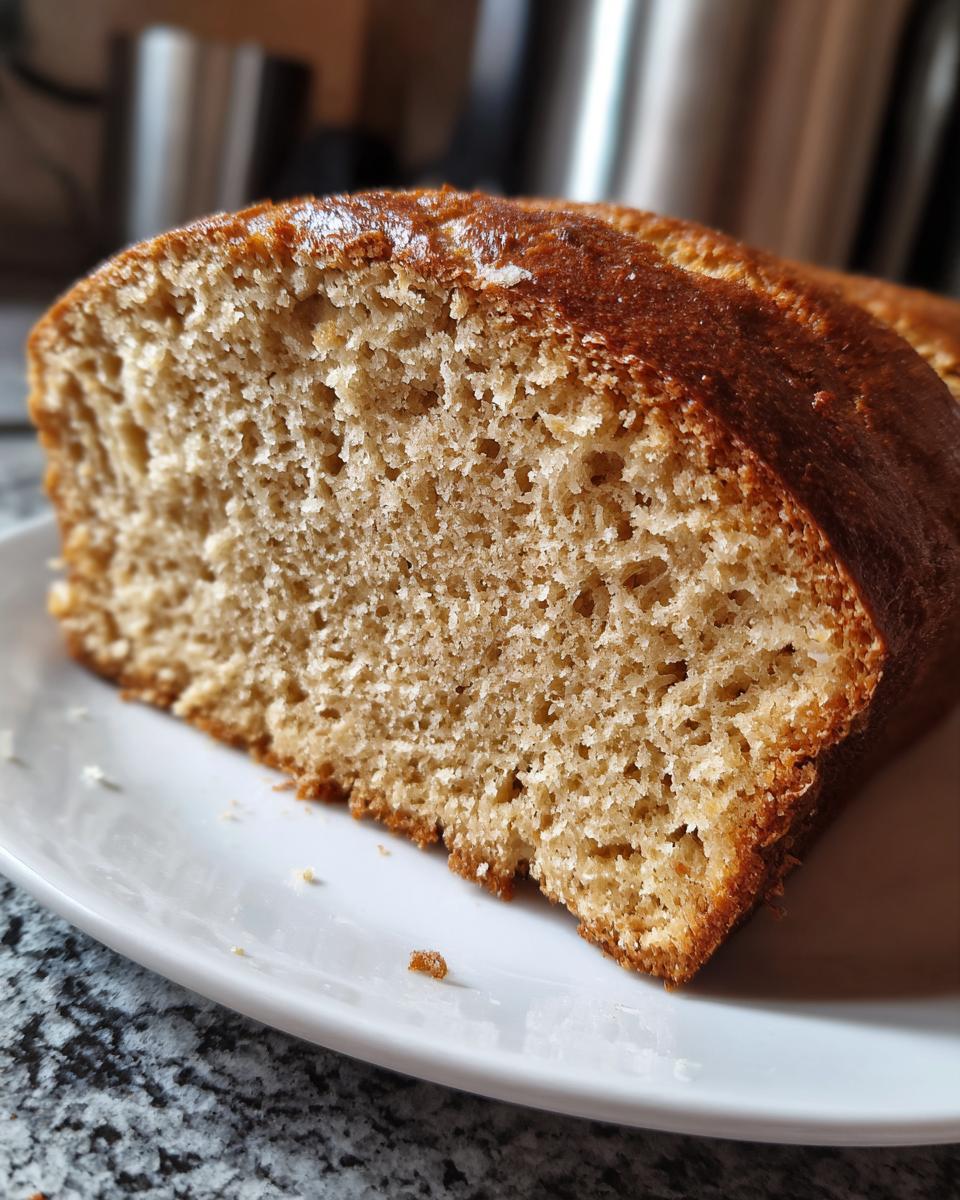
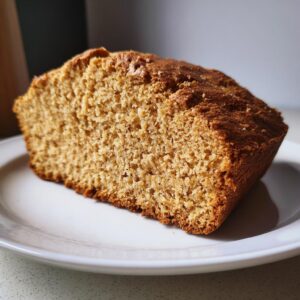
Achieving a Soft Crumb Bread Texture
You might think skipping yeast means a hard, dense brick—but that’s where people go wrong! The key to a wonderful Soft Crumb Bread texture is hardly any mixing at all. Overworking the dough develops gluten, which dries the bread out. We want that tender, almost biscuit-like interior, which you can save in your recipe collection right here.
Gathering Ingredients for Your Soda Bread
Part of what makes this recipe such an excellent choice for weeknights or sudden cravings is how few ingredients you actually need! We are relying on four simple pantry staples to create this marvelous Traditional Bread Loaf. This isn’t the time for fancy additives; it’s all about using exactly what you need for that perfectly rustic outcome.
It really doesn’t get much easier than this list. I developed this because I believe quality ingredients, handled simply, always win out. If you’re looking to use this same quick method for a leisurely weekend brunch, you’ll find it’s perfectly suited.
- 4 cups all-purpose flour
- 1 teaspoon baking soda
- 1 teaspoon salt
- 1 3/4 cups buttermilk
Now, if I can offer one piece of advice—and this is where I lean on my culinary training—it’s to use the best quality buttermilk you can find. Since it’s one of our core four ingredients in this Buttermilk Bread Recipe, its flavor really shines through in the final bake. It’s essential for getting that beautiful tang and reacting perfectly with the soda.
Ingredient Notes and Buttermilk Bread Recipe Swaps
While I truly think you should try to find real buttermilk for this recipe—it gives the best tang and reactiveness you need for that authentic flavor—I know not every pantry is always stocked! That’s why I want you to feel confident knowing you can make a quick substitute right in your kitchen when those cravings hit. This adaptability is crucial when you’re making a fantastic Buttermilk Bread Recipe.
We are aiming for the same acidity that real buttermilk provides, and luckily, it’s incredibly easy to fake. If you don’t have buttermilk on hand, don’t worry one bit! You already have everything you need in the dairy drawer to fix this right now.
Making Homemade Buttermilk for Your Soda Bread
If you are out of buttermilk, grab whole milk—it works much better than skim in this case, trust me on that one. Measure out the 1 3/4 cups you need for the recipe. Then, stir in one tablespoon of white vinegar or fresh lemon juice right into that milk.
Now, this next part requires just a touch of patience, which is rare for a quick bread, I know! Let that mixture simply sit on the counter for about five minutes. You will see it curdle slightly and thicken up a little bit. That tells you the acid has done its job. Once it looks a little chunky like that, it’s ready to use exactly where the recipe calls for buttermilk. See? No need to run to the store for this Easy No Yeast Bread!
How To Make Soda Bread: Step-by-Step Instructions
Alright, let’s get down to the exciting part! While the ingredients are simple, the process for making perfect soda bread is all about swift action. First things first: get your oven cranked up to 400°F (200°C) right away. I always use a piece of parchment paper on my baking sheet—it just makes cleanup so much nicer, which is essential when you are baking in a hurry for a Quick Dinner Side Bread. If you want a deeper dive into the techniques of quick baking, I cover the fundamentals in my guide on how to make soda bread.
Once the dry ingredients are whisked, you pour in that lovely buttermilk. Now, listen carefully, because this next part determines everything about your final texture.
Mixing the Dough: The Key to a Tender Soda Bread
This is where you need to embrace the phrase, “less is more.” Grab a wooden spoon—or even your hands—and mix just until everything reluctantly comes together into a shaggy, soft mass. Seriously, stop mixing the second you don’t see any more dry flour streaks! If you mix this dough for too long, you are going to end up with something tough, and nobody wants that when they are looking for a Homemade Bread Fast.
Turn that soft dough out gently onto a lightly floured counter. We aren’t kneading here; we are just coaxing it into shape. Give it a gentle pat down until it forms a round that’s about two inches high.
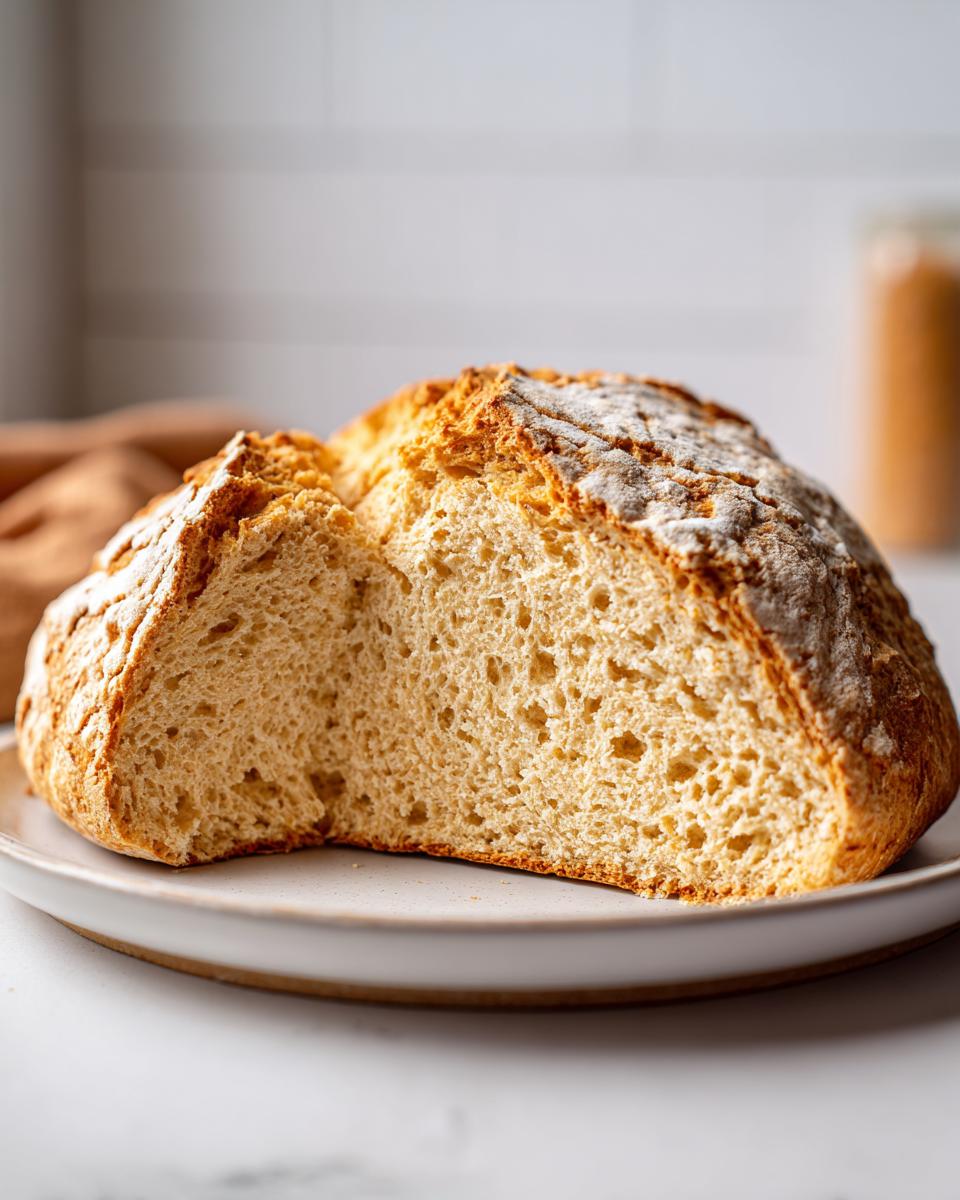
Shaping and Scoring the Traditional Bread Loaf
Next up is the fun, visual part that makes this a true Traditional Bread Loaf. Take a sharp knife and cut a deep cross right into the top of the dough, going about a half-inch deep. This isn’t just for looks, though it is pretty! Tradition says it lets the fairies out, but scientifically, it helps the heat penetrate the center of your loaf so everything cooks evenly. Pop it in that hot oven and let the baking soda work its magic for about 30 to 35 minutes. You will smell when it’s done!
Tips for Success When Baking Your Soda Bread
Even though this is the quintessential Beginner Bread Baking recipe, there are a couple of small things that just elevate your loaf from good to absolutely stunning. Because we are relying on a chemical reaction and not yeast activity, timing is everything! Don’t let that intimidate you, though; it just means you follow these few little steps, and you’re guaranteed a perfect rustic bake.
First and foremost: Preheat that oven and keep it hot! I mean scorching hot. If you put your dough into an oven that’s still warming up, the baking soda loses its initial powerful punch before the crust can even set. You want that high heat right away to set the outside crust and encourage that springy rise. My rule is to let the oven preheat for at least 20 minutes, even if the little indicator light says it’s ready after ten. It’s worth that extra wait time.
The second sure-fire check for doneness—beyond the gorgeous deep golden-brown color you’ll see—is the tap test. When the bread is ready, carefully take it out of the pan (use oven mitts, that pan is screaming hot!) and flip it over. Give the bottom a solid tap with your knuckles. If it sounds wonderfully hollow, like knocking on a wooden door, it’s done! If it sounds dull or dense, pop it back in for another five minutes and check again. This simple trick saves you from cutting into a loaf that’s still damp inside. I share lots of foundational tips like this over on my main recipe blog archives.
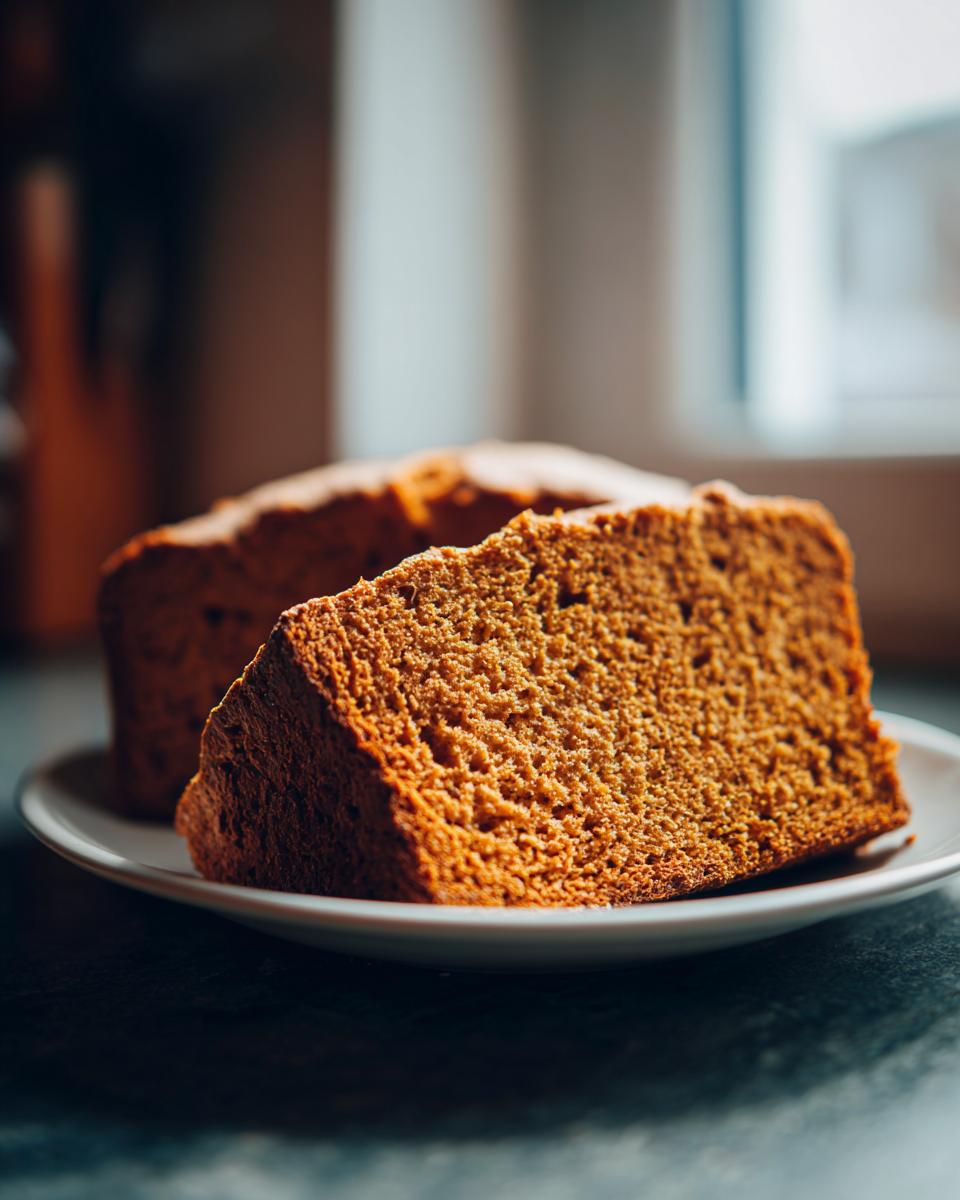
Savory Variations: Making Cheddar Herb Soda Bread
While the traditional version of soda bread is divine—perfectly plain for slathering with jam—sometimes you just crave something richer, something savory that begs to be served alongside a hearty winter stew. That is when you need to turn this recipe into a glorious Savory Cheese Bread!
Don’t overthink the additions; keep it simple, just like the base recipe that I absolutely adore. The beauty of this quick bread comes from how effortlessly it accepts flavorful mix-ins. You can find inspiration for other cheesy bites in my appetizer recipes, but for this loaf, we keep it rustic.
When do you add the cheese and herbs? I prefer to fold them in right at the very end. After you’ve mixed the wet and dry ingredients just until they form that shaggy dough—that’s the perfect moment. Gently fold in about a cup and a half of sharp, freshly grated cheddar and a tablespoon or two of finely chopped herbs like fresh thyme or chives.

I really recommend trying cheddar and chives, but rosemary works wonderfully too if you’re having it with lamb or beef. If you want to see a stunning finished product using this savory approach, I highly recommend checking out the method over at this wonderful resource.
Just remember this one rule when adding extras: don’t over-mix! You are just gently folding them in until they are distributed. If you beat the dough too much after adding the cheese, the fat can start to warm up, and you risk affecting that delicate fast-acting rise from the baking soda. Keep it quick, keep it gentle, and you’ll have the best cheesy loaf ever.
Serving Suggestions for Homemade Bread Fast
The beauty of a Homemade Bread Fast recipe like this is its incredible versatility. Honestly, a slice of this crusty, warm bread is delicious all on its own, especially when slathered with some good Irish butter melting right into the crumb. But if you’re wondering how to best utilize this quick bake, I have a few thoughts!
When I first started making this, it was purely out of necessity—a chilly evening, a pot of stew simmering slowly, and realizing I had no nice bread for dipping. This loaf was the answer, and now it’s become my absolute favorite Quick Dinner Side Bread. The slight tanginess from the buttermilk works like magic cutting through the richness of any savory dish.
I find it’s perfect alongside soups, obviously. If you are making something hearty like a beef stew, shepherds pie filling turned into a pot pie, or even my favorite Zuppa Toscana, this bread is necessary for soaking up every last drop. Forget using those boring dinner rolls; this rustic texture is exactly what you need.
And of course, for brunch! If you make the traditional loaf, serve thick slices toasted and topped with jam, honey, or maybe even some homemade marmalade. You can find some of my favorite accompanying recipes in my collection of side dishes. It holds up so well to spreads because of its nice density. This is what I mean when I talk about approachable elegance—fast bread that still feels special enough for guests!
Storing Your Fresh Soda Bread
Since this soda bread is made with no preservatives and relies on natural leavening, how you store it really impacts its texture the next day. My goal is always to keep that lovely, slightly crispy crust and soft interior intact. The best way to handle leftovers is usually just to leave it right out on the counter, but there are rules to that!
For optimal texture, only store it at room temperature for the first day. Wrap the loaf loosely in a clean kitchen towel or place it in a paper bag. Why not plastic wrap? When you seal this rustic loaf tightly in plastic, any residual steam gets trapped, and that gorgeous crust we worked to achieve goes instantly soft and chewy—and we definitely don’t want that!
If you find yourself with leftovers on day two, or if your kitchen is particularly warm or humid, you might need to switch to the refrigerator. Just be aware that the cold temperature starts to dry out breads made without yeast pretty quickly. If you do decide to refrigerate it, make sure it’s in an airtight container or Ziploc bag to keep the crumb from drying out too fast.
The real secret is the reheat! If your loaf has been sitting out or in the fridge, it comes back to life beautifully. Simply slice what you need, wrap those slices loosely in foil, and pop them into a warm oven—say, 300°F—for about five to seven minutes. This crisps the exterior right back up and warms the interior perfectly. It tastes almost freshly baked again, satisfying that need for Homemade Bread Fast even if you’re eating leftovers!
Frequently Asked Questions About Soda Bread
I always hear from people who are trying soda bread for the very first time, and that’s wonderful! It’s such a simple technique, but naturally, questions pop up when you’re trying any new Irish Baking Recipes. I’ve gathered the most common ones right here so you can bake with total confidence every time.
Can I substitute the buttermilk in this soda bread recipe?
Yes, you absolutely can, though I love the flavor of real buttermilk! If you’re stuck, you simply need to recreate the same acidity. As I mentioned earlier, take 1 and 3/4 cups of whole milk and stir in just one tablespoon of lemon juice or white vinegar. Let it sit on the counter for about five minutes until it looks just slightly curdled. That mixture acts almost identically to buttermilk for this Quick Bread Recipe, giving you that essential reaction with the baking soda!
Is soda bread supposed to be dense?
That is such a great question, and it gets right to the heart of what makes this a true Rustic Baking Guide staple. Unlike a fluffy, airy sandwich loaf made with yeast, Irish soda bread is meant to be denser. It should be substantial enough to stand up to butter, soup, or stew without collapsing. But dense doesn’t mean tough! If you follow the mixing instructions—and stop mixing the second the flour disappears—your loaf will have a wonderfully soft, almost cake-like crumb on the inside. That’s our goal!
What is the difference between Irish Baking Recipes and standard quick bread?
That’s a fun one! In the broadest sense, traditional Irish Baking Recipes emphasize purity and simplicity, often sticking only to flour, soda, salt, and buttermilk. A standard quick bread often allows for more sugar, more fat, and sometimes other leaveners like baking powder, making them slightly sweeter or richer overall. Our traditional recipe focuses on that beautiful, slightly tangy, rustic flour flavor that pairs perfectly with savory meals. It’s about honoring the original, sparse ingredients that make this such a phenomenal, nearly foolproof loaf. If you’re looking for something hearty that goes perfectly with a soup like my popular Chicken Gnocchi Soup, this traditional approach is unbeatable.
Share Your Baking Story
Now that you’ve seen just how simple it is to create this truly rustic and delicious soda bread, I would absolutely love to hear all about it! In my experience, the best part about sharing a recipe like this is seeing how it shows up on your table. Did you enjoy it with a big bowl of stew, or did you slather it with softened butter for brunch?
Don’t be shy! Take a moment after your loaf comes out of the oven to leave a rating right here on the page. Your feedback is what helps me know which recipes deserve to stay front-and-center on Unfold Recipes. If a question popped up while you were mixing, please drop a comment below—I personally read every single one and I’m always happy to help troubleshoot!
And if you snap a picture of your beautiful, crusty loaf, please tag me on social media. I live for seeing your success stories! Creating these moments together, connecting over simple, honest food—that’s why I started this journey. For any other inquiries or just to say hello, you can always reach out via my contact page. Happy baking, my friends!
PrintEasy Traditional Irish Soda Bread: Quick No Yeast Baking
Discover the simple magic of making authentic Traditional Irish Soda Bread at home. This quick bread recipe requires no yeast and comes together in minutes, yielding a rustic loaf perfect for soups or brunch.
- Prep Time: 10 min
- Cook Time: 35 min
- Total Time: 45 min
- Yield: 1 loaf (8 servings) 1x
- Category: Bread
- Method: Baking
- Cuisine: Irish
- Diet: Vegetarian
Ingredients
- 4 cups all-purpose flour
- 1 teaspoon baking soda
- 1 teaspoon salt
- 1 3/4 cups buttermilk
Instructions
- Preheat your oven to 400°F (200°C). Lightly dust a baking sheet or place parchment paper on it.
- In a large bowl, whisk together the flour, baking soda, and salt.
- Make a well in the center of the dry ingredients and pour in the buttermilk.
- Mix the ingredients quickly with your hands or a wooden spoon until just combined into a soft, shaggy dough. Do not overmix.
- Turn the dough out onto a lightly floured surface. Gently shape it into a round loaf, about 1.5 to 2 inches high.
- Place the loaf on your prepared baking sheet. Use a sharp knife to cut a deep cross into the top of the loaf, about 1/2 inch deep.
- Bake for 30 to 35 minutes, or until the crust is deep golden brown and the loaf sounds hollow when tapped on the bottom.
- Transfer the soda bread to a wire rack to cool slightly before slicing and serving warm with butter.
Notes
- For a slightly sweeter loaf, you can add 1 tablespoon of sugar or molasses to the dry ingredients.
- If you do not have buttermilk, mix 1 3/4 cups of whole milk with 1 tablespoon of white vinegar or lemon juice and let it sit for 5 minutes before using.
- Serve this rustic baking guide staple alongside hearty stews or for a cozy brunch.
Nutrition
- Serving Size: 1 slice
- Calories: 250
- Sugar: 1
- Sodium: 350
- Fat: 2
- Saturated Fat: 1
- Unsaturated Fat: 1
- Trans Fat: 0
- Carbohydrates: 53
- Fiber: 2
- Protein: 7
- Cholesterol: 5