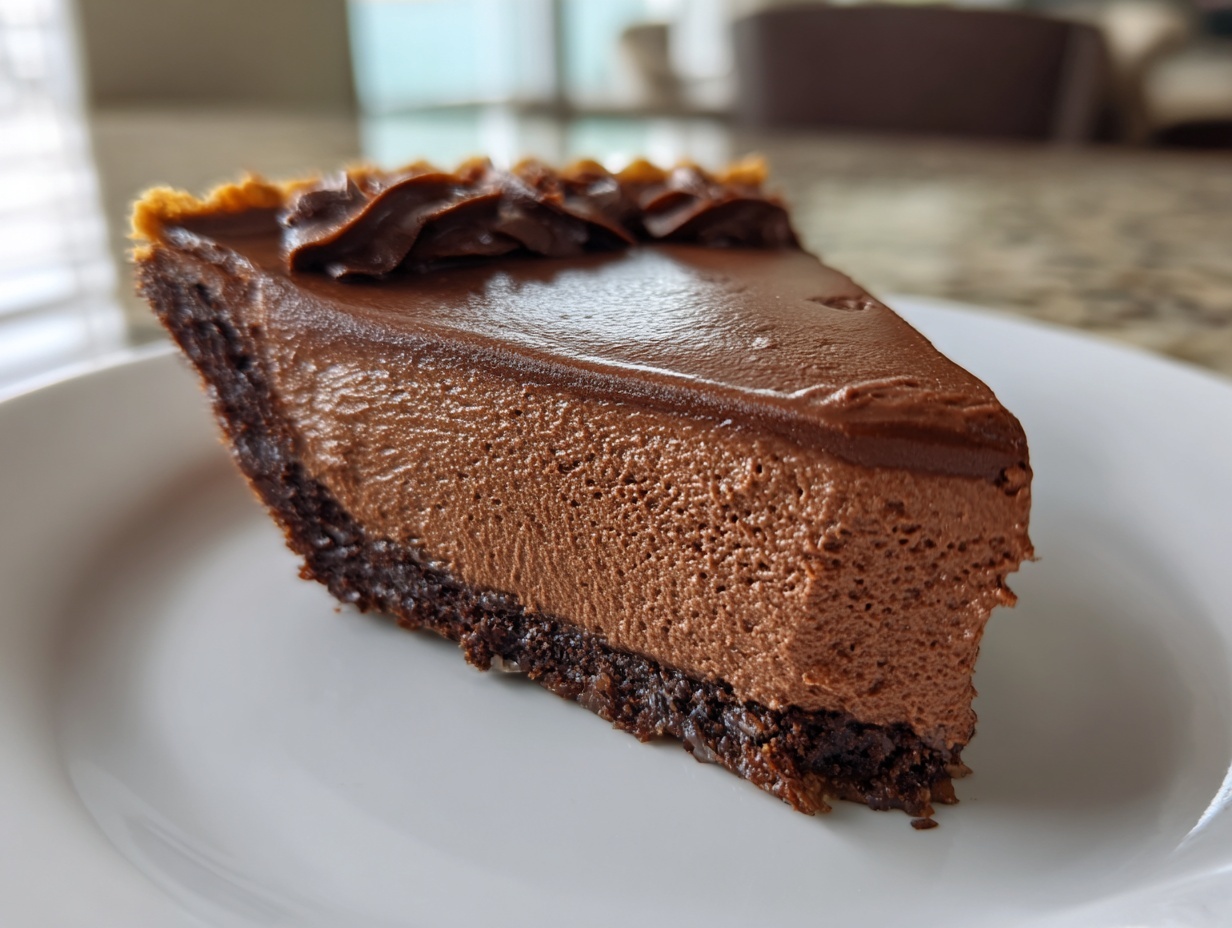

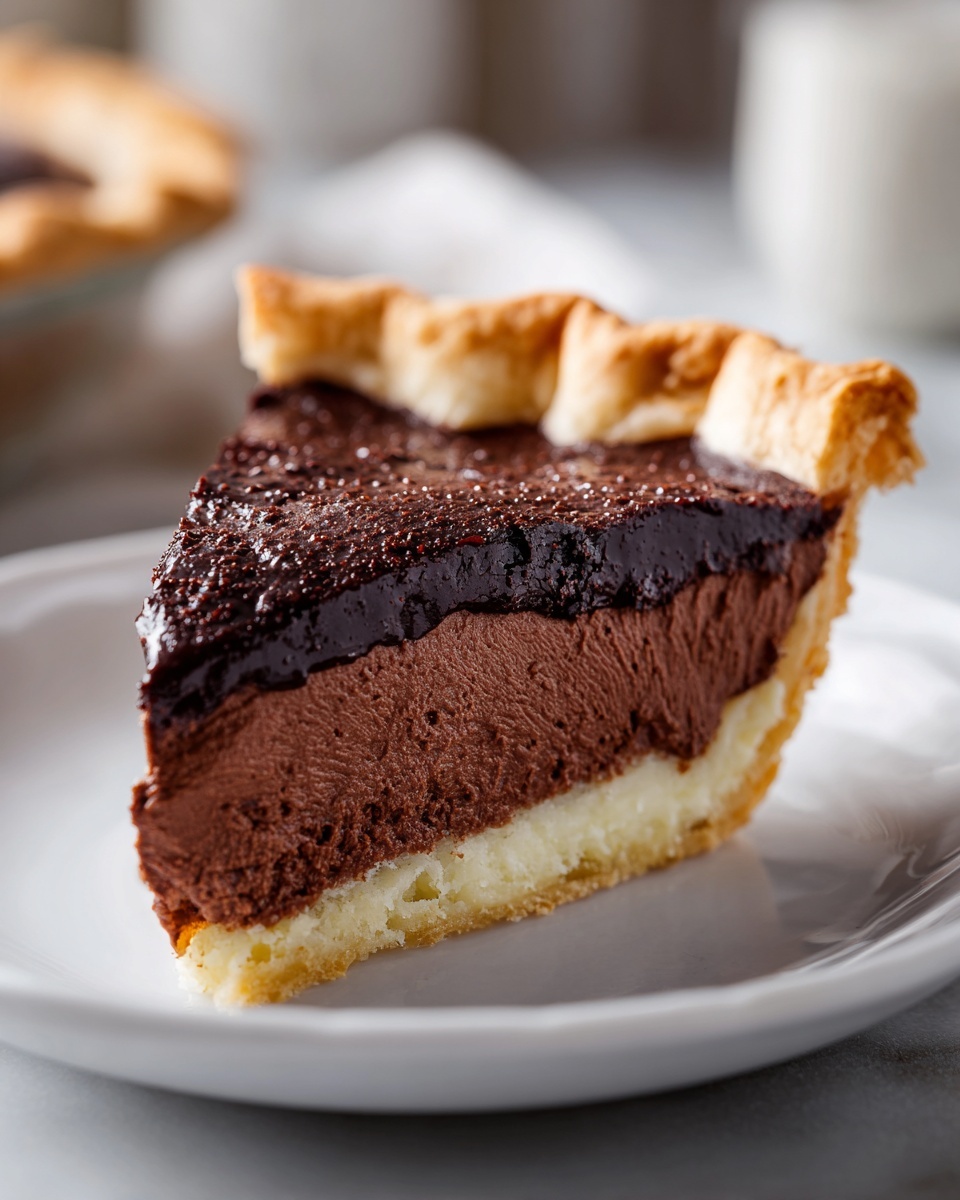
When I think of truly decadent desserts, my mind doesn’t go to towering cakes or elaborate pastries first. No, when I crave pure, unadulterated, melt-in-your-mouth chocolate bliss, I reach straight for the classic French Silk Pie. This isn’t just another chocolate pie; it’s dessert royalty! After my time in culinary school, I learned that approachable elegance means mastering a few key techniques to transform simple ingredients into something show-stopping, and this pie is the perfect example. We are going to nail that signature velvety texture, ensuring you get the most luxurious, rich creamy pie filling imaginable. Trust me, this reliable recipe will become the new benchmark for every special occasion on your calendar. Feel free to explore more incredible desserts we love right here at Unfold Recipes.
- Why This Classic French Silk Pie Recipe Delivers Velvet Perfection
- Gathering Ingredients for Your Decadent French Silk Pie
- How to Make the Ultimate French Silk Pie: Step-by-Step Instructions
- Tips for a Foolproof French Silk Pie Experience
- Variations on the Classic French Silk Pie Recipe
- Serving Suggestions for Your Impressive Chocolate Dessert
- Storage and Make-Ahead Planning for Your French Silk Pie
- Frequently Asked Questions About Making French Silk Pie
- Estimated Nutritional Snapshot for This Decadent Chocolate Dessert
Why This Classic French Silk Pie Recipe Delivers Velvet Perfection
If you’ve been nervous about making French Silk Pie because of the raw egg concern, I totally get it! That’s one of the main reasons I obsessed over perfecting this technique. I want you to feel completely confident serving this dessert to your family and friends. This version isn’t just good; it’s the blueprint for a truly silky smooth pie recipe.
Achieving the Signature Silky Smooth Texture
Listen, the secret to that dreamy, mousse-like filling is gentle heat. We aren’t scrambling eggs here! By incorporating the egg yolks into the butter/sugar mixture and then beating in the melted chocolate and hot coffee, we gently temper those yolks. This process cooks them *just* enough to stabilize the filling and prevent any grainy texture, which is the downfall of so many other recipes. Trust me, I’ve tested every version, and this cautious approach guarantees that velvety feel every single time.
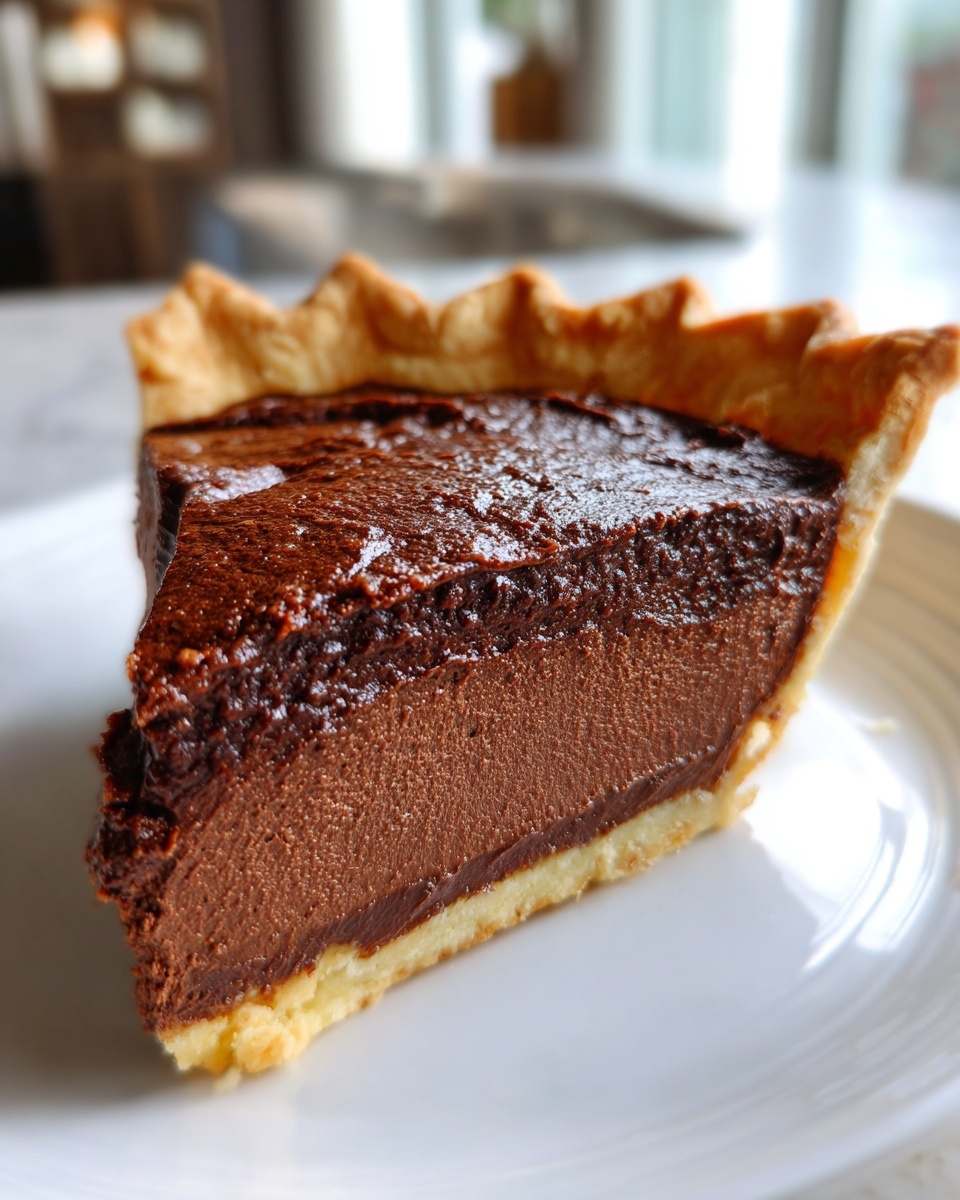
The Perfect Flaky Crust for Your French Silk Pie
A pie this rich deserves a sturdy, buttery partner. We’re using a classic flaky crust here because its crisp texture is the perfect counterpoint to the soft, yielding interior. If you’re short on time, though, don’t stress! You can absolutely swap in a pre-made crust or press an Oreo crust into the pan. That chocolate-on-chocolate combination is fantastic, though it changes the overall mouthfeel from light to deeply decadent.
Gathering Ingredients for Your Decadent French Silk Pie
Okay, let’s get our kitchen prepped! Great baking always starts with ingredient mastery. Since this French Silk Pie relies on texture, the preparation of each component is non-negotiable. You don’t need a million things, but what you do need must be perfect. Make sure you have that 9-inch flaky pie crust chilled and waiting patiently by the time we start mixing the filling. That’s our foundation!
For the truly intense chocolate flavor we’re aiming for, use high-quality bittersweet chocolate—and please, chop it finely! We need that chocolate to melt smoothly, not struggle. When it comes to the butter, it must be genuinely softened, not melty, because we’re creaming it to incorporate air. And that heavy whipping cream? It needs to be cold so we can beat it to stiff, dramatic peaks. It’s these small preparation steps that guarantee that velvety chocolate dessert experience you’re dreaming about.
How to Make the Ultimate French Silk Pie: Step-by-Step Instructions
Alright, let’s get down to the satisfying part—putting this masterpiece together. Learning how to make French Silk Pie is all about sequence. We need to build that complex, silky structure layer by layer before we even think about chilling. Ready your mixer and let’s go!
Preparing the Chocolate Base for the French Silk Pie Filling
First up, get that bittersweet chocolate melted gently over that simmering water bath. Don’t rush this! Once it’s smooth as glass, pull it off the heat and let it cool down a bit—this is crucial so we don’t shock our yolks later on. While that’s happening, cream your softened butter with both the granulated and brown sugars until it’s super light and fluffy. Now, beat in those four egg yolks one by one, ensuring each one is fully incorporated. Finally, slowly mix in the cooled melted chocolate, vanilla, and the strong, cooled coffee until it’s just uniform. See how thick and rich that base looks? That’s exactly what we want.
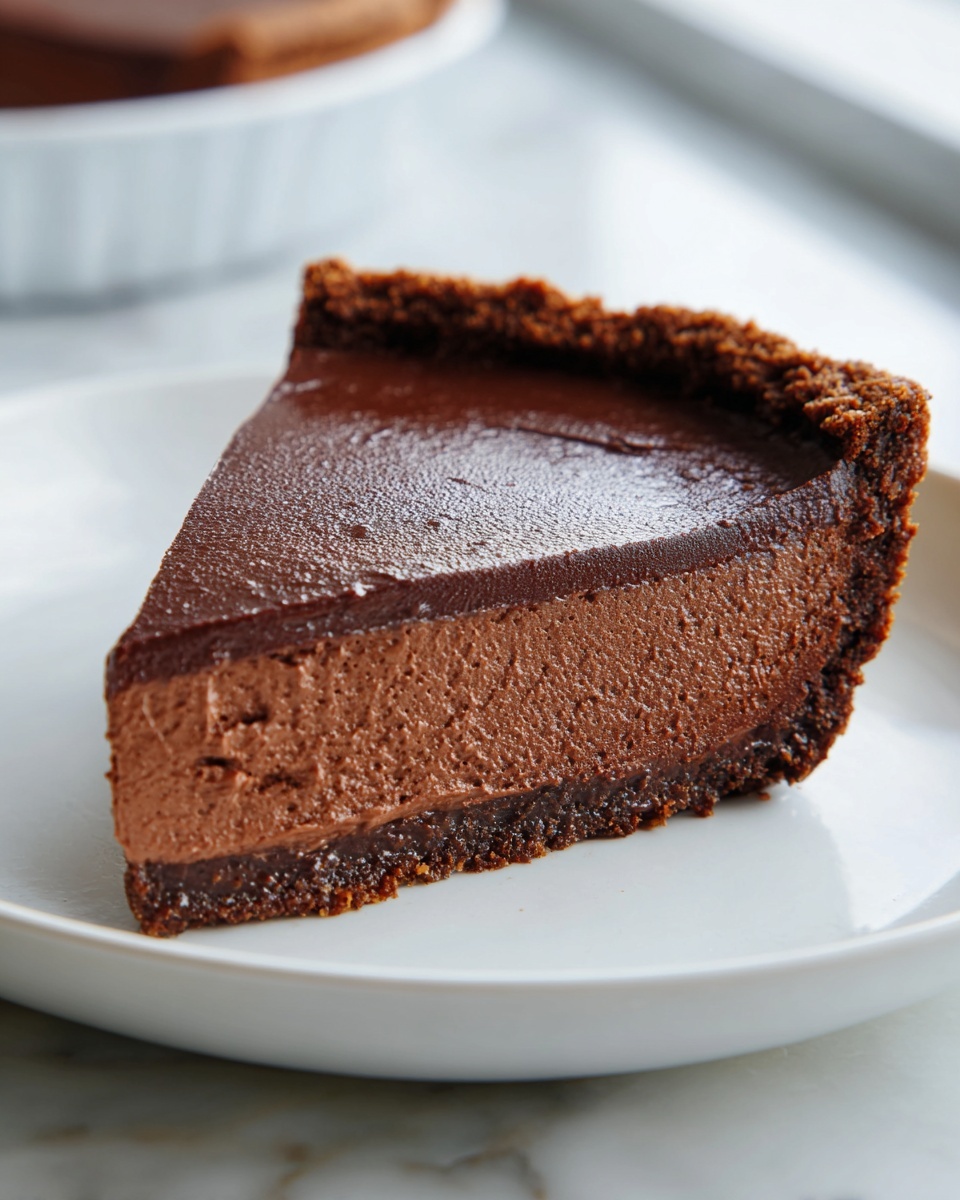
Folding the Whipped Cream into the Rich Creamy Pie Filling
This next step is where the magic happens—this is what turns a dense chocolate ganache into a glorious, airy chocolate mousse. Whip your heavy cream and powdered sugar until you have firm, stiff peaks. These peaks are what give our French Silk Pie its lift! Now, don’t just dump it all in! Take about one-third of that beautiful whipped cream and gently fold it into the chocolate base first. This lightens the chocolate mixture. Once that’s combined, *carefully* fold in the remaining whipped cream, using that cut-down-the-middle-and-sweep-up technique. You are aiming for uniformity without knocking out all that gorgeous air. Stop folding the second you don’t see white streaks for that perfect rich creamy pie filling.
Setting and Serving Your Perfect French Silk Pie
Spoon that beautiful, airy filling into your chilled, unbaked crust—I love using my homemade flaky crust for this. Smooth the top gently with an offset spatula. Then comes the hardest part: waiting! Cover it lightly so the plastic wrap doesn’t stick to the top, and let it chill for a minimum of six hours, but honestly, overnight is always better. When it’s beautifully firm, garnish it with fresh whipped cream and chocolate curls. A little trick for clean slices: dip your knife in hot water and wipe it dry between every cut. That warm knife glides right through the filling!
Tips for a Foolproof French Silk Pie Experience
Even though this recipe is pretty resilient, success often comes down to handling the small details. We want that intensely chocolatey, velvety chocolate dessert experience every single time, so let’s talk cheats and cleanup. Don’t forget that chilling time is your secret weapon—it’s non-negotiable if you want a sliceable pie!
Crust Options: Flaky vs. Cookie Base for Your French Silk Pie
If the idea of a homemade flaky crust feels like too much fuss after making that filling, I have a super simple solution. For a fantastic cookie crust, take about two cups of finely crushed chocolate wafers—Oreos work perfectly, just scrape out the white filling first—and mix them with about six tablespoons of melted, unsalted butter. Press that mixture firmly into your pie plate and then pop it in the freezer while you work on the chocolate base. It sets up beautifully and gives you that wonderful textural contrast without any oven time!
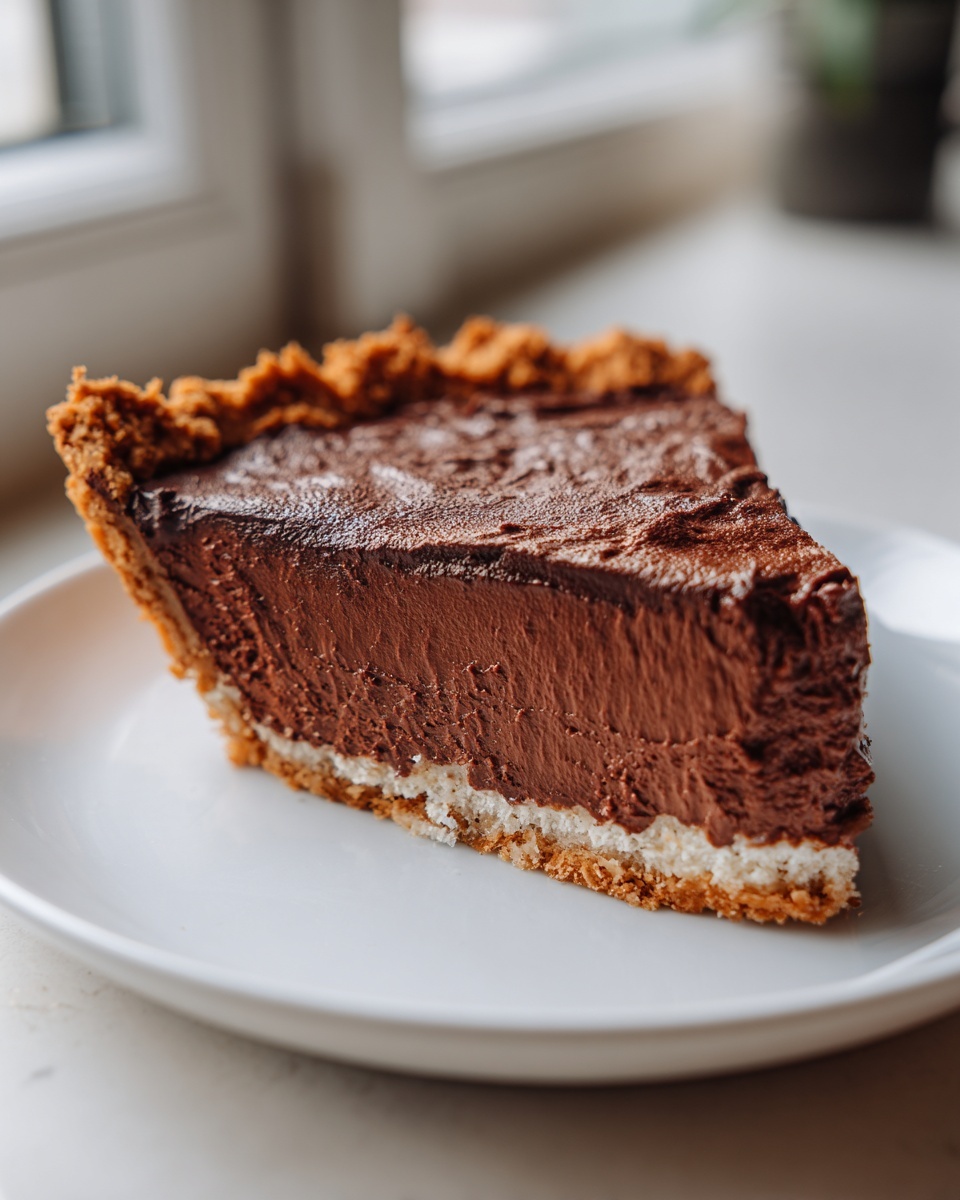
No matter which crust you choose, remember to chill it completely before adding the filling. A cold crust keeps the bottom of that gorgeous filling firm. If you ever want more general baking wisdom, pop over to my baking archives for more inspiration!
Variations on the Classic French Silk Pie Recipe
I love that the classic French silk pie recipe has inspired so many twists over the years! While my heart belongs to this deeply chocolatey, egg-tempered version, I know not every baking adventure needs to follow tradition exactly. People often write in asking about different crusts or methods, which is totally understandable when you’re looking for that perfect dessert timeline.
One variation that always pops up online is the Joanna Gaines French Silk Pie. I’ve seen wonderful results from that version, especially if you prefer a different crust texture. It’s always inspiring to see how home cooks adapt these beloved French-inspired desserts to fit their own timing and preferences. If you’re curious about that specific take on the recipe, feel free to check out what my friends over at Clean Table Kitchen have shared about their experience with Joanna Gaines’ version; it looks just as rich and gorgeous as ours!
Exploring No-Bake Chocolate Pie Alternatives
Now, let’s talk about the no-bake crowd, because sometimes you just need something set in the fridge, not the oven. This recipe, while wonderfully simple because we don’t bake the crust, still relies on gently cooking the egg yolks for that supreme silkiness. A true no-bake chocolate pie usually relies entirely on gelatin, cream cheese, or stabilized pudding mixes to set up, which results in a slightly different, often denser, texture.
If you are making this for speed, remember the chilling time here is still necessary to firm up that spectacular mousse filling. While you skip the oven time, you can’t skip the overnight chill if you want anything close to this decadent, airy slice. Personally, I find the richness achieved by tempering the yolks is worth the wait over a completely cold-set, gelatin-based pie, but I respect the need for speed sometimes!
Serving Suggestions for Your Impressive Chocolate Dessert
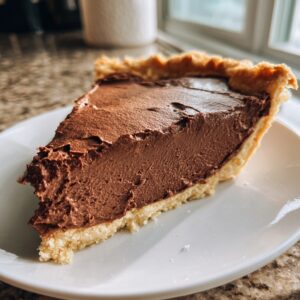
When you pull this French Silk Pie out of the fridge, you want the whole table to stop and stare! Because this pie is so rich and dark, simple garnishes shine the brightest. A generous crown of freshly whipped cream—maybe with a dash of vanilla or a sprinkle of cocoa powder—elevates it instantly. For true holiday flair, use a vegetable peeler to create lovely, delicate chocolate curls over the top; it looks so professional!
As for pairings? Because this is such a luxurious, decadent chocolate dessert, you need something that cuts through the richness. A small pour of a coffee liqueur works beautifully, or if you’re looking for wine, I often serve it with a robust Zinfandel or, for a truly festive touch during winter holiday pie recipes, a glass of my homemade mulled wine. It’s just lovely!
Storage and Make-Ahead Planning for Your French Silk Pie
One of the hidden joys of making this French Silk Pie is that it just gets better with a little resting time! Honestly, it’s the perfect dessert for holiday planning because so much of the work can be done well in advance. The chilling time isn’t just to firm up the filling; it allows those deep chocolate and coffee flavors to really marry and deepen. I like to think of that overnight rest as the final, essential step in the recipe.
You absolutely must chill the pie for at least six hours, but I’m telling you, aim for overnight if you possibly can. This ensures that when you slice into it, you get those clean edges and that enviable, mousse-like structure. If you cover it loosely—and I mean *loosely* so the plastic doesn’t touch the creamy top—the pie will stay gorgeous in the refrigerator for up to three days. Any longer, and the integrity of the whipped cream starts to change a bit.
For serious make-ahead ease, bake your flaky pie crust a day before you plan to make the chocolate filling. Once the crust is completely cooled, you can store it wrapped tight on the counter. Then, assemble the filling the morning before your event, or even the night before. This way, when your guests arrive, all you have to worry about is adding that final flourish of whipped cream and chocolate shavings right before serving. It makes for such stress-free entertaining when you serve an impressive chocolate dessert like this!
Frequently Asked Questions About Making French Silk Pie
When you’re making something as decadent as this French Silk Pie, I always save time for some quick Q&A. It’s normal to have questions when aiming for that perfect slice. Here are the things folks ask me most often after they see how beautiful this velvety chocolate dessert turns out!
Is the french silk pie filling truly safe if it contains eggs?
That is such an important question! In this recipe, we are taking the extra step to gently warm those yolks via the warm melted chocolate and coffee before we fold in the whipped cream. This process effectively tempers the eggs, making them much safer than a traditional, completely raw mix, while still letting us achieve that signature airy, smooth texture. We aim for a silky smooth pie recipe that gives you peace of mind!
Can I make this rich creamy pie filling without a mixer?
Yes, you absolutely can, but be prepared for a serious arm workout! The creaming of the butter and sugars is where we build all our air. If you are whipping by hand, you’ll need to beat that butter and those sugars for a good 5 to 7 minutes—way longer than the electric mixer requires—until it looks noticeably lighter in color and noticeably fluffy. Keep working at it until you start breaking down the sugar! The key to the rich creamy pie filling is that air, so go slow and steady with your whisk or wooden spoon.
What if my filling isn’t setting properly?
Nine times out of ten, this comes down to two things: either you under-whipped your heavy cream to stiff peaks, or you didn’t chill it long enough. The whipped cream is the scaffold holding up all that chocolate goodness! If it seems loose after the minimum chilling time, just push it back into the fridge for a few more hours. Patience is the final ingredient in any great holiday pie recipes.
Estimated Nutritional Snapshot for This Decadent Chocolate Dessert
Because this French Silk Pie is certainly an indulgence—a true showstopper for your next gathering—I always feel it’s important to give you a ballpark idea of what’s in that glorious slice. Remember, this is based on a single serving, using standard ingredients listed in the recipe, and cutting the yield generously into 8 slices. As with any rich dessert, it’s best enjoyed mindfully!
Here is the estimated breakdown for one slice of this decadent chocolate dessert:
- Calories: Approximately 450
- Fat: Around 32g (This is where the richness comes from, folks!)
- Carbohydrates: About 38g
- Sugar: Near 35g
- Protein: Approximately 6g
I always say that if you are going to indulge, you should indulge completely! And this pie delivers on flavor in spades. Think of this as a benchmark—your actual numbers might shift slightly depending on the specific brand of chocolate or butter you use up for your rich creamy pie filling. Enjoy every bite!
PrintThe Ultimate Velvety French Silk Pie: Rich, Classic Chocolate Filling & Perfect Flaky Crust
Create a truly decadent French Silk Pie with a rich, creamy, mousse-like chocolate filling and a buttery, flaky crust. This recipe focuses on achieving a silky smooth texture for an impressive holiday dessert.
- Prep Time: 30 min
- Cook Time: 0 min
- Total Time: 6 hours 30 min
- Yield: 8 servings 1x
- Category: Dessert
- Method: Chilling
- Cuisine: French Inspired
- Diet: Vegetarian
Ingredients
- 1 (9-inch) unbaked, flaky pie crust
- 8 ounces bittersweet chocolate, finely chopped
- 1/2 cup unsalted butter, softened
- 1/4 cup granulated sugar
- 1/4 cup packed light brown sugar
- 4 large egg yolks
- 1 teaspoon vanilla extract
- 1/4 cup strong brewed coffee, cooled
- 1 cup heavy whipping cream
- 1/4 cup powdered sugar
- Chocolate shavings, for garnish
Instructions
- Prepare your 9-inch flaky pie crust and chill it while you make the filling.
- Melt the bittersweet chocolate in a heatproof bowl set over a saucepan of simmering water (a double boiler). Stir until smooth, then remove from heat and set aside to cool slightly.
- In a large bowl, beat the softened butter, granulated sugar, and brown sugar with an electric mixer until the mixture is light and fluffy.
- Beat in the egg yolks one at a time, mixing well after each addition. Scrape down the sides of the bowl.
- Beat in the cooled melted chocolate, vanilla extract, and cooled coffee until just combined. The mixture will be thick.
- In a separate, clean bowl, whip the heavy cream and powdered sugar until stiff peaks form. This whipped cream must be firm to give the filling its structure.
- Gently fold one-third of the whipped cream into the chocolate mixture to lighten it. Then, carefully fold in the remaining whipped cream until no white streaks remain. Do not overmix; you want to keep the air in the mixture for that velvety texture.
- Spoon the chocolate filling evenly into the chilled, unbaked pie crust. Smooth the top with an offset spatula.
- Cover the pie loosely with plastic wrap, avoiding contact with the filling surface. Chill in the refrigerator for at least 6 hours, or preferably overnight, until the filling is completely set and firm.
- Before serving, top the chilled pie generously with additional fresh whipped cream (if desired) and garnish with chocolate shavings. Slice with a warm knife for clean cuts.
Notes
- For the silkiest texture, ensure your melted chocolate is not hot when you add it to the butter mixture.
- If you prefer a cookie crust, use 2 cups of finely crushed chocolate wafer cookies mixed with 6 tablespoons of melted butter, pressed into the pie plate, and chilled.
- This recipe uses gently cooked eggs (via the warm chocolate/coffee mixture) to create a classic, rich base, addressing concerns about raw eggs while maintaining authenticity.
- To achieve the perfect fold, use a large rubber spatula and cut down through the center of the whipped cream, then sweep up and over, turning the bowl as you go.
Nutrition
- Serving Size: 1 slice
- Calories: 450
- Sugar: 35g
- Sodium: 150mg
- Fat: 32g
- Saturated Fat: 18g
- Unsaturated Fat: 14g
- Trans Fat: 0.5g
- Carbohydrates: 38g
- Fiber: 3g
- Protein: 6g
- Cholesterol: 120mg