
The holidays have this amazing way of making our kitchens feel warm and full of life, but let’s be honest—they can also bring a wave of oven-space panic! I remember years ago, trying to fit a giant casserole of stuffing, a turkey, and three sides all into one oven. It was chaos! That’s when I turned my full attention toward creating the perfect stuffing balls recipe. My culinary training has taught me that precision matters, especially when dealing with classics, ensuring you get that incredible balance: shatteringly crispy on the outside and wonderfully tender and savory inside.
Shaping that delicious stuffing into neat little orbs solves so many hosting problems. They become the ultimate party appetizers that disappear first from the platter. Trust me, once you try this structured approach, you’ll never go back to scooping plain stuffing from a pan again. This recipe is rigorously tested to deliver elegance without the stress, just as I promise here at Unfold Recipes.
- Why This Stuffing Balls Recipe Is Your New Holiday Essential
- Gathering Ingredients for the Classic Herb Stuffing Balls Recipe
- Step-by-Step Instructions for Your Stuffing Balls Recipe
- How to Make Stuffing Balls Recipe Variations (Turkey Stuffing Balls and Sausage Stuffing Balls)
- Tips for Success with Your Herb Stuffing Balls Recipe
- Serving Suggestions for This Flavorful Stuffing Balls Recipe
- Frequently Asked Questions About Your Stuffing Balls Recipe
- Estimated Nutritional Snapshot for the Stuffing Balls Recipe
- Share Your Perfect Stuffing Balls Recipe Experience
Why This Stuffing Balls Recipe Is Your New Holiday Essential
Honestly, for years, stuffing was the bottleneck during my big holiday dinners. Everything hinged on that one big casserole dish taking up precious real estate in the oven. When I started turning my classic make ahead side dishes into these perfect, individual stuffing balls, my entertaining stress completely evaporated! They bake faster, are brilliant for portion control (no more fighting over the slightly burnt corners!), and frankly, they are just more fun to serve.
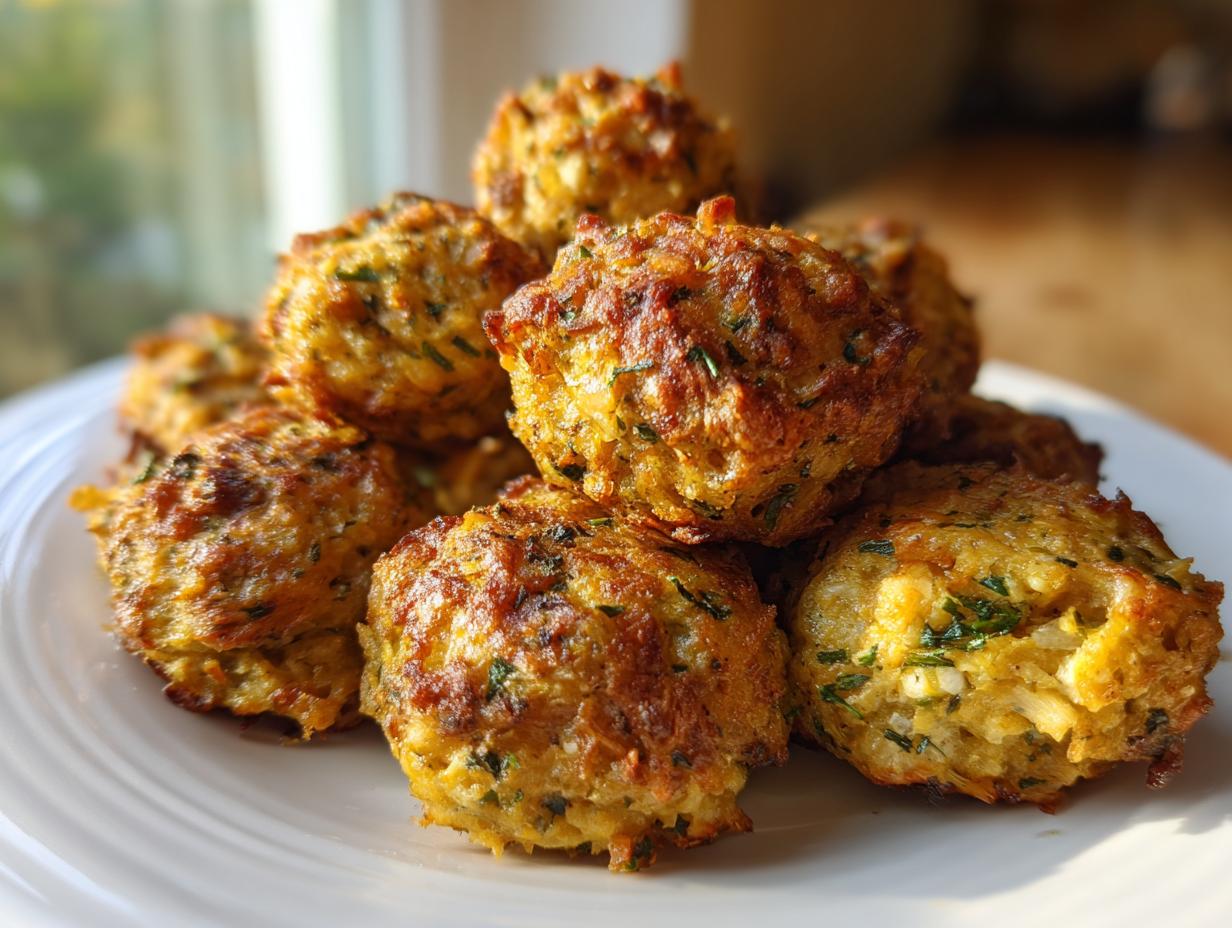
These little bites elevate simple stuffing into a true holiday side dish that guests immediately recognize as special. They look so elegant on a serving tray, making them instant party appetizers before the main event even hits the table. It’s an effortless way to bring sophistication to your comfort food.
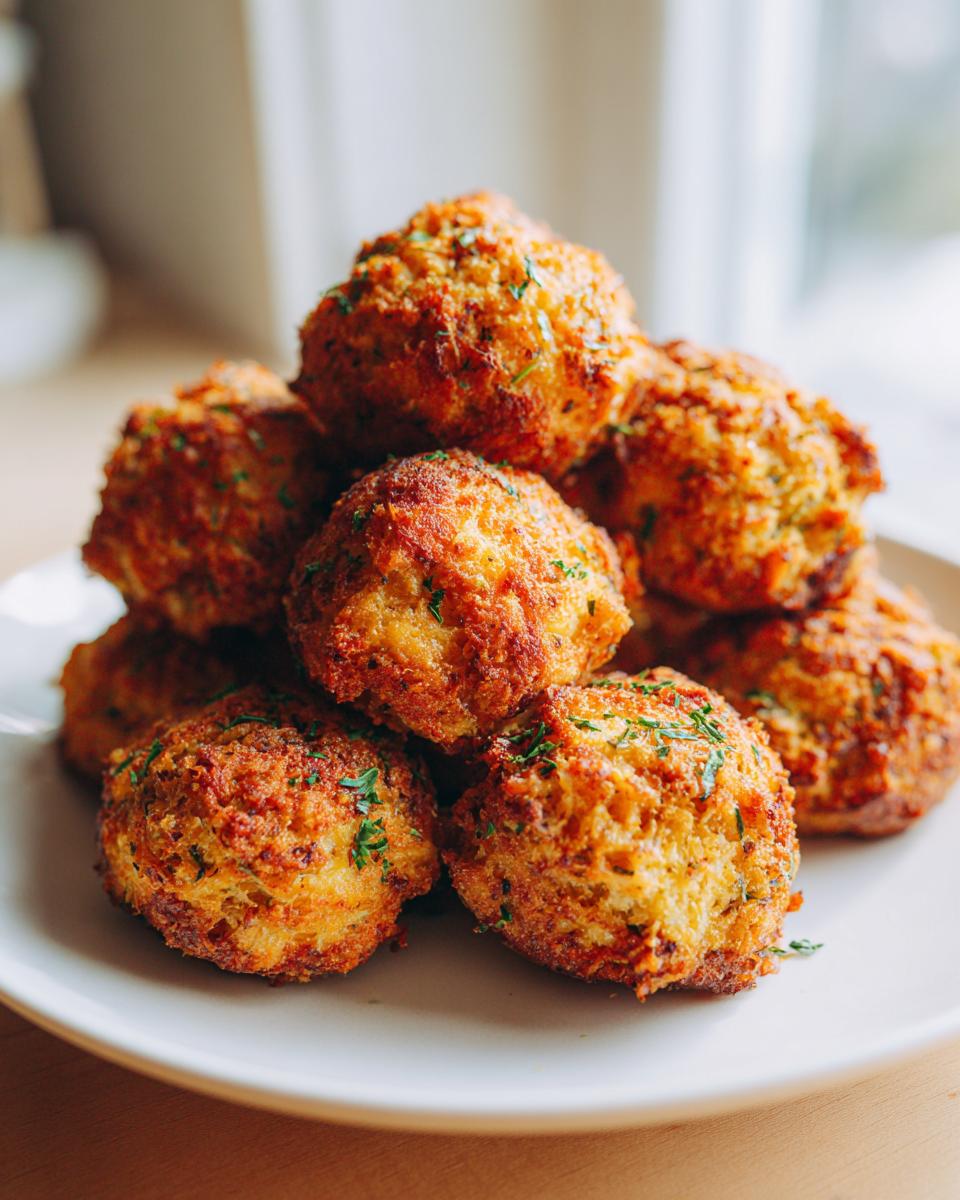
Achieving the Perfect Crispy Stuffing Balls Recipe Texture
That textural contrast is everything, isn’t it? We are hunting for that golden, audible crunch on the exterior, right? The secret here lies in two things: ensuring your bread cubes are properly dried out first, and then, during the sauté, we are using just enough broth and butter—no swimming, just saturation. Baking them individually on parchment allows the hot air to circulate around every ball, crisping up the surface uniformly while the center stays delightfully soft and herbaceous.
Gathering Ingredients for the Classic Herb Stuffing Balls Recipe
When you are building a recipe that needs to hold its perfect shape like this, the quality of your ingredients really shines through. I insist on using only high-quality components here because there’s no hiding when you’re dealing with simple, classic flavors. Remember, this is the foundation for that amazing texture we talked about, so pay close attention to the bread!
You absolutely must start with 10 *cups of dried bread cubes*. If you use fresh bread, the liquid balance throws right off, and you end up with mush, not a ball. For maximum flavor integration, make sure your onion and celery are very finely chopped; this ensures they soften beautifully while baking and infuse every bite evenly. We want that delicious herbaceous note from the sage, thyme, and rosemary to be front and center. If you want to see how I approach the full classic stuffing, check out my post on the classic homemade stuffing recipe.
Here is the simple list you’ll need to gather before we mix:
- 10 cups dried bread cubes (about 1 standard loaf)
- 1 cup chicken or vegetable broth
- 1/2 cup unsalted butter
- 1 large yellow onion, finely chopped
- 2 celery stalks, finely chopped
- 2 teaspoons dried sage
- 1 teaspoon dried thyme
- 1/2 teaspoon dried rosemary
- 1/2 teaspoon salt
- 1/4 teaspoon black pepper
- 2 large eggs, lightly beaten
- 1/2 cup fresh parsley, chopped
Step-by-Step Instructions for Your Stuffing Balls Recipe
Alright, we’re moving into the creative phase now! Turning flat stuffing into perfectly round appetizers requires just a little bit of mindful assembly. I always approach the instructions in phases—getting the base ready, mixing carefully, and then the rolling. You’ll find this approach keeps everything neat and ensures you get that beautiful, cohesive ball that won’t crumble when you try to pick it up. For more baking confidence in general, take a peek at my tips on baking savory sides.
The most crucial thing to remember here is gentleness. We are not making meatballs! Overmixing the liquid into the bread cubes releases too much starch and results in dense, heavy balls instead of light, savory bites. Follow these steps closely, and you’ll have the best holiday side dish ready in under an hour, total!
Preparing Aromatics and Combining Dry Ingredients for the Stuffing Balls Recipe
First things first, get that oven warmed up to 375°F and get your baking sheet ready. In a large bowl, toss all your dried bread cubes with the dried herbs, salt, and pepper. While that sits, melt your butter in a skillet. You need to cook the onion and celery until they are truly soft—don’t rush this sauté; aim for a full 8 minutes. Once soft, add your broth and let it simmer just briefly before pouring that whole savory liquid mixture over your dry bread base. Give it a gentle toss.
Forming and Baking the Perfect Stuffing Balls Recipe Portions
Now it’s time to invite the binder: add your lightly beaten eggs and the fresh parsley. Stir just until everything is incorporated; you might see a few dry streaks—that’s fine, leave them! Let the mixture rest for 10 minutes; this resting is non-negotiable as it lets the bread fully soak up the moisture evenly. Next, use a tablespoon or a dedicated small cookie scoop. Roll the mixture firmly between your palms into balls about 1.5 inches wide. Place them on your sheet and bake them for 20 to 25 minutes. They are done when they look gorgeously golden brown and have that satisfying crispy shell.
How to Make Stuffing Balls Recipe Variations (Turkey Stuffing Balls and Sausage Stuffing Balls)
This classic herb base is delightful on its own, but I know what you’re thinking: how do I jazz this up for an even bigger feast? Many of you immediately ask about adding meat, and honestly, they turn out fantastic! If you have leftovers or want a heartier appetizer, transforming these into turkey stuffing balls or sausage stuffing balls is incredibly simple.
For the turkey version, it’s an easy way to use up roasted meat. Just mix about one cup of cooked, shredded turkey right into the mixture after you’ve added the broth but before you add the eggs. It blends right in. If you prefer pork flavor, go for the sausage! You’ll need about a half-pound of breakfast sausage, which you brown first, drain slightly, and then add to the skillet along with your onions and celery in Step 3.
These variations pack so much flavor, making them fantastic hearty sausage stuffing recipe cousins of the original. They bake the exact same way, so don’t worry about adjusting your time or temperature. See? Versatility is key when entertaining!
Tips for Success with Your Herb Stuffing Balls Recipe
Creating perfectly formed stuffing balls is really about knowing what to do when the mixture feels a little “off.” I see this most often when people are worried about dryness. If, after the initial rest period, you squeeze a bit of the mixture and it crumbles apart instantly, don’t panic! Just stir in more broth, one tablespoon at a time, until it holds its shape when you gently squeeze it. This little adjustment is the difference between a perfect sphere and a baking disaster.
Also, these are fantastic make ahead side dishes, which is a lifesaver during busy times! You can roll them completely, cover them tightly, and pop them into the refrigerator for up to 24 hours before baking. If you bake them straight from the fridge, just tack on about five extra minutes to the baking time so they warm through properly before they golden up. Efficiency meets elegance, friend!
Serving Suggestions for This Flavorful Stuffing Balls Recipe
While these stuffing balls are absolutely brilliant right alongside a roast turkey or chicken, I love thinking outside the traditional serving dish. Because they are perfectly portioned, they make wonderful stand-alone comfort food sides for nearly any meal, not just the big feasts. They look so charming scattered on a platter at a casual gathering.
Seriously, don’t underestimate what a great dip can do for these savory bites! They are phenomenal paired not just with a rich gravy—though I highly recommend my foolproof recipe—but they also balance beautifully with something bright. Think about serving them with a homemade cranberry sauce, perhaps one spiked subtly with orange zest. That sweet-tart contrast against the earthy sage and thyme is just heavenly. They are designed to be enjoyed everywhere, soak up all that flavorful moisture, and make everyone ask for seconds!
Frequently Asked Questions About Your Stuffing Balls Recipe
It’s natural to have questions when adapting a main recipe, especially when you are aiming for something as specific as perfectly formed stuffing balls recipe portions. I always get asked about ingredient swaps or how to handle leftovers, since these are such popular Thanksgiving appetizers and sides. Let’s clear up a few things right here so you can bake with total confidence!
Can I use fresh bread instead of dried bread cubes in this stuffing balls recipe?
That’s a great question about swapping ingredients! While I strongly recommend dried bread for this specific sphere shape, if you must use fresh bread, you need to drastically cut back on the broth. Fresh bread has so much moisture already, and if you add the full amount of liquid, you’ll end up with something closer to dressing—it just won’t hold its small, crispy stuffing balls recipe shape when baking. You’ll likely need to reduce the broth by half, maybe even more, and add it very slowly until the mixture kneads together like a thick dough.
What is the best way to store leftover stuffing balls recipe portions?
Because these are already portioned, storage is a breeze! Once they are completely cooled after baking, you can store any leftover stuffing balls recipe portions in an airtight container in the refrigerator for up to three days. They reheat beautifully. I prefer to spread them on a fresh baking sheet and warm them in a 350°F oven for about 8 to 10 minutes. This gives them back that lovely crunch we worked so hard to achieve!
Estimated Nutritional Snapshot for the Stuffing Balls Recipe
It’s good practice, especially when serving big meals, to have a general idea of what everyone is enjoying. Please keep in mind that these numbers are estimates based purely on the classic herb recipe ingredients listed above—your salt, butter, or the broth you choose will definitely shift these figures! If you were to add sausage or turkey, the protein and fat content would naturally go up.
- Serving Size: 1 ball
- Calories: 180
- Fat: 10g
- Carbohydrates: 20g
- Protein: 4g
- Sodium: 280mg
This is a fantastic, moderate snack size for a flavorful Thanksgiving side dish!
Share Your Perfect Stuffing Balls Recipe Experience
Now that you have made these spectacular, perfectly crisp, and savory bites, I would absolutely love to see them shine on your table! Did you stick to the classic herbs, or did you sneak in some cranberry? Please leave a star rating right below this text—it truly helps other cooks find reliable recipes like this one. And don’t be shy; share any fun twists or success stories you had while making your stuffing balls recipe in the comments below. I read every single one!
PrintEasy Herb Stuffing Balls: A Perfect Holiday Side Dish

Create perfectly portioned, savory stuffing balls that are crispy outside and tender inside. This easy recipe transforms classic stuffing into a crowd-pleasing appetizer or holiday side dish.
- Prep Time: 20 min
- Cook Time: 25 min
- Total Time: 45 min
- Yield: 18 servings 1x
- Category: Side Dish
- Method: Baking
- Cuisine: American
- Diet: Vegetarian
Ingredients
- 10 cups dried bread cubes (about 1 standard loaf)
- 1 cup chicken or vegetable broth
- 1/2 cup unsalted butter
- 1 large yellow onion, finely chopped
- 2 celery stalks, finely chopped
- 2 teaspoons dried sage
- 1 teaspoon dried thyme
- 1/2 teaspoon dried rosemary
- 1/2 teaspoon salt
- 1/4 teaspoon black pepper
- 2 large eggs, lightly beaten
- 1/2 cup fresh parsley, chopped
Instructions
- Preheat your oven to 375 degrees Fahrenheit. Lightly grease a baking sheet.
- In a large bowl, combine the dried bread cubes, sage, thyme, rosemary, salt, and pepper.
- Melt the butter in a large skillet over medium heat. Add the chopped onion and celery. Cook until soft, about 8 minutes.
- Add the broth to the skillet and bring to a simmer. Remove from heat.
- Pour the butter and vegetable mixture over the bread cube mixture. Toss gently to coat evenly.
- Stir in the lightly beaten eggs and chopped parsley until just combined. Do not overmix.
- Let the mixture sit for 10 minutes to allow the bread to absorb the liquid.
- Scoop the mixture using a tablespoon or small cookie scoop and roll it firmly between your palms to form balls, about 1.5 inches in diameter.
- Place the stuffing balls on the prepared baking sheet, leaving a small space between each one.
- Bake for 20 to 25 minutes, or until the balls are golden brown and crispy on the outside.
- Serve warm as a Thanksgiving appetizer or holiday side dish.
Notes
- For Turkey Stuffing Balls, substitute 1 cup of cooked, shredded turkey meat into the mixture before adding the eggs.
- For Sausage Stuffing Balls, brown 1/2 pound of breakfast sausage and add it along with the onions and celery.
- If your mixture seems too dry, add broth one tablespoon at a time until it holds its shape when squeezed.
- These make-ahead side dishes can be formed and refrigerated for up to 24 hours before baking. Add 5 minutes to the baking time if baking directly from the refrigerator.
Nutrition
- Serving Size: 1 ball
- Calories: 180
- Sugar: 1
- Sodium: 280
- Fat: 10
- Saturated Fat: 6
- Unsaturated Fat: 4
- Trans Fat: 0
- Carbohydrates: 20
- Fiber: 1
- Protein: 4
- Cholesterol: 35