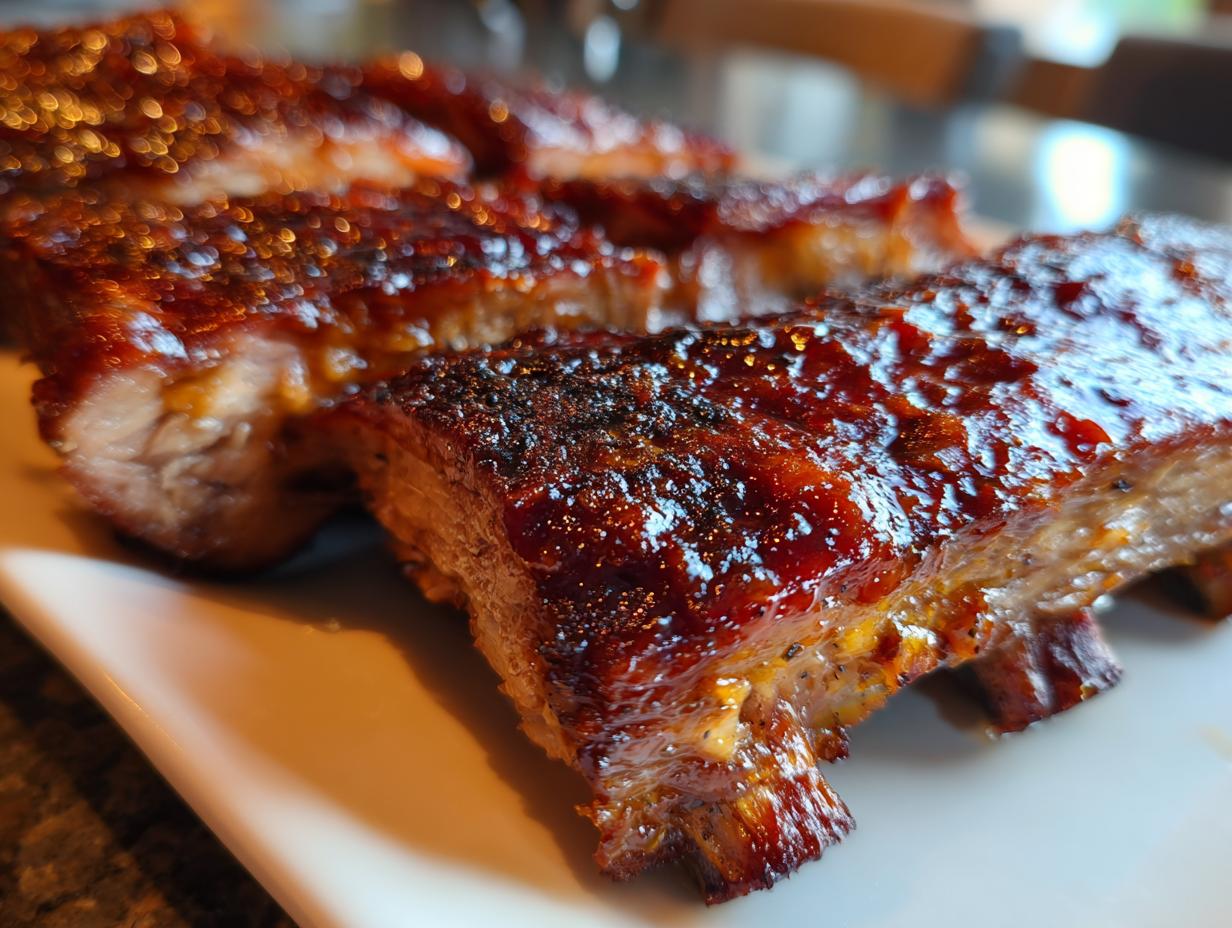
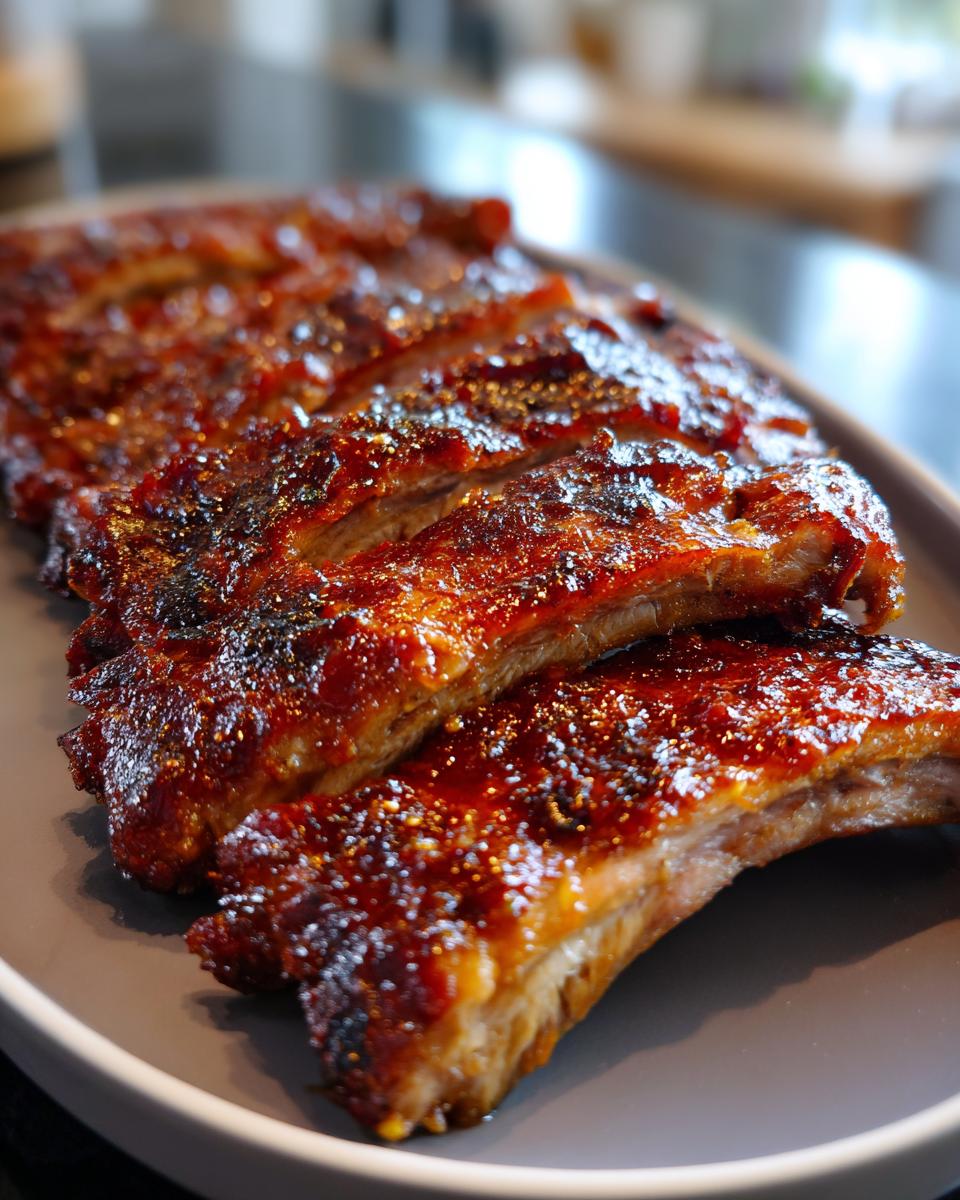
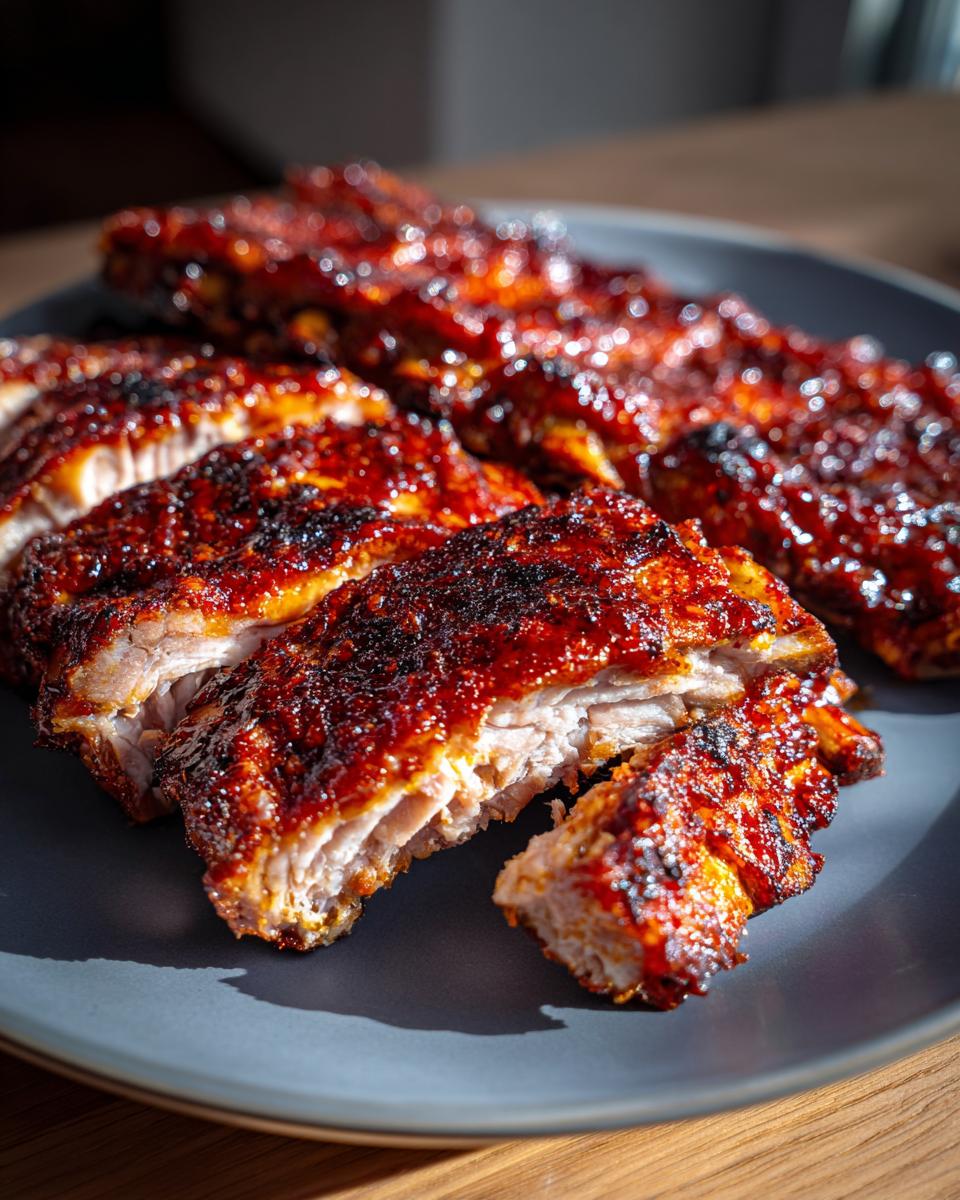
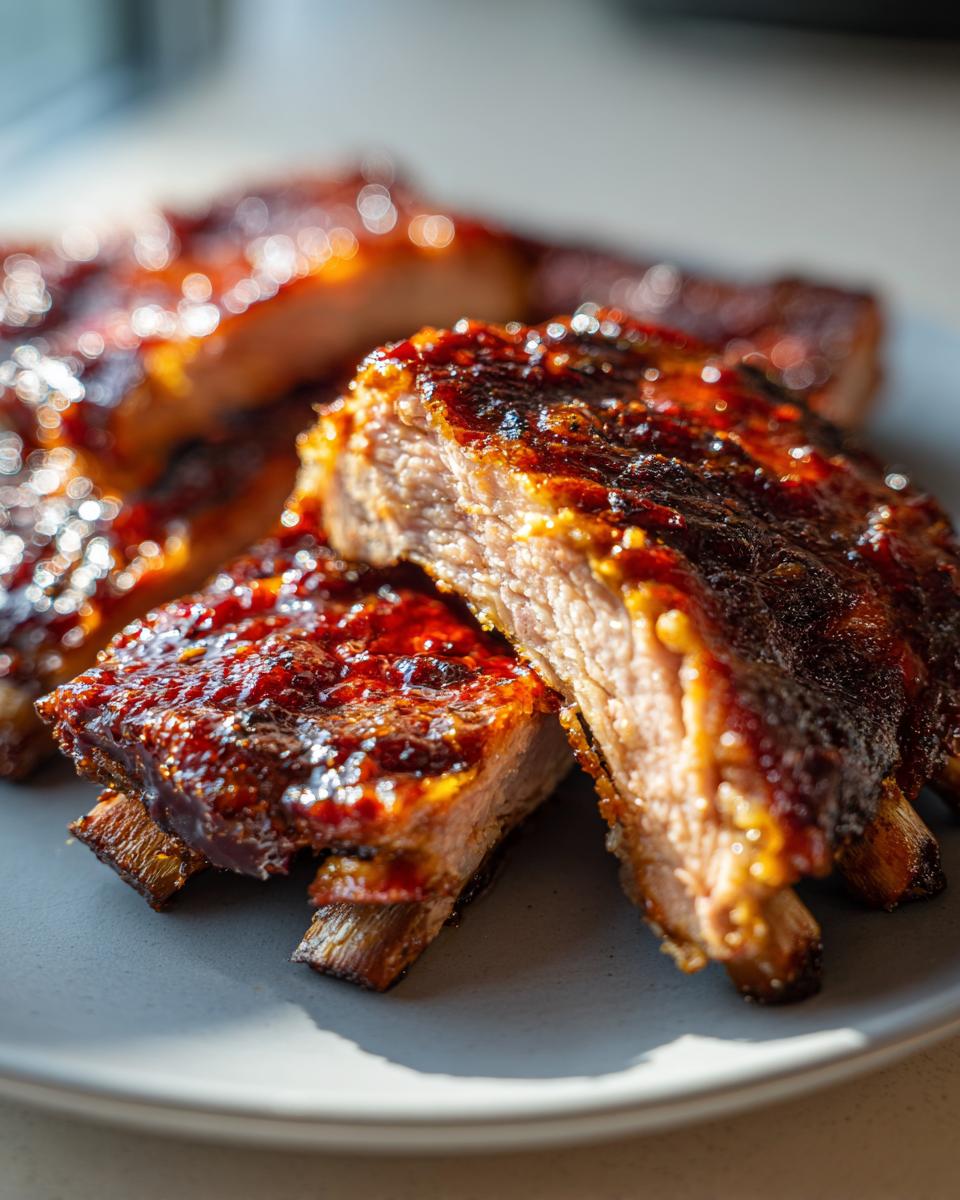
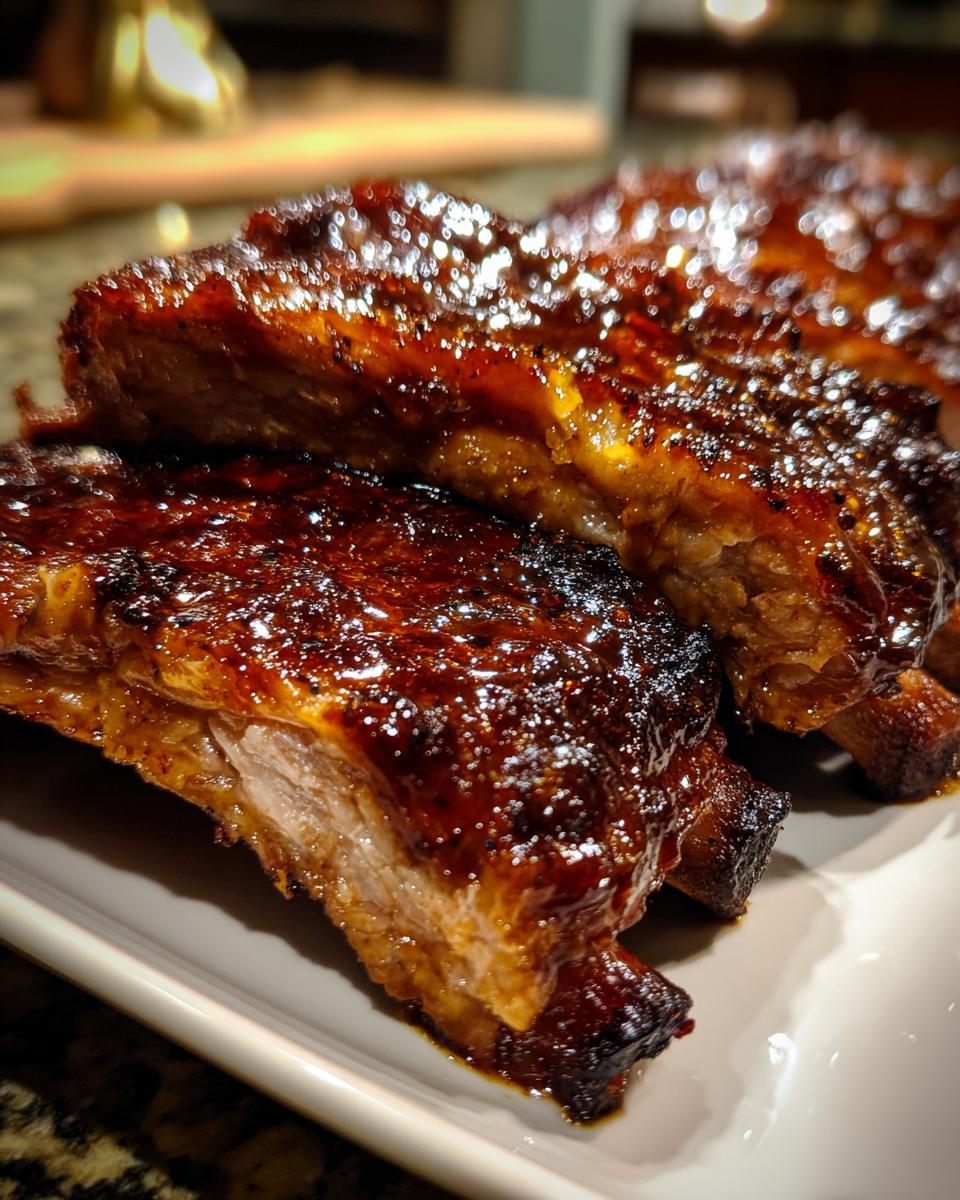
Oh, boy! There’s just something magical about a rack of perfectly cooked BBQ Baby Back Ribs, isn’t there? The kind where the meat just melts off the bone and the flavor makes you close your eyes with pure happiness. I’ve always loved bringing that drool-worthy experience to my own table, and believe me, it’s totally doable right in your own kitchen. It’s all about finding that sweet spot between a killer dry rub and the perfect sauce or mop, and getting that tender, fall-off-the-bone texture that backyard chefs rave about.
- Why You'll Love These BBQ Baby Back Ribs
- Gather Your Ingredients for Perfect BBQ Baby Back Ribs
- Mastering the Art of Dry Rub Ribs
- Slow and Steady: Achieving Fall Off The Bone Ribs
- Sauce vs. Mop: Enhancing Your BBQ Baby Back Ribs
- Expert Tips for Unforgettable BBQ Baby Back Ribs
- Serving and Storing Your Homemade Barbecue Ribs
- Frequently Asked Questions About BBQ Baby Back Ribs
- Estimated Nutritional Information
- Share Your BBQ Baby Back Ribs Creation
Why You’ll Love These BBQ Baby Back Ribs
Seriously, these ribs are a game-changer! Here’s why you’ll be making them again and again:
- Effortless Elegance: They look and taste super fancy, but I promise they’re totally doable for any home cook.
- Flavor Explosion: That homemade dry rub is just *chef’s kiss*, and it pairs perfectly with any BBQ sauce you love.
- Melt-in-Your-Mouth Tender: We’re talking seriously fall-off-the-bone tender. Your guests will think you slaved over them all day!
- So Versatile: Whether you bake ’em or grill ’em, they turn out amazing every single time.
- Backyard BBQ Ready: Perfect for cookouts, game days, or just a delicious weeknight dinner.
- A Crowd Pleaser: These ribs never disappoint. They’re always the first to disappear!
Gather Your Ingredients for Perfect BBQ Baby Back Ribs
Alright, let’s get down to business! To make these truly irresistible BBQ Baby Back Ribs, you’ll want to grab a few things. First up, the star of the show: 3 racks of baby back ribs. Try to find ones that look nice and meaty, about 2-3 pounds each – the better the quality, the better the end result!
Then, for our killer dry rub, you’ll need: 1/2 cup of packed brown sugar (that’s the stuff that gives it that lovely brown color and moist sweetness!), 1/4 cup of paprika for that beautiful color and smoky depth, 2 tablespoons of chili powder for a little kick, and then the savory base: 1 tablespoon each of garlic powder and onion powder. Don’t forget 1 tablespoon of black pepper and, if you like a bit of heat, a teaspoon of cayenne pepper. Trust me, this rub is where the magic starts!
And for the finishing touch, you’ve got options! You can use about 1/2 cup of your favorite BBQ sauce, or whip up a simple mop sauce with 1/4 cup apple cider vinegar, 1/4 cup water, 2 tablespoons of Worcestershire sauce, and 1 tablespoon of honey. It all comes together for the most amazing ribs ever!
Mastering the Art of Dry Rub Ribs
Okay, so the secret to truly unforgettable dry rub ribs starts with this incredible spice blend! Don’t be shy with this stuff – it’s what gives the ribs that gorgeous color and deep, savory flavor that just sings. We’re talking about packed brown sugar for a touch of sweetness and caramelization, paprika for that classic smoky BBQ hue and flavor, chili powder for warmth, and then garlic and onion powder to make everything really pop. A little black pepper for bite and cayenne if you’re feeling brave!
When you make the rub, just whisk all those lovely spices together in a small bowl. Now for application: get your hands in there! Seriously, this is where you feel like a true pitmaster. Generously coat both sides of those baby backs. I like to really press it in, especially on the meaty side, to make sure it adheres well. It might look like a lot of rub, but trust me, after slow cooking, it all melds together into this amazing crust. It truly transforms simple baby back ribs into something spectacular!
Slow and Steady: Achieving Fall Off The Bone Ribs
Alright, so this is where the real magic happens to get those unbelievably tender, fall off the bone ribs. We’re going with the low and slow method because, honestly, that’s the secret sauce for baby backs. You want to preheat your oven to a nice, gentle 275°F (135°C). It might seem low, but that’s exactly what we need!
Once your oven is ready, take your beautifully rubbed ribs and lay each rack out on a big piece of heavy-duty aluminum foil. I usually double up the foil just to be safe, because nobody wants messy leaks! Wrap them up nice and snug, like little rib burritos. Then, pop those foil-wrapped ribs onto a baking sheet – this just makes them easier to handle in and out of the oven. Bake them for a good 2.5 to 3 hours. Don’t get impatient now! This slow cooking time is what breaks down all the connective tissue, making them incredibly tender.
How do you know when they’re ready? You’ll be able to wiggle a bone and feel the meat almost slide off. You can also gently press the top of the rack with your finger; it should feel really soft and yielding. If you give it a little prod with a fork, the meat should easily separate from the bone. That’s your cue that you’ve achieved peak tender perfection!
Sauce vs. Mop: Enhancing Your BBQ Baby Back Ribs
Now, let’s talk about that glorious glaze – the sauce, or as some folks call it, the mop! While our base dry rub gives incredible flavor, a little bit of liquid love at the end takes these BBQ Baby Back Ribs to a whole new level. It adds moisture, a touch of sweetness, and that beautiful sticky-sweet finish that’s just irresistible.
If you want to make a simple mop sauce, it’s super easy! In a little saucepan, just combine your favorite BBQ sauce (about half a cup), some apple cider vinegar for a bit of tang (about a quarter cup), the same amount of water, a couple tablespoons of Worcestershire sauce for depth, and a tablespoon of honey for extra gloss and caramelization. Give it a gentle simmer for about five minutes until it’s all nicely blended. That’s it!
The key is *when* you apply it. During the last 15-20 minutes is perfect. You can brush it on generously right in the oven, or if you’re grilling, that’s prime time to slather it on. It helps create that delicious, caramelized bark without burning.
Grilling for a Smoky Finish
If grilling is your jam, you absolutely have to try finishing these ribs on there! After they’re tender from the oven, fire up your grill for indirect heat. Lay those beautiful ribs directly on the grates – no foil now! – and brush them generously with your sauce. Let them hang out for about 15-20 minutes, turning and basting every few minutes. You’re looking for that lovely, slightly charred, caramelized finish that just screams summer picnic. It adds that perfect smoky touch!
Expert Tips for Unforgettable BBQ Baby Back Ribs
Alright, let’s get real for a second. While this recipe for BBQ Baby Back Ribs is pretty foolproof, a few little tricks can elevate them from great to absolutely legendary! First off, that membrane on the back of the ribs? You absolutely *have* to remove it. Slide a butter knife under it, lift it up, grab it with a paper towel (it’s slippery!) and pull it all off. It makes a HUGE difference in tenderness!
Don’t skip resting the ribs either! After they come out of the oven or off the grill, let them chill for about 10 minutes before you slice into them. This lets all those amazing juices settle back into the meat. Also, if you love a really crispy, crunchy edge, try leaving them unwrapped for the last 15 minutes of baking or grilling, maybe even under the broiler for a minute (watch them like a hawk!). And remember, you can totally tweak the spice level in the rub – more cayenne if you love heat, less if you’re sensitive!
Serving and Storing Your Homemade Barbecue Ribs
Now that you’ve made these incredible homemade barbecue ribs, what do you serve them with? Oh, the possibilities are endless! I love pairing them with classic BBQ sides like creamy coleslaw, baked beans, or some corn on the cob. A nice potato salad or some grilled corn also works beautifully. It makes for such a perfect, satisfying meal.
Got leftovers? Lucky you! Wrap them up tightly in foil or plastic wrap and pop them in the fridge. They’ll keep for a good 3-4 days. To reheat and bring back that melt-in-your-mouth tenderness, I like to wrap them again in foil and pop them back into a low oven, maybe around 300°F, for about 10-15 minutes until they’re warmed through. You can even give them a quick brush with extra BBQ sauce before warming. They’ll be almost as good as the first time!
Frequently Asked Questions About BBQ Baby Back Ribs
Got questions about making the best BBQ Baby Back Ribs? I’ve got you covered!
Can I use a slow cooker for these ribs?
Absolutely! If you’re short on time or just love your slow cooker, these work wonderfully. You’d essentially follow the same dry rub steps, then place the rubbed ribs in your slow cooker. Cook on low for 4-6 hours, or until tender. You might want to finish them under the broiler or on the grill for a few minutes to crisp them up and add BBQ sauce.
How do I know if the membrane is removed properly?
It’s super important to remove that thin, papery membrane from the bone side of the ribs! Slide a butter knife under it at one end (I usually start at the thinner end) to loosen it. Then, grab it with a paper towel – it gives you way better grip – and pull it off. If it comes off in one big piece, you’re a pro! If it tears, just get off as much as you can.
What’s the difference between baby back and spare ribs?
Great question! Baby back ribs are shorter, more tender, and come from the top part of the rib cage near the spine. They usually have less fat and a nice, meaty bite. Spare ribs are larger, meatier, and come from the lower part of the rib cage. They have a bit more marbling and a richer, fattier flavor, which some people really love! Both are delicious, just different.
Can I make the dry rub ahead of time?
Yes, you totally can! I often mix up a big batch of the dry rub and store it in an airtight container in my pantry. It stays fresh for ages and means that when the rib craving hits, you’re halfway there already. It’s a total lifesaver for impromptu BBQs!
Are these ribs best cooked in the oven or on the grill?
Honestly, both ways are fantastic for oven baked ribs! Baking them low and slow in the oven is fantastic for ensuring that tender, fall-off-the-bone texture. Finishing them on the grill adds that wonderful smoky char and caramelization. You can even do a hybrid: bake them until tender, then finish them on a medium-hot grill with sauce for about 10-15 minutes. It’s the best of both worlds!
Estimated Nutritional Information
Just a heads-up, these numbers are approximate! When you make these BBQ Baby Back Ribs, your exact nutritional values might shift a bit depending on the BBQ sauce you use or the fat content in the ribs themselves. Generally, you’re looking at around 550 calories per serving (that’s about a third of a rack), with roughly 35g of fat, 40g of protein, and 35g of carbs. Sugar and sodium can vary a lot with the sauce, so keep that in mind!
Share Your BBQ Baby Back Ribs Creation
Now that you’ve whipped up these amazing BBQ Baby Back Ribs, I’d absolutely LOVE to hear all about it! Did they turn out fall-off-the-bone tender? Was the dry rub your favorite part? Tell me everything in the comments below, and if you snapped any Insta-worthy photos, tag me! It makes my day seeing what you all create in your kitchens!
PrintBBQ Baby Back Ribs
Learn how to make tender, fall-off-the-bone BBQ baby back ribs with a flavorful dry rub and your choice of sauce or mop.
- Prep Time: 20 min
- Cook Time: 3 hours
- Total Time: 3 hours 20 min
- Yield: 6–8 servings 1x
- Category: Main Course
- Method: Baking/Grilling
- Cuisine: American
- Diet: Vegetarian
Ingredients
- 3 racks baby back ribs (about 2–3 lbs each)
- 1/2 cup packed brown sugar
- 1/4 cup paprika
- 2 tablespoons chili powder
- 1 tablespoon garlic powder
- 1 tablespoon onion powder
- 1 tablespoon black pepper
- 1 teaspoon cayenne pepper (optional)
- 1/2 cup your favorite BBQ sauce
- 1/4 cup apple cider vinegar
- 1/4 cup water
- 2 tablespoons Worcestershire sauce
- 1 tablespoon honey
Instructions
- Preheat your oven to 275°F (135°C).
- Remove the membrane from the back of each rib rack.
- In a small bowl, combine brown sugar, paprika, chili powder, garlic powder, onion powder, black pepper, and cayenne pepper (if using). This is your dry rub.
- Generously coat both sides of the ribs with the dry rub.
- Place each rack on a large piece of aluminum foil. Wrap tightly.
- Place the foil-wrapped ribs on a baking sheet.
- Bake for 2.5 to 3 hours, or until the ribs are tender.
- While the ribs are baking, prepare your mop sauce (if using). In a small saucepan, combine BBQ sauce, apple cider vinegar, water, Worcestershire sauce, and honey. Bring to a simmer over medium heat, then reduce heat and cook for 5 minutes.
- Once the ribs are tender, carefully remove them from the foil.
- If you want a crispier exterior, place the ribs directly on the oven rack for the last 15-20 minutes of cooking. Brush with mop sauce or BBQ sauce during this time.
- Alternatively, you can grill the ribs over indirect heat for 15-20 minutes, brushing with sauce, until heated through and slightly caramelized.
- Let the ribs rest for 10 minutes before slicing and serving.
Notes
- For fall-off-the-bone ribs, ensure you cook them until very tender.
- You can adjust the spice level by increasing or decreasing the cayenne pepper.
- If you prefer a saucier rib, brush generously with BBQ sauce during the last 30 minutes of oven baking or grilling.
- Consider this recipe as a base for your meal planning, complementing it with simple sides for a complete meal.
Nutrition
- Serving Size: 1/3 rack
- Calories: 550
- Sugar: 30g
- Sodium: 800mg
- Fat: 35g
- Saturated Fat: 12g
- Unsaturated Fat: 23g
- Trans Fat: 1g
- Carbohydrates: 35g
- Fiber: 2g
- Protein: 40g
- Cholesterol: 120mg

