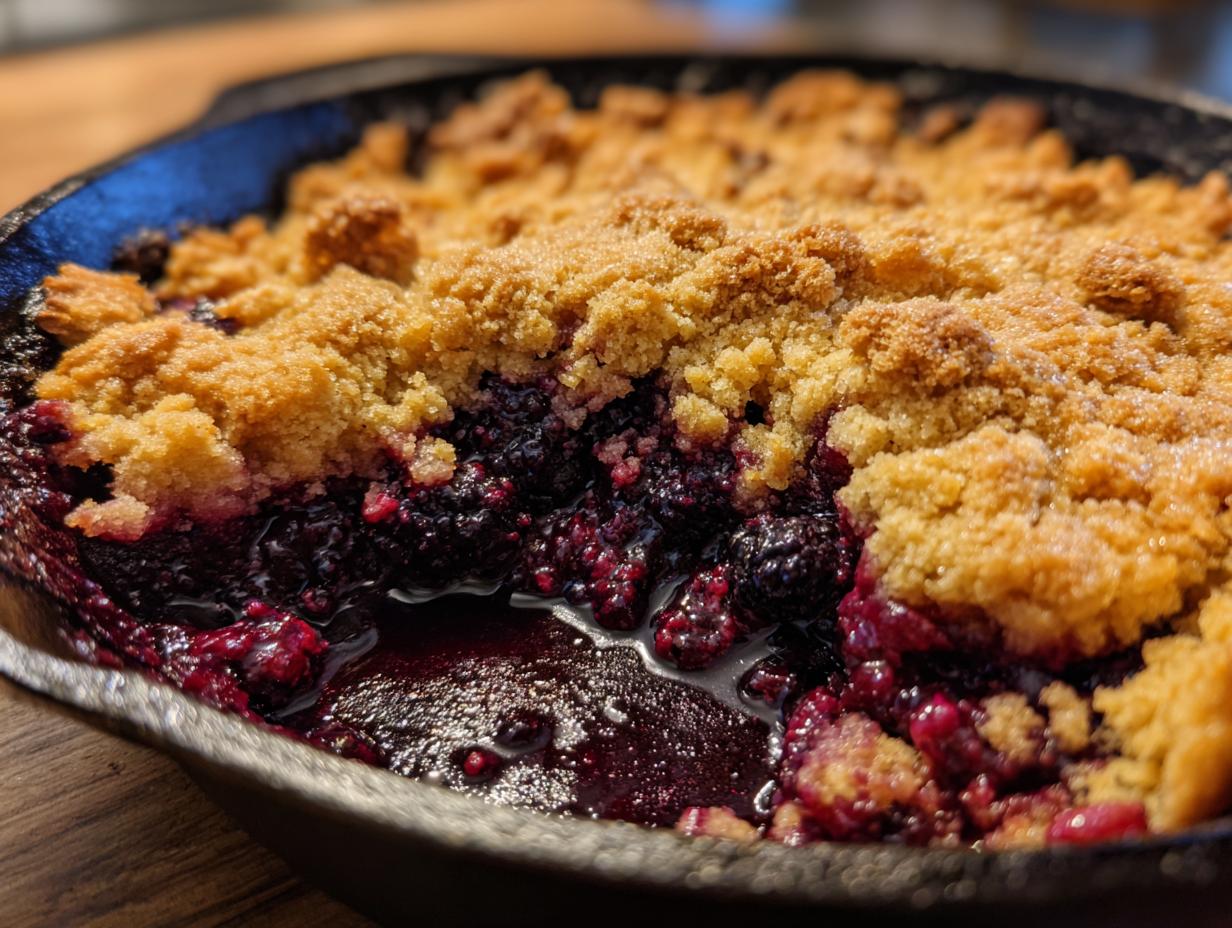

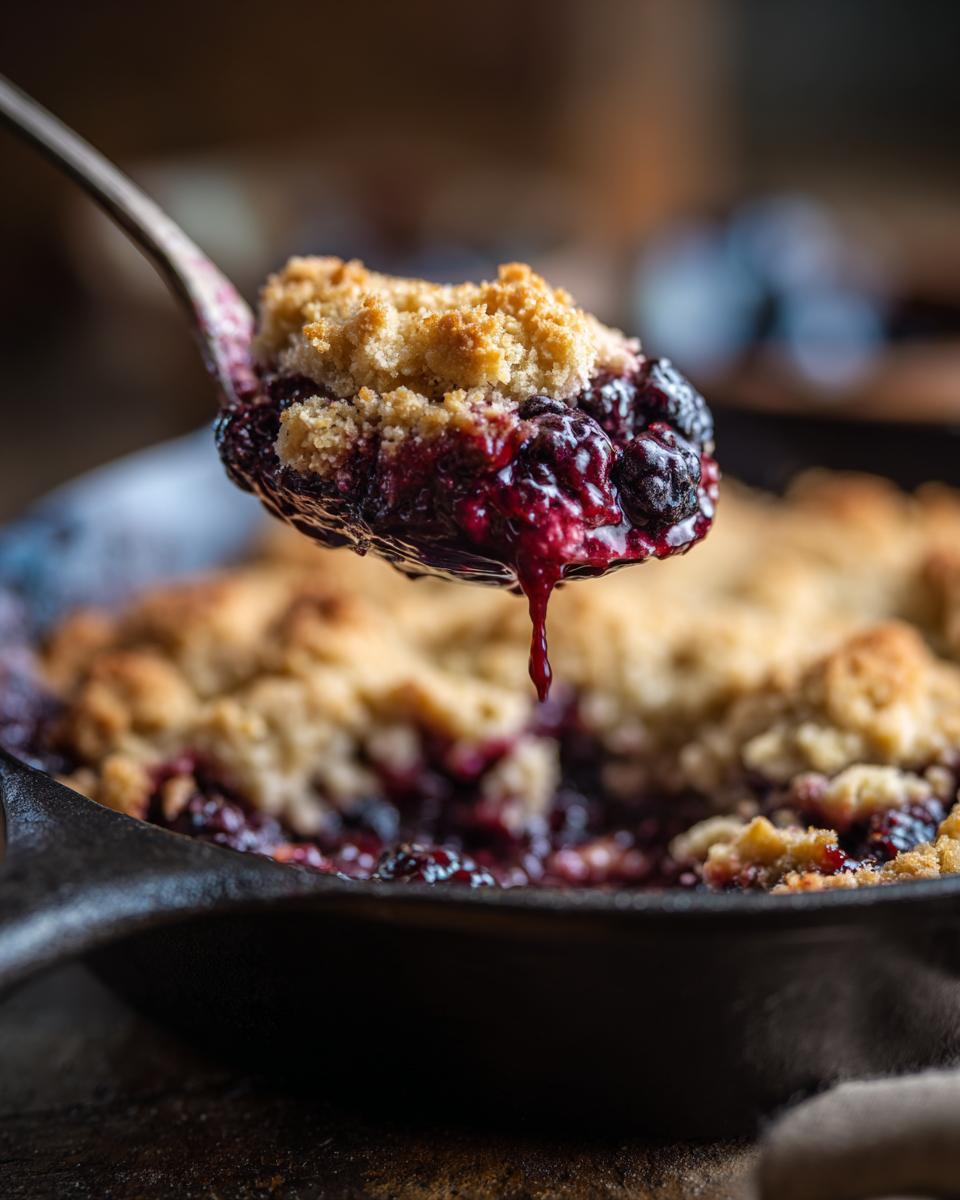
There’s something truly magical about a bubbling blackberry cobbler straight from the oven, especially when it’s served warm with a scoop of melting vanilla ice cream. It just screams summer, doesn’t it? I’m Catherine, and here at Unfold Recipes, we’re all about bringing those beautiful, impressive-yet-totally-doable moments into your kitchen. My journey started with a love for telling stories through food, blending my mom’s sunny Californian cooking with my dad’s Spanish heritage. After honing my skills in culinary school and years of recipe testing (seriously, I’ve made *a lot* of cobbler!), I’ve perfected this rustic skillet version. It’s proof that you don’t need to be a fancy chef to create something incredible that your family will adore. This easy summer dessert is the perfect way to celebrate the season!
- Why You'll Love This Blackberry Cobbler
- Skillet Cobbler Ingredients You'll Need
- How to Prepare Your Blackberry Cobbler
- Tips for the Perfect Blackberry Cobbler
- Serving and Storing Your Summer Fruit Cobbler
- Frequently Asked Questions about Blackberry Cobbler
- Nutritional Estimate for Your Blackberry Cobbler
- Share Your Rustic Blackberry Cobbler Experience
Why You’ll Love This Blackberry Cobbler
Honestly, what’s not to love about this rustic blackberry cobbler? It’s so incredibly easy to throw together, making it my go-to for those spontaneous summer gatherings or just a weeknight dessert craving. You get all the warm, spiced goodness of fresh blackberries bubbling under a tender, buttery topping. Plus, baking it right in the skillet just adds to that charming, down-home feel we all love. It’s seriously the perfect way to capture that sweet, sunny summer vibe in a dish!
Skillet Cobbler Ingredients You’ll Need
Alright, let’s talk about what you’ll need to whip up this gorgeous blackberry cobbler. When I say easy, I mean it! We’re keeping the ingredient list simple so the star is naturally those beautiful blackberries and that perfectly golden topping. Here’s what to grab:
- 4 cups fresh blackberries: Make sure they’re nice and ripe, but don’t stress if you have a few that are slightly underripe, they add a little tartness!
- 1/2 cup granulated sugar: For sweetening up those juicy blackberries plus a little sprinkle on top.
- 1/4 cup all-purpose flour: To thicken the blackberry juices just a bit.
- 1 tablespoon lemon juice & 1 teaspoon lemon zest: A little brightness never hurt anyone! It really helps the berry flavor pop.
- 1/2 teaspoon ground cinnamon & 1/4 teaspoon ground nutmeg: Our subtle spice blend that makes everything smell like home.
- 1/4 teaspoon salt: To enhance all those flavors.
- 1 cup all-purpose flour: For our delicious cobbler topping.
- 1/2 cup granulated sugar: For the topping itself.
- 1 teaspoon baking powder: To give the topping a little lift.
- 1/4 teaspoon salt: Another touch to balance the sweetness.
- 1/2 cup (1 stick) unsalted butter, cold and cut into cubes: This is key for that perfect crumbly topping!
- 1/4 cup milk: Just enough to bring the topping together.
- 1 large egg, beaten: For that lovely golden finish on the topping.
- 1 teaspoon vanilla extract: Because everything is better with a hint of vanilla!
- 1 tablespoon coarse sugar, for topping: For that extra sparkle and crunch.
How to Prepare Your Blackberry Cobbler
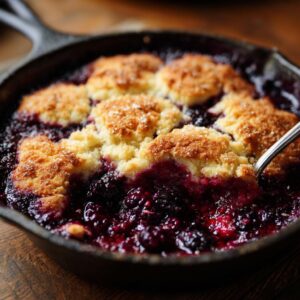
Alright, making this rustic blackberry cobbler is really the best part! It’s pretty straightforward, and honestly, the hardest part is waiting for it to bake. First things first, let’s get that oven preheated to 375 degrees Fahrenheit (that’s 190 Celsius). This ensures it’s nice and hot when your beautiful cobbler is ready to go in. Now, grab your favorite 10-inch oven-safe skillet – mine’s a cast-iron beauty that gives everything that perfect rustic char.
Preparing the Blackberry Filling
This is where the magic starts! In a medium bowl, gently toss your lovely fresh blackberries with that 1/2 cup of sugar, 1/4 cup of flour, a splash of lemon juice, some zest for brightness, and those warming spices – cinnamon and nutmeg. A pinch of salt just wakes everything up. Be gentle here; you want those berries to stay mostly intact. Once they’re all coated, pour this gorgeous, jewel-toned mixture right into your prepared skillet. Spread it out evenly, and get ready for the topping!
Making the Cobbler Topping
Now for the yummy topping! In a separate bowl, whisk together the remaining cup of flour, the 1/2 cup of sugar, baking powder, and another pinch of salt. The key to a great cobbler topping is that crumbly texture, so you’ll want to cut in your cold butter cubes. You can use a pastry blender or just your fingertips – whatever works for you! Keep going until it looks like coarse meal or little crumbs. Then, in a tiny bowl, whisk together the milk, your beaten egg, and that splash of vanilla. Pour this liquid into the flour-butter mixture and stir *just* until it comes together. Trust me, don’t overmix this part – a few little streaks of flour are totally fine. We want tender, not tough!
Assembling and Baking Your Skillet Cobbler
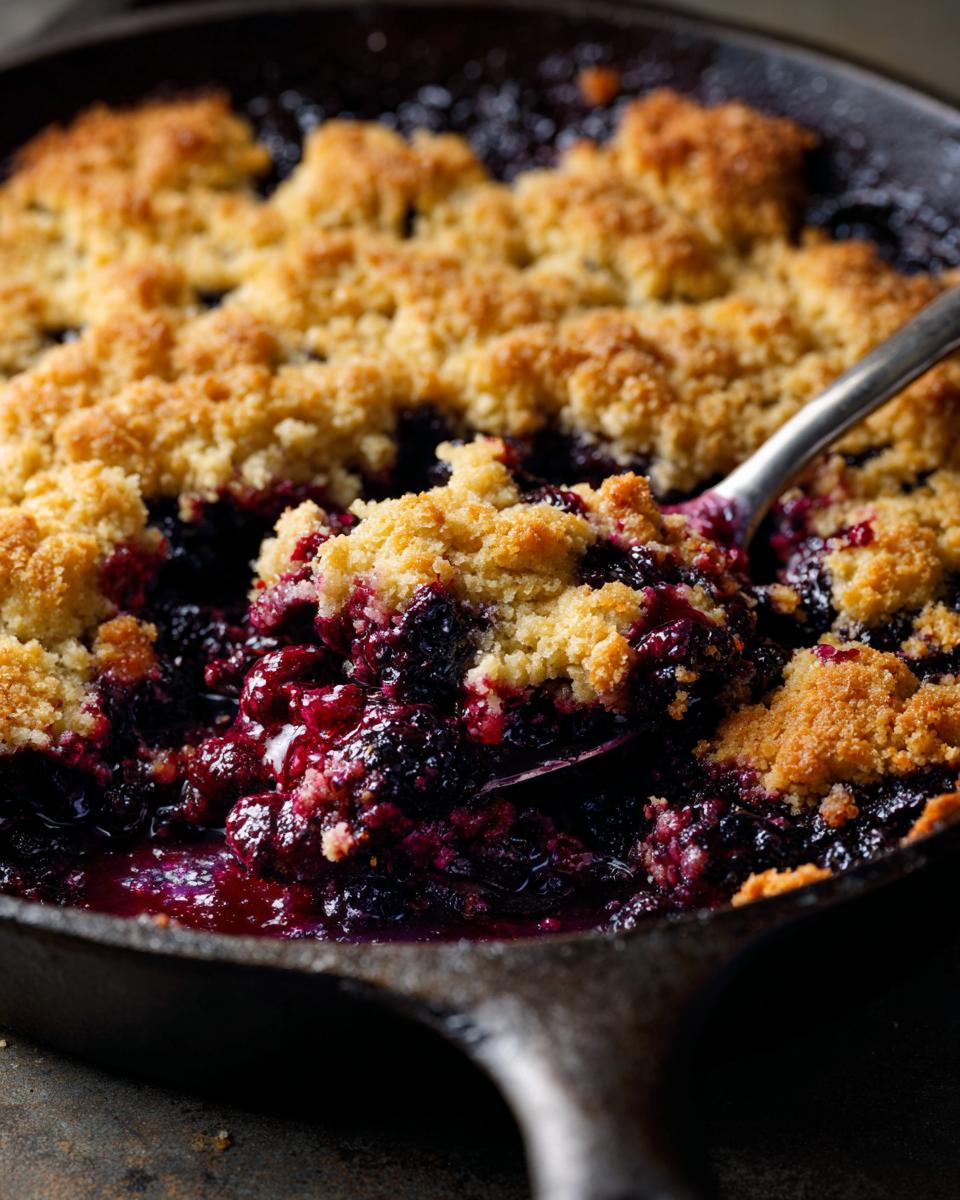
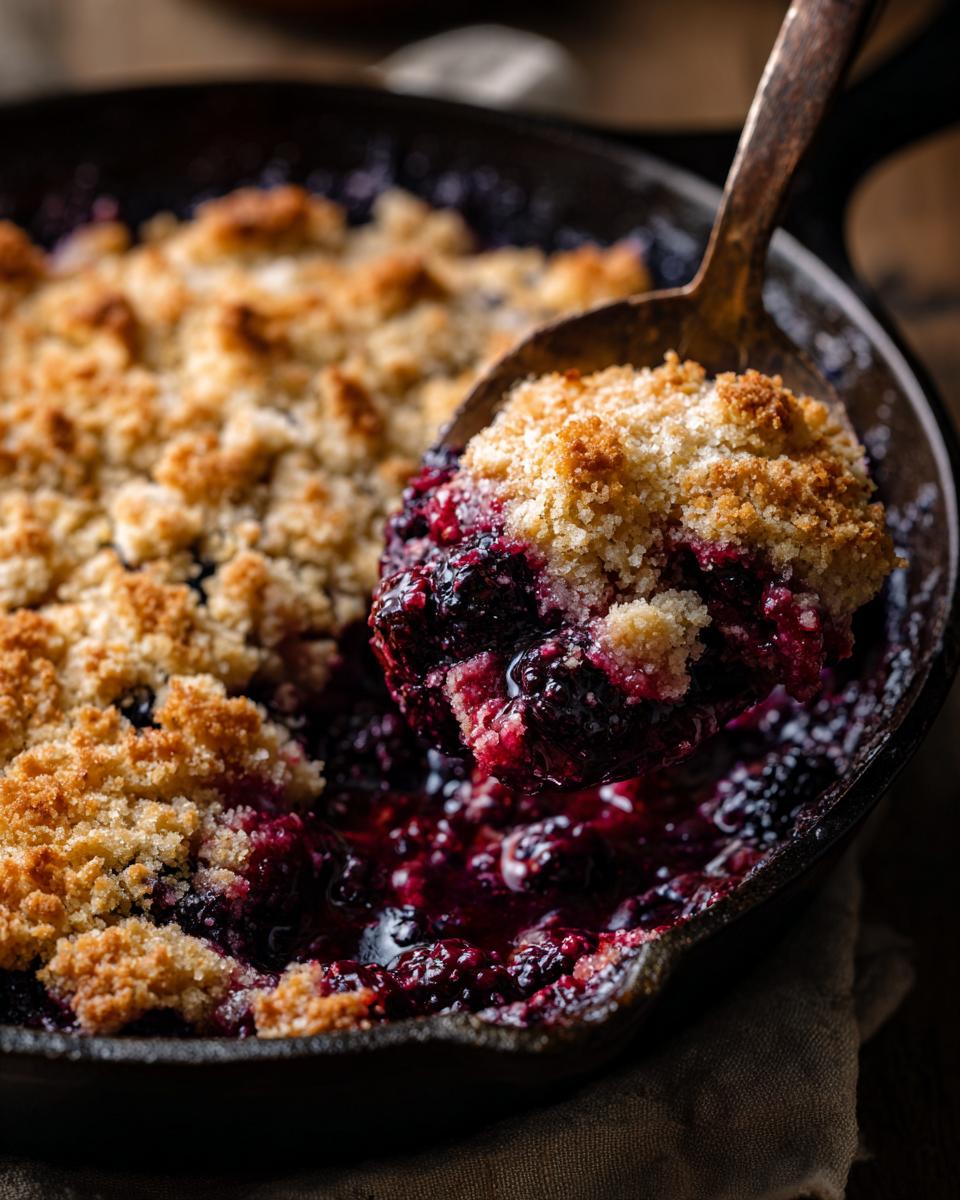
Once your topping is ready, just drop spoonfuls of it evenly over the blackberry mixture in the skillet. Don’t worry about making it look perfect; in fact, the more rustic, the better! Give it a final sprinkle of that coarse sugar for a little sparkle and delicious crunch. Pop that skillet into your preheated oven and let it bake for about 35 to 45 minutes. You’re looking for that topping to be beautifully golden brown and the blackberry filling to be all bubbly and gorgeous around the edges. Oh, the smell!
Tips for the Perfect Blackberry Cobbler
You know, I’ve made this blackberry cobbler more times than I can count, and over the years, I’ve picked up a few little tricks that just make it extra special. First off, when it comes to the berries, fresh is always my first choice, but don’t fret if you only have frozen blackberries on hand! Just make sure to thaw them a bit and drain off any excess liquid before you toss them with the sugar and spices. This helps prevent your cobbler from getting too soupy. For the topping, remember how I said not to overmix? That’s really the secret to keeping it tender and crumbly, not tough. And please, please, please – serve it warm! That little bit of extra heat makes the berries even more vibrant and the ice cream melt just perfectly. It’s truly the best way to enjoy this summer fruit cobbler.
Serving and Storing Your Summer Fruit Cobbler
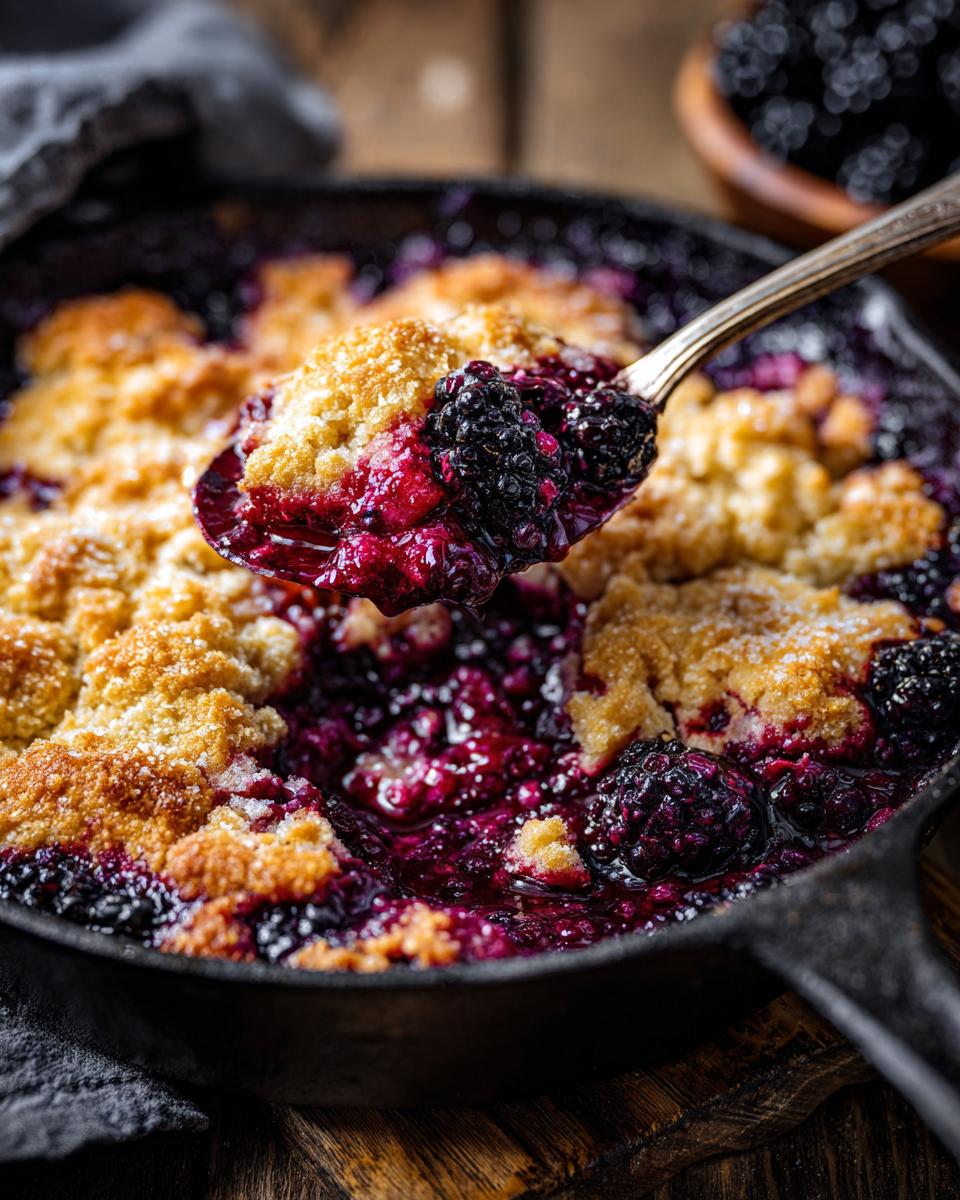
Okay, so your gorgeous blackberry cobbler is out of the oven, and the smell is just incredible! The absolute best way to enjoy this summer fruit cobbler is while it’s still warm. That’s when the blackberry juices are perfectly gooey and the topping is just tender. Grab a big scoop of vanilla ice cream – seriously, it’s non-negotiable! The cold, creamy ice cream melting into the warm cobbler is pure bliss. If, by some miracle, you have any leftovers, just let it cool completely, then cover it tightly with plastic wrap or pop it into an airtight container. It’ll be good in the fridge for about 2-3 days. If you want to reheat it, just pop it in a low oven for a few minutes until it’s warm again!
Frequently Asked Questions about Blackberry Cobbler
Got questions about this delicious blackberry dessert recipe? I get it! Sometimes you just need a quick answer to make sure your summer fruit cobbler turns out just right. I’ve gathered a few common ones here that might help you out!
Can I use frozen blackberries for this skillet cobbler?
Absolutely! You can totally use frozen blackberries if fresh ones aren’t available. Just make sure to thaw them first and drain off any extra juice before you toss them with the other filling ingredients. This keeps your cobbler from getting too runny.
What is the best way to serve this blackberry dessert recipe?
Oh, the best way is definitely warm! Seriously, there’s nothing quite like scooping this warm blackberry cobbler into a bowl and topping it with a big scoop of vanilla ice cream that melts right into the gooey berry filling. It’s pure summer perfection!
How long does this summer fruit cobbler last?
If you happen to have any leftovers (which is rare in my house!), just let the cobbler cool down completely. Then, you can store it covered tightly at room temperature for a day, or in the fridge for up to 2-3 days. Reheat it gently in the oven to bring back that lovely warmth.
Nutritional Estimate for Your Blackberry Cobbler
Just a little heads-up: while this blackberry cobbler is absolutely delicious, the nutritional information can really vary depending on the specific brands you use and how you serve it. Think of these numbers as a general guide rather than a strict rulebook, because let’s be honest, dessert is about enjoying it!
Share Your Rustic Blackberry Cobbler Experience
I just love hearing from you all! Have you made this easy blackberry cobbler? What did you think? Did you tweak it in any special ways? I’d be thrilled if you’d share your thoughts in the comments below or even rate the recipe! And if you snap a picture of your beautiful skillet cobbler, tag me on social media. Seeing your creations makes my whole day!
PrintRustic Blackberry Skillet Cobbler
A simple and delicious blackberry cobbler baked in a skillet, perfect for a summer dessert served with ice cream.
- Prep Time: 20 min
- Cook Time: 45 min
- Total Time: 65 min
- Yield: 6 servings 1x
- Category: Dessert
- Method: Baking
- Cuisine: American
- Diet: Vegetarian
Ingredients
- 4 cups fresh blackberries
- 1/2 cup granulated sugar
- 1/4 cup all-purpose flour
- 1 tablespoon lemon juice
- 1 teaspoon lemon zest
- 1/2 teaspoon ground cinnamon
- 1/4 teaspoon ground nutmeg
- 1/4 teaspoon salt
- 1 cup all-purpose flour
- 1/2 cup granulated sugar
- 1 teaspoon baking powder
- 1/4 teaspoon salt
- 1/2 cup (1 stick) unsalted butter, cold and cut into cubes
- 1/4 cup milk
- 1 large egg, beaten
- 1 teaspoon vanilla extract
- 1 tablespoon coarse sugar, for topping
Instructions
- Preheat your oven to 375°F (190°C).
- In a medium bowl, gently toss the blackberries with 1/2 cup sugar, 1/4 cup flour, lemon juice, lemon zest, cinnamon, nutmeg, and 1/4 teaspoon salt. Pour this mixture into a 10-inch oven-safe skillet.
- In a separate bowl, whisk together 1 cup flour, 1/2 cup sugar, baking powder, and 1/4 teaspoon salt.
- Cut in the cold butter using a pastry blender or your fingertips until the mixture resembles coarse crumbs.
- In a small bowl, whisk together the milk, beaten egg, and vanilla extract. Add this to the flour mixture and stir until just combined. Do not overmix.
- Drop spoonfuls of the cobbler topping evenly over the blackberry mixture in the skillet.
- Sprinkle the topping with coarse sugar.
- Bake for 35-45 minutes, or until the topping is golden brown and the filling is bubbly.
- Let the cobbler cool slightly before serving. Serve warm with vanilla ice cream.
Notes
- For a richer flavor, you can add a tablespoon of cornstarch to the blackberry mixture to help thicken the juices.
- If you don’t have fresh blackberries, you can use frozen ones. Thaw them slightly and drain any excess liquid before using.
- This cobbler is best served warm, straight from the oven.
Nutrition
- Serving Size: 1/6 of cobbler
- Calories: 450
- Sugar: 55g
- Sodium: 250mg
- Fat: 20g
- Saturated Fat: 12g
- Unsaturated Fat: 8g
- Trans Fat: 0g
- Carbohydrates: 70g
- Fiber: 5g
- Protein: 5g
- Cholesterol: 60mg