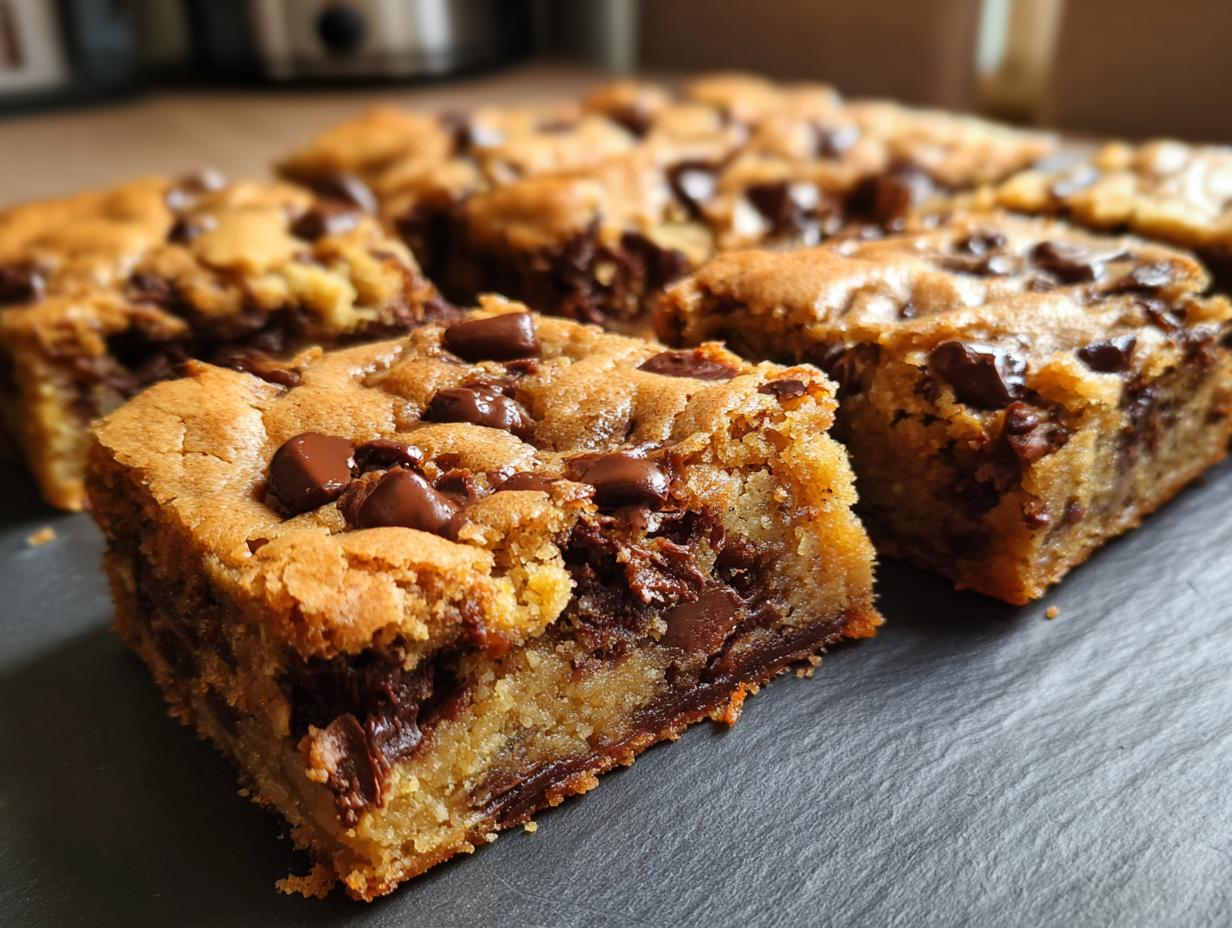
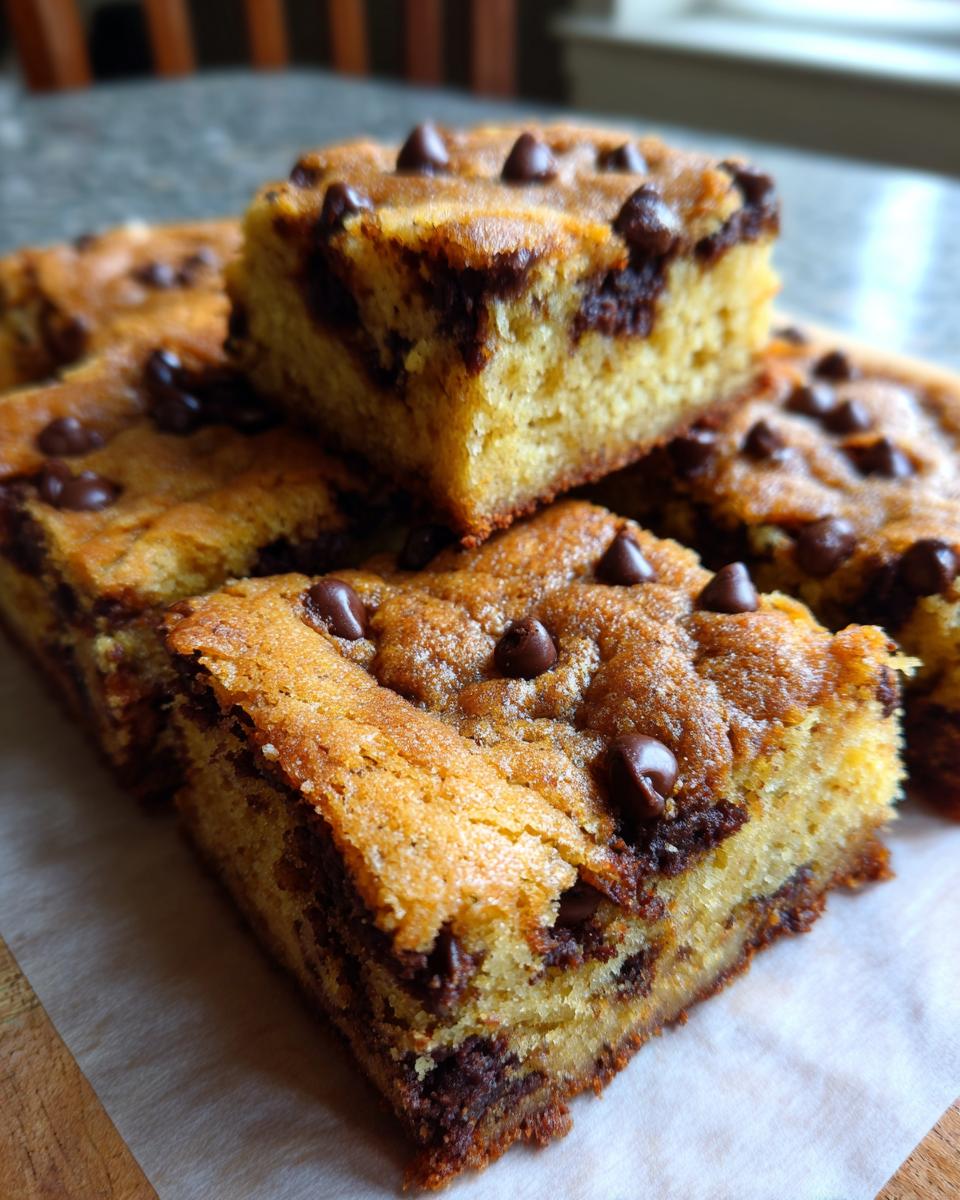
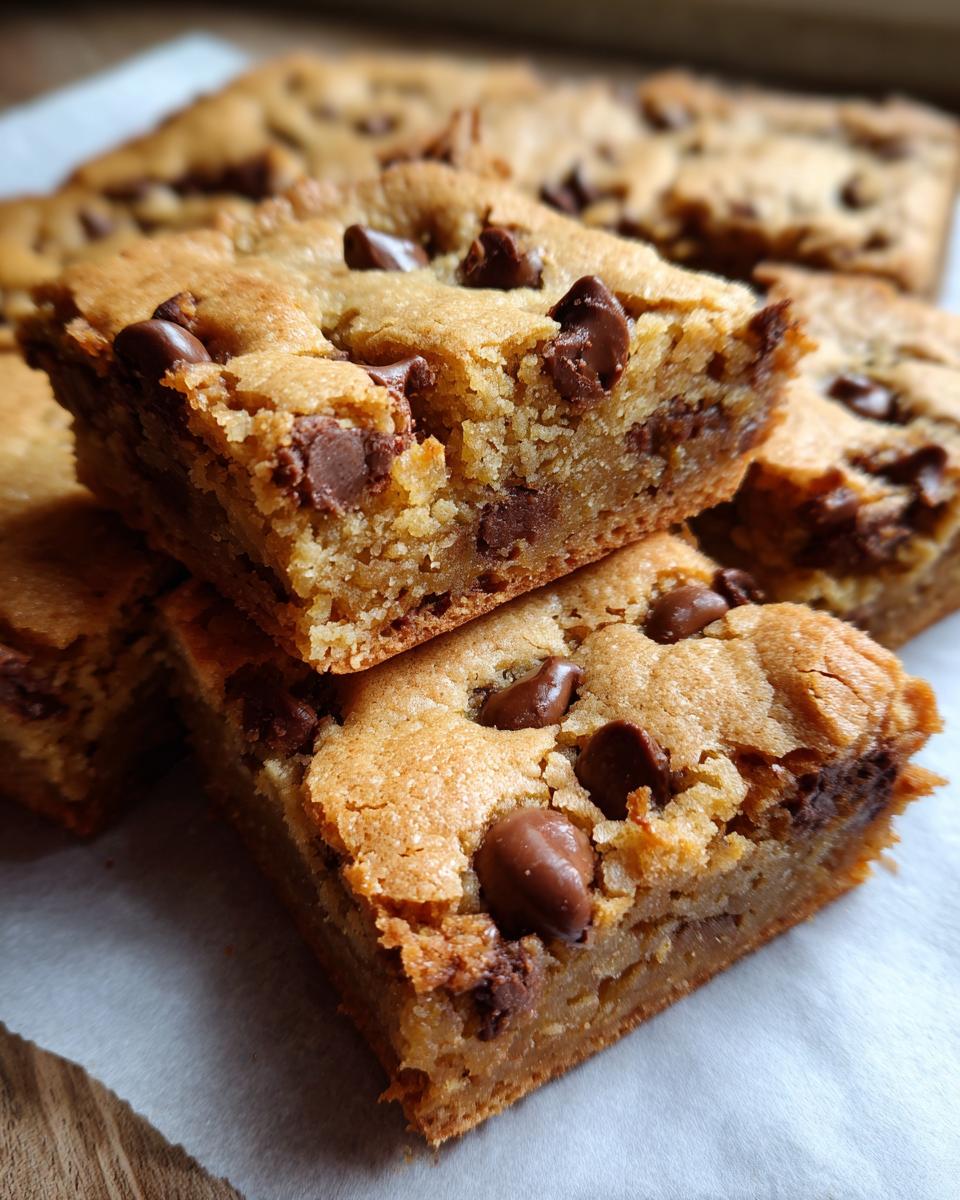
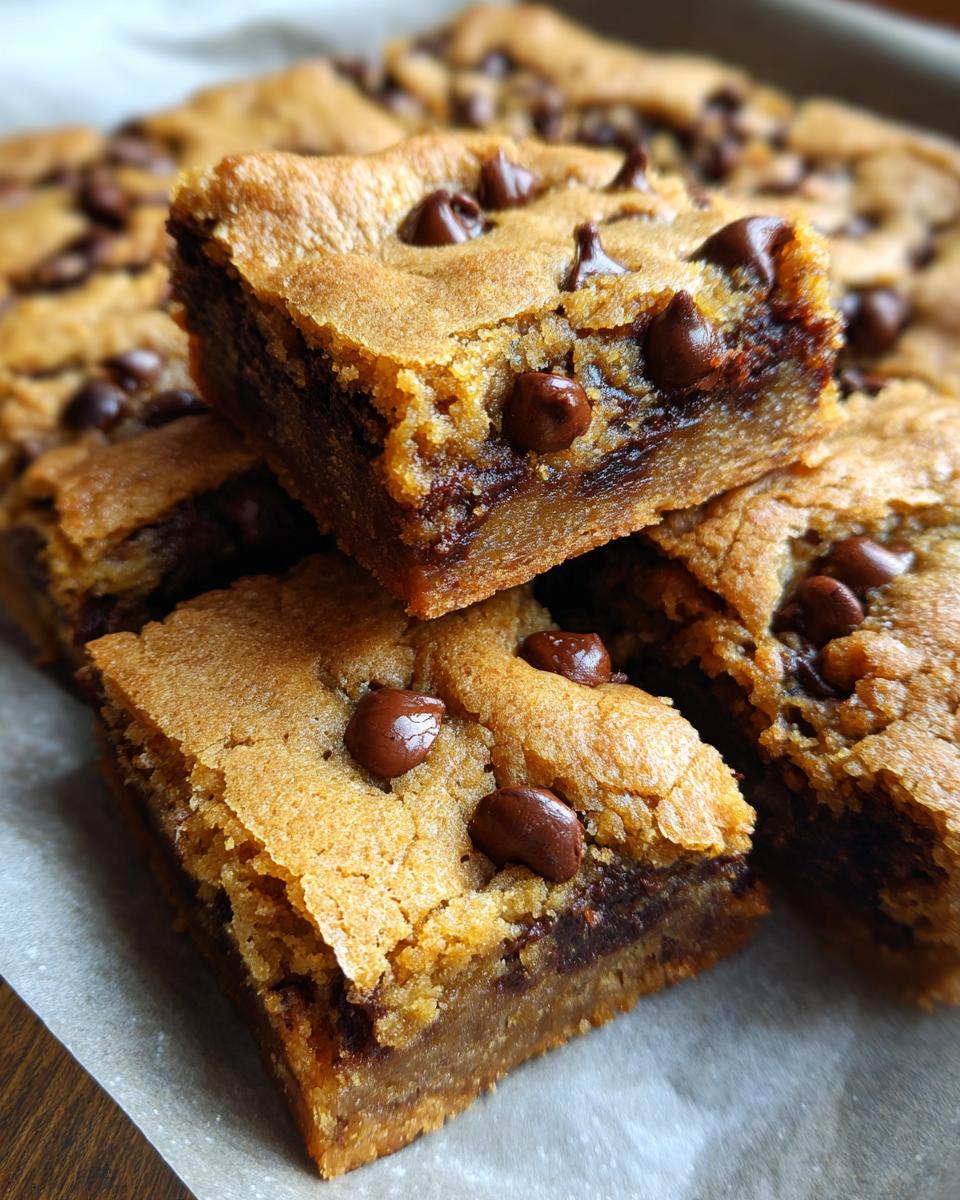
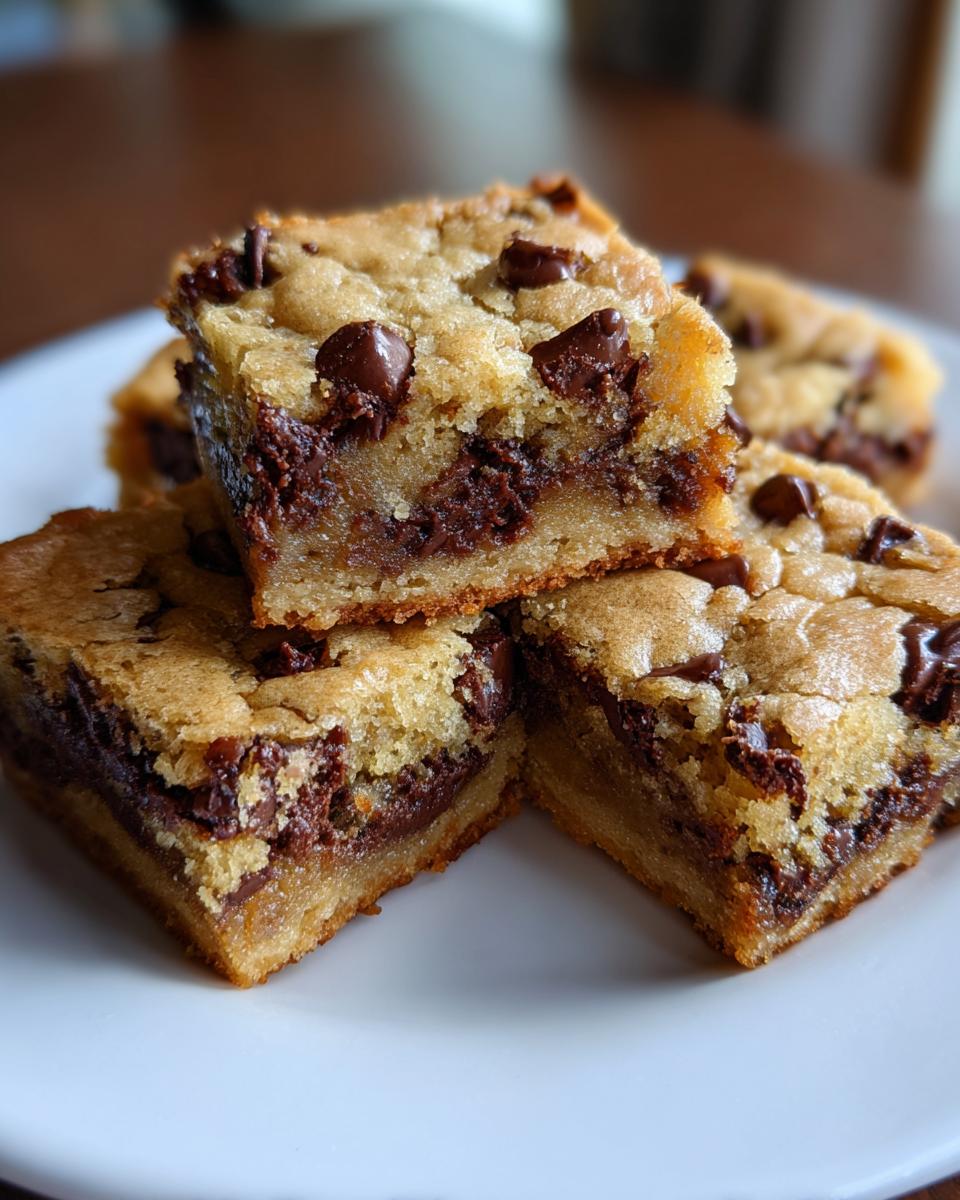
Oh, let me tell you, there are few things in this world more satisfying than a perfectly chewy chocolate chip cookie, right? But sometimes, you just need a whole pan of that goodness, baked into easy-to-share bars! That’s exactly where these incredibly simple Chocolate Chip Cookie Bars come in. They’re like my happy place in dessert form. Like Catherine, who started this whole wonderful blog, I believe that food should tell a story, and these bars? Well, they tell a story of pure, uncomplicated joy and effortless baking.
Catherine, with all her culinary expertise and passion for making beautiful food approachable, really hit it out of the park with this recipe. They’re the ultimate crowd-pleaser, perfect for those school bake sales, easy picnics, or just because you deserve a treat (which is always!). You get that wonderfully chewy center, all in one super convenient pan. Trust me, these are going to become your new go-to!
- Why You'll Love These Chocolate Chip Cookie Bars
- Gather Your Ingredients for Chocolate Chip Cookie Bars
- Step-by-Step Guide to Making Chocolate Chip Cookie Bars
- Tips for Perfect Chocolate Chip Cookie Bars
- Make-Ahead and Freezing Your Chocolate Chip Cookie Bars
- Frequently Asked Questions about Chocolate Chip Cookie Bars
- Estimated Nutritional Information
- Share Your Chocolate Chip Cookie Bar Creations
Why You’ll Love These Chocolate Chip Cookie Bars
Seriously, what’s not to love here? These bars are an absolute dream:
- Super Simple: They’re literally one pan bars, which means less mess and way easier cleanup.
- Crowd-Pleaser Guaranteed: Everyone adores classic chocolate chip, so these are perfect for bake sale desserts or any gathering.
- Perfectly Chewy: We’ve nailed that ideal soft, chewy cookie bars texture.
- Utterly Versatile: They make fantastic easy dessert squares for any occasion.
- Kid-Approved: The ultimate kid friendly dessert that disappears fast!
- Prep Ahead Friendly: They’re incredibly freezer friendly baking, so you can make them in advance.
Gather Your Ingredients for Chocolate Chip Cookie Bars
Okay, so to whip up these glorious Chocolate Chip Cookie Bars, you don’t need anything too fancy. Just grab these goodies from your pantry or the store! Using good quality basics really makes them shine, just like Catherine would always say about fresh ingredients.
- 1 cup (that’s two sticks, folks!) of unsalted butter, make sure it’s nice and softened. You don’t want it melted, just squishy enough.
- 1 cup of granulated sugar – the standard sparkly stuff.
- 1 CUP of packed light brown sugar. This is key, I tell ya, for that chewy texture and rich flavor!
- 2 large eggs – they help bind everything together beautifully.
- 2 teaspoons of good old vanilla extract. For that classic cookie scent and taste!
- 3 cups of all-purpose flour. Your sturdy base for these bars.
- 1 teaspoon of baking soda. This gives them just a little lift.
- 1 teaspoon of salt. Don’t skip it! Salt really makes the other flavors pop.
- And of course, 2 cups of yummy semi-sweet chocolate chips! Milk chocolate or dark chocolate works too, if you prefer.
Step-by-Step Guide to Making Chocolate Chip Cookie Bars
Alright, get ready to bake! Making these fantastic Chocolate Chip Cookie Bars is a breeze, really. Just follow along, and you’ll have a pan of pure happiness in no time. It’s all about a few simple steps that just work beautifully together.
Prepare Your Baking Pan and Oven
First things first, let’s get your oven preheated. Crank it up to 350°F (that’s 175°C). Then, grab your trusty 9×13 inch baking pan. Give it a good grease and a light dusting of flour. This little step makes sure our bars slide right out when they’re done. No sticking allowed!
Creaming the Wet Ingredients
Now for the magic! In a big bowl, toss in your softened butter, that granulated sugar, and that lovely brown sugar. Get to creaming! You can use a stand mixer or just a good old hand mixer. Beat it all together until it looks light and fluffy – think pale yellow and airy. Then, crack in your eggs, one at a time, mixing well after each one. Finally, stir in that teaspoon of vanilla extract. Doesn’t that smell amazing already?
Combining Dry and Wet Ingredients
In a separate bowl, just quickly whisk together your flour, baking soda, and salt. This just makes sure everything is nicely distributed. Now, here’s a super important bit for perfect chewy bars: add those dry ingredients to your butter and sugar mixture *gradually*. Mix it on low speed, or gently with a spatula, until it’s *just* combined. Seriously, don’t overmix! You don’t want a tough cookie bar, and overmixing is the easiest way to get one.
Adding the Chocolate Chips and Baking
Okay, time for the best part – the chocolate chips! Gently stir them right into the dough. You want them to be evenly distributed throughout. Now, take that lovely cookie dough and spread it evenly into your prepared baking pan. Make sure it’s pushed all the way to the edges. Pop that pan into your preheated oven.
Bake for about 20 to 25 minutes. You’re looking for those edges to turn a lovely golden brown, and the center should look set, not gooey. If you’re aiming for extra chewy bars, you might even pull them out a minute or two early. Trust your gut on this one!
Cooling and Cutting Your Bars
This is probably the hardest part… waiting! Once they’re out of the oven, you absolutely *must* let these Chocolate Chip Cookie Bars cool completely in the pan. I know, I know, the temptation is real! But they need this time to firm up. Trying to cut them while they’re warm will just make a mess. Once they’re totally cool, you can cut them into nice squares. A sharp knife will give you the cleanest edges!
Tips for Perfect Chocolate Chip Cookie Bars
Making these Chocolate Chip Cookie Bars is pretty foolproof, but a few of my little tricks can really elevate them from good to absolutely *amazing*. It’s all about the details, like the ones Catherine always emphasizes to make her recipes shine! These little insights will help you nail that bakery-perfect chewy center every single time.
Achieving the Perfect Chewy Texture
Want that super chewy bite? It’s all about the bake time and the sugars! For the chewiest bars, I tend to pull them out of the oven just a minute or two before they look fully done. The center might still look a tiny bit soft. Don’t worry, they’ll set up perfectly as they cool. Also, don’t skimp on that brown sugar – its molasses content is your best friend for chewiness!
Ingredient Substitutions and Additions
While this recipe is fantastic as is, feel free to play around a bit! If you’re out of unsalted butter, salted butter will work in a pinch, just maybe dial back the added salt a tad. And for additions? Oh, the possibilities! Toss in some chopped walnuts or pecans for a nice crunch. Sprinkles are always a hit, especially for kids’ parties. You could even mix in some white chocolate chips or peanut butter chips for a different flavor profile!
Make-Ahead and Freezing Your Chocolate Chip Cookie Bars
Life is busy, right? That’s why I love that these Chocolate Chip Cookie Bars are just amazing for making ahead. You can bake them up on, say, a Sunday afternoon, and have perfect treats ready all week long. Or, tuck them away for even longer! They’re seriously the best for freezer friendly baking. Once they’re completely cooled, just wrap each bar tightly in plastic wrap – like a little hug! Then, pop those wrapped bars into a freezer-safe bag or container. They’ll stay delicious in the freezer for up to 3 months. When you need one, just unwrap it and let it thaw on the counter for about 30 minutes. Voila! Freshly baked cookie bar goodness, just like that!
Frequently Asked Questions about Chocolate Chip Cookie Bars
Got questions about these delicious Chocolate Chip Cookie Bars? I’ve got answers! It’s totally normal to have a few queries when trying out a new recipe, especially when you want them to be just perfect.
How long do chocolate chip cookie bars last?
Stored in an airtight container at room temperature, these bars are usually good for about 3-4 days. If you pop them in the fridge, they’ll hang around a bit longer, maybe 5-7 days. But honestly, they usually disappear way before then!
Can I make these bars with gluten-free flour?
Oh yes, you absolutely can! For great results, I’d suggest using a good quality 1:1 gluten-free baking flour blend. Just swap it in cup for cup with the all-purpose flour. You might need to adjust baking time slightly, but they’ll still be delicious easy dessert squares!
Why are my bars dry?
Ah, the dreaded dry bar! This usually happens from overbaking. Since these are bars, it’s often easier to overdo it than with regular cookies. Try pulling them out when the edges are golden but the center still looks a touch soft. They’ll continue to bake a bit from residual heat. Also, measuring flour accurately is key – scoop and level, don’t pack it!
Estimated Nutritional Information
Now, let’s talk numbers! While every kitchen is a little different, here’s a general idea of what you’re getting in each of these glorious Chocolate Chip Cookie Bars. Think of these as estimates, because how much you stir, how perfectly you measure, or even the brand of chocolate chips you use can nudge these numbers a little. But overall, you’re looking at around 250 calories per bar, with about 14g of fat, 30g of carbs, and 3g of protein. Plenty of sweetness and energy for any adventure!
Share Your Chocolate Chip Cookie Bar Creations
I absolutely *love* to see what you all create in your own kitchens! When you make these Chocolate Chip Cookie Bars, please, please share your photos and tell me how they turned out! Did you add sprinkles? Did the kids help? Rate this recipe and drop your thoughts in the comments – it really helps other bakers out there!
If you want to try another recipe, check these chocolate chip cookie bars.
You can also check these desserts.
PrintEasy Chocolate Chip Cookie Bars
Chewy chocolate chip cookie bars perfect for bake sales, picnics, and holidays. This one-pan recipe is simple to make and can be frozen ahead.
- Prep Time: 15 min
- Cook Time: 25 min
- Total Time: 40 min
- Yield: 24 bars 1x
- Category: Dessert
- Method: Baking
- Cuisine: American
- Diet: Vegetarian
Ingredients
- 1 cup (2 sticks) unsalted butter, softened
- 1 cup granulated sugar
- 1 cup packed light brown sugar
- 2 large eggs
- 2 teaspoons vanilla extract
- 3 cups all-purpose flour
- 1 teaspoon baking soda
- 1 teaspoon salt
- 2 cups chocolate chips
Instructions
- Preheat your oven to 350°F (175°C). Grease and flour a 9×13 inch baking pan.
- In a large bowl, cream together the softened butter, granulated sugar, and brown sugar until light and fluffy.
- Beat in the eggs one at a time, then stir in the vanilla extract.
- In a separate bowl, whisk together the flour, baking soda, and salt.
- Gradually add the dry ingredients to the wet ingredients, mixing until just combined. Do not overmix.
- Stir in the chocolate chips.
- Spread the dough evenly into the prepared baking pan.
- Bake for 20-25 minutes, or until the edges are golden brown and the center is set.
- Let the bars cool completely in the pan before cutting into squares.
Notes
- For chewier bars, slightly underbake them.
- You can freeze cooled bars for up to 3 months. Wrap them tightly in plastic wrap and then in foil.
- Add nuts or sprinkles for extra flavor and texture.
Nutrition
- Serving Size: 1 bar
- Calories: 250
- Sugar: 25g
- Sodium: 100mg
- Fat: 14g
- Saturated Fat: 8g
- Unsaturated Fat: 6g
- Trans Fat: 0g
- Carbohydrates: 30g
- Fiber: 1g
- Protein: 3g
- Cholesterol: 30mg

