 Skip to content
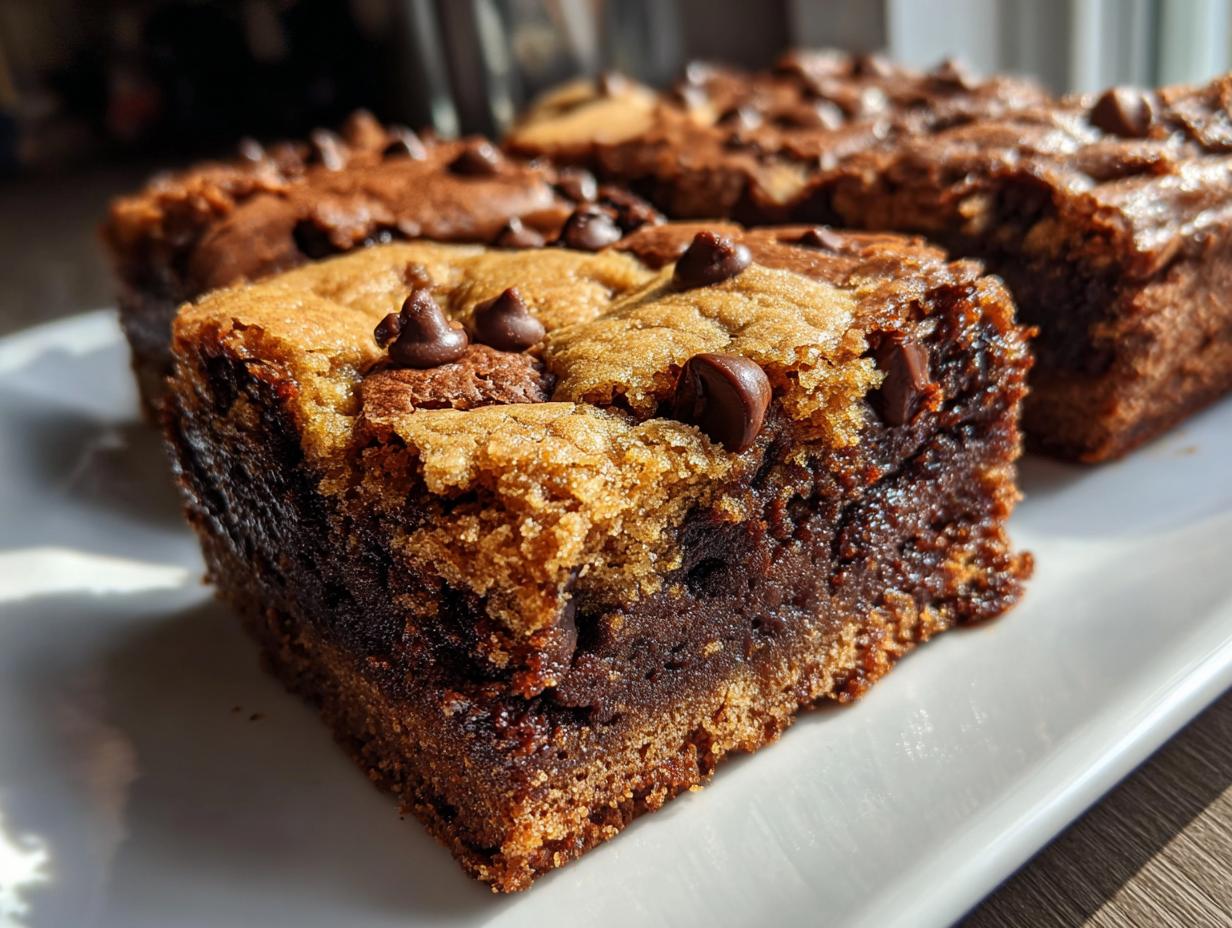

It’s like getting a hug from your two favorite desserts all at once! I remember when I was first playing around in the kitchen, trying to capture that perfect balance – you know, that super rich, fudgy brownie bottom married to that chewy, golden chocolate chip cookie top. That’s exactly how these incredible chocolate chip cookie brownie bars came to be, right here in my kitchen. It’s all about that delightful fusion, that moment where you get the best of both worlds in every single bite. Seriously, if you’re looking for a showstopper for your next party or just want to treat yourself (and who doesn’t?), these are an absolute must-try. They have that special something that makes everyone happy, and frankly, they taste like pure joy.
- Why You'll Love These Chocolate Chip Cookie Brownie Bars
- Ingredients for Your Perfect Chocolate Chip Cookie Brownie Bars
- Crafting Your Chocolate Chip Cookie Brownie Bars: Step-by-Step
- Tips for Success with Your Layered Dessert Bars
- Storing and Serving Your Chocolate Chip Brownie Blondies
- Frequently Asked Questions about Chocolate Chip Cookie Brownie Bars
- Nutritional Information for Your Chocolate Chip Cookie Brownie Bars
- Elevate Your Baking with Top Meal Delivery Services
Why You’ll Love These Chocolate Chip Cookie Brownie Bars
Honestly, you’re going to adore these bars. They’re just fantastic for so many reasons!
- Super Easy to Make: Seriously, even if you’re new to baking, you can whip these up without breaking a sweat. It’s mostly just mixing!
- Crowd Pleaser: Whether it’s a bake sale, a birthday party, or just a casual get-together, everyone goes absolutely nuts for these. They disappear so fast!
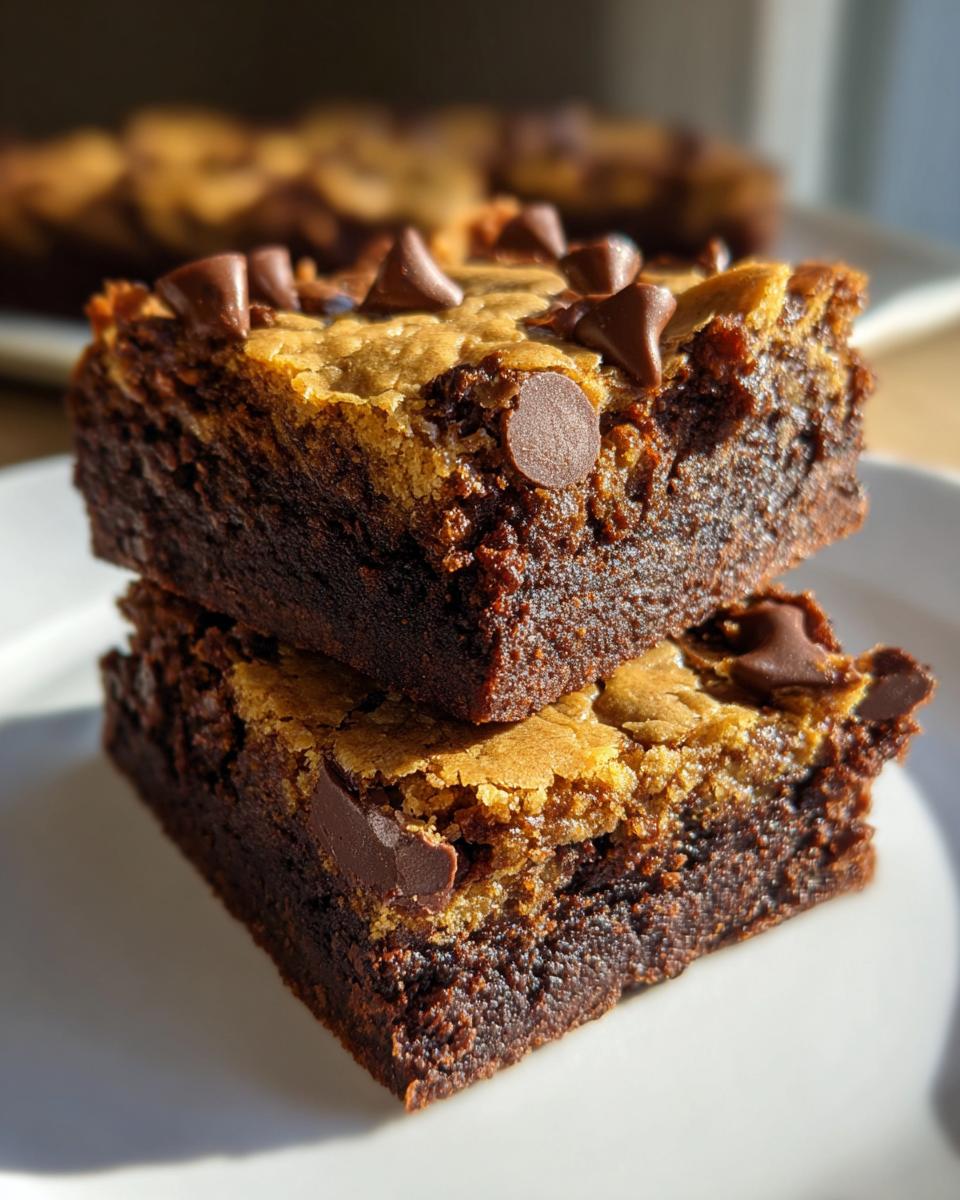
- The Best of Both Worlds: You get that rich, fudgy brownie on the bottom and a chewy, delicious cookie on top. It’s the ultimate dessert mashup!
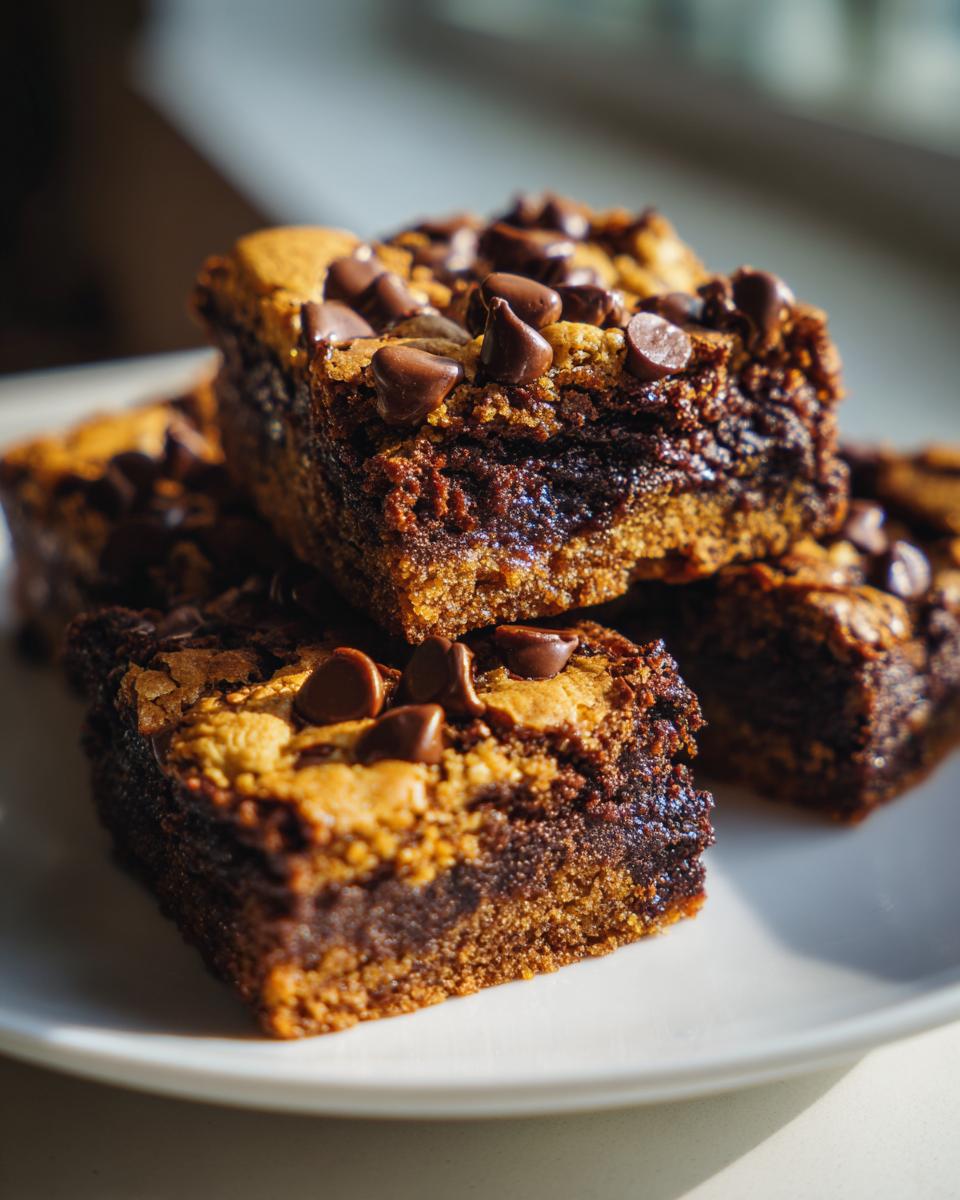
- Perfect Party Tray Bake: They look amazing when you cut them into little squares for sharing. Plus, they hold up so well when you’re transporting them.
Ingredients for Your Perfect Chocolate Chip Cookie Brownie Bars
Okay, so getting the right ingredients is key here. It’s not super complicated, but you’ll need to grab stuff for two awesome layers. Think of it as getting double the deliciousness!
For the Rich Brownie Base:
- 1 cup (that’s two sticks!) of unsalted butter, melted
- 2 cups of granulated sugar
- 1 teaspoon of vanilla extract – makes everything smell amazing!
- 4 large eggs
- 1 cup all-purpose flour
- 1 cup unsweetened cocoa powder – this is where the deep chocolate flavor comes from
- 1/2 teaspoon baking powder
- 1/2 teaspoon salt
- 1 cup chocolate chips – milk chocolate, semi-sweet, whatever you love!
And for the Chewy Cookie Topping:
- 1 cup packed light brown sugar – this is super important for that cookie chewiness!
- 1/2 cup (that’s one stick) of unsalted butter, that’s softened, not melted like the brownie butter
- 1 large egg
- 1 teaspoon vanilla extract
- 1 1/4 cups all-purpose flour
- 1/2 teaspoon baking soda
- 1/4 teaspoon salt
- And, of course, another 1 cup of chocolate chips! Yes, more chocolate!
Crafting Your Chocolate Chip Cookie Brownie Bars: Step-by-Step
Alright, let’s get down to business! This is where the magic really happens. Don’t worry, it looks like a lot of steps, but it’s really just mixing two amazing things together. It’s more fun than work, I promise!
Preparing the Rich Brownie Base
First things first, get your oven preheated to 350°F (175°C). While that’s warming up, grab your 9×13 inch baking pan. Give it a good grease and then a light flouring – this stops anything from sticking, which is a total bummer. In a nice big bowl, pour in your melted butter and all that granulated sugar. Give it a good stir, then crack in your eggs one by one, mixing after each one. In another bowl, just whisk together your flour, that yummy cocoa powder, the baking powder, and salt. Now, gently add those dry ingredients to your wet ones. Mix it all up until it’s *just* combined. Overmixing is the enemy of a good brownie, trust me! Finally, stir in 1 cup of chocolate chips. Pour this gorgeous brownie batter into your prepared pan and spread it out nice and even. That’s layer one done!
Creating the Chewy Cookie Topping
Now for the cookie part! In a separate bowl – don’t you worry, we’re not washing bowls between steps just yet! – cream together your softened butter and that packed light brown sugar. You want it light and fluffy, almost like a cloud. Now beat in your egg and that teaspoon of vanilla. In yet another bowl (I know, I know, but it’s worth it!), whisk together the flour, baking soda, and salt. Just like with the brownies, add these dry ingredients to your creamy butter mixture gradually. Mix until it’s just combined, and then fold in the rest of those chocolate chips. You should have a lovely, thick cookie dough ready to go.

Assembling and Baking Your Brookies Recipe
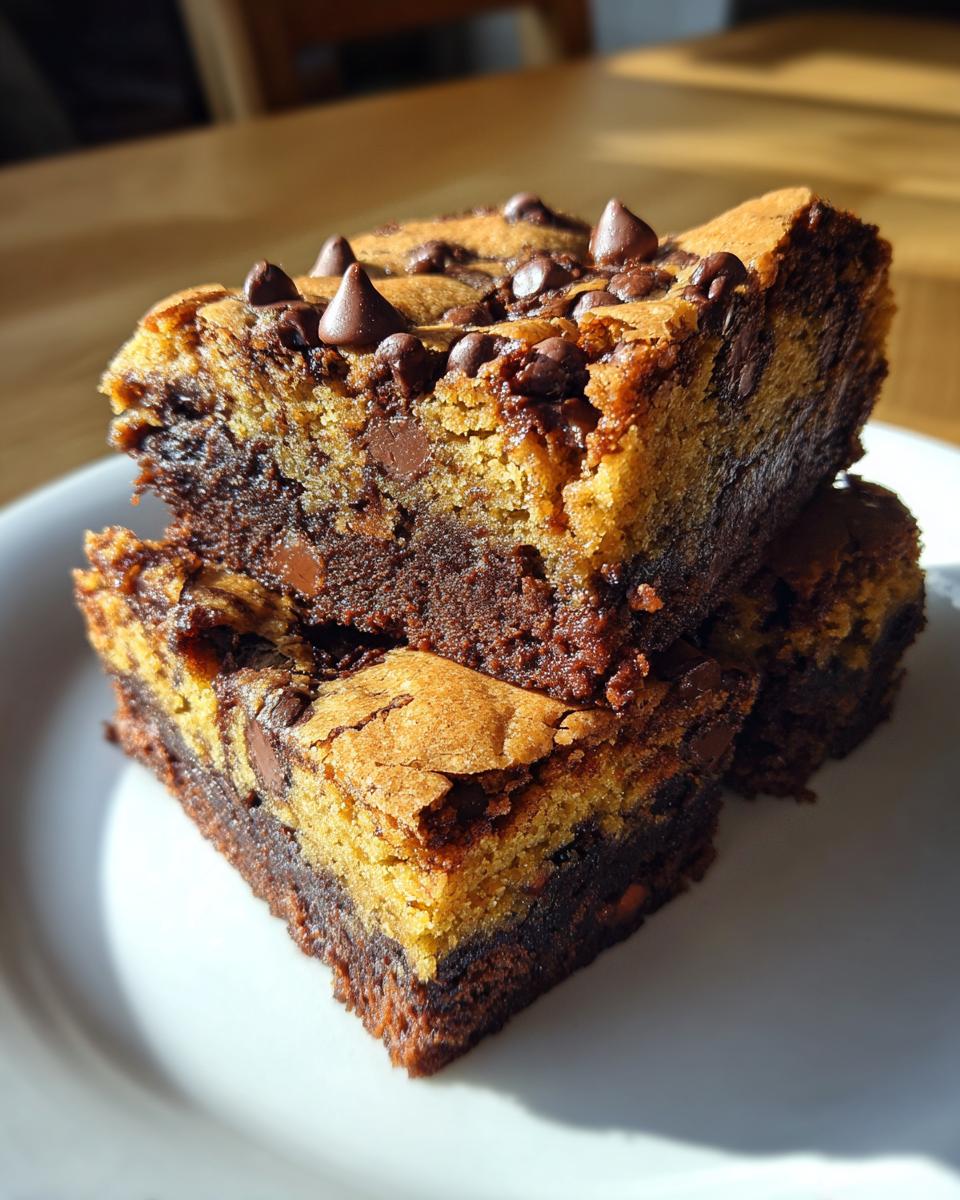
Okay, this is the best part – putting it all together! Take spoonfuls of that delicious cookie dough and drop them all over the brownie batter in the pan. My favorite trick here is to use a knife or a little offset spatula to gently spread that cookie dough out so it covers the brownie batter as much as possible. Don’t stress if it’s not perfectly smooth; those rustic swirls look amazing when it’s baked! Pop the pan into your preheated oven. You’re going to bake this masterpiece for about 30 to 35 minutes. You’ll know it’s ready when a toothpick you stick into the center comes out with just a few moist crumbs attached. That’s the sweet spot for a chewy texture! Let it cool completely in the pan before you even *think* about cutting into it. Patience, my friend, patience!
Tips for Success with Your Layered Dessert Bars
Alright, so you’ve got the recipe, you’re ready to go, but let’s chat about a few little things to make sure these layered dessert bars turn out absolutely perfect every single time. Trust me on this!
First off, ingredient temperature is a game-changer. For the brownie layer, you want that butter melted and gooey. But for the cookie topping? Softened butter is key. It needs to be soft enough to cream with the sugar, not melted like the brownie butter. This is what gives you that lovely chewy texture on top instead of a greasy cookie.
When you’re mixing both the brownie batter and the cookie dough, try not to go overboard. Just mix until everything is *just* combined. Overmixing develops the gluten in the flour too much and can lead to tougher bars, and we definitely don’t want that. We’re going for fudgy and chewy, not tough!
And about that cookie topping – don’t worry if it doesn’t spread perfectly smooth over the brownie batter. Those little gaps and swirls actually bake up beautifully and give you more texture and pockets of deliciousness. It’s all part of the charm!
Storing and Serving Your Chocolate Chip Brownie Blondies
Once these amazing chocolate chip brownie blondies have cooled completely in the pan (seriously, resist the urge to cut them warm – it’s worth the wait!), you’ll want to store them properly so they stay unbelievably delicious. I usually just keep them right in the pan, covered tightly with plastic wrap or foil. They’ll stay fresh at room temperature for about 3 days. If it’s super warm in your kitchen, a short stint in the fridge is okay, but they are best served at room temp to really get that gooey texture going.
Frequently Asked Questions about Chocolate Chip Cookie Brownie Bars
Okay, let’s dive into some of the questions I get asked most about making these killer chocolate chip cookie brownie bars. It’s amazing how many ways you can tweak these, but here are some of the common things people wonder about!
Can I use different kinds of chocolate chips?
Absolutely! Semi-sweet is classic, but don’t be afraid to mix it up. Milk chocolate chips add a sweeter touch, dark chocolate chips give it a more intense flavor, or even a combo! Some people love adding white chocolate chips or even changing out the brownies for blondie batter for a totally different vibe. So go wild!
What if I don’t have browned butter for the brownie layer?
No worries at all! Melted butter works perfectly fine. Browning the butter just adds a little extra nutty depth, but if you’re in a hurry or just don’t have the time, melted butter is your best friend. It still makes a rich, fudgy brownie base.
My cookie layer didn’t spread much. What did I do wrong?
Don’t fret! It’s totally normal for the cookie topping on these kinds of layered dessert bars not to spread super far. It’s designed to be a bit thicker. When you drop spoonfuls, just gently nudge it so it covers most of the brownie batter. Those little pockets are where all the chewy goodness is!
How can I make sure they bake evenly?
The key is that 9×13 inch pan. It gives you a nice, even layer of batter and topping so everything bakes up beautifully. Make sure your oven is accurately preheated. If you notice one side browning faster, you can always give the pan a quarter turn halfway through baking. These make such a great party tray bake because they’re so transportable!
Can I freeze these cookie brownie bars?
Yes, you totally can! Once they’re completely cooled, cut them into bars and wrap them individually or layer them with parchment paper in a freezer-safe container. They’ll keep their deliciousness for about 2-3 months. Just let them thaw at room temperature for a bit before you dig in.
Nutritional Information for Your Chocolate Chip Cookie Brownie Bars
Okay, so let’s talk numbers for a second. Keep in mind these are just estimates, because honestly, those extra chocolate chips or a slightly different brand of butter can change things up a bit! But generally, one of these amazing bars has about 350 calories, around 20g of fat (with about 12g of that being saturated fat from all that yummy butter and chocolate), and roughly 40g of carbohydrates. You’ll also get a decent amount of sugar in there – about 35g, because, well, they’re cookies *and* brownies! And you get about 4g of protein. Pretty good for such a delicious treat, right?
Elevate Your Baking with Top Meal Delivery Services
You know, with how busy life can get, sometimes finding the time to really experiment in the kitchen can be tricky. That’s something I totally get! It’s why I’m such a fan of how services like the best meal delivery services can really help out. Think about it – when you’re not stressing about what’s for dinner every single night, you suddenly have this pocket of extra time, and that’s exactly the kind of time you can use to whip up something absolutely wonderful, like these chocolate chip cookie brownie bars. It takes the pressure off, and then you can really focus on the joy of baking these amazing brookies!
PrintChocolate Chip Cookie Brownie Bars
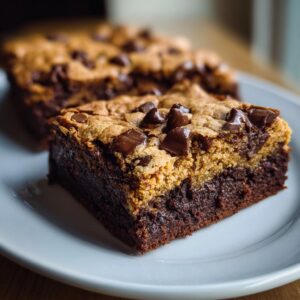
Enjoy the best of both worlds with these chocolate chip cookie brownie bars, featuring a rich brownie base topped with chewy chocolate chip cookie dough.
- Prep Time: 20 min
- Cook Time: 35 min
- Total Time: 55 min
- Yield: 24 bars 1x
- Category: Dessert
- Method: Baking
- Cuisine: American
- Diet: Vegetarian
Ingredients
- 1 cup (2 sticks) unsalted butter, melted
- 2 cups granulated sugar
- 1 teaspoon vanilla extract
- 4 large eggs
- 1 cup all-purpose flour
- 1 cup unsweetened cocoa powder
- 1/2 teaspoon baking powder
- 1/2 teaspoon salt
- 1 cup chocolate chips
- 1 cup packed light brown sugar
- 1/2 cup (1 stick) unsalted butter, softened
- 1 large egg
- 1 teaspoon vanilla extract
- 1 1/4 cups all-purpose flour
- 1/2 teaspoon baking soda
- 1/4 teaspoon salt
- 1 cup chocolate chips
Instructions
- Preheat your oven to 350°F (175°C). Grease and flour a 9×13 inch baking pan.
- In a large bowl, combine the melted butter and granulated sugar. Stir in the vanilla extract and eggs one at a time until well combined.
- In a separate bowl, whisk together the flour, cocoa powder, baking powder, and salt.
- Gradually add the dry ingredients to the wet ingredients, mixing until just combined. Stir in 1 cup of chocolate chips.
- Spread the brownie batter evenly into the prepared baking pan.
- In another bowl, cream together the softened butter and brown sugar until light and fluffy.
- Beat in the egg and vanilla extract.
- In a separate bowl, whisk together the flour, baking soda, and salt.
- Gradually add the dry ingredients to the wet ingredients, mixing until just combined. Stir in the remaining 1 cup of chocolate chips.
- Drop spoonfuls of the cookie dough over the brownie batter. Use a knife or spatula to gently spread the cookie dough to cover the brownie batter.
- Bake for 30-35 minutes, or until a toothpick inserted into the center comes out with moist crumbs.
- Let cool completely in the pan before cutting into bars.
Notes
- For an extra gooey center, slightly underbake the bars.
- Store in an airtight container at room temperature for up to 3 days.
- These bars are great for bake sales and parties.
Nutrition
- Serving Size: 1 bar
- Calories: 350
- Sugar: 35g
- Sodium: 150mg
- Fat: 20g
- Saturated Fat: 12g
- Unsaturated Fat: 8g
- Trans Fat: 0g
- Carbohydrates: 40g
- Fiber: 2g
- Protein: 4g
- Cholesterol: 70mg