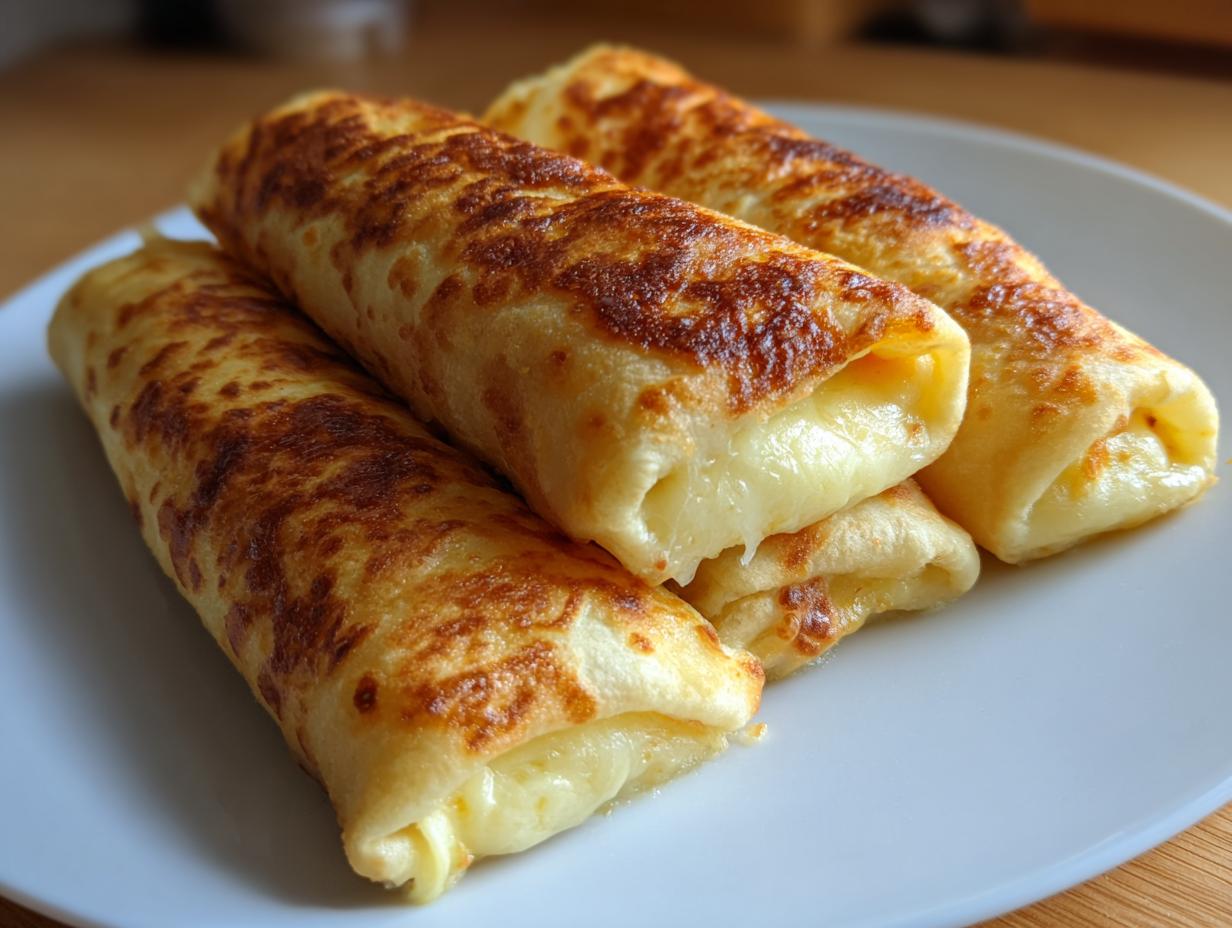
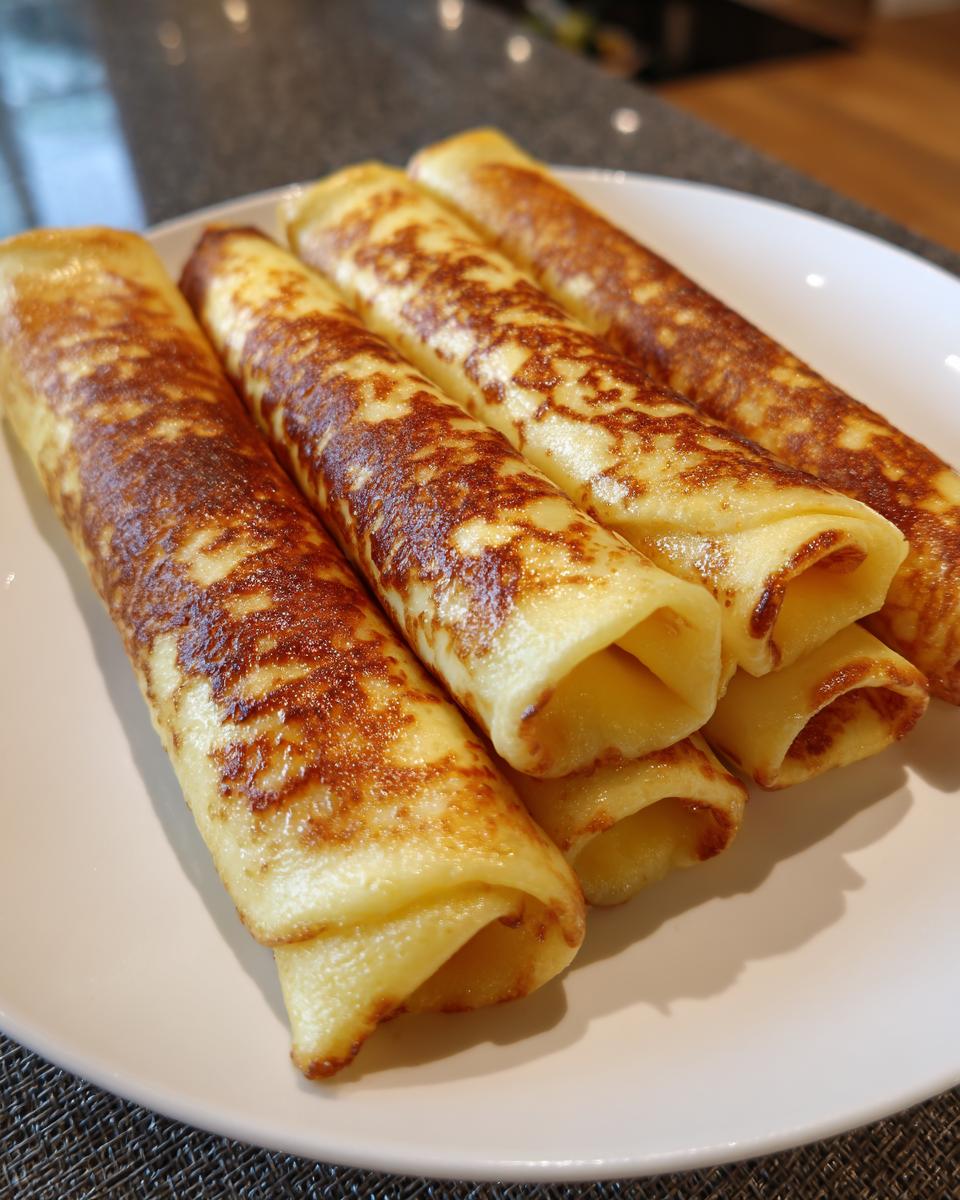
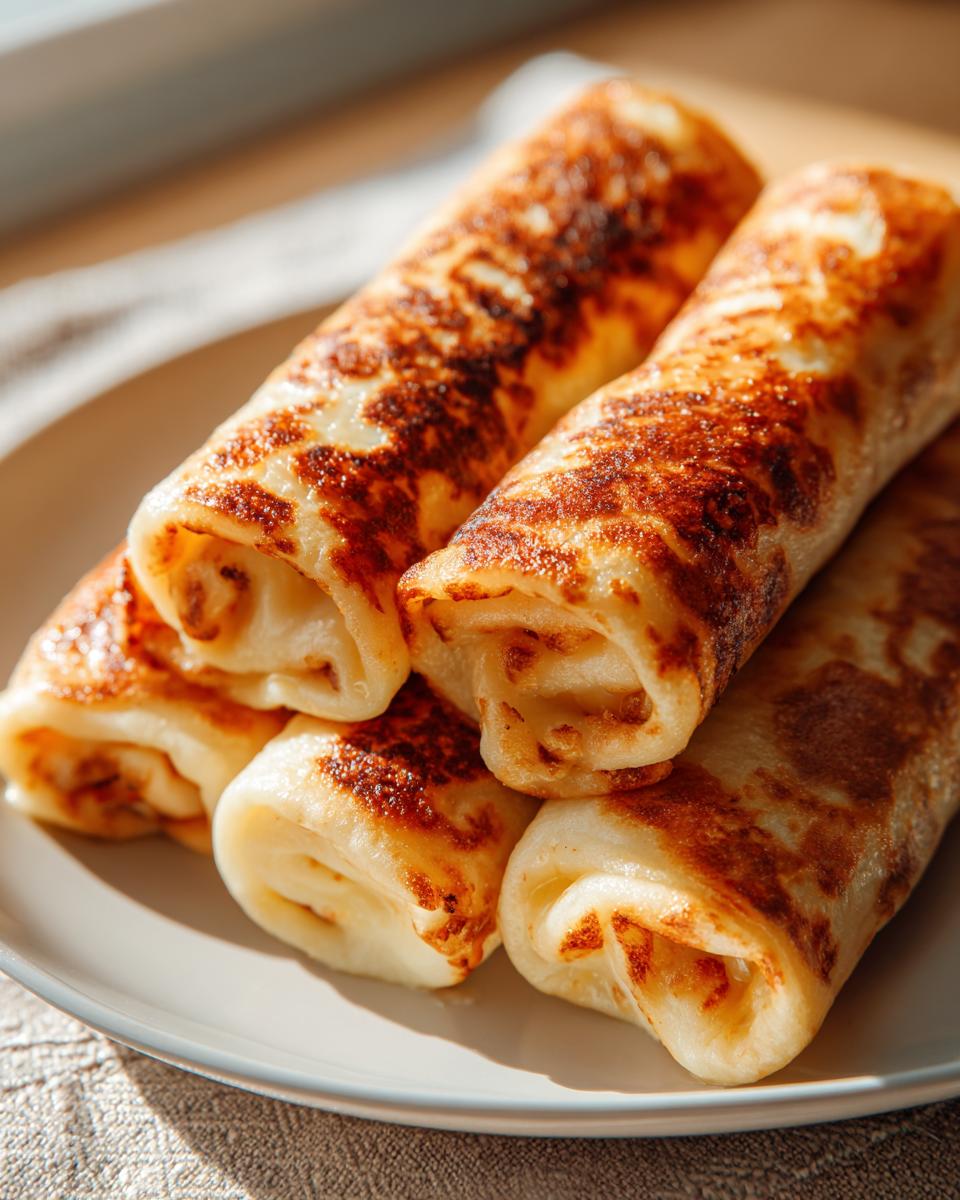
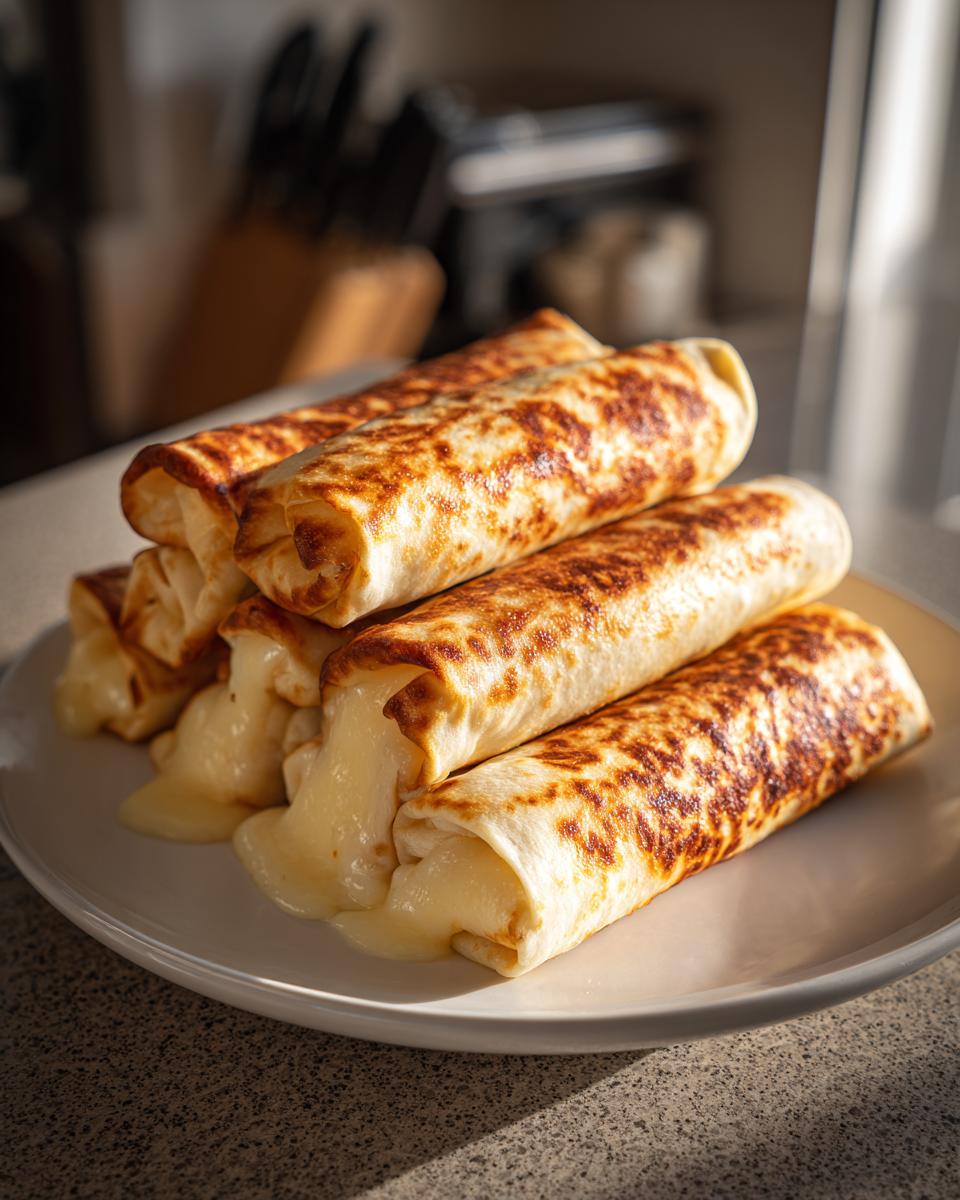
Hey there, fellow parents! Are you always on the hunt for those super-fast, kid-approved snacks that actually make it into lunchboxes without complaints? You know, the kind that disappear faster than you can say “snack time”? Well, you’ve landed in the right spot because these grilled cheese roll-ups are an absolute game-changer. Seriously, they’re so easy, I could whip them up even on my busiest mornings. They’re not just for lunch, though – they dip *perfectly* into tomato soup, making dinner a breeze too. As a recipe developer, and let’s be real, a busy mom, I’ve tested my fair share of quick bites, and these little cheesy wonders are a total winner. They’re simple, yes, but there’s a bit of that approachable elegance in their perfect little rolled-up package.
- Why You'll Love These Grilled Cheese Roll-Ups
- Ingredients for Your Grilled Cheese Roll-Ups
- How to Prepare Perfect Grilled Cheese Roll-Ups
- Tips for Success with Grilled Cheese Roll-Ups
- Serving Suggestions for Your Cheesy Rollups
- Storage and Reheating for Grilled Cheese Roll-Ups
- Frequently Asked Questions about Grilled Cheese Roll-Ups
- Nutritional Information Disclaimer
Why You’ll Love These Grilled Cheese Roll-Ups
Seriously, these little guys are a lifesaver for parents! They’re incredibly quick, coming together in just about 15 minutes from start to finish. That means you can actually make them on a busy morning without pulling your hair out. Plus, kids absolutely adore them – who can resist melty cheese snuggled up in golden, buttery bread? They’re fantastic for lunchboxes, traveling well and tasting just as good cold. And the best part? These grilled cheese sticks are the perfect little vehicles for dipping into tomato soup. It’s such a simple, foolproof kid snack idea that you’ll probably find yourself making them all the time!
Ingredients for Your Grilled Cheese Roll-Ups
You only need a few things for these cheesy delights! Grab:
- 8 slices of good ol’ sandwich bread – nothing too fancy, just your everyday kind.
- 8 slices of American cheese. It melts like a dream, which is exactly what we want here.
- 2 tablespoons of unsalted butter, make sure it’s softened so it spreads easily!
How to Prepare Perfect Grilled Cheese Roll-Ups
Alright, let’s get these little guys made! It’s so straightforward, you’ll wonder why you haven’t been doing it forever. First things first, give your skillet or griddle a little time to get warm over medium heat. This is key for that perfect golden brown color without burning!
Step 1: Prepare the Bread for Your Grilled Cheese Roll-Ups
So, grab your slices of bread and let’s do a quick little trim. Just slice off those crusts – they’re not really needed here. Then, take a rolling pin (or even a sturdy glass works!) and flatten each slice of bread down nice and thin. This just makes it easier for rolling later!
Step 2: Assemble the Cheesy Rollups
Now for the fun part! Lay a slice of that yummy American cheese right onto your flattened bread. Then, just start rolling it up nice and tight, like a little cheese-wrapped mummy. Try to get it snug so the cheese doesn’t peek out too much when you grill it.
Step 3: Butter and Grill the Roll-Ups
Take that softened butter you have and spread a thin, even layer all over the outside of each rolled-up sandwich. This is what gives us that gorgeous, golden crust. Pop them onto your preheated skillet and grill them for about 2 to 3 minutes on each side. You’re looking for that beautiful golden-brown color and, of course, super melty, gooey cheese inside. These make perfect little grilled cheese sticks for dipping!
Tips for Success with Grilled Cheese Roll-Ups
Want to make sure your grilled cheese roll-ups are absolutely perfect every time? Here are a few little tricks I’ve picked up. First, using bread that’s not *too* fresh, maybe a day or two old, actually works a bit better because it flattens more easily and doesn’t tear as much. Also, don’t cram too many roll-ups into your skillet at once! Give them a little breathing room so they brown evenly and get nice and crispy all around. Lastly, seriously, medium heat is your best friend here – you want that cheese to get completely gooey without burning the bread.
Serving Suggestions for Your Cheesy Rollups
These little cheesy rollups are practically begging to be dunked! The absolute classic pairing, of course, is a warm, comforting bowl of tomato soup. It’s just a match made in heaven for kids (and let’s be honest, for us too!). If you’re not doing soup, they’re also fantastic with a side of applesauce or even some pickle spears. They’re pretty self-contained and so yummy, they don’t really need much else!
Storage and Reheating for Grilled Cheese Roll-Ups
So, you made too many (or maybe your kids just didn’t finish them all – gasp!). Don’t you worry. These little grilled cheese roll-ups are actually pretty forgiving. You can totally pack them in a lunchbox cold the next day, and they’re still a hit. If you want that warm, gooey, just-off-the-skillet feeling again, just pop them back into a skillet over medium-low heat for a few minutes per side until they’re warmed through and a little toasty. An air fryer or a toaster oven works wonders too, giving them a nice crispness back!
Frequently Asked Questions about Grilled Cheese Roll-Ups
Got questions about these easy grilled cheese roll-ups? I’ve got answers! It’s always good to get all the details ironed out for snacks that everyone will love.
Can I use different types of bread for these?
Absolutely! While standard sandwich bread is great because it flattens so well, you can totally experiment. Whole wheat, sourdough, or even a hearty multigrain can work. Just be aware that some breads might not roll quite as smoothly, but they’ll still taste delicious!
What other cheeses work in these cheesy rollups?
American cheese is a classic for its meltability, but feel free to switch it up! Cheddar, Monterey Jack, Provolone, or even a mild Colby are super choices. You could even mix a couple for extra flavor. Just make sure the cheese slices aren’t too thick so they melt evenly.
Can I make these ahead of time for lunchboxes?
Yes, you definitely can! This is one of the best things about these grilled cheese sticks. You can prepare them completely, let them cool, and then pack them into your kiddo’s lunchbox. They’re really tasty even when served cold, so no need to worry about reheating unless you want to!
What if I don’t have a rolling pin for flattening the bread?
No rolling pin? No problem! A regular drinking glass, the bottom of a sturdy mug, or even a clean, empty soup can will work perfectly for flattening the bread slices. Just press down firmly and roll it back and forth over the bread until it’s nicely flattened and ready for the cheese.
Nutritional Information Disclaimer
Just a little note: the nutritional details you might see for these grilled cheese roll-ups are estimates. They can really change depending on the exact brands of ingredients you use and how you make them. So, think of these numbers as a helpful guide, not a strict rulebook!
PrintGrilled Cheese Roll-Ups
Quick and easy grilled cheese roll-ups, perfect for kids’ lunches or as a snack with tomato soup.
- Prep Time: 5 min
- Cook Time: 10 min
- Total Time: 15 min
- Yield: 8 roll-ups 1x
- Category: Snack
- Method: Grilling
- Cuisine: American
- Diet: Vegetarian
Ingredients
- 8 slices bread
- 8 slices American cheese
- 2 tablespoons butter, softened
Instructions
- Trim the crusts off each slice of bread.
- Flatten each slice of bread with a rolling pin.
- Place one slice of cheese on each flattened bread slice.
- Roll up the bread and cheese tightly.
- Spread softened butter on the outside of each roll-up.
- Grill in a non-stick skillet over medium heat for 2-3 minutes per side, until golden brown and the cheese is melted.
Notes
- Serve with your favorite tomato soup for dipping.
- These are great for lunchboxes as they can be eaten cold.
Nutrition
- Serving Size: 1 roll-up
- Calories: 150
- Sugar: 2g
- Sodium: 300mg
- Fat: 8g
- Saturated Fat: 4g
- Unsaturated Fat: 4g
- Trans Fat: 0g
- Carbohydrates: 15g
- Fiber: 1g
- Protein: 6g
- Cholesterol: 20mg

