
Oh, these ice cream cone cupcakes are just *the cutest*! Seriously, they’re pure magic for little hands and happy faces. I’m Catherine, and you know, my folks really believed that food was how we showed love. Our kitchen was always buzzing with something delicious, a way to connect whether it was my mom’s sunshiney California cooking or my dad’s amazing Spanish dishes. That’s exactly the feeling I wanted to capture with these ice cream cone cupcakes. They’re wonderfully simple, but they look so special, a perfect example of that ‘approachable elegance’ I’m always talking about. Trust me, when you see how easy they are to whip up and how big a smile they bring, you’ll know exactly what I mean. I’ve tested these loads in my own kitchen, and they’re just a guaranteed hit.
- Gather Your Ingredients for Ice Cream Cone Cupcakes
- Step-by-Step Guide to Making Ice Cream Cone Cupcakes
- Why You'll Love These Ice Cream Cone Cupcakes
- Tips for Success with Your Kid Party Cupcakes
- Ingredient Spotlight: The Magic Behind Ice Cream Cone Cupcakes
- Variations for Your Summer Birthday Treat
- Frequently Asked Questions about Ice Cream Cone Cupcakes
- Estimated Nutritional Information for Ice Cream Cone Cupcakes
- Share Your Creations: Let Us See Your Ice Cream Cone Cupcakes!
Gather Your Ingredients for Ice Cream Cone Cupcakes
Okay, so to get these adorable little guys made, you don’t need anything too crazy! We’ll start with a box of yellow cake mix, plus whatever it calls for – usually eggs, oil, and water. Grab a big can of vanilla frosting, and for that super fun ice cream look, some food coloring in your favorite bright shades, like pink, blue, and yellow. And of course, heaps of sprinkles! Oh, and don’t forget the waffle cones themselves – those crunchy cups are the real stars!

Step-by-Step Guide to Making Ice Cream Cone Cupcakes
Alright, let’s get these adorable little treats into the oven! It’s really straightforward, and honestly, the fun really starts when we get to decorating. Just follow these simple steps, and you’ll have the cutest party cupcakes around. I’ve tinkered with this a bit in my kitchen to make sure it’s super easy and always turns out great – no stress baking here!
Preparing the Cake Batter for Your Ice Cream Cone Cupcakes
First things first, grab your yellow cake mix and whip up the batter just like the box says. Usually, that just means adding in the eggs, oil, and water called for on the package. Give it a good mix until it’s smooth! Don’t overmix it, though; we want a nice, tender cake.
Filling the Cones for Perfect Ice Cream Cone Cupcakes
Now, this is the fun part! Carefully spoon your cake batter into each waffle cone. You want to fill them about two-thirds of the way full. Any more than that, and things can get a little messy in the oven! It’s a good idea to pop the filled cones upright into a muffin tin or a baking pan so they don’t tip over.
Baking Your Fun Cone Cakes to Perfection
Get your oven preheated to 350°F (175°C). Pop those cones into the oven and bake them for about 18 to 22 minutes. You’ll know they’re ready when a toothpick poked into the center comes out clean. Let them cool completely on a wire rack before you even think about frosting them – hot cones and frosting just don’t mix!
Decorating Your Baked Ice Cream Cone Masterpieces
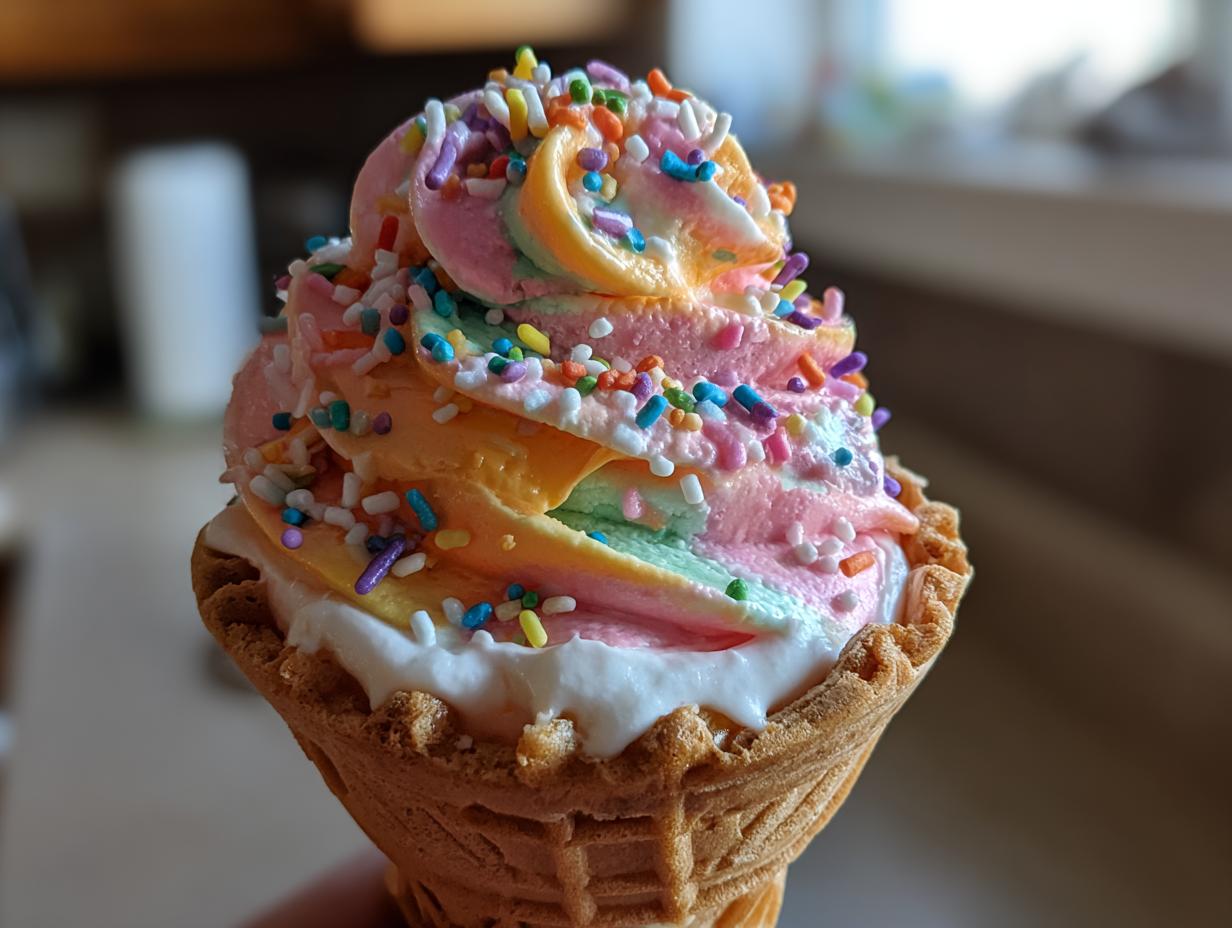
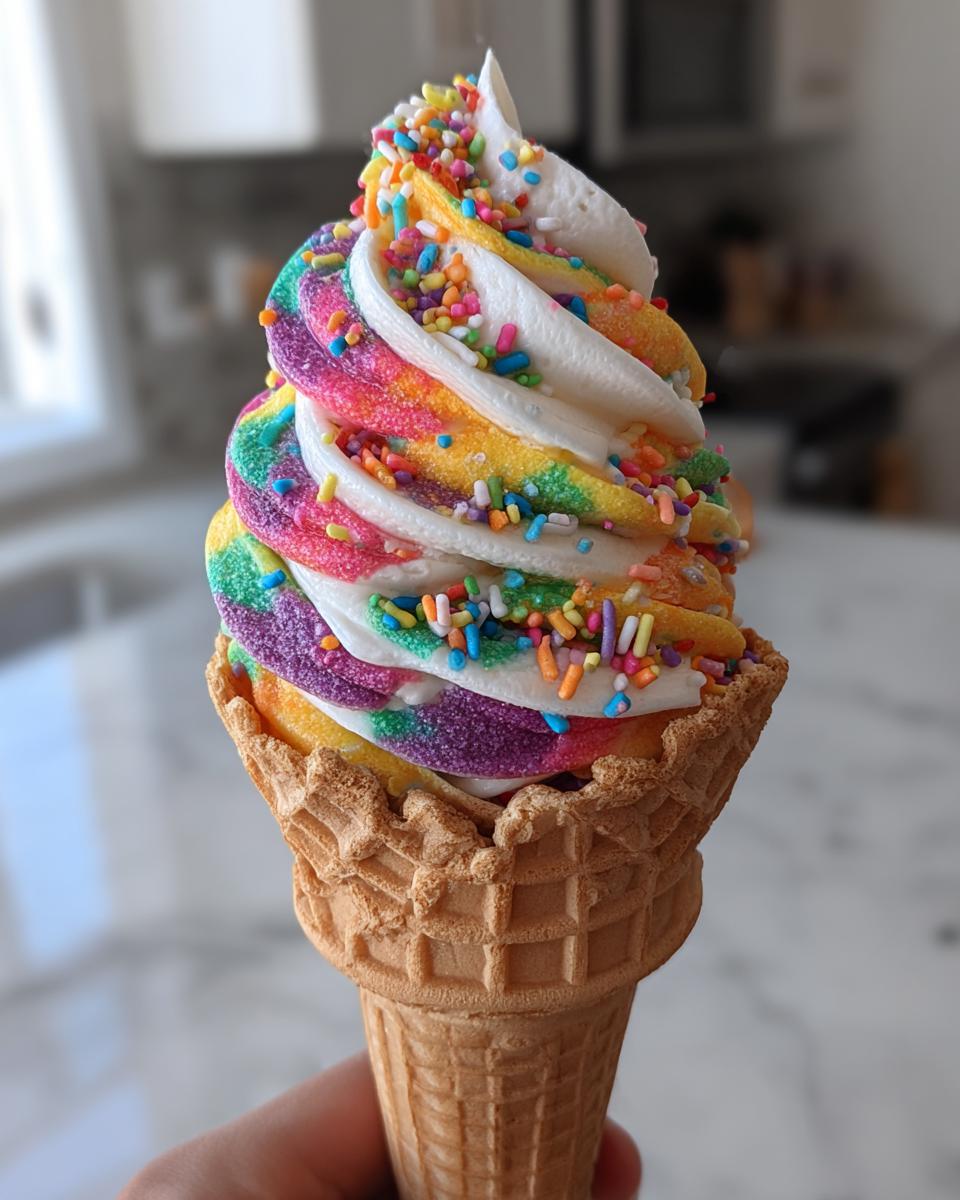
Once your cones are totally cool, it’s time for the best part: decorating! Divide your vanilla frosting into three separate bowls. Add a different food coloring to each bowl – maybe a bright pink, a sunny yellow, and a cool blue? Spoon the colored frosting over your cooled cupcakes, swirling it around like actual ice cream. Then, go wild with sprinkles! They really give them that festive, celebratory feel.
Why You’ll Love These Ice Cream Cone Cupcakes
Seriously, these are just the happiest little treats! Here’s why you’ll be making these again and again:
- Super simple to make – perfect even for beginner bakers!
- They look SO festive and fun, kids absolutely adore them.
- They’re a fantastic, no-fuss addition to any birthday party or summer get-together.
- Who doesn’t love cake that you can eat right out of its own cone?
Tips for Success with Your Kid Party Cupcakes
Want to make sure your kid party cupcakes turn out absolutely perfect every time? A little trick I’ve picked up is to pop the baked cones into small cupcake liners after they’ve cooled. It just gives them that extra bit of stability, especially if you’re transporting them! Also, don’t feel tied to just yellow cake mix – chocolate or even a fun confetti cake mix works wonderfully in these cones too. It’s all about making them your own!
Ingredient Spotlight: The Magic Behind Ice Cream Cone Cupcakes
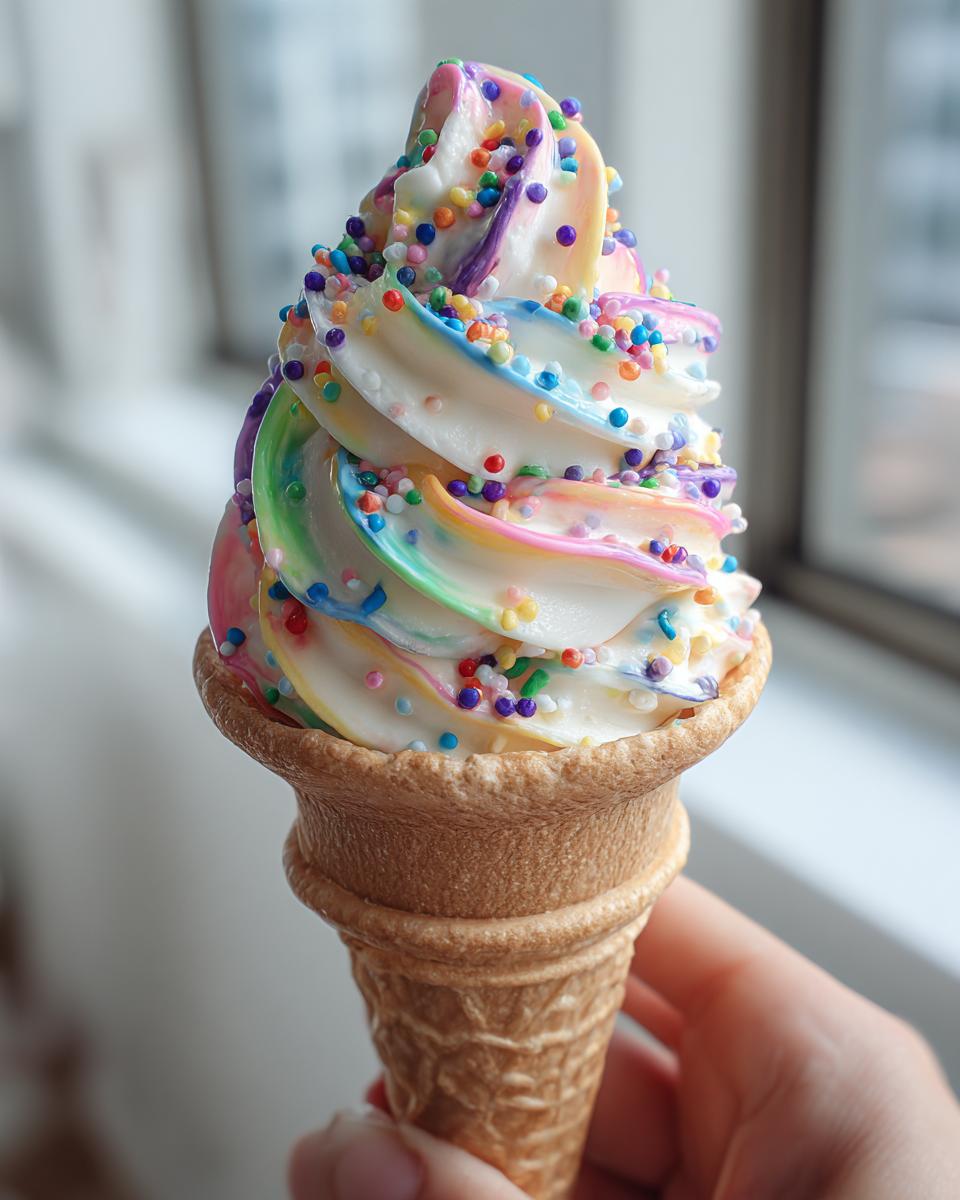
It’s really the cone itself that makes these so special! Using a sturdy waffle cone as the edible container means you get that yummy cake and a satisfying crunch all in one bite. It’s a little bit of genius turning a simple cupcake into a wearable treat!
Variations for Your Summer Birthday Treat
These are just begging to be customized! For an extra special summer birthday treat, try using chocolate cake mix for a richer flavor, or even a fun confetti mix! Pink, blue, and yellow frosting are great, but don’t stop there – think mint green, lavender, or even swirled rainbow frosting. And for sprinkles? Go wild! Edible glitter, star shapes, or even a few mini chocolate chips mixed in make these totally yours!

Frequently Asked Questions about Ice Cream Cone Cupcakes
Got questions about these fun little treats? I’ve got answers! These are pretty forgiving, but a few little pointers can make all the difference.
Can I make ice cream cone cupcakes ahead of time?
You absolutely can! I’d recommend baking and cooling the cones first. Then, just store them in an airtight container. Frosting them the day of serving is best to keep the frosting looking super fresh and pretty.
How should I store leftover ice cream cone cupcakes?
If you happen to have any left (which is rare in my house!), just pop them into an airtight container. They’ll stay good at room temperature for a couple of days, but if it’s warm out, the fridge is a better bet. Just let them come back to room temp before enjoying!
Are there gluten-free options for ice cream cone cupcakes?
Oh, definitely! You can totally use a gluten-free yellow cake mix instead of the regular one. Just follow the package directions for gluten-free baking. It works just as beautifully, and everyone can enjoy these festive treats. It’s almost as easy as ordering gluten-free meal delivery, but way more fun to make yourself!
Estimated Nutritional Information for Ice Cream Cone Cupcakes
Just a little heads-up, this info is an estimate, but it’ll give you a good idea of what’s in these yummy treats! Each packs around 350 calories, with about 18g of fat and 45g of carbs, plus 3g of protein. So, enjoy one guilt-free!
Share Your Creations: Let Us See Your Ice Cream Cone Cupcakes!
I just *love* seeing what you all create in your kitchens! If you make these adorable , please share a picture in the comments below or tag me on social media. I can’t wait to see your colorful swirls and sprinkle creations!
PrintIce Cream Cone Cupcakes

Fun cupcakes baked in ice cream cones, perfect for kids’ birthday parties or summer celebrations.
- Prep Time: 20 min
- Cook Time: 25 min
- Total Time: 45 min
- Yield: 12 servings 1x
- Category: Dessert
- Method: Baking
- Cuisine: American
- Diet: Vegetarian
Ingredients
- 1 box yellow cake mix
- Ingredients for cake mix (eggs, oil, water)
- 1 (16 ounce) can vanilla frosting
- Food coloring (pink, blue, yellow)
- Sprinkles
- Waffle cones
Instructions
- Prepare cake batter according to box directions.
- Fill waffle cones about two-thirds full with batter.
- Bake at 350°F (175°C) for 18-22 minutes, or until a toothpick inserted into the center comes out clean.
- Let cones cool completely.
- Divide frosting into three bowls. Add a different food coloring to each bowl.
- Frost the cooled cupcakes with the colored frosting, swirling to create an ice cream effect.
- Decorate with sprinkles.
Notes
- Ensure cones are placed upright in a baking pan or muffin tin to prevent tipping.
- You can also use chocolate or cake mix for different flavor options.
- For extra stability, you can place the baked cones in small cupcake liners.
Nutrition
- Serving Size: 1 cupcake
- Calories: 350
- Sugar: 30g
- Sodium: 200mg
- Fat: 18g
- Saturated Fat: 5g
- Unsaturated Fat: 13g
- Trans Fat: 0g
- Carbohydrates: 45g
- Fiber: 1g
- Protein: 3g
- Cholesterol: 20mg