 Skip to content
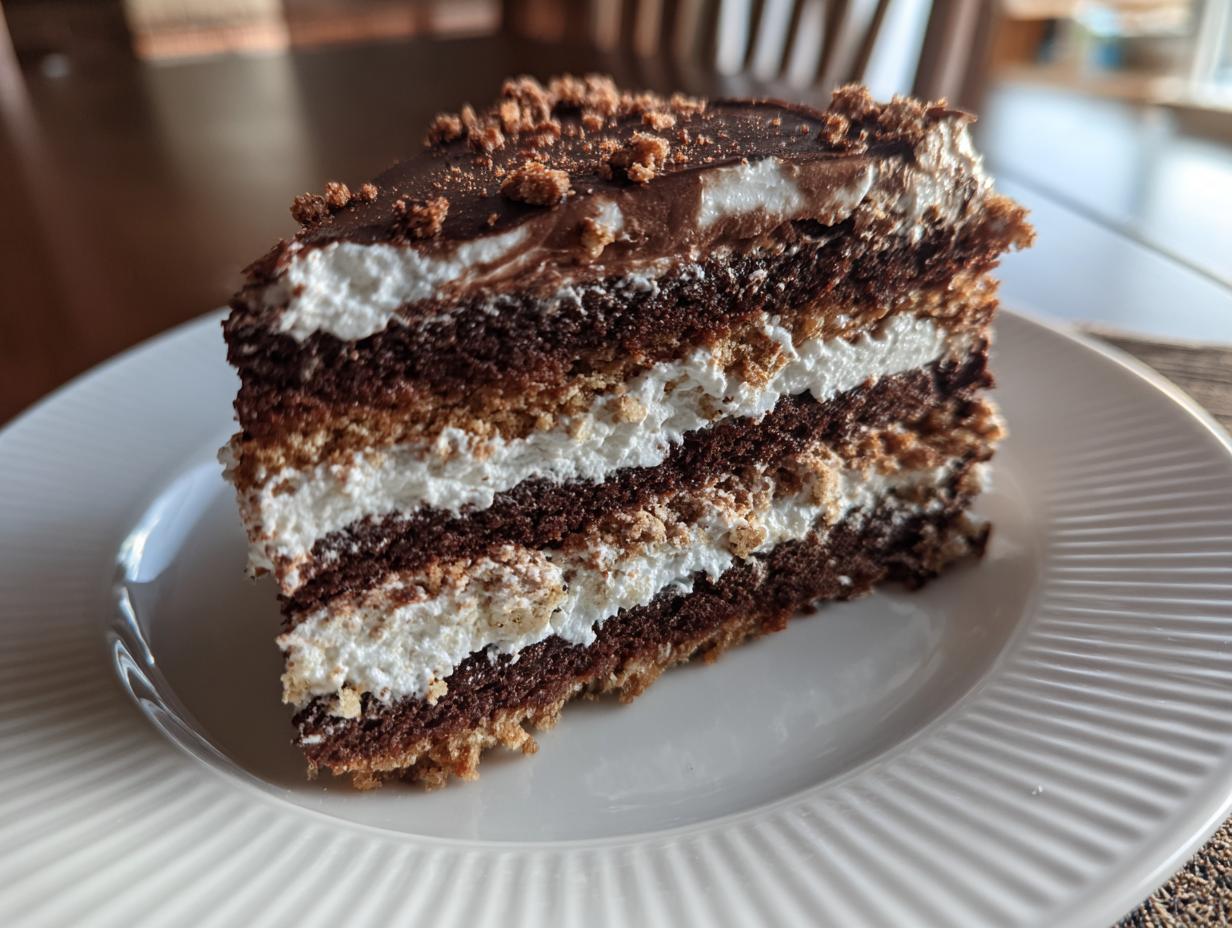

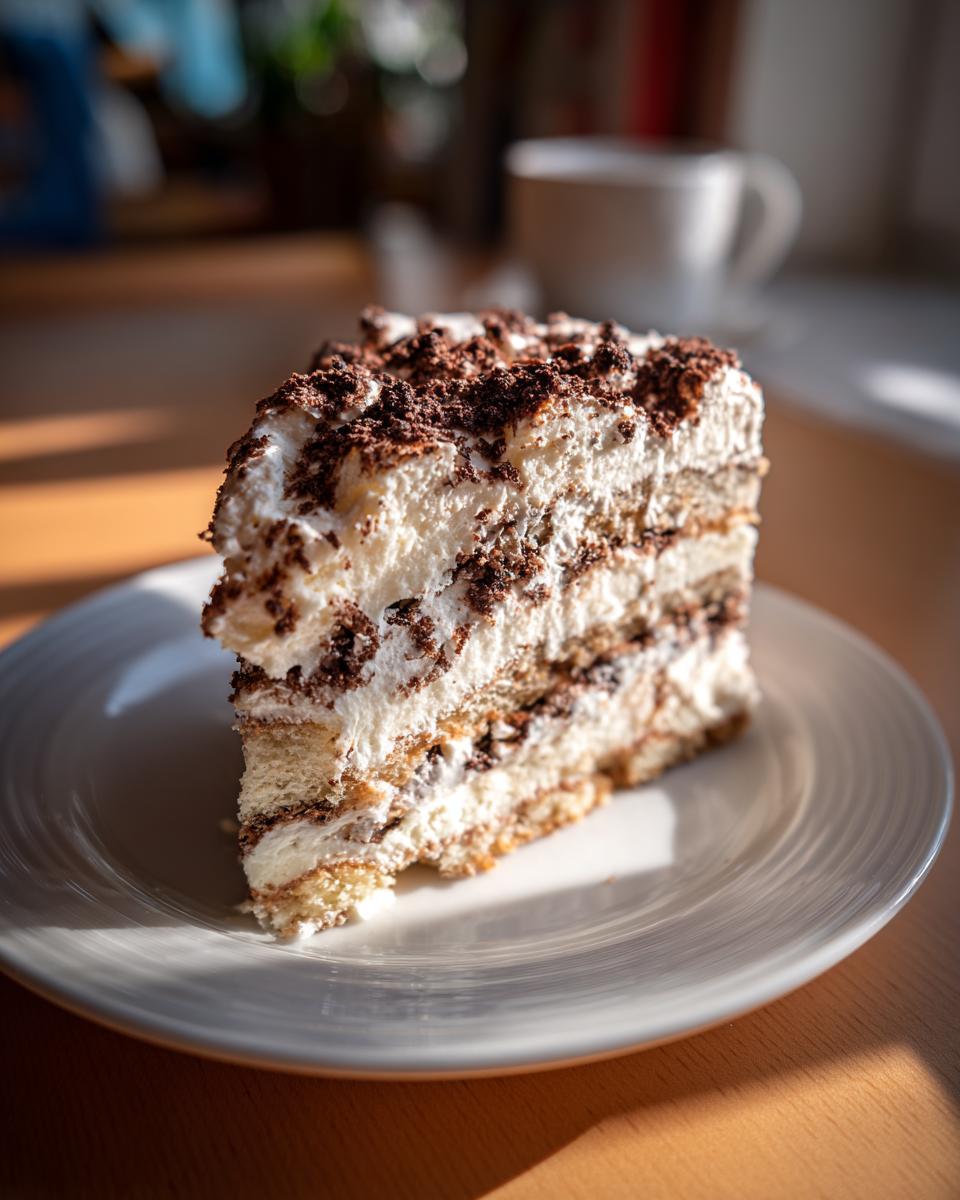
Okay, so if you’re anything like me, summer birthdays and gatherings just scream for a dessert that’s cool, easy, and totally impressive, right? That’s exactly where this amazing ice cream sandwich cake comes in. Seriously, it’s a lifesaver! Think about it: no oven, minimal fuss, and everyone goes absolutely bananas for it. My whole thing here at Unfold Recipes is making beautiful food feel totally doable, and this cake just nails that approachable elegance. It’s the kind of dessert that looks like you spent hours on it, but really, you can throw it together in minutes before it needs to freeze. It’s truly one of the best, easiest ways to make a summer celebration extra special, and I can’t wait for you to try it!
- Why You'll Love This Ice Cream Sandwich Cake
- Gather Your Ingredients for the Best Ice Cream Sandwich Cake
- Step-by-Step Guide to Making Your Ice Cream Sandwich Cake
- Tips for the Perfect Ice Cream Sandwich Cake
- Ingredient Notes and Substitutions for Your Ice Cream Sandwich Cake
- Serving and Storing Your Ice Cream Sandwich Cake
- Frequently Asked Questions About Ice Cream Sandwich Cake
- Estimated Nutritional Information
- Share Your Ice Cream Sandwich Cake Creations
Why You’ll Love This Ice Cream Sandwich Cake
Honestly, what’s not to love about this dessert? It’s a total game-changer for a few big reasons:
- Super Easy & Quick: It’s a no-bake wonder! You basically just layer things in a pan, so it’s perfect when you’re short on time or don’t want to heat up the kitchen. Plus, it’s an easy ice cream cake recipe that anyone can master.
- Crowd-Pleaser Extraordinaire: Who doesn’t love ice cream sandwiches and creamy whipped topping? This quick ice cream dessert is a guaranteed hit with both kids and adults.
- Perfect for Any Celebration: Birthdays, summer parties, BBQs – you name it! This cake looks so festive, especially with the optional toppings. It’s truly the best ice cream sandwich cake for making any occasion memorable.
Gather Your Ingredients for the Best Ice Cream Sandwich Cake
Alright, let’s talk about what you’ll need to pull off this magic. It’s honestly so straightforward! You’ll want to grab these goodies:
- About 24 classic ice cream sandwiches. You know, the ones wrapped in foil? Grab your favorite brand!
- 1 quart of vanilla ice cream – make sure it’s softened up a bit so it spreads like a dream, not like a rock.
- Another quart of strawberry ice cream, also softened nicely. This combo is just classic!
- 2 cups of heavy cream. This is for our fluffy topping!
- 1/2 cup of powdered sugar. It’s just enough to sweeten that whipped cream perfectly.
- 1 teaspoon of vanilla extract. It really makes the whipped topping sing.
- And for a little extra pizzazz, you can totally have some chopped fresh strawberries or chocolate chips ready for topping. They’re optional but so pretty!
Step-by-Step Guide to Making Your Ice Cream Sandwich Cake
Okay, ready to make this happen? It’s honestly so satisfying to see this come together. Just follow these simple steps and you’ll have a showstopper!
Preparing the Pan and First Layer
First things first, grab a 9×13 inch baking pan. You want to line it really well with plastic wrap. I like to leave a good foot of overhang on all sides – this is your secret weapon for getting the cake out easily later. Don’t skip this! Then, unwrap your ice cream sandwiches and lay them down in a single layer covering the bottom of the pan. If they don’t fit perfectly, no worries! Just trim them a bit to fill in any gaps. It’s all about getting that solid base.
Adding the Ice Cream Layers
Now for the creamy goodness! Make sure your vanilla ice cream is softened but not melted – you want it spreadable, like soft butter. Spread about half of it evenly over that first layer of ice cream sandwiches. Then, add another layer of ice cream sandwiches right on top of the vanilla. After that, spread the softened strawberry ice cream all over this new layer. Try to keep it as even as possible; it makes a huge difference for the final look and taste of your ice cream sandwich cake.
Freezing and Whipped Topping Preparation
Once everything is layered up, carefully cover the whole pan with that extra plastic wrap you left hanging over the sides. Pop it into the freezer for at least 4 hours. Honestly, overnight is even better if you can wait! While that’s freezing solid, you can whip up your topping. In a separate bowl, combine the heavy cream, powdered sugar, and vanilla extract. Whip it up until you’ve got nice, stiff peaks – you know, when you lift the beaters and the cream stays put? That’s what you’re going for.
Assembling and Decorating Your Ice Cream Sandwich Cake
When your cake is nice and firm, it’s time for the grand finale! Carefully use the plastic wrap overhang to lift the whole frozen block out of the pan and place it onto your serving platter. Peel off the plastic wrap. Now, take that glorious whipped cream and spread it all over the top and sides of your cake. Make it look smooth and pretty! If you’re feeling fancy, sprinkle on those chopped strawberries or chocolate chips. It really makes it look like the best ice cream sandwich cake in town!
Tips for the Perfect Ice Cream Sandwich Cake
Making this ice cream sandwich cake is pretty foolproof, but here are a few little tricks I’ve picked up to make it absolutely perfect every single time. It really ties into that whole idea of approachable elegance I love – looking fancy without the fuss!
First off, the temperature of your ice cream is key. You want it softened, yes, but not melted into a puddle! Think of it like really thick frosting that you can spread easily. If it’s too hard, you’ll tear the ice cream sandwiches. Too soft and melty, and you’ll have a soupy mess. For the best results with this easy ice cream cake recipe, make sure your ice cream has been out of the freezer for about 10-15 minutes before you start layering.
Also, don’t skimp on the freezing time! That 4-hour minimum is important, but honestly, letting it go longer, like overnight, makes it super firm and much easier to handle when you’re frosting it. It turns into a really quick ice cream dessert that holds its shape beautifully. If you’re in a pinch and need it to set faster, you might be able to get away with 2-3 hours in a really cold freezer, but longer is always better for that perfect structure!
Ingredient Notes and Substitutions for Your Ice Cream Sandwich Cake
So, let’s chat a little about these ingredients and how you can totally personalize this ice cream sandwich cake. It’s really forgiving, which is part of why I love it so much!
The ice cream sandwiches themselves are pretty standard, but feel free to play! Use whatever brand you like best. The key is softened ice cream, remember? It shouldn’t be rock solid. Think of it like letting cookie dough come to room temp so it spreads nicely. If your ice cream is too hard, you’ll just end up with chunks and a messy layer. If it’s too melty, well, that’s just sad ice cream soup!
As for flavors, the vanilla and strawberry combo is classic, but honestly? Go wild! Mint chocolate chip, cookies and cream, chocolate – whatever floats your boat! Just make sure you have two different flavors for that pretty stripe effect. And for the topping, if you aren’t a big fan of heavy cream, you could totally try a good quality store-bought whipped topping, or even a stabilized whipped cream with a bit of gelatin if you want something super sturdy. But that homemade whipped topping is just so light and fluffy, it really makes this the best ice cream sandwich cake!
Serving and Storing Your Ice Cream Sandwich Cake
Alright, your masterpiece is ready and looking gorgeous! Before you slice into this amazing ice cream sandwich cake, give it just a few minutes – maybe 5 to 10 – on the counter. This little bit of warmth helps soften it just enough so you can get clean slices without the cake crumbling or the ice cream shattering. It makes a world of difference, trust me!
Got leftovers? Lucky you! Just wrap any remaining cake tightly in plastic wrap or pop it into an airtight container. Keep it in the freezer, and it should be perfectly good for about a week or two. Just remember that the whipped topping might get a little bit of freezer wear, but it’ll still taste great! It’s so easy to grab a slice when that ice cream craving hits!
Frequently Asked Questions About Ice Cream Sandwich Cake
Got some burning questions about this delightful ice cream sandwich cake? I’ve definitely heard a few over the years, so let’s clear them up!
Can I use different ice cream flavors?
Oh, absolutely! That’s the beauty of this easy ice cream cake recipe. While vanilla and strawberry are a classic combo, feel free to experiment. Mint chocolate chip, cookies and cream, rocky road – whatever you love works perfectly. Just try to stick with similarly sized ice cream cartons if you’re using those instead of the sandwiches, or just use more sandwiches with your favorite flavors!
How long does this ice cream sandwich cake need to freeze?
You’ll want to freeze it for at least 4 hours after you assemble it to make sure it’s nice and firm. Honestly though, freezing it overnight is even better! It makes cutting into clean slices so much easier. This is key for a really impressive-looking ice cream sandwich cake.
Do I have to use ice cream sandwiches?
The ice cream sandwiches are what make this a true ice cream sandwich cake! They provide that distinct layer and texture. While you *could* try layering the ice cream directly in the pan, it won’t have that signature chewy-sweet layer. Stick with the sandwiches for the best result!
Can I make this dessert ahead of time?
Yes, you absolutely can! In fact, I highly recommend it. You assemble and freeze the cake, then top it with the whipped cream just before serving. This way, the whipped cream stays light and fluffy. It’s a fantastic quick ice cream dessert that you can prep almost entirely the day before!
Estimated Nutritional Information
Now, I know we’re not entering this into a health contest, but it’s always good to have a general idea, right? Keep in mind that these numbers are just estimates, and they can totally change depending on the brands of ice cream sandwiches and ice cream you use.
But generally, for a slice of this amazing ice cream sandwich cake, you’re looking at around:
- Calories: Approximately 350
- Fat: About 18g
- Protein: Around 5g
- Carbohydrates: Roughly 45g
- Sugar: We’re looking at about 35g of sweetness here!
It’s a treat, for sure, but totally worth it for those summer celebrations!
Share Your Ice Cream Sandwich Cake Creations
I just *love* seeing what you all do with these recipes! If you made this spectacular ice cream sandwich cake, please, please, PLEASE leave a comment below and tell me how it turned out. Did you try a fun flavor combo? Did the kids love it? Snap a picture and tag me on social media – I’d be absolutely thrilled to see your beautiful creations! Your feedback and pictures honestly make my day and inspire so many other home cooks.
PrintIce Cream Sandwich Cake

An easy no-bake ice cream sandwich cake layered with whipped topping, perfect for summer birthdays.
- Prep Time: 20 min
- Cook Time: 0 min
- Total Time: 4 hr 20 min
- Yield: 12 servings 1x
- Category: Dessert
- Method: No-Bake
- Cuisine: American
- Diet: Vegetarian
Ingredients
- 24 ice cream sandwiches
- 1 quart vanilla ice cream, softened
- 1 quart strawberry ice cream, softened
- 2 cups heavy cream
- 1/2 cup powdered sugar
- 1 teaspoon vanilla extract
- Optional: 1 cup chopped strawberries or chocolate chips for topping
Instructions
- Line a 9×13 inch pan with plastic wrap, leaving an overhang on the sides.
- Arrange a layer of ice cream sandwiches on the bottom of the pan, cutting them to fit if necessary.
- Spread the softened vanilla ice cream evenly over the ice cream sandwiches.
- Add another layer of ice cream sandwiches.
- Spread the softened strawberry ice cream evenly over this layer.
- Add a final layer of ice cream sandwiches.
- Cover the pan with plastic wrap and freeze for at least 4 hours, or until firm.
- In a separate bowl, whip the heavy cream, powdered sugar, and vanilla extract until stiff peaks form.
- When ready to serve, invert the cake onto a serving platter. Remove the plastic wrap.
- Spread the whipped cream evenly over the top and sides of the cake.
- Decorate with optional strawberries or chocolate chips.
- Slice and serve immediately.
Notes
- For easier slicing, let the cake sit at room temperature for 5-10 minutes before cutting.
- You can use any combination of ice cream flavors you prefer.
- Ensure your ice cream is softened but not melted before spreading.
Nutrition
- Serving Size: 1 slice
- Calories: 350
- Sugar: 35g
- Sodium: 150mg
- Fat: 18g
- Saturated Fat: 10g
- Unsaturated Fat: 8g
- Trans Fat: 0g
- Carbohydrates: 45g
- Fiber: 1g
- Protein: 5g
- Cholesterol: 40mg