 Skip to content
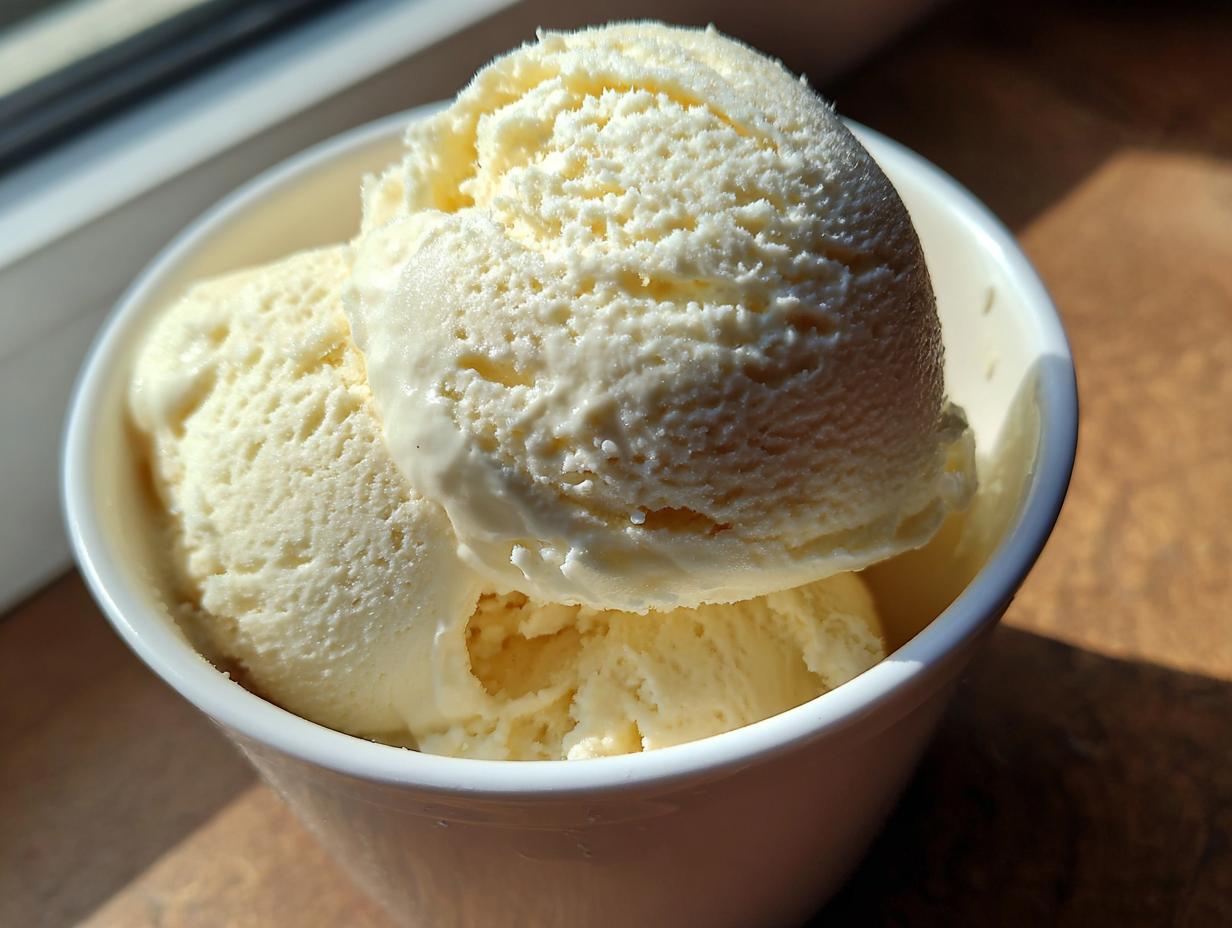

You know, I used to think making homemade ice cream was this huge production, something that only happened if you had a fancy machine humming away in the background. But let me tell you, that all changed when I discovered the magic of a good no-churn vanilla ice cream with condensed milk. It’s honestly one of those recipes that make you feel like a kitchen wizard, even if you’re just starting out. Here at Unfold Recipes, we’re all about making those elegant, delicious moments happen without all the fuss. Catherine, who started this whole thing, lives and breathes that — getting incredible results with simple ingredients and a whole lotta heart. So, if you’re dreaming of creamy, dreamy ice cream this summer but don’t want to deal with an ice cream maker, this is your recipe! It’s ridiculously easy, uses just a few things from your pantry, and the result is just… pure bliss. Seriously, get ready for your new favorite summer treat!
- Why You'll Love This No-Churn Vanilla Ice Cream with Condensed Milk
- Gather Your Ingredients for No-Churn Vanilla Ice Cream with Condensed Milk
- Step-by-Step Guide to Making Your No-Churn Vanilla Ice Cream
- Tips for the Best No-Churn Vanilla Ice Cream with Condensed Milk
- Ingredient Spotlight: Sweetened Condensed Milk
- Frequently Asked Questions About No-Churn Vanilla Ice Cream
- Storing and Serving Your Homemade No-Churn Vanilla Ice Cream
- Estimated Nutritional Information for No-Churn Vanilla Ice Cream
- Share Your Summer No-Churn Vanilla Ice Cream Creations
Why You’ll Love This No-Churn Vanilla Ice Cream with Condensed Milk
Honestly, you’re going to adore this easy no-churn vanilla ice cream recipe. It’s just so ridiculously simple, and believe me, it comes together super fast. Plus, you only need a few things from the grocery store, making it a real lifesaver when you need a quick dessert. The best part? It tastes unbelievably creamy and delicious, and you don’t even need a fancy ice cream maker! It’s the perfect, fuss-free way to enjoy homemade ice cream this summer.
Gather Your Ingredients for No-Churn Vanilla Ice Cream with Condensed Milk
You really only need a few things for this amazing no-churn vanilla ice cream with condensed milk. Just make sure your heavy cream is super cold, that’s the trick!
- 2 cups heavy whipping cream, very cold
- 1 (14 ounce) can sweetened condensed milk
- 1 teaspoon pure vanilla extract

Step-by-Step Guide to Making Your No-Churn Vanilla Ice Cream
Alright, friend, get ready because this is where the magic really happens! Making this incredible no-churn vanilla ice cream with condensed milk is honestly so straightforward, you’ll wonder why you ever bothered with an ice cream maker before. We’re going to make something seriously dreamy in no time.
Whipping the Cream for Your No-Churn Vanilla Ice Cream
First things first, grab your mixer and a nice, cold bowl. Seriously, if you can pop your bowl and beaters in the freezer for like, 10 minutes before you start, do it! It makes a huge difference. We’re going to whip that super cold heavy cream until it gets nice and stiff. You’ll know it’s ready when you lift the beater and the cream keeps its shape, like little snowy peaks. Don’t overdo it here, just until it’s firm and holds up – that fluffy air is what makes our no-churn vanilla ice cream so wonderfully light and creamy!
Combining the Sweetness: Condensed Milk and Vanilla
While your cream is doing its thing, let’s get the flavor base ready. In a totally separate bowl, just whisk together that can of sweetened condensed milk and the splash of pure vanilla extract. This is where all the sweetness and that classic vanilla yumminess comes from. Give it a good whisk until it’s all smooth and happy. It’s as simple as that for this part!
The Gentle Fold: Bringing it All Together
Now for the most important part: the folding! We don’t want to knock all that lovely air out of our whipped cream. Take your condensed milk mixture and pour about half of it into the whipped cream. Now, using a spatula, gently fold everything together. Imagine you’re scooping from the bottom and bringing it up and over the top, turning the bowl as you go. Do this until it’s just combined, then add the rest of the condensed milk mixture and fold again until there are no streaks. Seriously, be gentle! We want to keep this as airy as possible for the best result in our no-churn vanilla ice cream.
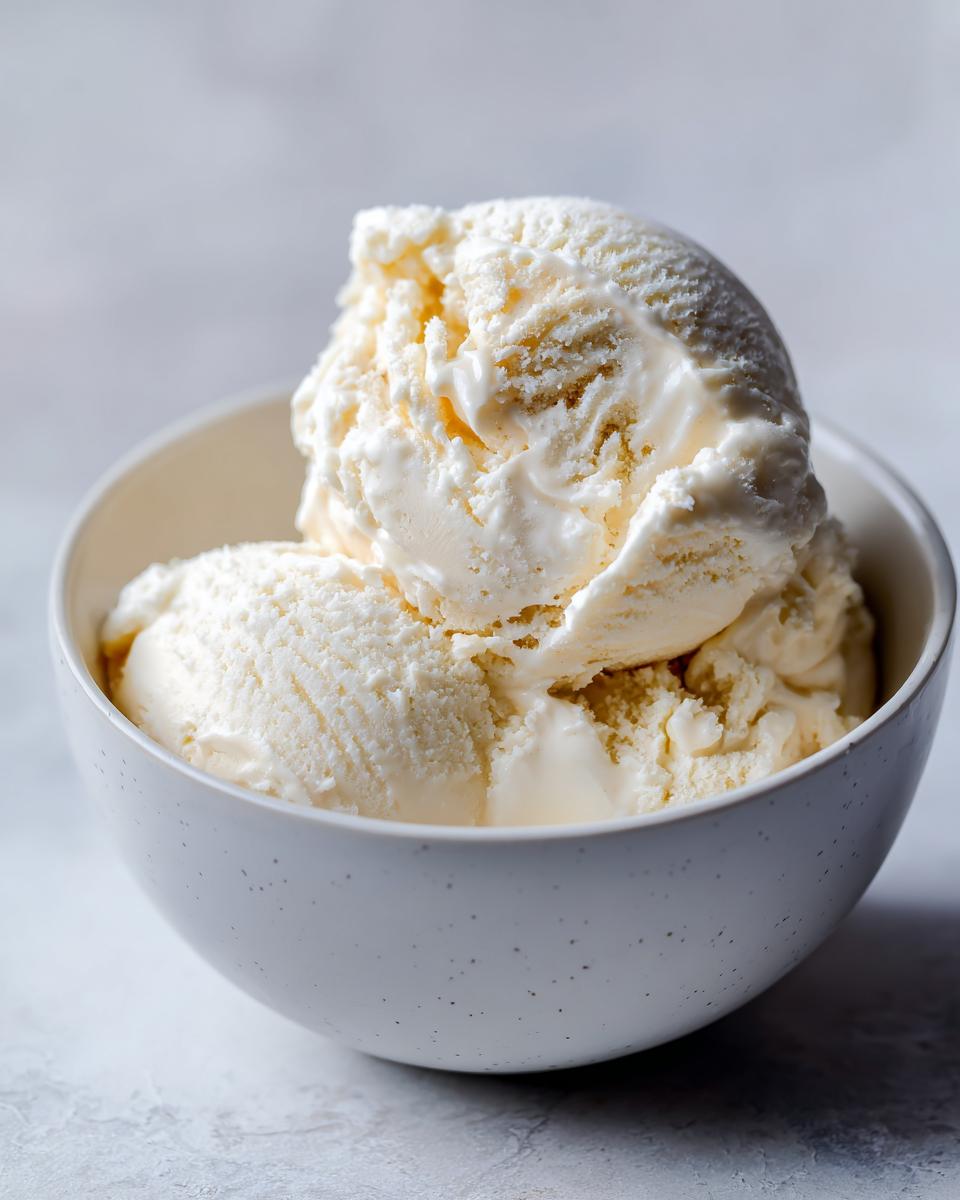
Freezing Your No-Churn Vanilla Ice Cream to Perfection
Once you’ve got that beautiful, fluffy mixture, pour it into a freezer-safe container. A loaf pan works perfectly, but any good sturdy container with a lid or something you can cover tightly is great. Now, here’s a little trick for the absolute best no-churn vanilla ice cream: grab a piece of parchment paper and press it right onto the surface of the ice cream. This is a total game-changer for preventing those annoying ice crystals. Pop the lid on or cover it tightly with plastic wrap, and tuck it into the freezer for at least 6 hours, or honestly, until it’s nice and firm. Patience, my friend!
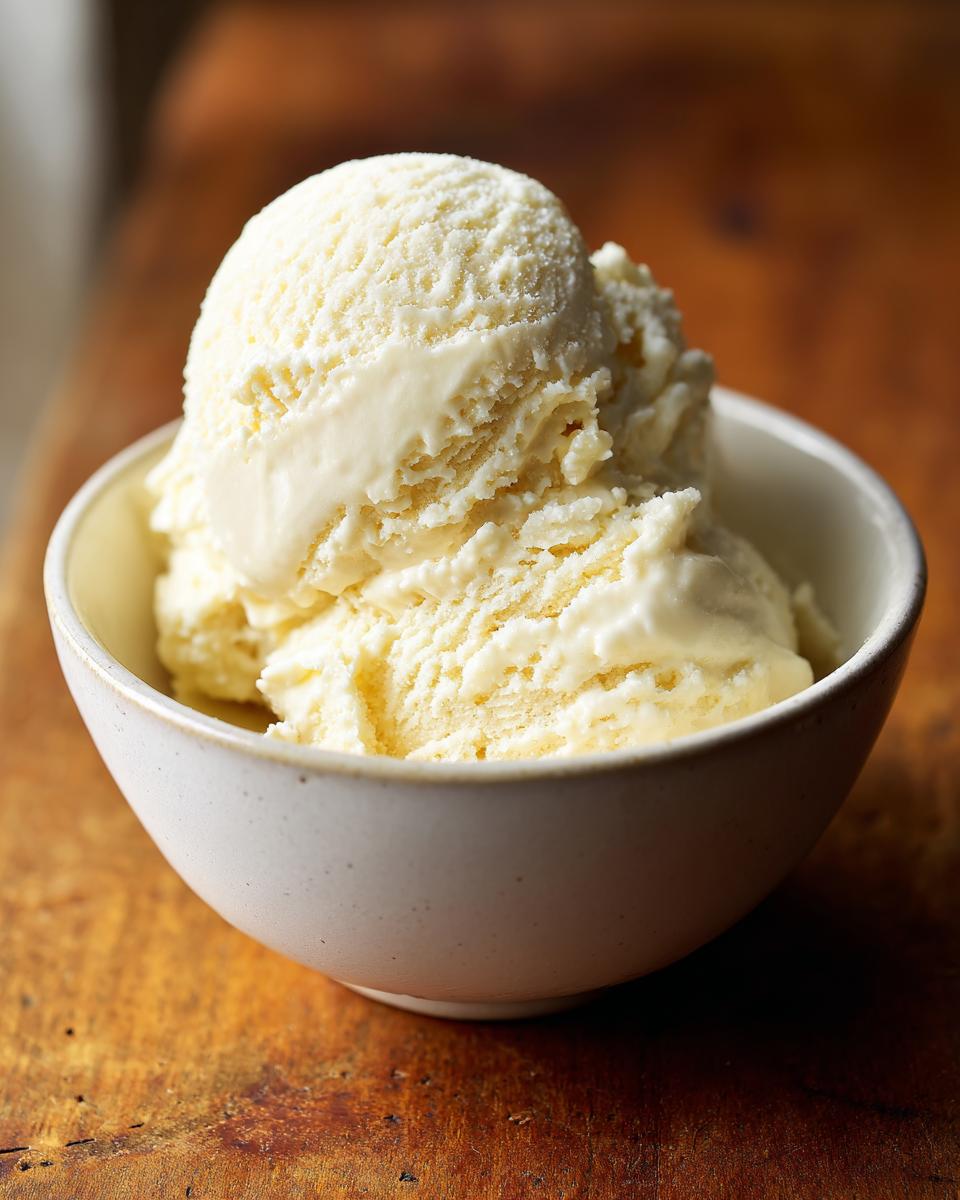
Tips for the Best No-Churn Vanilla Ice Cream with Condensed Milk
Okay, so you’ve got the basic steps down, but let’s talk about making this no-churn vanilla ice cream truly spectacular. A few little tricks can elevate it from good to *amazing*. First and foremost, that heavy cream has to be COLD. Like, straight-from-the-fridge cold. If it’s even a little lukewarm, it won’t whip up properly, and we really want those fluffy peaks for the best texture. And remember that parchment paper trick for the surface? Trust me, it’s a game-changer against ice crystals, meaning super smooth, creamy ice cream every time. If you’re feeling adventurous, this is also where you can get creative! Fold in some mini chocolate chips, chopped cookies, or even a swirl of jam right before you freeze it. It’s your summer no-churn vanilla ice cream, after all!
Ingredient Spotlight: Sweetened Condensed Milk
So, let’s talk about the star ingredient here: sweetened condensed milk! It might seem simple, but this stuff is pure magic for our no-churn vanilla ice cream with condensed milk. It’s basically milk that’s had most of the water removed and then had sugar added. That concentrated goodness is exactly why we don’t need an ice cream maker – the sugar helps keep the ice cream from freezing rock solid and creates that wonderfully smooth, creamy texture we’re all dreaming of. Plus, it brings all the sweetness, so we don’t have to worry about adding sugar separately. It’s just brilliant!
Frequently Asked Questions About No-Churn Vanilla Ice Cream
Got questions about whipping up this easy no-churn vanilla ice cream? I totally get it! There are a few things that always come up, so let’s tackle them head-on and make sure your homemade ice cream dreams come true.
Can I use evaporated milk instead of sweetened condensed milk?
Oh, good question! But no, honey, you really can’t substitute evaporated milk for sweetened condensed milk in this recipe. Evaporated milk is just milk, while sweetened condensed milk has all that sugar already in it. That sugar is super important for getting that creamy texture and sweet flavor without churning. Using evaporated milk would give you a very different, icy result, so stick to the sweetened kind for this easy no-churn vanilla ice cream!
How long does no-churn ice cream last?
Well, since it’s homemade and doesn’t have all those stabilizers you find in store-bought stuff, it’s best enjoyed within a couple of weeks. Keep it tucked away in an airtight container in the coldest part of your freezer. If it starts to look a bit icy, that’s usually a sign it’s been in there a bit too long, or just needed that parchment paper trick we talked about earlier to prevent ice crystals!
Why is my no-churn ice cream icy?
Ugh, an icy no-churn vanilla ice cream is the saddest thing! Usually, that happens if there was too much water left in the mixture, or if air sneaked in during freezing. Making sure you whip your cream to stiff, stiff peaks is crucial for lightness. Also, really pressing down that piece of parchment paper or plastic wrap right onto the surface before you freeze it makes a HUGE difference in keeping those pesky ice crystals away. And make sure your freezer is set to a good, cold temperature!
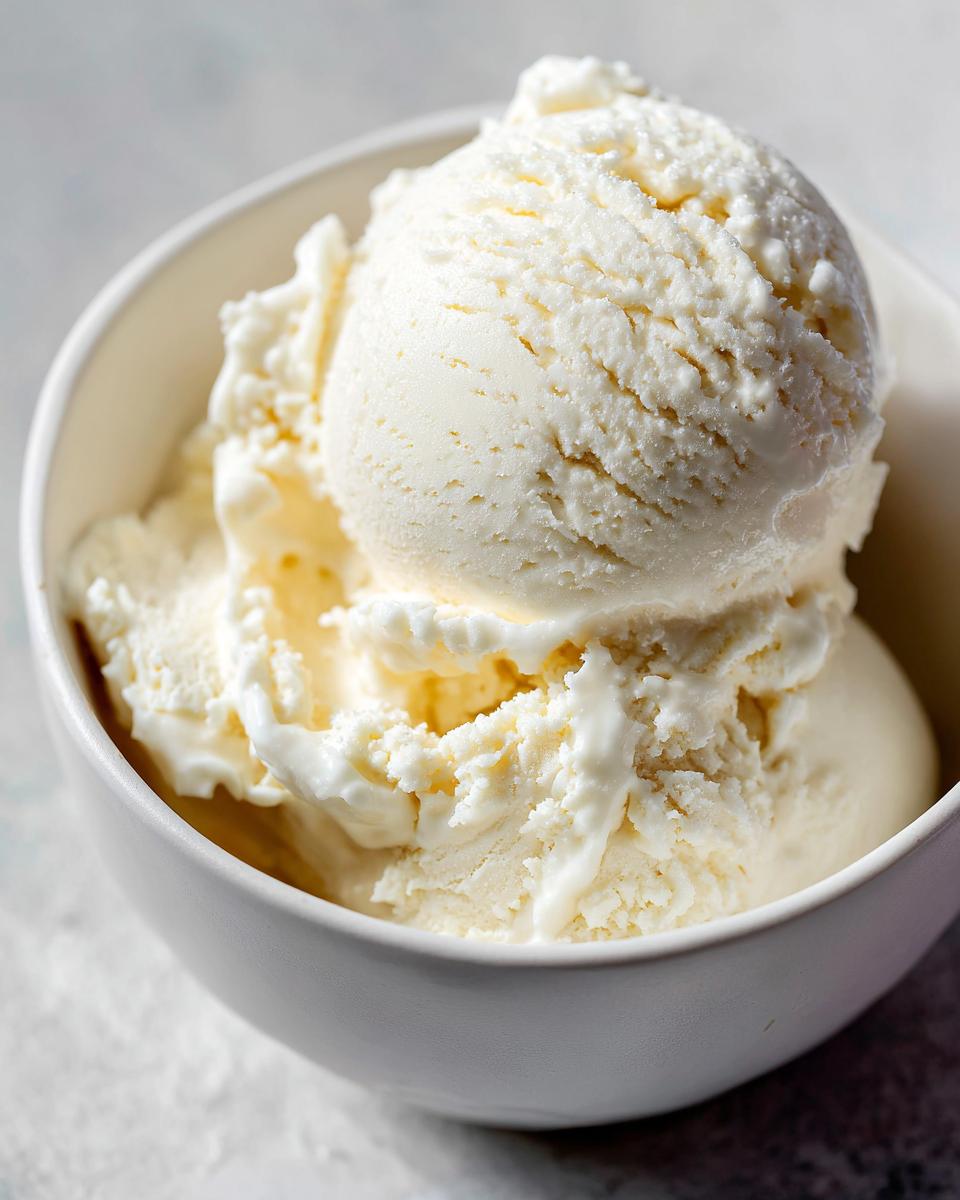
Storing and Serving Your Homemade No-Churn Vanilla Ice Cream
So, you’ve whipped up this glorious no-churn vanilla ice cream with condensed milk and maybe, just maybe, you have some leftovers. Smart move! To keep it tasting its absolute best, you’ll want to store it in a freezer-safe container. Make sure it’s sealed up tight so no freezer smells sneak in. Honestly, the best way to keep it super smooth and prevent those pesky ice crystals is to press a piece of plastic wrap or parchment paper directly onto the surface before you put the lid on. It really works wonders! For the ultimate creamy texture, I like to let it sit on the counter for just a few minutes – maybe 5 to 10 – before scooping. It just softens it up perfectly. If you store it properly, it’s usually great for about two weeks!
Estimated Nutritional Information for No-Churn Vanilla Ice Cream
Here’s a little peek at what you’re getting with each serving of this dreamy no-churn vanilla ice cream with condensed milk. Keep in mind, this is an estimate, and the exact numbers can wiggle around a bit depending on the exact brands and ingredients you use, but it gives you a good idea!
- Serving Size: About 1/2 cup
- Calories: Around 350-400
- Total Fat: Around 20-25g
- Saturated Fat: Around 12-15g
- Carbohydrates: Around 40-45g
- Sugars: Around 40-45g (Yep, that condensed milk is sweet!)
- Protein: Around 3-5g
It’s definitely a treat, but oh-so-worth-it!
Share Your Summer No-Churn Vanilla Ice Cream Creations
Alright, now it’s your turn! I absolutely love hearing about your kitchen adventures. Did you try this super easy no-churn vanilla ice cream with condensed milk? Tell me all about it in the comments below! Did you add caramel swirls or cookies? I’m dying to know! And if you snap a picture, tag us on social media – seeing your creations makes my day. Happy scooping!
PrintEasy No-Churn Vanilla Ice Cream

A simple recipe for creamy vanilla ice cream that requires no ice cream maker, using condensed milk for sweetness and a smooth texture.
- Prep Time: 10 min
- Cook Time: 0 min
- Total Time: 6 hr 10 min
- Yield: 6 servings 1x
- Category: Dessert
- Method: Freezing
- Cuisine: American
- Diet: Vegetarian
Ingredients
- 2 cups heavy whipping cream
- 1 (14 ounce) can sweetened condensed milk
- 1 teaspoon vanilla extract
Instructions
- In a large bowl, whip the heavy cream with an electric mixer until stiff peaks form.
- In a separate bowl, whisk together the sweetened condensed milk and vanilla extract.
- Gently fold the condensed milk mixture into the whipped cream until just combined. Be careful not to overmix.
- Pour the mixture into a freezer-safe container, such as a loaf pan.
- Cover the container tightly with plastic wrap or a lid.
- Freeze for at least 6 hours, or until firm.
- Scoop and serve.
Notes
- For best results, ensure your heavy cream is very cold before whipping.
- You can add mix-ins like chocolate chips or cookie pieces after folding the condensed milk mixture into the whipped cream.
- To prevent ice crystals, press a piece of parchment paper directly onto the surface of the ice cream before covering and freezing.
Nutrition
- Serving Size: 1/2 cup
- Calories: 350
- Sugar: 40g
- Sodium: 30mg
- Fat: 20g
- Saturated Fat: 12g
- Unsaturated Fat: 8g
- Trans Fat: 0g
- Carbohydrates: 42g
- Fiber: 0g
- Protein: 4g
- Cholesterol: 60mg