 Skip to content
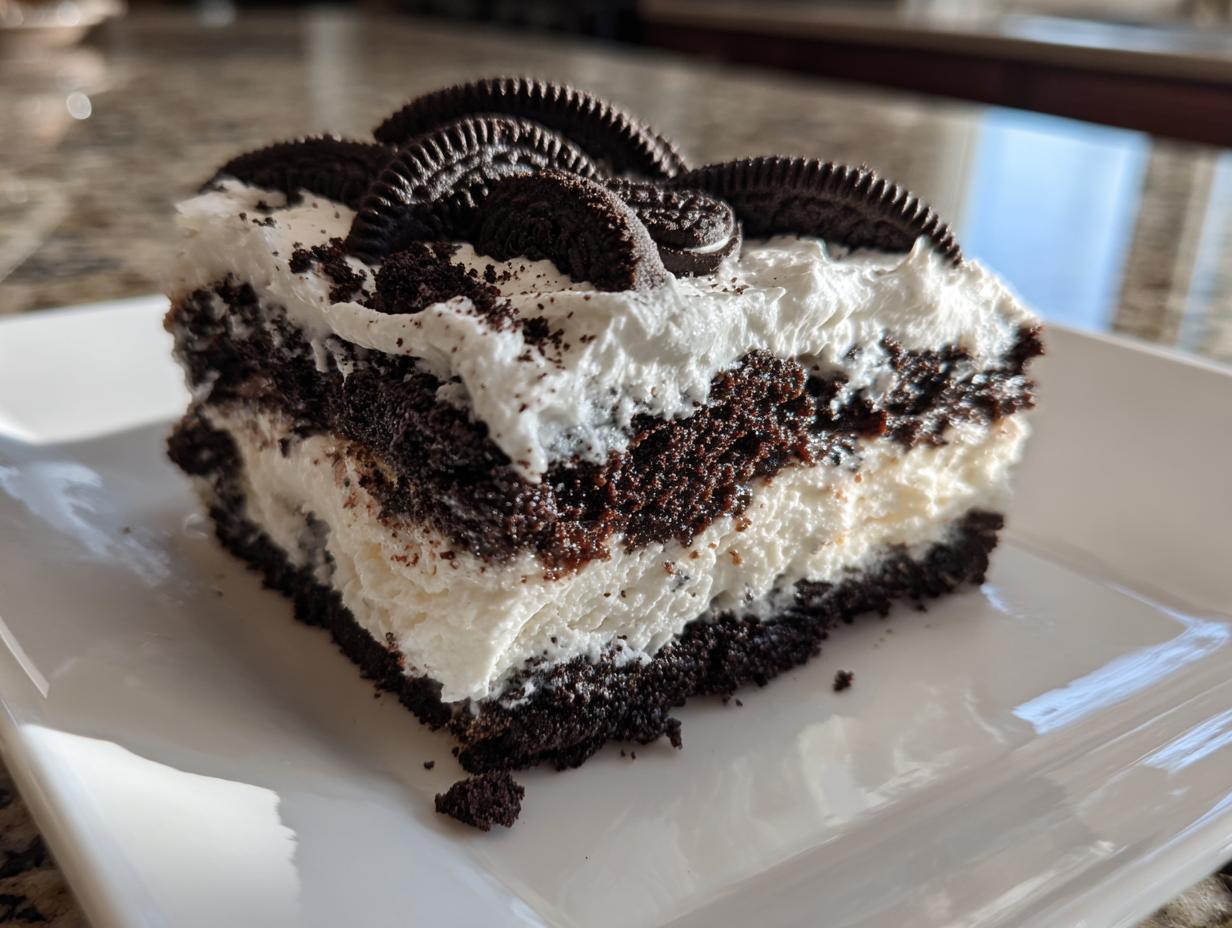

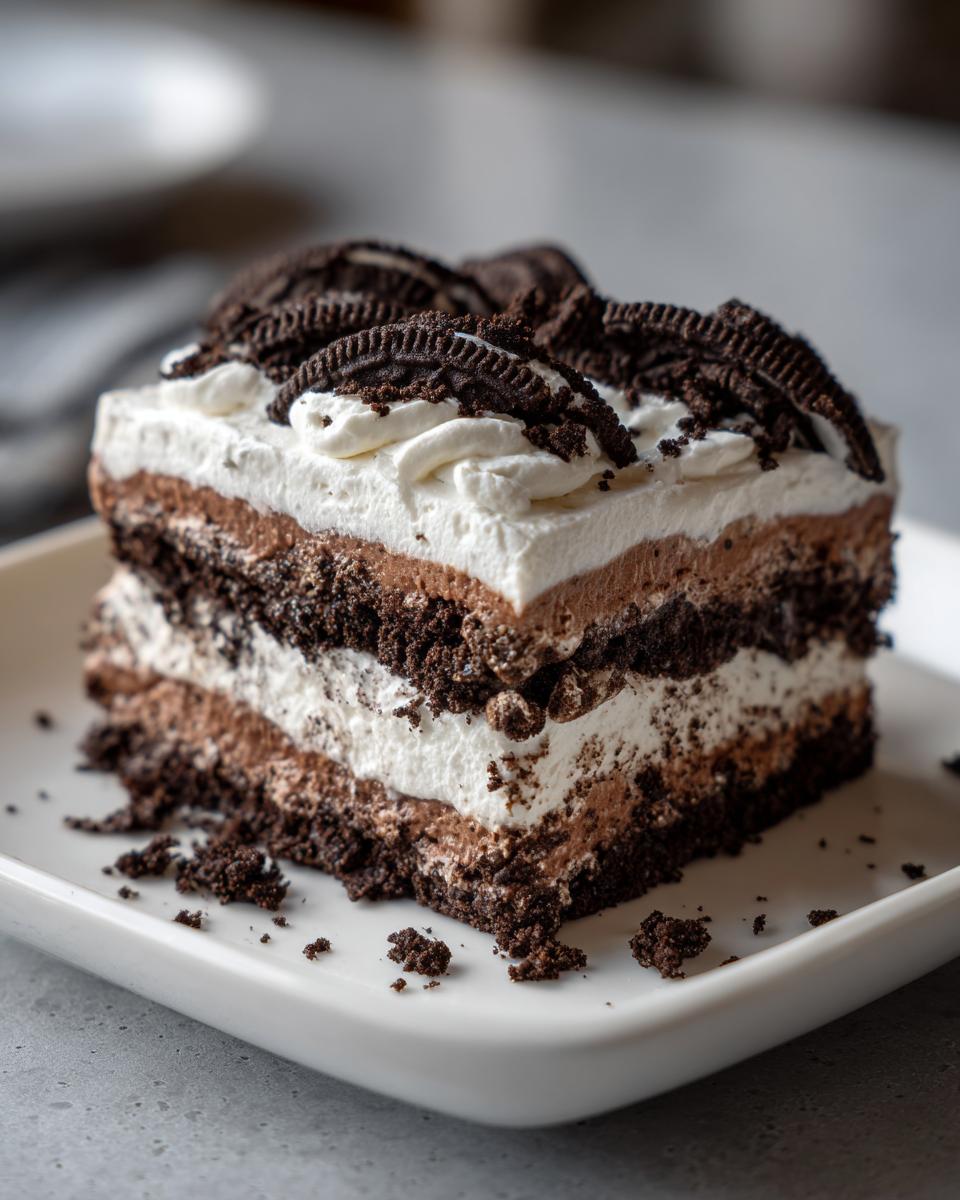
Seriously, you guys, if you’re looking for the ultimate easy dessert that practically makes itself, you HAVE to try this Oreo icebox cake. It’s the perfect no-bake option when you need something impressive without turning on the oven – think hot summer days or when unexpected guests drop by. Honestly, my whole thing at Unfold Recipes is making beautiful food feel totally doable. Catherine, my mom, always said food is how we tell our best stories, and this cake definitely tells a story of pure, simple deliciousness. It’s built on that idea that even the easiest recipes can be incredibly special!
- Why You'll Love This Oreo Icebox Cake
- Ingredients for Your Oreo Icebox Cake
- Crafting Your Perfect Oreo Icebox Cake: Step-by-Step
- Tips for an Unforgettable Oreo Icebox Cake
- Ingredient Spotlight: The Magic of Oreos
- Serving and Storing Your Oreo Icebox Cake
- Frequently Asked Questions about Oreo Icebox Cake
- Estimated Nutritional Information
- Share Your Oreo Icebox Cake Creations!
Why You’ll Love This Oreo Icebox Cake
This Oreo icebox cake is honestly a lifesaver, and I think you’re gonna fall head over heels for it. Here’s why:
- Crazy Easy to Make: Seriously, it’s mostly just crushing cookies and whipping cream. No baking skills required, I promise!
- Minimal Ingredients: You only need a few things from the grocery store, and chances are you might already have some of them.
- Crowd-Pleaser Guaranteed: Who doesn’t love Oreos and creamy frosting? This dessert is a guaranteed hit with pretty much everyone.
- Perfect for Any Occasion: Whether it’s a summer BBQ, a last-minute potluck, or just a Tuesday night craving, this cake fits the bill.
- No-Bake Bliss: Forget the oven! This beauty chills in the fridge, which is a total win when it’s hot out or you’re short on time.
- Adaptable & Fun: You can totally tweak it! Maybe add some chocolate chips or different extracts – it’s a forgiving recipe.
Ingredients for Your Oreo Icebox Cake
You really don’t need much for this showstopper! Just grab:
- One big package (that’s 14.3 ounces, my friends!) of classic Oreo cookies.
- 2 cups of heavy whipping cream – make sure it’s nice and cold!
- A half cup of powdered sugar, for that lovely sweetness.
- And 1 teaspoon of pure vanilla extract to make everything smell amazing.
Crafting Your Perfect Oreo Icebox Cake: Step-by-Step
Okay, let’s get this no-bake magic happening! It’s honestly super simple, you just need to follow a few easy steps and you’ll have the most amazing dessert ready to chill.
Preparing the Oreo Crumbs
First things first, let’s tackle those Oreos. I like to just pop them into a sturdy zip-top bag and give them a good bash with a rolling pin until they’re in nice, coarse crumbs. Don’t go too fine, you want little bits of cookie goodness.
Whipping the Cream Mixture
Now, grab a big, chilled bowl. Pour in your cold heavy cream, powdered sugar, and that yummy vanilla. Whip it all up – I usually use an electric mixer on medium-high speed – until you’ve got lovely stiff peaks that stand right up. Trust me, cold cream is key here!
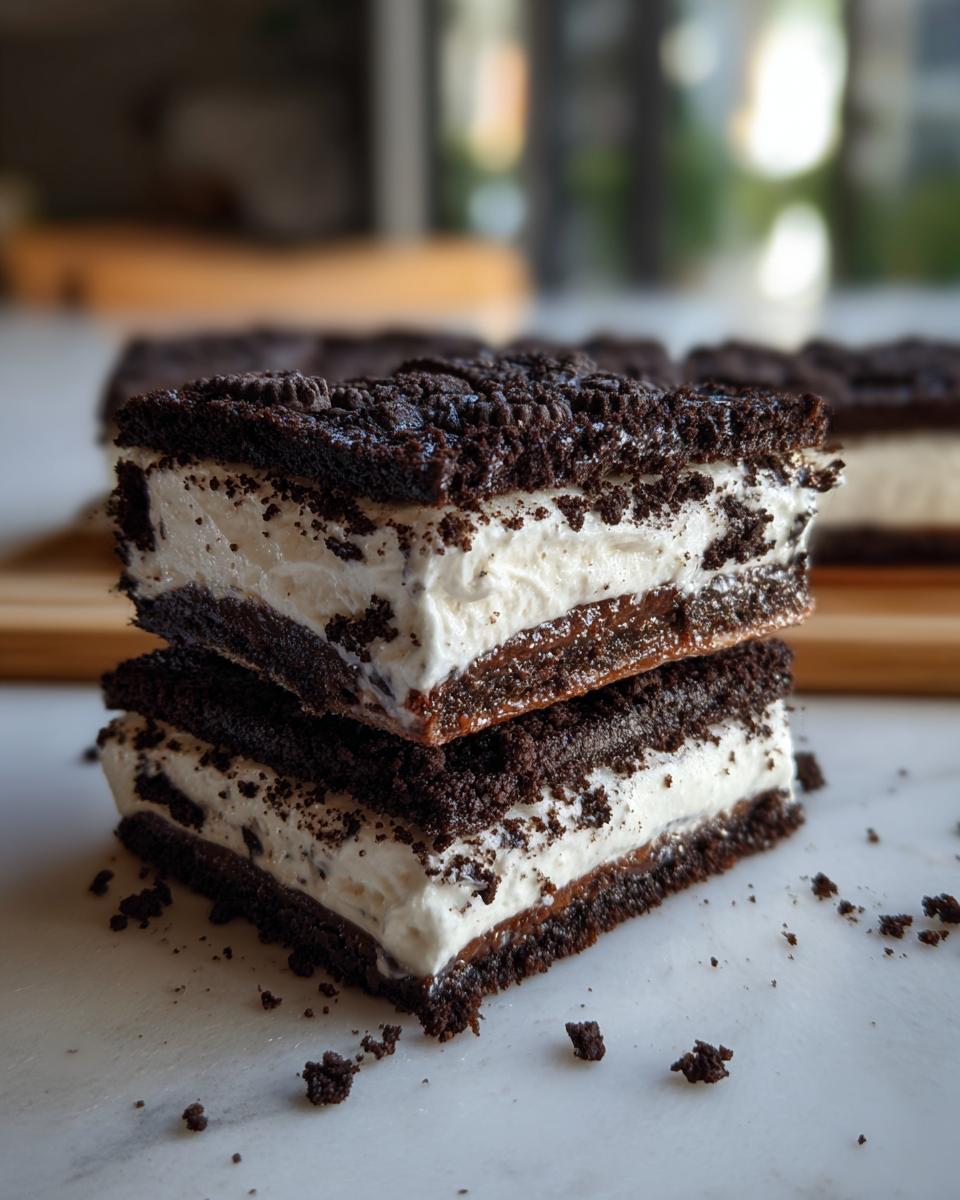
Layering the Oreo Icebox Cake
Grab your 9×13 inch dish. Start with a thin layer of that fluffy whipped cream on the bottom. Then, sprinkle a generous layer of your crushed Oreos right over that. Add another layer of cream, then more crumbs, and just keep going until you’ve used everything up. Make sure you finish with a nice, smooth layer of whipped cream on top.
Chilling for Flavor and Texture
This is the hardest part – waiting! Cover the whole dish really well with plastic wrap, making sure to get it snug. Pop it into the fridge overnight, or for at least 6 glorious hours. This gives the flavors time to really meld together and lets those cookies soften up perfectly.
Tips for an Unforgettable Oreo Icebox Cake
Alright, let’s get this Oreo icebox cake tasting absolutely incredible! It’s already easy, but a few little tricks can take it from great to *amazing*. Trust me, these little things really make a difference in getting that perfect no-bake dessert every single time.
Ingredient Temperature Matters
Seriously, don’t skip chilling your ingredients! Cold heavy cream and a cold metal bowl are your best friends here. The cold helps the cream whip up faster and thicker, giving you those gorgeous, stable peaks without a lot of fuss. It’s like magic, really!
Achieving Perfect Cream Peaks
When you’re whipping, you’re looking for “stiff peaks.” That means when you lift your beater or whisk, the cream should stand straight up without drooping. If it looks too soft or syrupy, just keep whipping! But watch it closely – you don’t want to over-whip it into butter, although an accidental bit of butter is pretty tasty too!
Flavor Enhancements for Your Oreo Dessert
Want to kick it up a notch? A little secret I love is adding about 2 tablespoons of unsweetened cocoa powder right into the whipped cream with the sugar and vanilla. It gives the whole cake a richer, deeper chocolate flavor that pairs *beautifully* with those Oreos. You could also try a whisper of espresso powder!
Ingredient Spotlight: The Magic of Oreos
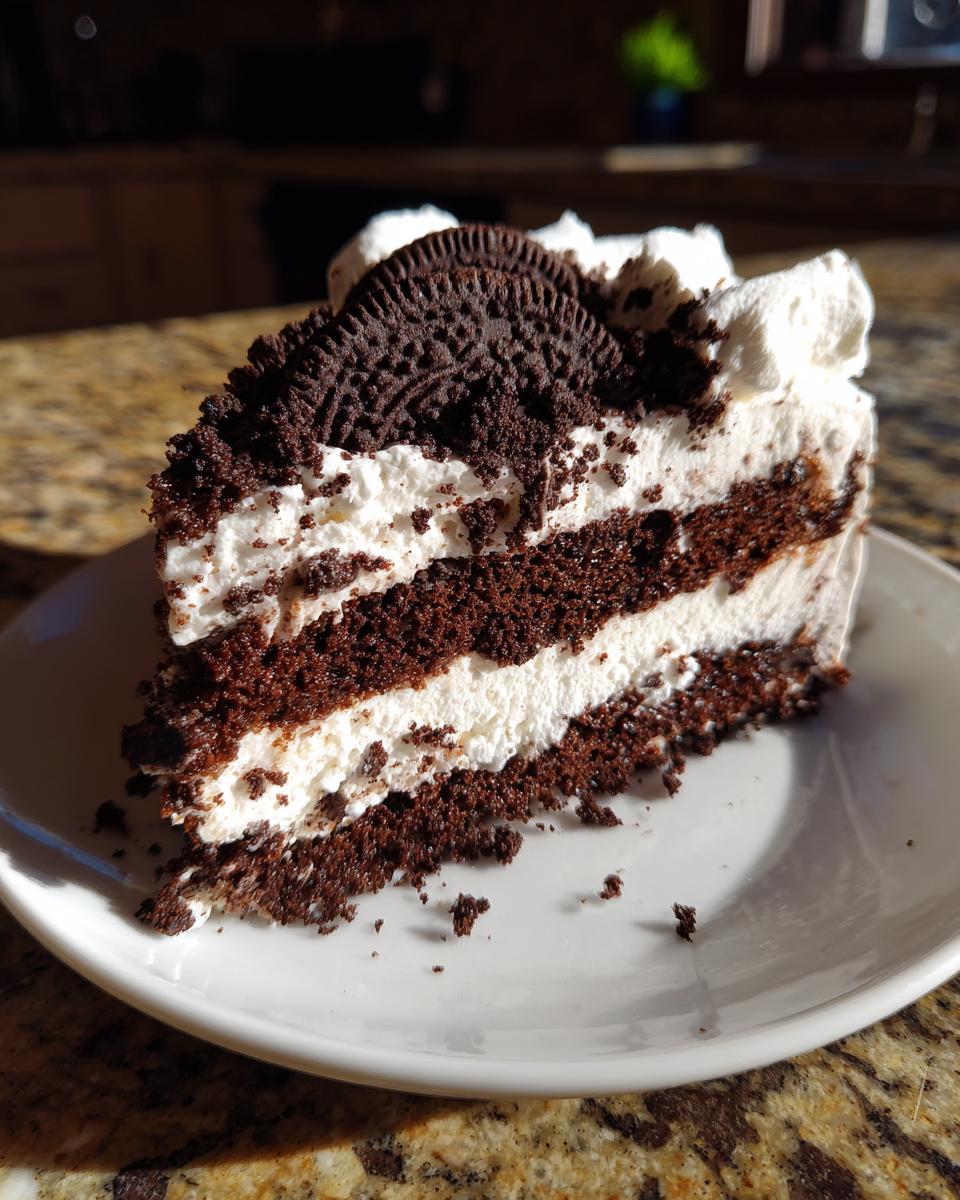
Okay, let’s talk about the star of the show here: Oreos! Seriously, is there any cookie more iconic in the dessert world? That perfect chocolatey crunch with that sweet, creamy filling is just *made* for a no-bake dessert like this. They break down just right to create those amazing cookie layers, and honestly, they’re just pure happiness in cookie form. It’s no wonder this Oreo icebox cake is such a hit!
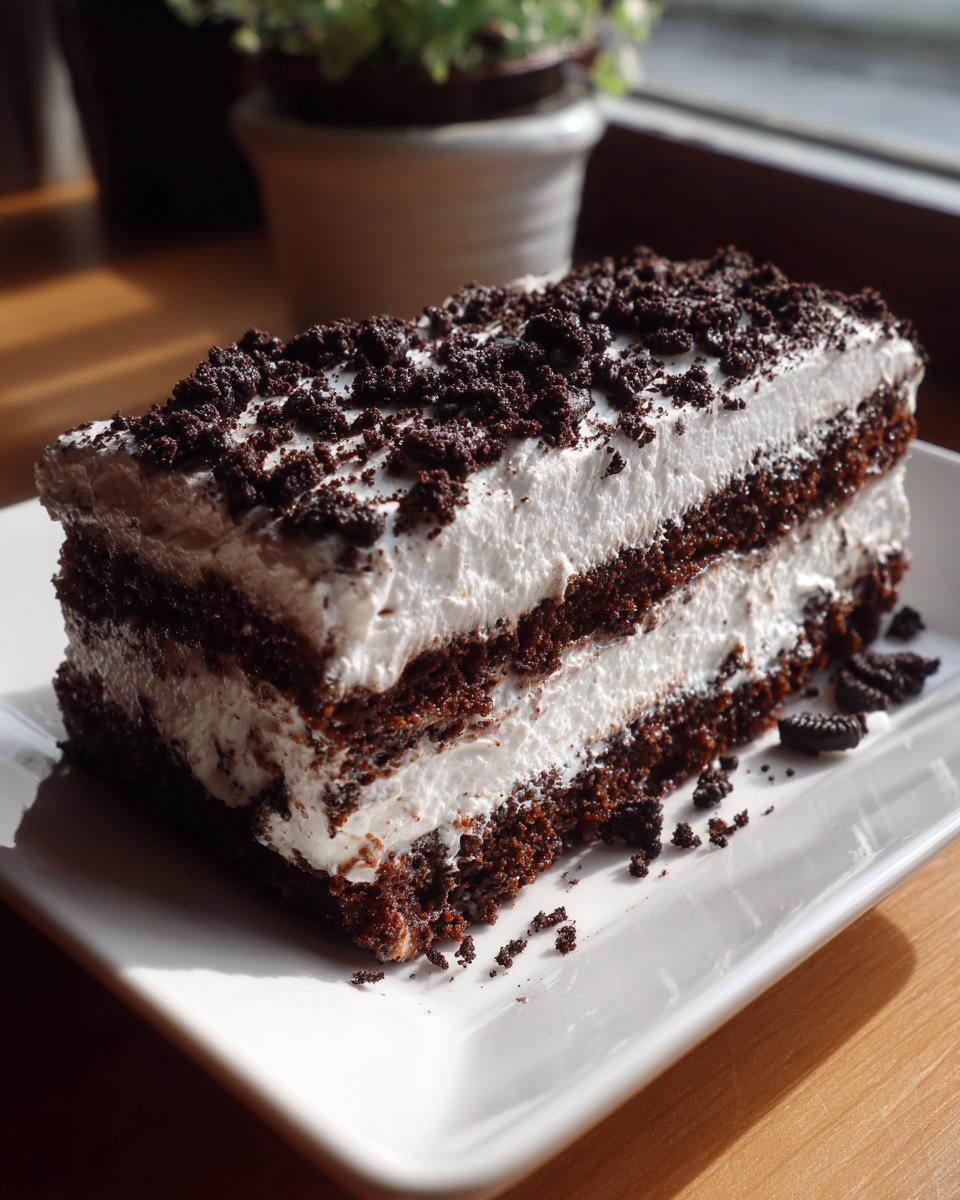
Serving and Storing Your Oreo Icebox Cake
Once your Oreo icebox cake has had its overnight chill, it’s time for the best part! You can totally fancy it up before serving by sprinkling a few extra crushed Oreos on top – makes it look extra special. Just slice it into nice big squares and dig in! If, by some miracle, you have leftovers (which is rare in my house!), just wrap the dish tightly with plastic wrap. It’ll keep beautifully in the fridge for about 3 to 4 days. Honestly, it tastes just as good, if not better, the next day!
Frequently Asked Questions about Oreo Icebox Cake
Got questions about this dreamy Oreo icebox cake? I’ve got answers! It’s such a simple no bake Oreo dessert, but sometimes little things pop up.
Can I make this Oreo icebox cake ahead of time?
Oh, absolutely! In fact, I highly recommend it. This oreo whipped cream cake is actually *better* when it’s made a day ahead. It gives those cookies time to soften up perfectly, creating that amazing, melty texture.
What are some variations for this no-bake Oreo dessert?
You can totally play around with this! Try adding a splash of almond extract with the vanilla, or swirl in some melted chocolate or even a thin layer of chocolate ganache between the whipped cream layers. So many fun ways to make this fridge cake recipe your own!
How do I get the best whipped cream for this fridge cake recipe?
The biggest secret is to make sure everything is super cold! Use cold heavy whipping cream, a chilled bowl, and even chilled beaters if you can. This helps the cream whip up light and fluffy with those gorgeous stiff peaks you need for the layers.
Estimated Nutritional Information
Just so you know what you’re working with, here’s a little breakdown of the estimated nutrition for one serving of this delicious Oreo icebox cake. Keep in mind these numbers are approximate, and they can wiggle around a bit depending on the exact brands of Oreos and cream you use. It’s a treat, and a delightful one at that!
Share Your Oreo Icebox Cake Creations!
Okay, now it’s YOUR turn! I absolutely adore seeing your kitchen creations. Did you make this amazing Oreo icebox cake? Snap a pic and tag me on social media, or better yet, leave a comment below and tell me all about it! I love hearing which variations you tried or how much your family enjoyed it. Seriously, it makes my whole day!
PrintOreo Icebox Cake
A simple no-bake layered dessert with Oreos and whipped cream, perfect for summer or last-minute gatherings.
- Prep Time: 20 min
- Cook Time: 0 min
- Total Time: 8 hours 20 min
- Yield: 8 servings 1x
- Category: Dessert
- Method: No-Bake
- Cuisine: American
- Diet: Vegetarian
Ingredients
- 1 package (14.3 ounces) Oreo cookies
- 2 cups heavy whipping cream
- 1/2 cup powdered sugar
- 1 teaspoon vanilla extract
Instructions
- Crush the Oreo cookies into coarse crumbs. You can do this by placing them in a zip-top bag and crushing them with a rolling pin.
- In a large bowl, whip the heavy cream, powdered sugar, and vanilla extract until stiff peaks form.
- Spread a thin layer of whipped cream on the bottom of a 9×13 inch baking dish.
- Arrange a layer of Oreo crumbs over the whipped cream.
- Add another layer of whipped cream over the crumbs.
- Repeat the layers of crumbs and whipped cream, ending with a layer of whipped cream.
- Cover the dish with plastic wrap and refrigerate overnight, or for at least 6 hours.
- Before serving, you can sprinkle some extra Oreo crumbs on top if desired.
Notes
- For a richer flavor, you can add 2 tablespoons of cocoa powder to the whipped cream.
- Ensure your cream and bowl are very cold for best whipping results.
- This cake is best made a day in advance to allow the flavors to meld and the cookies to soften.
Nutrition
- Serving Size: 1 slice
- Calories: 350
- Sugar: 30g
- Sodium: 150mg
- Fat: 20g
- Saturated Fat: 12g
- Unsaturated Fat: 8g
- Trans Fat: 0g
- Carbohydrates: 40g
- Fiber: 1g
- Protein: 3g
- Cholesterol: 40mg