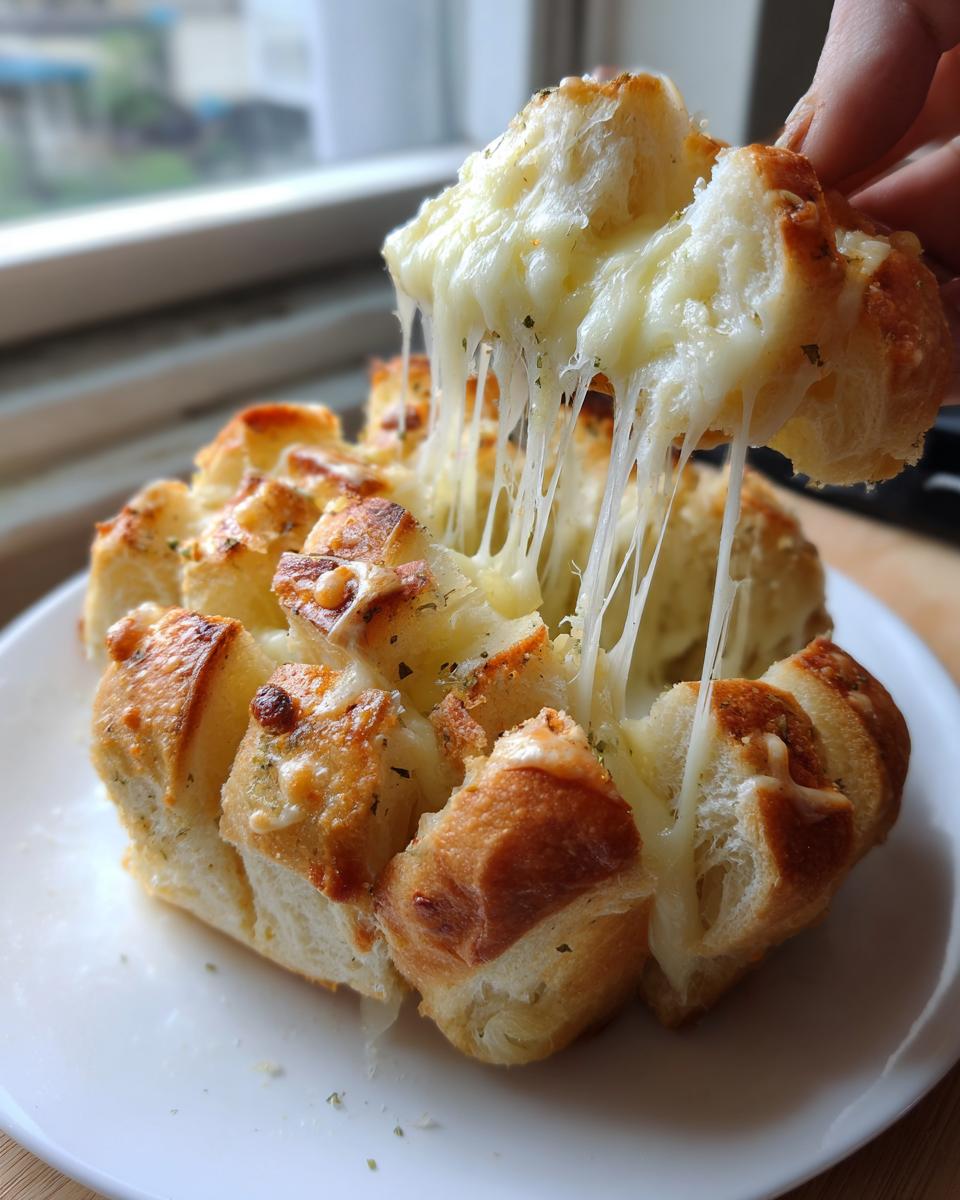

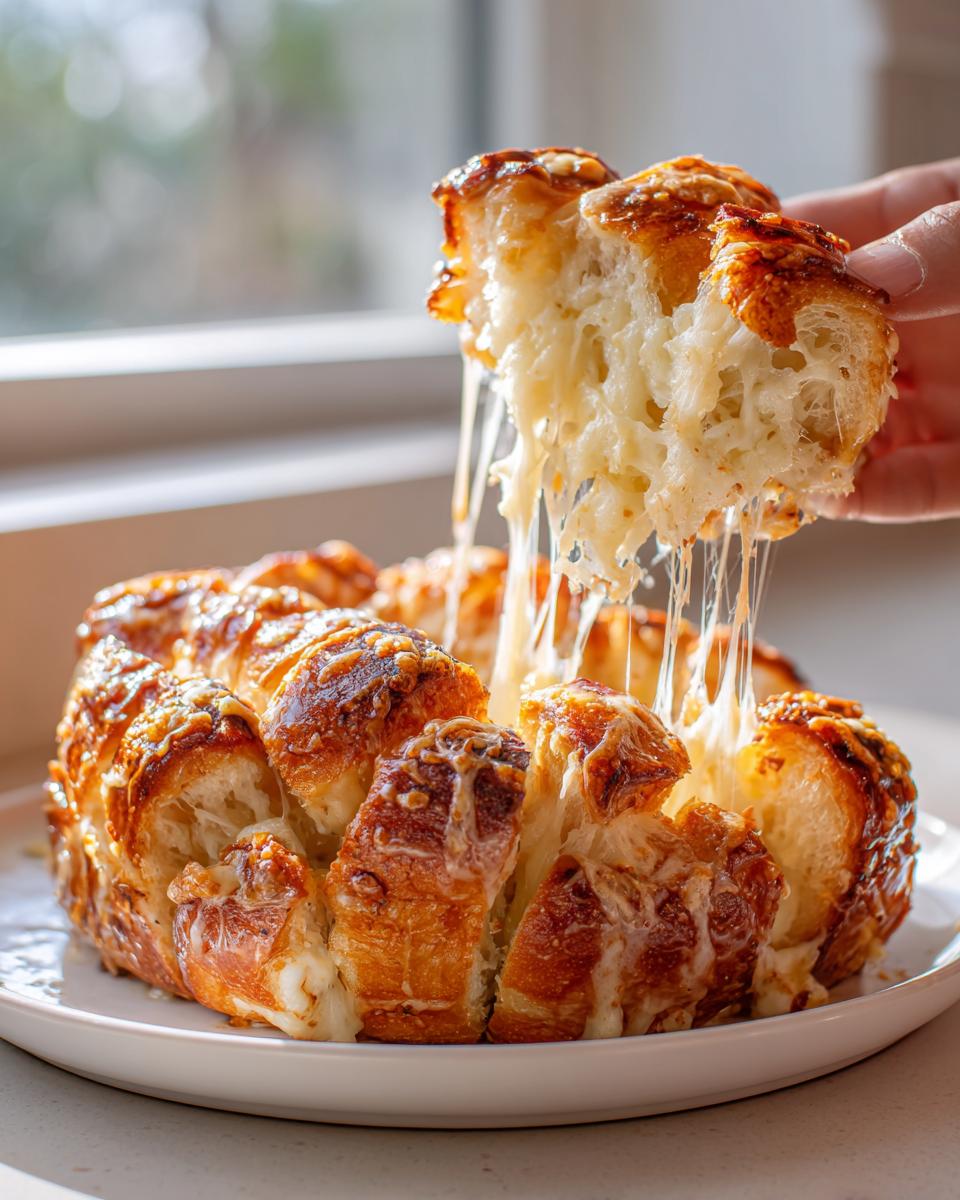
There is just something undeniably soulful about bread warm from the oven, isn’t there? It signals comfort, connection, and a slow-down moment in a busy life. My kitchen, with its Mediterranean inspirations and my father’s soulful Spanish roots, is always seeking dishes that feel both elegant and deeply familiar. That’s why I absolutely insist that every home cook needs a truly dependable recipe for a show-stopping cheese bread. This Cheesy Garlic Pull Apart Bread is that recipe. It’s the ultimate crowd-pleaser, achieving that incredible, gooey texture thanks to a little help from refrigerated dough, which means less stress and instant gratification. Trust me, this simple preparation is the foundation for so many beautiful memories made around the table—and it is easily the most Irresistible Cheesy Appetizer you will ever serve. I am so delighted to share it with you on Unfold Recipes. You can browse more appetizers here.
- Why This Cheesy Garlic Pull Apart Bread is the Best Cheese Bread Recipe
- Gathering Ingredients for Your Homemade Cheese Bread
- Step-by-Step Tutorial for Perfect Pull Apart Cheese Bread
- Tips for Success with Your Cheesy Garlic Bread
- Variations on Classic Cheese Bread
- Serving Suggestions for Savory Cheese Bread for Dinner
- Storage and Reheating Instructions for Leftover Cheese Bread
- Frequently Asked Questions About Making Cheese Bread
- Appreciating the Yield and Details of This Cheese Bread Recipe
Why This Cheesy Garlic Pull Apart Bread is the Best Cheese Bread Recipe
When I develop a recipe, I focus on delivering that ‘wow factor’ without making you feel like you need a culinary degree. This recipe is truly the Best Cheese Bread Recipe because it marries incredible flavor—that rich, buttery garlic essence—with speed. It’s designed to be that incredible, melt-in-your-mouth Easy Cheesy Bread you need when guests suddenly arrive.
The secret lies in combining three different cheeses—Mozzarella for the stretch, Cheddar for the sharpness, and Parmesan for that salty depth. We build that flavor right on top of refrigerated biscuit dough, keeping the process truly straightforward for a reliable outcome every time.
Quick Assembly for Soft Fluffy Cheese Bread
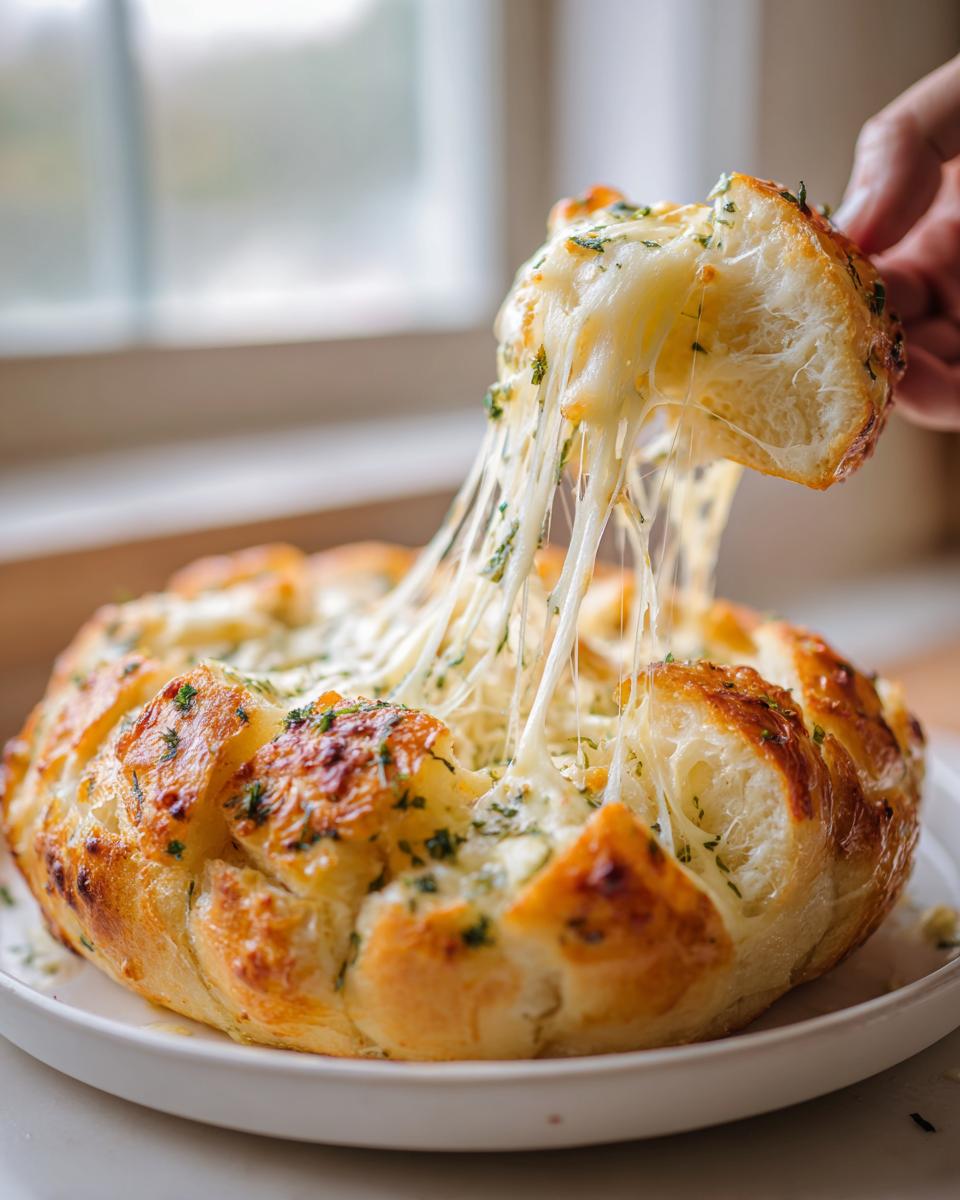
For me, elegance in cooking means efficiency. We finish the entire prep work in about 15 minutes, which is just lovely for an impromptu gathering. When you cut the biscuit dough into quarters and toss them directly in the garlic butter, you create countless little nooks and crannies.
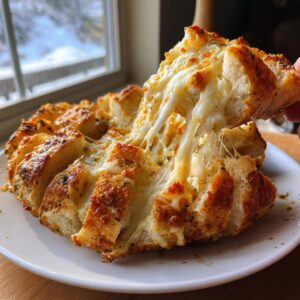
It’s this coating action that guarantees that wonderfully Soft Fluffy Cheese Bread texture inside. Each bite pulls away perfectly coated in flavor, rather than just being a dense slab of dough. That attention to the coating step really builds the trust you need in a quick recipe. For other easy appetizers, try my sausage cheese balls next!
Gathering Ingredients for Your Homemade Cheese Bread
The beauty of this Homemade Cheese Bread recipe is its reliance on accessible pantry staples—mostly! We are elevating standard biscuit dough here, so make sure you have everything measured out before you start tossing things around. This three-cheese blend is non-negotiable for that perfect melody of gooey stretch and salty flavor.
Here is exactly what you’ll need to create this savory side:
- 1 (13.8 ounce) package refrigerated biscuit dough
- 1/2 cup (1 stick) unsalted butter, melted
- 4 cloves garlic, minced
- 1 teaspoon dried Italian seasoning
- 1/4 teaspoon salt
- 1 1/2 cups shredded mozzarella cheese
- 1/2 cup shredded sharp cheddar cheese
- 1/4 cup grated Parmesan cheese
See how simple that list is? That melted butter, garlic, and seasoning mixed together becomes pure magic right before the cheese goes in. It really is a flavor boost you won’t want to skip!
Step-by-Step Tutorial for Perfect Pull Apart Cheese Bread
This is where the real fun begins. Because we are relying on simple components, following the sequence here is crucial for that signature pull-apart texture. First things first: make sure your oven is preheated to 350°F (175°C). Then, ready your pan—I recommend a standard loaf pan or a Bundt pan, lightly greased. If I’m being honest, once this starts baking, the aroma of garlic and melting cheese fills my entire downstairs, honestly hinting at the deliciousness to come!
If you want to explore another delicious garlic option, I have a wonderful recipe for simple oven-baked toast as well.
Creating the Buttery Garlic Coating for Gooey Melted Cheese Bread
We need every little piece of dough coated beautifully. Take your biscuit dough and cut every piece into quarters. In a separate small bowl, whisk together that melted butter, the freshly minced garlic, Italian seasoning, and salt until it’s totally combined. Now, pour this gorgeous mixture right over your biscuit quarters in the big bowl.
You must toss everything gently but thoroughly. The goal is to make certain every single edge of that dough has some of that garlicky butter clinging to it. This prevents dry spots and is the first step toward achieving that beautiful, Gooey Melted Cheese Bread pull we are aiming for.
Layering and Baking the Cheesy Garlic Bread
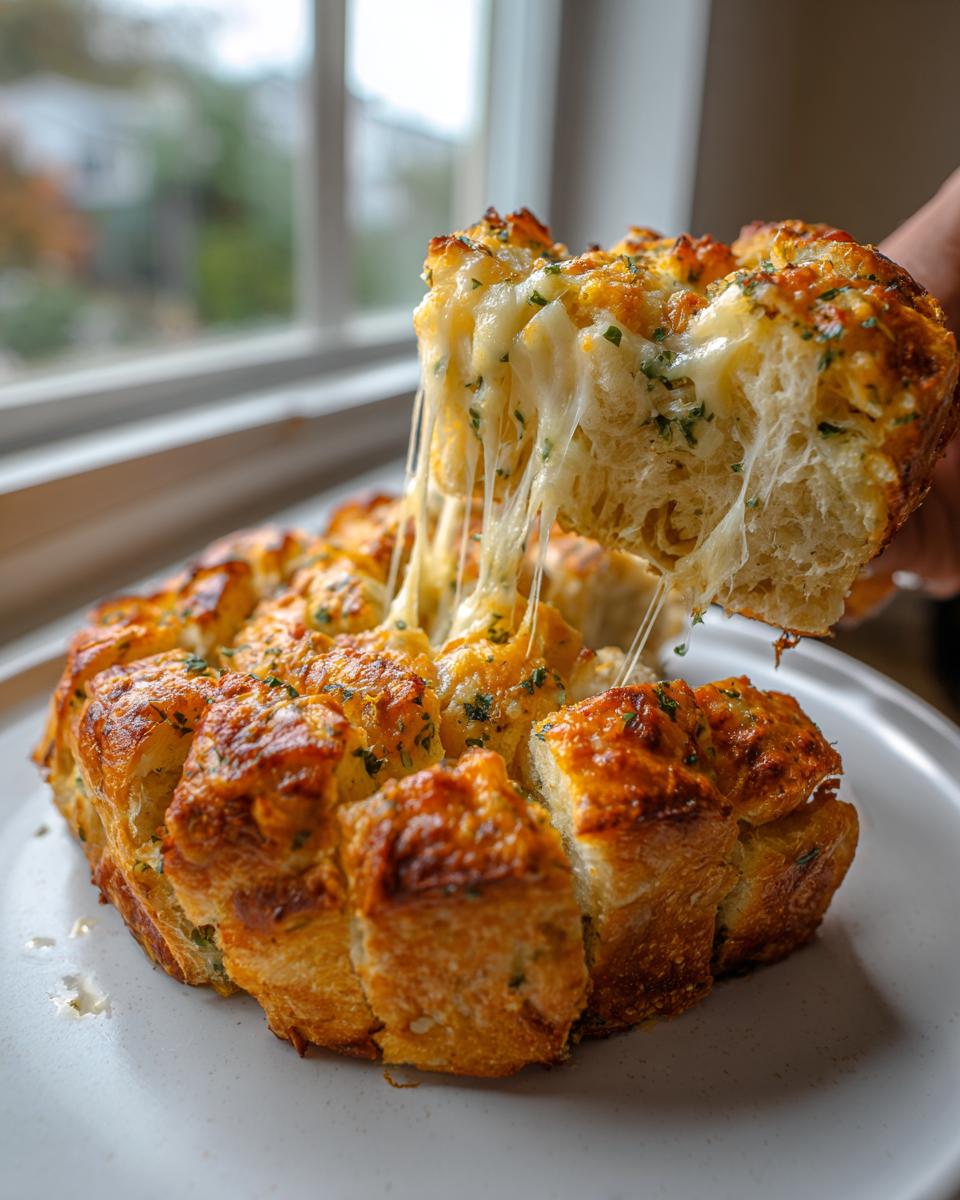
Now you layer strategically. Add half of the coated biscuits into your prepared pan, then sprinkle on half of your mozzarella and cheddar. Then, place the rest of the biscuit mixture on top, followed by the final cheeses. Press down just a tiny bit so it settles nicely.
Bake this for 25 to 30 minutes. You are looking for the top to be deeply golden brown and the cheese to be aggressively bubbly and melted—that’s how you know it’s done! Remember that crucial cooling step: let it rest in the pan for a full 5 minutes after it comes out. This lets it set just enough so you can invert it gracefully onto your serving platter.
Tips for Success with Your Cheesy Garlic Bread
We’ve got the main bake down, but elevating this bread from good to truly unforgettable is all about those little final touches. I always rely on the extra notes I keep tacked onto my recipe card for moments just like this. If you want to lean into that rich savory note, try brushing a little extra melted garlic butter right over the top immediately after removing it from the oven. The residual heat will soak it right up, deepening that buttery crust.
If you prefer a from-scratch approach when you’re not in a rush, feel free to use your favorite homemade yeast dough recipe instead of the refrigerated biscuits. Just be sure to treat it exactly the same way with the garlic coating! And since entertaining is such a big part of food, I love serving this alongside a crisp white wine, perhaps a beautiful glass of Sauvignon Blanc, or even a lighter-bodied Pinot Noir to cut through the richness.
For more inspiration and baking insights on my journey, please visit my main blog page.
Variations on Classic Cheese Bread
While I truly believe this Cheesy Garlic Pull Apart Bread hits the perfect note for an appetizer, I always want you to feel confident adapting recipes to your mood or what ingredients you have on hand. Since we all gravitate toward different flavors—sometimes you want something bold, sometimes you just want a classic cheddar loaf for dinner—I love exploring these twists.
If your heart is set on something savory with an aromatic quality, you can easily pivot this concept into an Italian Herb and Cheese Bread. The process is nearly identical! Instead of leaning so heavily on the garlic, simply boost that Italian seasoning—maybe add a tiny pinch of dried oregano or basil to your melted butter mixture. Using mozzarella and Parmesan creates that gorgeous, bubbly crust we love.
Making a Simple Cheddar Cheese Quick Bread Loaf
Now, if you’re aiming for a true **Cheddar Cheese Quick Bread**, that’s where we shift things away from the biscuit base entirely. Think about that sharp cheddar flavor demanding the spotlight! You would move away from the pull-apart structure and make it more like a fast loaf. Instead of a yeast-leavened dough base, you’d incorporate the cheese, maybe some finely chopped chives, directly into a standard quick bread batter using baking powder for lift.
The goal here is a denser, slightly more cake-like crumb that showcases the cheddar throughout every slice. It’s wonderful toasted the next day or served alongside a hearty soup. It’s a different kind of comfort, but just as rewarding!
Serving Suggestions for Savory Cheese Bread for Dinner
While this gooey loaf begs to be devoured all by itself as an Irresistible Cheesy Appetizer, it truly shines as the perfect accompaniment to a meal. Forget plain bread baskets; this is what you want on the table! I often find myself making this when we have a big pasta night—it’s just incredible for soaking up extra marinara sauce.
However, my absolute favorite pairing is serving a warm slice alongside a beautiful, comforting soup. The salty, garlicky crust dipped into something smooth just sings. If you are looking for the perfect partner for this dish, I highly recommend my recipe for creamy Chicken Gnocchi Soup. That pairing is pure culinary happiness for a cozy evening!
Storage and Reheating Instructions for Leftover Cheese Bread
Oh, the dilemma! If you are lucky enough to have any of this Cheesy Garlic Pull Apart Bread left over—which, let’s be honest, rarely happens at my house—you need to treat it with care. We want to maintain that wonderfully soft, fluffy interior and restore that buttery, crisp edge.
Don’t even think about the microwave unless you absolutely must! Microwaving bread turns leftovers into little bouncy hockey pucks, and we absolutely refuse to do that to this gorgeous cheese bread. The best way to bring it back to life is using dry heat.
For storage, keep it simple: let it cool completely, then tuck it away in a good quality airtight container. You can generally keep it on the counter for about a day if you live somewhere cool, but if it’s warm, definitely pop it into the refrigerator after 12 hours.
When you’re ready for round two, the oven is your best friend. Just wrap the pieces loosely in foil—this helps steam the inside slightly and keeps the cheese from drying out immediately. Heat it in a 325°F oven for about 8 to 10 minutes. If you have an air fryer, that works wonderfully too; try 325°F for just 4 minutes to get that incredible crispness back on the edges almost instantly!
Frequently Asked Questions About Making Cheese Bread
I always feel so much better when the little questions are sorted out before you even start baking! It takes away any anxiety, and that’s exactly what I aim for here at Unfold Recipes. When you are trying out a new **Cheesy Garlic Bread Tutorial**, it’s good to know where you can adjust things and where you need to stick to the plan. Here are a few things I always get asked about this recipe.
Can I use different types of cheese in this cheese bread?
Absolutely, you can! The combination I listed—Mozzarella, Cheddar, and Parmesan—is designed for maximum flavor and stretch, but cheese is so personal, isn’t it? If you are looking to swap some of that volume out, look for cheeses that have great melting properties. Monterey Jack melts beautifully and is very mild, so it gives you that beautiful gooey texture without fighting the garlic butter. Gruyère is another wonderful choice, lending a richer, nuttier flavor that really elevates the whole loaf.
How does this compare to Brazilian Cheese Bread Pão de Queijo?
That is such a good question! While both are wonderfully cheesy, they are quite different beasts, primarily due to the flour base. This recipe, designed to be quick and easy, uses refrigerated biscuit dough, which gives us that soft, slightly yeast-forward fluffiness—it’s very much in the American savory bread family. Now, the famous Brazilian creation, Brazilian Cheese Bread Pão de Queijo, is completely different; it uses tapioca flour.
Because it uses tapioca starch instead of wheat flour, the result in *Pão de Queijo* is naturally gluten-free, providing a texture that is famously chewy and elastic inside, almost like a dense, savory cloud. If you are curious about trying that authentic chewy version, you can find a fantastic recipe for it over here. One is fluffy and garlicky; the other is chewy and tapioca-forward—both delicious, just different comfort!
I saw mentions of Copycat Cheese Bread; is this like Little Caesars?
That’s funny you bring up the restaurant versions! There are so many great interpretations out there, especially when people search for a **Copycat Cheese Bread** experience. Those versions often bake the dough flat with heavy sauce, which is fantastic for dipping. This specific recipe is more of a ‘pull-apart’ style loaf, meaning the dough pieces are separated and layered with cheese throughout the center, not just on top of a flat piece of pizza dough.
If you want that deeply savory, slightly firmer texture reminiscent of certain breadsticks, what you’ll want to focus on is making sure you press the cheese down firmly between the layers during assembly, almost like packing it in tight. That minor adjustment between layering and piling on top makes a big difference in mimicking that restaurant-style density.
Appreciating the Yield and Details of This Cheese Bread Recipe
Honestly, if you’ve followed along this far, I hope you feel ready to jump right into the kitchen! Sometimes, seeing the precise details laid out confirms that a recipe is trustworthy and reliable, especially when you’re hosting or planning a meal. Every recipe I share here is meticulously tested so you know exactly what to expect regarding timing and serving size.
This Cheesy Garlic Pull Apart Bread is designed for effortless entertaining. You can use these figures to plan your timing perfectly, whether you are making it as a savory appetizer or as a fantastic side. I’m so happy this simple bread can anchor a wonderful occasion, whether that is a casual brunch or a holiday spread. Check out my brunch ideas for more inspiration!
Here are the key details you need to know for a guaranteed successful bake:
| Metric | Value |
|---|---|
| Prep Time | 15 min |
| Cook Time | 30 min |
| Total Time | 45 min |
| Yield | 8 servings |
| Category | Appetizer |
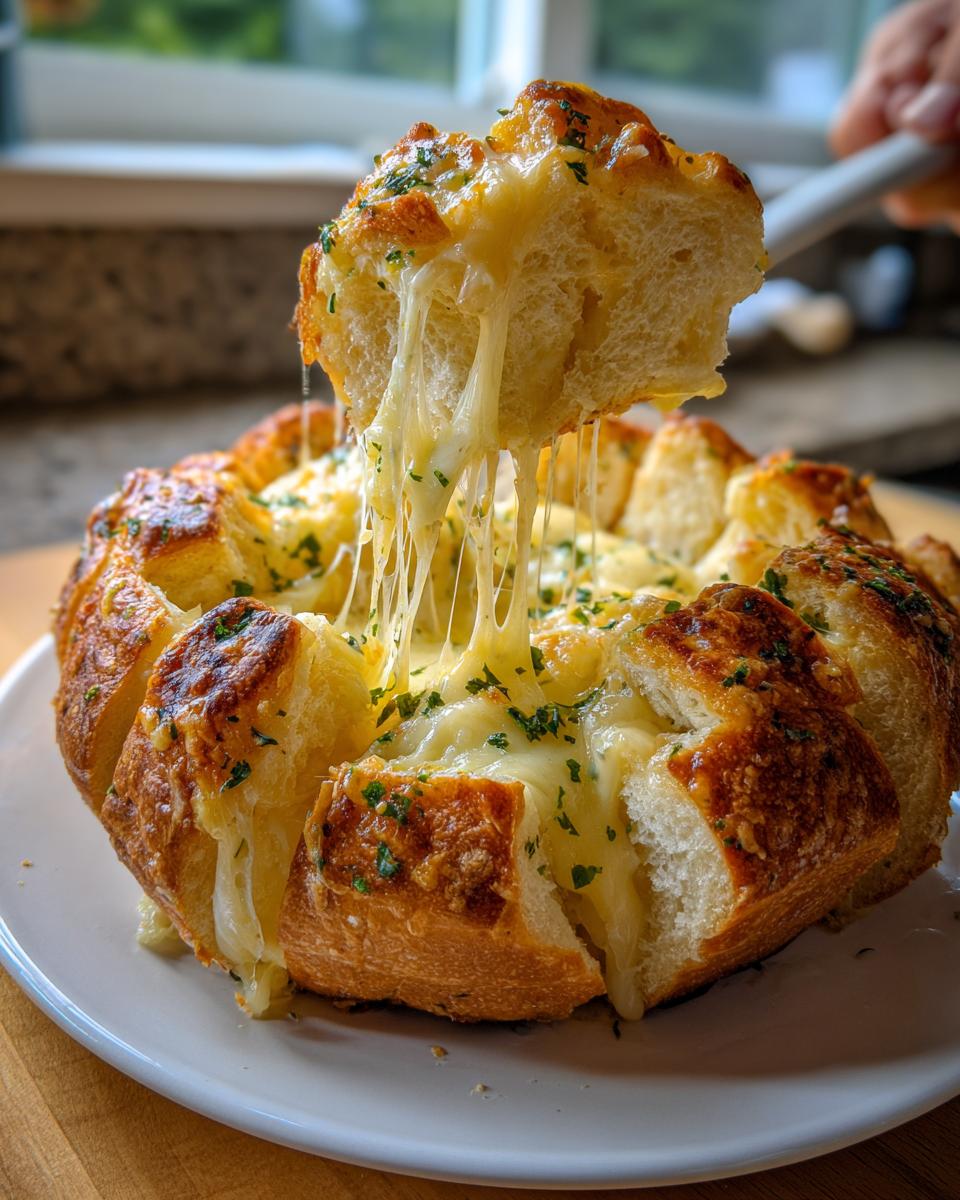
Cheesy Garlic Pull Apart Bread: The Ultimate Crowd-Pleaser
Make this irresistible Cheesy Garlic Pull Apart Bread for a warm, savory appetizer or side dish. It features a soft interior packed with gooey melted cheese and a buttery garlic crust.
- Prep Time: 15 min
- Cook Time: 30 min
- Total Time: 45 min
- Yield: 8 servings 1x
- Category: Appetizer
- Method: Baking
- Cuisine: American
- Diet: Vegetarian
Ingredients
- 1 (13.8 ounce) package refrigerated biscuit dough
- 1/2 cup (1 stick) unsalted butter, melted
- 4 cloves garlic, minced
- 1 teaspoon dried Italian seasoning
- 1/4 teaspoon salt
- 1 1/2 cups shredded mozzarella cheese
- 1/2 cup shredded sharp cheddar cheese
- 1/4 cup grated Parmesan cheese
Instructions
- Preheat your oven to 350°F (175°C). Lightly grease a 9×5 inch loaf pan or a 1.5-quart bundt pan.
- Open the biscuit dough and cut each biscuit into quarters. Place the pieces into a large bowl.
- In a small bowl, whisk together the melted butter, minced garlic, Italian seasoning, and salt.
- Pour the butter mixture over the biscuit pieces and toss gently until all pieces are coated.
- Sprinkle half of the mozzarella, cheddar, and all of the Parmesan cheese over the biscuit pieces. Toss lightly to coat.
- Transfer half of the coated biscuit pieces into the prepared pan. Sprinkle with half of the remaining mozzarella and cheddar cheese.
- Top with the remaining biscuit pieces and the rest of the mozzarella and cheddar cheese. Press down lightly.
- Bake for 25 to 30 minutes, or until the bread is golden brown and the cheese is fully melted and bubbly.
- Let the bread cool in the pan for 5 minutes before carefully inverting it onto a serving plate. Serve warm for the best gooey texture.
Notes
- For an extra savory flavor, brush the top with a little extra melted garlic butter immediately after removing it from the oven.
- You can substitute the biscuit dough with homemade yeast dough if you prefer a from-scratch base.
- This bread pairs well with a crisp Sauvignon Blanc or a light-bodied Pinot Noir.
Nutrition
- Serving Size: 1 slice
- Calories: 280
- Sugar: 2
- Sodium: 550
- Fat: 16
- Saturated Fat: 9
- Unsaturated Fat: 7
- Trans Fat: 0.5
- Carbohydrates: 25
- Fiber: 1
- Protein: 10
- Cholesterol: 35