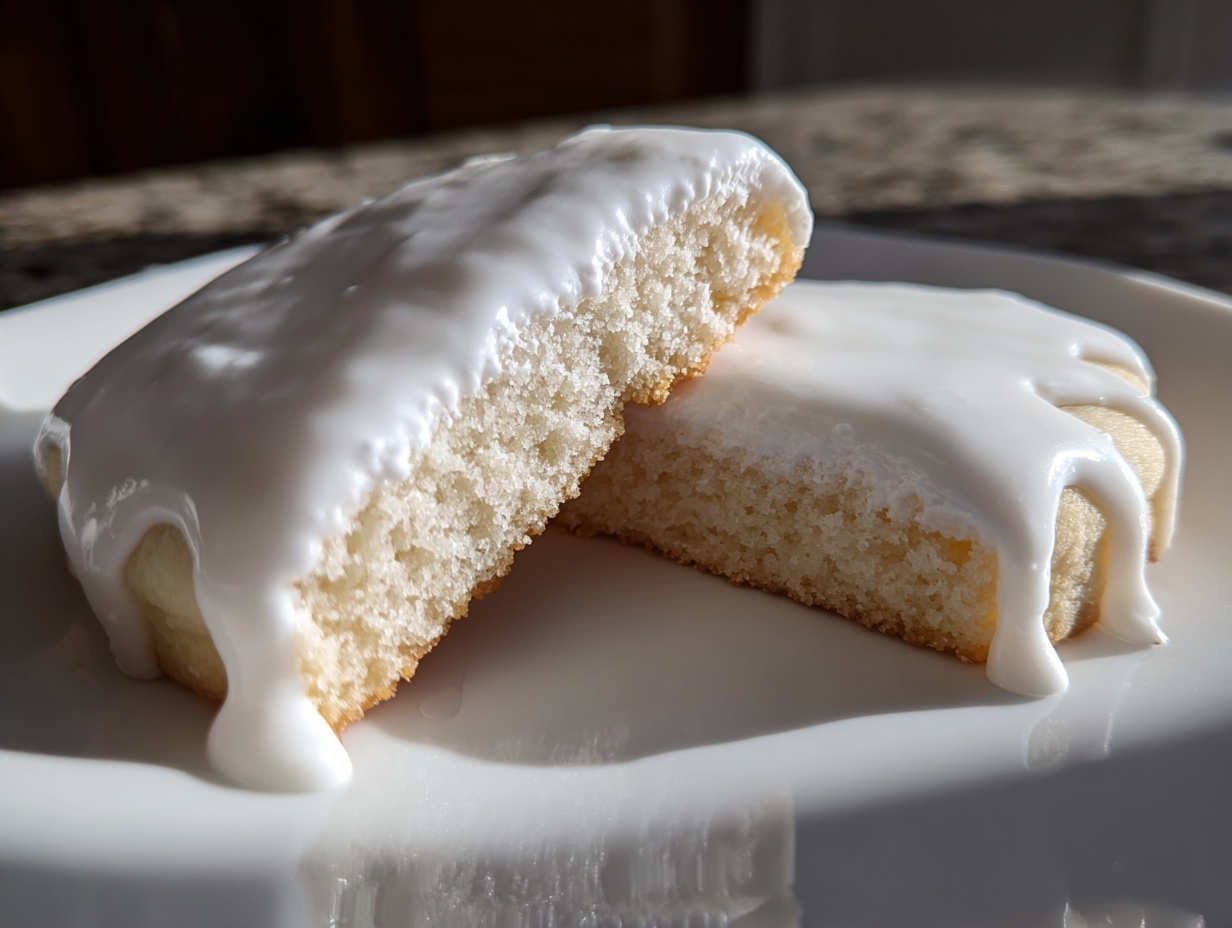

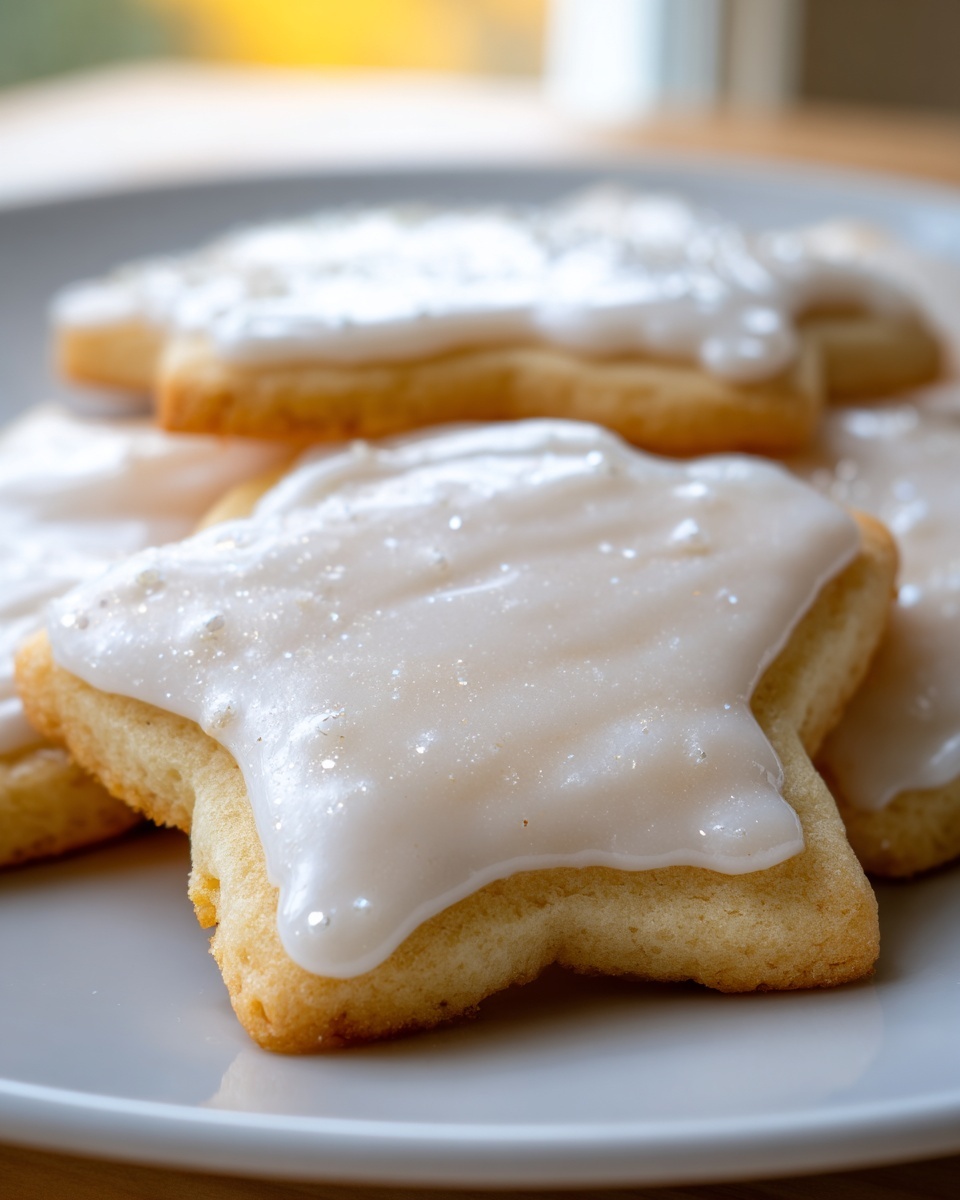
There is nothing—and I mean *nothing*—more frustrating than spending hours rolling, cutting, and baking perfect sugar cookies, only to have your beautiful icing melt into a sticky puddle or refuse to dry before the holiday rush. I’ve been there! So many recipes promise that perfect professional look, but deliver a soft, tacky mess. That’s why I developed this specific sugar cookie icing recipe. It’s the result of balancing flavor, shine, and structure. This is my tried, tested, and true approach to creating an icing that dries beautifully smooth, achieves that coveted glossy finish, and sets hard enough for stacking. Forget the stress; we are achieving approachable elegance here. If you want to know a little more about my philosophy on reliable baking, check out my story here.
- Why This Easy Sugar Cookie Icing Recipe Works for Decorating
- Ingredients for Stackable Sugar Cookie Icing Recipe
- How to Mix the Best Sugar Cookie Frosting
- Coloring and Applying Your Sugar Cookie Icing
- Tips for Success with This Glossy Cookie Icing Recipe
- Troubleshooting Common Sugar Cookie Icing Issues
- Serving Suggestions for Your Decorated Sugar Cookie Icing Creations
- Frequently Asked Questions About Powdered Sugar Icing Recipe
- Storage and Reheating Instructions for Leftover Sugar Cookie Icing
Why This Easy Sugar Cookie Icing Recipe Works for Decorating
When I first started decorating cookies seriously—always for my father’s Spanish-inspired holiday gatherings, believe it or not—my icing was an absolute disaster. It would crack if I looked at it wrong, or worse, it stayed gummy forever! It’s heartbreaking when that happens. The secret to moving past that stress and getting that professional, glossy cookie icing look lies in a couple of key ingredients and careful mixing. This method is designed specifically so the icing that hardens for cookies flawlessly, giving you those crisp, durable edges everyone admires.
We aren’t just throwing powdered sugar and milk together. We are building structure! Trust me, once you nail this process, your cookie decorating confidence will soar. You can see more of my tested baking tips over on the Unfold Recipes blog.
The Role of Corn Syrup in Perfect Sugar Cookie Icing
If I could only choose one ingredient that elevates this from a simple glaze to a decorating powerhouse, it would be the light corn syrup. It does two big things for us. First, it’s responsible for that beautiful, slightly translucent shine. Second, and most importantly, corn syrup acts as an invert sugar. This means it slows down the crystallization process of the powdered sugar. In simple terms? It keeps your sugar cookie icing incredibly smooth and prevents those grainy, chalky spots that pop up when the icing dries out too fast.
Ingredients for Stackable Sugar Cookie Icing Recipe
I love how minimal the ingredient list is for this powdered sugar icing recipe. You likely have everything in your pantry right now, which is part of what makes this the easy cookie icing recipe you’ll keep coming back to. We need precision here, not complexity, to ensure we get that firm, stackable finish.
- 4 cups powdered sugar, sifted
- 1/2 cup milk (whole or 2%)
- 2 tablespoons light corn syrup
- 1 teaspoon vanilla extract
- 1/4 teaspoon clear vanilla extract (optional, for pure white color)
- 1-2 teaspoons water (for thinning, if needed)
Ingredient Clarity and Sourcing Notes
To build flavor and structure correctly, a few notes on the ingredients matter immensely. First, you absolutely must sift that powdered sugar, or you will end up with lumps that ruin the smooth look we are aiming for. If you want that ultra-bright, pure white finish for a snow-day cookie, skip the amber-colored standard vanilla and use the clear vanilla extract—it sounds small, but it truly helps your colors pop! Don’t worry about baking time; this recipe is ready to go in ten minutes and yields enough sugar cookie icing for roughly 24 medium cookies.
How to Mix the Best Sugar Cookie Frosting
This is where we transform simple components into that perfect, pipeable medium. Since this recipe uses no egg whites—which is what makes traditional Royal Icing sometimes intimidating—we rely purely on speed and time to develop the gloss. Grab your electric mixer; doing this entirely by hand takes serious arm strength if you want the shine we are after! Start by combining all your sifted powdered sugar, milk, corn syrup, and vanilla in the bowl. Begin mixing on the absolute lowest speed first. We aren’t trying to incorporate air yet; we are just making sure everything is incorporated without creating a sugar cloud that covers your entire kitchen!
Once it looks like thick paste, increase that speed to medium-high. You need to beat this now for a solid three to five minutes. Watch the magic happen! The mixture will start looking lighter, losing that matte appearance, and becoming noticeably glossy and smooth. This mixing time is non-negotiable if you want that professional look. If you want this exact recipe saved for later, you can find it organized nicely right here.
Mastering the 10-Second Ribbon Test for Sugar Cookie Icing Consistency
Okay, achieving the right thickness is the whole game, especially if you are learning how to flood sugar cookies like a pro. This test is how I avoid icing that either runs right off the cookie or looks like toothpaste coming out of the bag. We call it the 10-second ribbon test. Lift your whisk or spatula over the bowl, letting the icing drizzle back in. If the trail you make on the surface smoothly disappears back into the main batch in about 10 seconds, you’ve hit that perfect flooding consistency! If it disappears instantly, it’s too thin. If it stays a defined ridge, it’s too stiff for flooding.
If it’s too stiff, don’t panic! Add water just a half teaspoon at a time, mixing gently until it passes the ribbon test. If you accidentally go too thin—it happens to everyone—just whisk in a tablespoon of sifted powdered sugar until it tightens up again. This simple test ensures your sugar cookie icing is ready for precise decorating.
Coloring and Applying Your Sugar Cookie Icing
Now that we have that beautiful, glossy, perfectly consistent base, it’s time to make some art! The process for durability requires two distinct steps: outlining and flooding. First, you need to take the portion of the cookie decorating icing you want to use for your borders and keep it slightly thicker—this is what gives you your definition. Pipe your design onto the cooled cookie and then, this is vital, you must let it set up. I usually give the outline 15 to 30 minutes. You should be able to gently touch it and feel that it’s firm before you proceed to flood it.
Once those borders are set, take the rest of your icing, thin it down *just* a touch more if necessary (remember, we are now aiming for that 10-second ribbon), and gently pour it into the outlined area. The icing will flow naturally to fill the space. This two-step process is what guarantees you end up with that gorgeous, smooth surface that truly dries hard. If you are heading to a big event, check out this amazing resource for more icing ideas!
Tips for Beginner Cookie Decorating with Sugar Cookie Icing
If you are new to this, don’t bite off more than you can chew right away! Start simple; try covering the whole cookie with one color first. When using food coloring, please use gel colors instead of liquid, especially if you want vibrant shades. Liquid coloring adds too much moisture and will ruin the setting structure of this sugar cookie icing recipe. Also, if you’re rushing the drying process because the holidays are tomorrow, place the decorated cookies near a small, cool desk fan. The slight air movement helps the surface set faster for that hard, stackable finish we love.
Remember to use your cookie base for this icing must be completely cool, or the heat will melt your beautiful work before it even has a chance to set. Happy decorating!
Tips for Success with This Glossy Cookie Icing Recipe
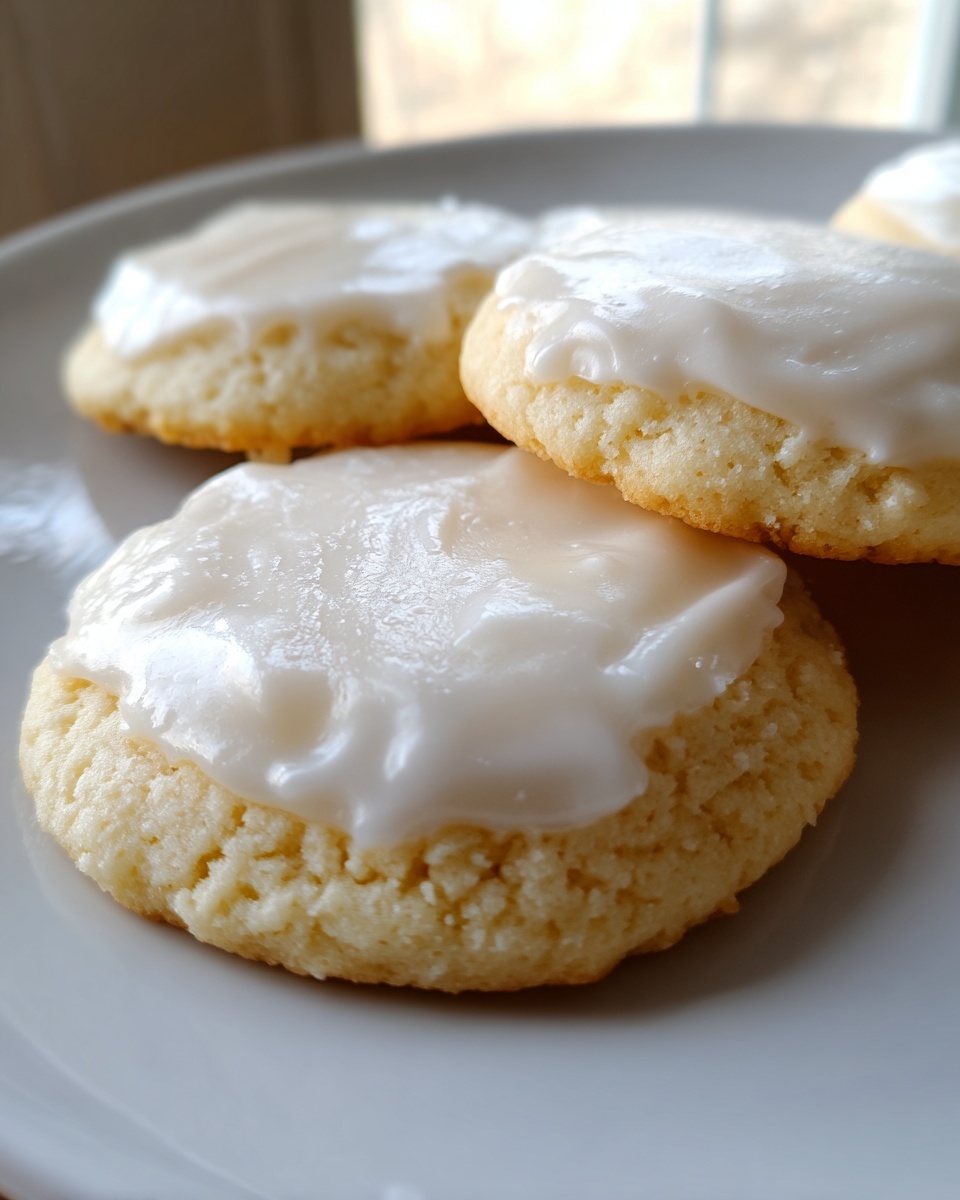
We’ve mixed it, flooded it, and now we have this gorgeous, professional-looking shell on our cookies. But how do we keep this stunning sugar cookie icing looking perfect until it’s time to serve them? It all comes down to storage and a few finishing touches, really. I learned early on that how you store the leftover icing is just as important as how you mix it!
My biggest piece of advice that I always share when teaching new decorators about this recipe is about color saturation. If you are aiming for the cleanest, whitest finish on your cookies, that little bit of clear vanilla extract is your secret weapon. Standard vanilla has color, and even in small amounts, it can mute your vibrant gel colors or give your stark white base a slightly creamy tint. If you happen to check out this great article on achieving a hard set over here, you’ll see they also focus on pristine color!
Preventing Crusts on Unused Icing
If you are coloring your icing in batches (which I always recommend, because once colored, it’s often best to use certain shades right away), cover what you aren’t using immediately. The absolute number one rule for any powdered sugar icing recipe is this: plastic wrap must touch the surface of the icing—*touch* it! If you leave even a tiny air gap, you’ll come back to a thick, unusable skin forming on top. Just press the wrap right down onto the surface, and it will stay perfectly pliable until you’re ready to decorate again.
If you happen to need more icing for a later batch later in the week, I often keep my unused icing covered in the fridge for a day or two. Before using it, I bring it to room temperature and then vigorously mix in a teaspoon of fresh milk until it gets glossy again—like giving it a little wake-up call! Alternatively, if you’re looking for more inspiration on frosting in general, I have a lovely recipe for chocolate cupcakes that uses a similar, reliable technique.
Troubleshooting Common Sugar Cookie Icing Issues
Even with the best initial mixing, sometimes the icing just doesn’t behave perfectly once it hits the cookie. Don’t you hate that? It’s usually one of three things happening, and thankfully, they are all easily fixed, even after the fact.
The most common headache, especially near the holidays when the house is warm, is that the icing won’t set firm. If you used the 10-second ribbon test correctly and your cookies are still soft hours later, it usually means there was too much moisture in the original mixture, or your kitchen is just too humid. The fix here is patience and air circulation! I mentioned using a fan earlier, but if humidity is the issue, you may need to gently sprinkle a tiny bit more sifted powdered sugar over the entire batch and let it cure under that moving air.
Another issue I see new decorators run into is the icing cracking as it dries. This almost always points back to over-mixing the initial batch. When you beat that mixture too fast or too long trying to make it shiny, you incorporate too much air, and the structure breaks down as the air bubbles burst during setting. For this batch, the thinning process later won’t fix the cracks, but next time, remember to stop whipping once that glossy sheen appears! A beautiful, smooth cookie topping is attainable, I promise.
Lastly, if your icing is too runny from the start—the dreaded case where it flows right over the edges of your piped outline—you simply need to tighten it up. Don’t try to fix a runny flood consistency with more sugar; just whisk in a teaspoon of extra powdered sugar and you’ll see it firm up instantly. A little adjustment goes a long way toward getting that desired smooth consistency for decorating!
Serving Suggestions for Your Decorated Sugar Cookie Icing Creations
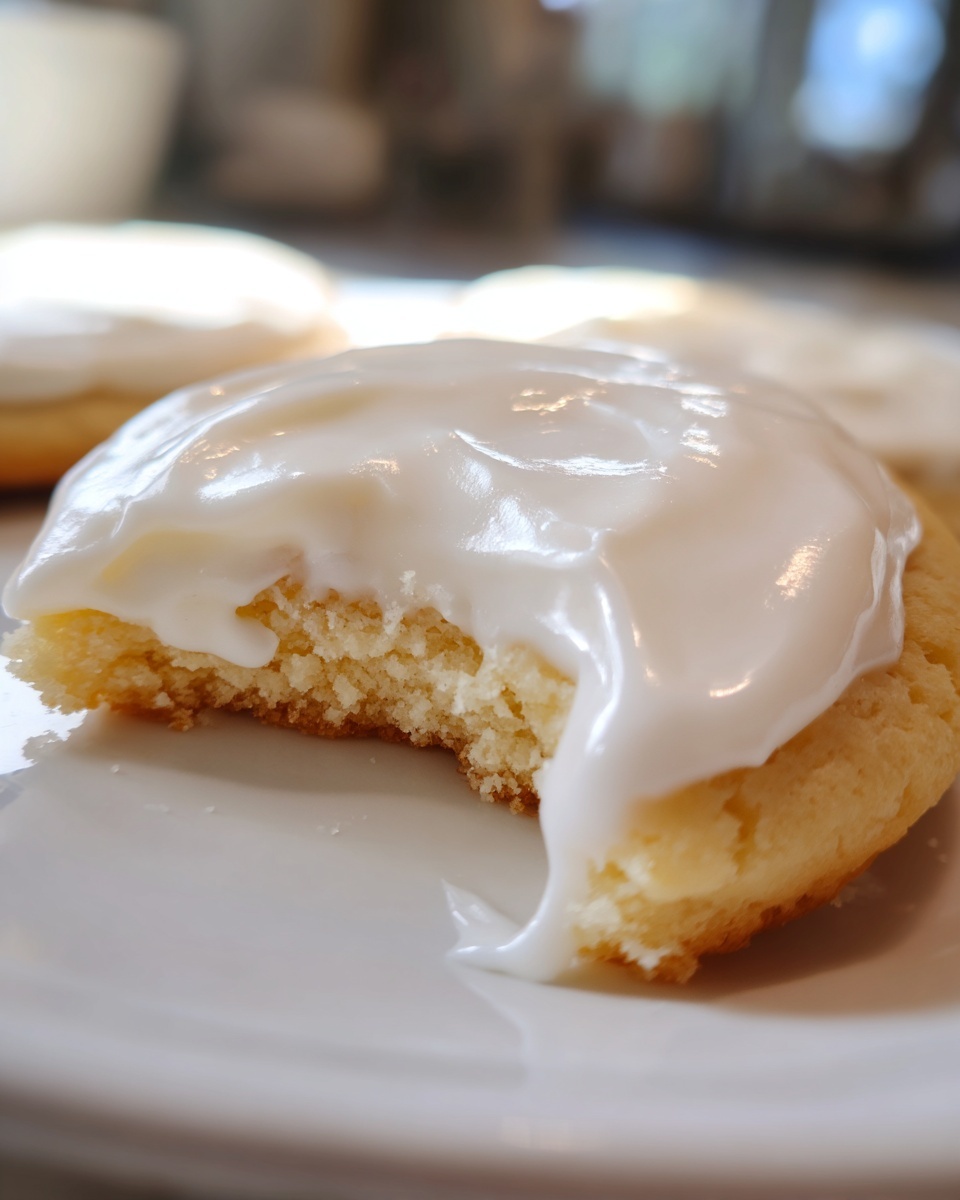
Once you’ve achieved that perfect, hard-set finish, the presentation is everything! This durable sugar cookie icing means your creations are ready for anything. For Christmas, of course, you can create stunning, brightly colored patterns that stack perfectly in tins for gifting. Think vibrant reds and greens!
But don’t stop there. Because this icing dries so firmly—making it the dream holiday cookie icing—it’s sublime for Valentine’s Day cookies adorned with delicate piping. You can even use the flatter, thinner glaze consistency for a quick dip on cutout cookies destined for a simple platter. It’s such an elegant finish for minimal effort. If you want pairing inspiration for desserts, I often share serving ideas over on my candy apple post.
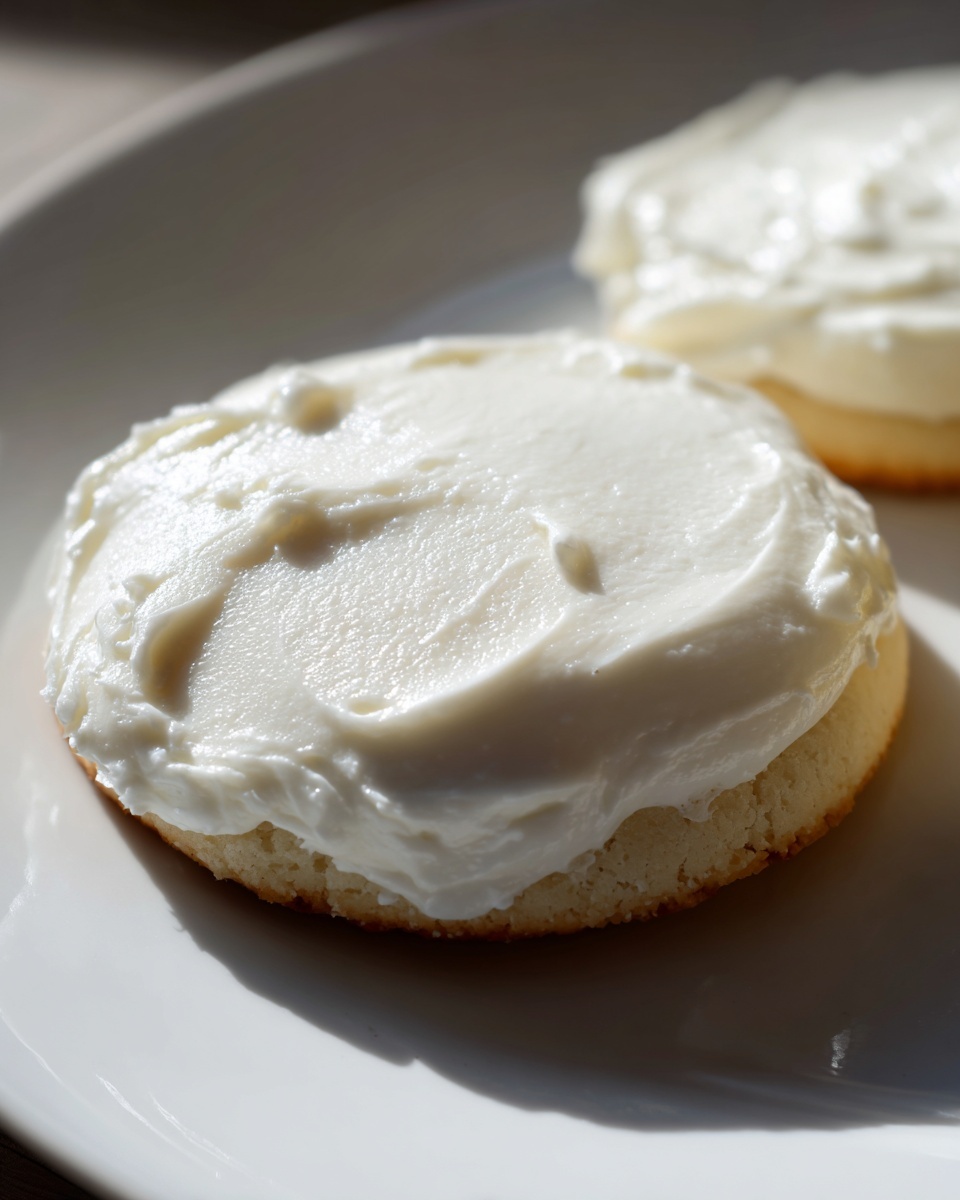
When you stack them up, you’ll see that clean edge described everywhere online. If you’re looking for ideas on how to use this sturdy icing for intricate designs, definitely peek at what Emma is doing with hard-setting icing here. Enjoy sharing your gorgeous, professional-looking treats!
Frequently Asked Questions About Powdered Sugar Icing Recipe
Is your sugar cookie icing the same as Royal Icing?
That’s a great question, especially since the goal here is a hard finish! This is technically a glaze, but it behaves very much like royal icing for sugar cookies because of the corn syrup and mixing time, which helps it set firm. Traditional royal icing uses egg whites or meringue powder as its base, which can be tricky for many home bakers—and sometimes intimidating! My recipe avoids that completely; it’s entirely shelf-stable and much faster to prepare, but still delivers that stackable quality you are looking for. It provides incredible results without the raw egg concern.
How do I ensure this icing truly hardens?
Achieving that hard set comes down to two things: the recipe structure (which includes the corn syrup) and patience! If you follow my mixing instructions and nail that 10-second ribbon test for your flood consistency, the structure should be sound. The second part is the drying time. You must allow those cookies to dry completely uncovered at room temperature for several hours—sometimes even overnight, depending on humidity. If you try to stack them too soon, they will stick together, no matter how perfect the sugar cookie icing mixture was to start.
Can I make this thinner to use it as a simple sugar cookie glaze?
Absolutely! I love dipping cookies when I need a super quick finish. If you want a thinner, runnier simple sugar cookie glaze consistency rather than one built for outlining, simply add water, half a teaspoon at a time, until the mixture flows off the spoon almost instantly. It won’t stand up in a peak, but it will still dry smooth and firm, just much thinner. It’s the perfect shortcut for holidays when you have a massive amount of cookies to cover. If you’re interested in other no-bake treats, check out my recipe for no-bake cookies for great ideas!
Why is my finished icing patchy instead of glossy?
Patchiness usually means you didn’t mix long enough! Remember, the gloss in this specific powdered sugar icing recipe develops during that high-speed beating phase. If you stop mixing once it’s just “combined,” you’ll get a matte finish. You really need to let the mixer run for that full three to five minutes until the mixture lightens in color and smooths out completely. That mechanical action creates the shine.
Storage and Reheating Instructions for Leftover Sugar Cookie Icing
If you’re like me, you’ve probably made a huge batch of icing for decorating during busy holiday prep! Don’t let the leftovers go to waste. The key here is sealing it up so it doesn’t form that horrible, impossible-to-fix crust. The best way to protect your remaining **sugar cookie icing** is to cover the bowl with plastic wrap, making sure the wrap actually presses right down onto the surface of the icing itself—no air pockets allowed! This keeps it soft and pliable.
If you need to use it the next day, just let it come to room temperature slowly on the counter, then give it a whisk and maybe a few drops of milk until it smoothly flows again. It’s miraculous! It means your hard work stays perfect for the next round of cookie decorating.
PrintEasy Glossy Sugar Cookie Icing That Dries Hard
Create smooth, glossy icing that sets firm for decorated sugar cookies. This simple recipe uses common ingredients to make stackable, durable holiday cookies.
- Prep Time: 10 min
- Cook Time: 0 min
- Total Time: 10 min
- Yield: Covers 24 cookies 1x
- Category: Dessert Topping
- Method: Mixing
- Cuisine: American
- Diet: Vegetarian
Ingredients
- 4 cups powdered sugar, sifted
- 1/2 cup milk (whole or 2%)
- 2 tablespoons light corn syrup
- 1 teaspoon vanilla extract
- 1/4 teaspoon clear vanilla extract (optional, for pure white color)
- 1–2 teaspoons water (for thinning, if needed)
Instructions
- In a medium bowl, combine the sifted powdered sugar, milk, corn syrup, and vanilla extracts.
- Mix on low speed with an electric mixer until the ingredients are just combined. Do not overmix at this stage.
- Increase the speed to medium-high and beat for 3 to 5 minutes until the icing is completely smooth and glossy. This mixing develops the shine.
- Test the consistency. For outlining, the icing should hold a soft peak when lifted. For flooding, it should flow slowly off the mixer beater, leaving a trail that disappears in about 10 seconds (the 10-second ribbon test).
- If the icing is too thick for flooding, add water, 1/2 teaspoon at a time, mixing well after each addition until the desired consistency is reached.
- Divide the icing into separate bowls for coloring, if desired. Add gel food coloring sparingly and mix until uniform.
- Use the icing immediately for outlining your sugar cookies. Let the outline dry for 15 to 30 minutes until firm to the touch.
- Thin remaining icing slightly with a few drops of water if necessary, then use it to flood the outlined areas.
- Allow the cookies to dry completely at room temperature for several hours, or overnight, until the icing is hard and stackable.
Notes
- For a pure white, glossy finish, use clear vanilla extract instead of standard vanilla.
- If you need the icing to dry faster, you can place cookies in front of a small fan while they set.
- This recipe makes enough icing for approximately 24 medium-sized cookies, depending on coverage.
- Store unused icing covered tightly with plastic wrap pressed directly onto the surface to prevent a crust from forming.
Nutrition
- Serving Size: 1/4 cup
- Calories: 400
- Sugar: 100
- Sodium: 5
- Fat: 0
- Saturated Fat: 0
- Unsaturated Fat: 0
- Trans Fat: 0
- Carbohydrates: 100
- Fiber: 0
- Protein: 0
- Cholesterol: 0