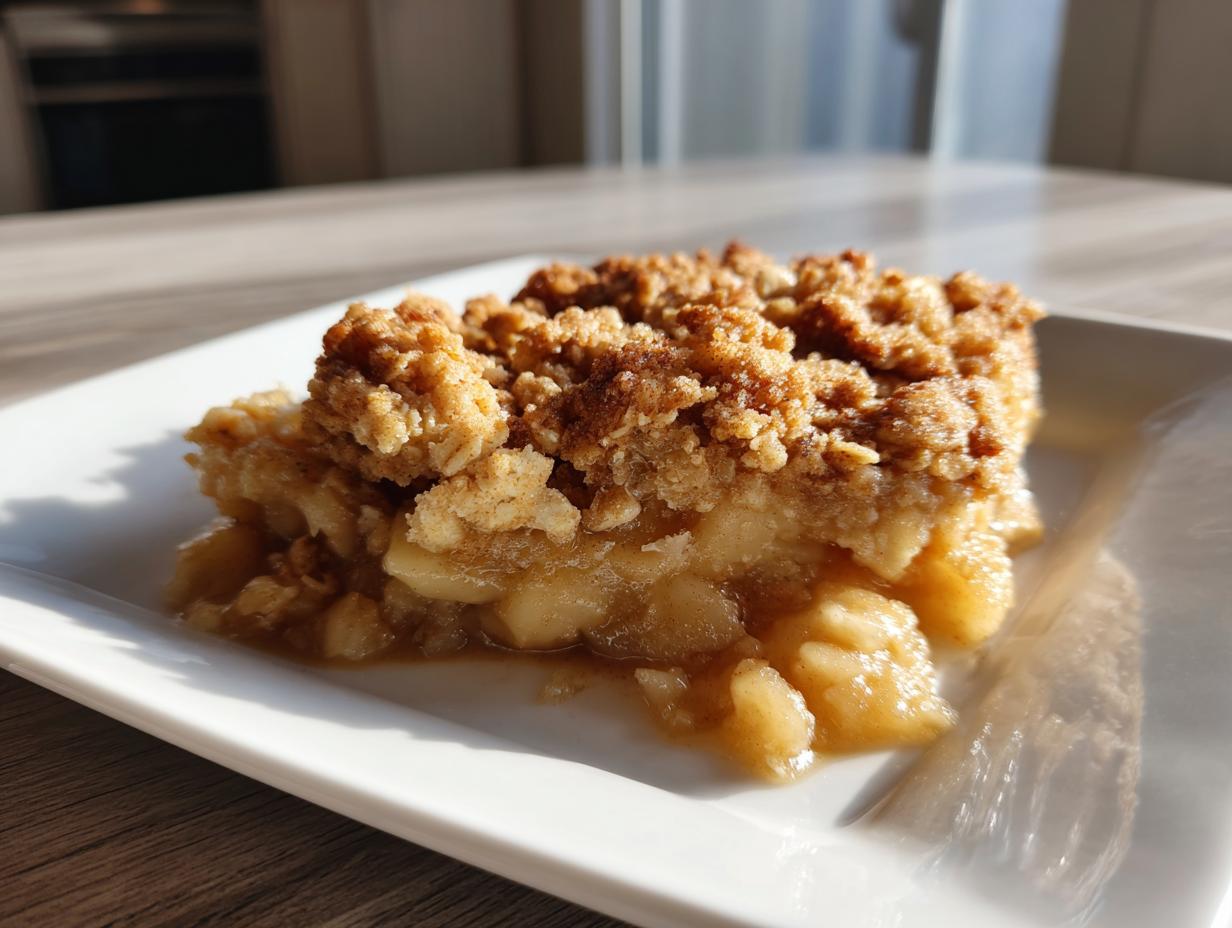

There is nothing quite like the first truly cool evening of autumn when all you crave is that warm, sweet aroma filling your kitchen. For me, that scent is the unmistakable promise of apples, cinnamon, and butter—it means it’s time for my absolute favorite apple crisp recipe. Forget those sad, mushy desserts you might have tried before; this is the ultimate, foolproof version designed to deliver that golden, utterly crunchy oat topping every single time. Having spent years honing classic techniques in culinary school while balancing my own need for beautiful, easy cooking, I developed this recipe to be completely reliable. It’s comfort food elevated, waiting for you to unfold the story right in your oven. If you love this kind of cozy bake, you should also check out my incredibly simple apple dump cake recipe!
- Why This Old Fashioned Apple Crisp Recipe Is Your New Fall Staple
- Ingredients for the Best Apple Crisp Recipe
- How to Prepare This Foolproof Apple Crisp Recipe Step-by-Step
- Tips for the Ultimate Crunchy Topping Dessert Success
- Serving Suggestions for Your Homemade Apple Dessert
- Storage and Reheating the Apple Crisp Recipe
- Variations on the Classic Apple Crisp Recipe
- Frequently Asked Questions about this Apple Crisp Recipe
- Nutritional Estimates for This Apple Crisp Recipe
Why This Old Fashioned Apple Crisp Recipe Is Your New Fall Staple
I know you’ve probably scrolled through dozens of options searching, but trust me—this apple crisp recipe delivers exactly what you need for the season. When I set out to create this, I had one mission: banish the soggy topping forever. It happens to the best of us, but you won’t have that problem here! This version is proof that truly elegant desserts can also be incredibly simple.
- It’s an absolutely Easy Apple Crisp, requiring less than 15 minutes of active prep time before it goes into the oven.
- It captures that nostalgic feeling of authentic Comfort Food Desserts; it just tastes like home.
- The final result provides that satisfying textural contrast you crave in a Crunchy Topping Dessert.
For perfect seasonal accompaniments, pair this dessert with a bright fall harvest salad. It balances the sweetness beautifully.
The Secret to a Guaranteed Crunchy Oat Topping Crisp
The magic for that perfect Oat Topping Crisp lies entirely in keeping your butter ice-cold. When you cut the cold butter into the flour and oats, you create little pockets of fat that don’t fully mix in. As the crisp bakes, those pockets melt slowly, steams, and essentially fries the oats instead of just turning the whole thing into a dense layer. That separation is the key to guaranteed crunch!
Ingredients for the Best Apple Crisp Recipe
To achieve the most balanced flavor and that wonderful blend a true Old Fashioned Apple Crisp should have, we need high-quality components for both the filling and the topping. Don’t worry about sourcing anything too crazy; these are simple ingredients you likely already have stocked! I always recommend Granny Smith apples because their natural tartness cuts through the sugar so nicely. You can browse my favorite way to preserve similar flavors here if you want something for toast later: apple butter recipe slow cooker. Let’s break down what you’ll need.
Apple Filling Components
For the base of this beautiful bake, gather your 6 large Granny Smith apples, peeled, cored, and sliced. We’ll mix those with 1 tablespoon of lemon juice—please don’t skip that, it keeps the apples bright! Then you need 1/4 cup of granulated sugar, 1 full teaspoon of ground cinnamon, and just a tiny whisper of 1/4 teaspoon of ground nutmeg.
Buttery Oat Topping Crisp Ingredients
The topping is where all the magic happens to make this an ultimate Buttery Apple Crumble. You will combine 1/2 cup of all-purpose flour with 1/2 cup of rolled oats—make sure they are the old-fashioned kind, not the instant stuff! Then, pack in 1/2 cup of light brown sugar, 1/4 teaspoon of salt, and the star of the show: 1/2 cup (that’s one full stick) of very cold, unsalted butter cut into small cubes. Remember what I said about the cold butter—it is non-negotiable for the crunch!
How to Prepare This Foolproof Apple Crisp Recipe Step-by-Step
This is where we turn beautiful ingredients into the ultimate Comfort Food Dessert. Don’t feel intimidated; this process is straightforward, and I’ve broken it down so you can focus purely on enjoying the creation process. We are aiming for perfection here, so remember to follow the order of operations just as I’ve laid it out. If you want another great quick bake, my apple crumble under an hour recipe is also wonderful!
Preparing the Apples and Dish
First things first: let’s get that oven ready. Preheat your oven to 375 degrees F. While it’s warming up, lightly grease that 8×8 inch baking dish—a light spray of baking oil or a thin layer of butter works perfectly. Now, take all your spiced apples and spread them out in an even layer across the bottom of the baking dish. It’s important they are relatively touching so they cook down uniformly.
Making the Ultra-Crunchy Oat Topping Dessert
This is the part that separates a good crisp from the *best* one! In a separate, medium bowl, whisk together your flour, oats, brown sugar, and salt until they’re nicely combined. Now, bring in those cold butter pieces we talked about. You need to use your fingertips or a pastry blender to ‘cut’ the butter into the dry mix. Keep working it quickly until the entire mixture looks like coarse crumbs—you should still see distinct pieces of butter about the size of small peas. Overmixing here is the enemy of crunch, so stop as soon as that texture is achieved!
Baking and Setting the Apple Crisp Recipe
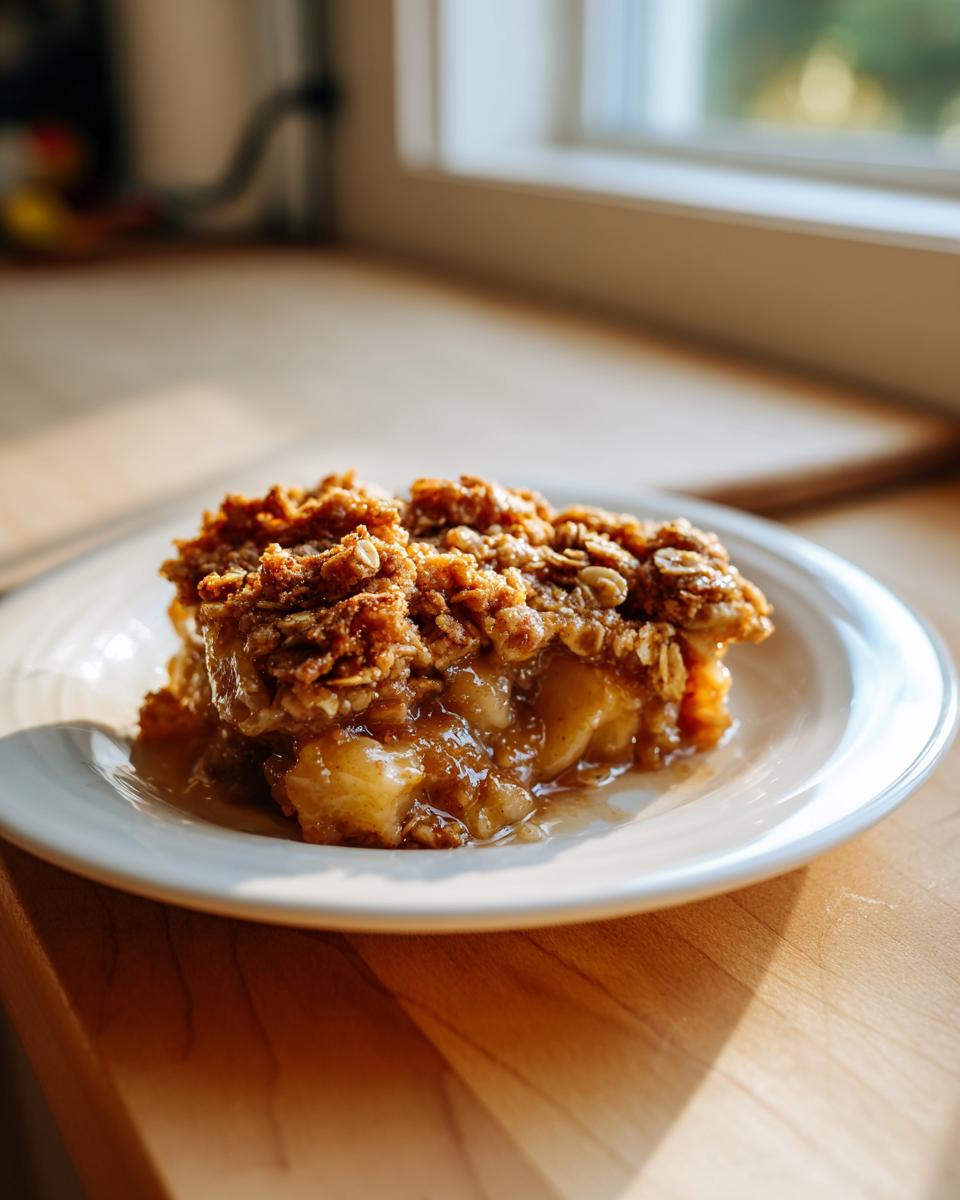
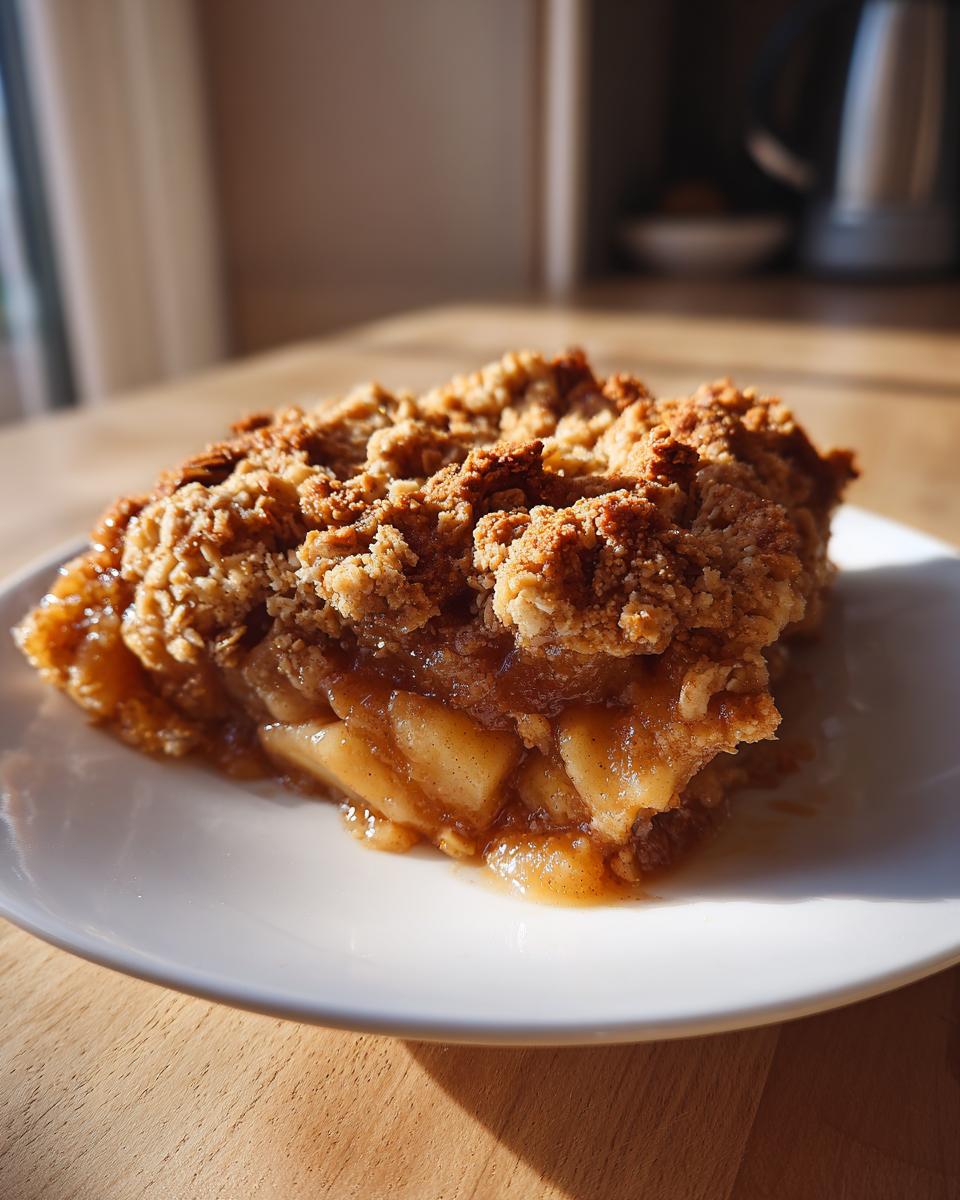
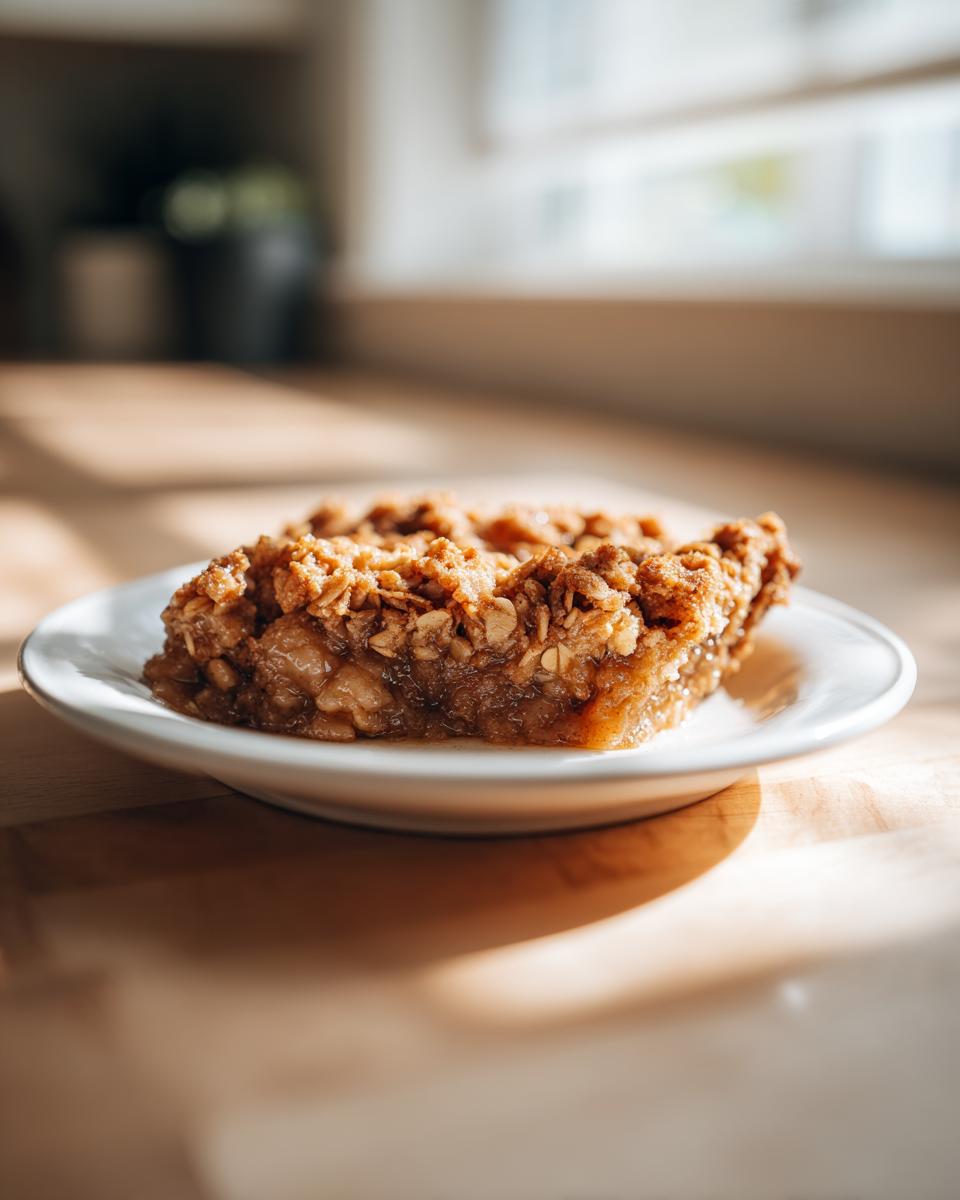
Take that beautiful crumble topping and sprinkle it evenly over the apples in the dish. Don’t press it down! We want it loose and airy. Pop it into the preheated oven and let it bake for about 40 to 45 minutes. You are looking for two main signs of doneness: the topping should be deeply golden brown, and the apple filling underneath must be vigorously bubbly. Here is my key piece of advice, straight from my culinary training: After you pull it out, you *must* let the apple crisp recipe rest for at least 15 minutes on a wire rack. This crucial setting time allows those juices to thicken up so you don’t serve a runny mess. Trust me on this cooling period!
Tips for the Ultimate Crunchy Topping Dessert Success
Now that you have made the base recipe, let’s talk about refinement. Even though this is a truly foolproof apple crisp recipe, a few little nuances—many of which I picked up formally in culinary school—can take your Oat Topping Crisp from great to legendary. We want that buttery layer to hold up beautifully against the hot, saucy apples underneath.
First, remember the golden rule from the notes: the colder your butter is before you cut it in, the crunchier your topping will be. If you feel like your topping is still looking a little too fine or sandy, it might mean your butter was too warm. Don’t panic—just pop the crumble mixture itself into the freezer for 10 minutes before sprinkling it over the apples. A quick chill sets the fats again!
Another little trick that I sometimes employ, especially if I’m baking one of my apple fritters, is slightly adjusting the ratio of oats to flour. If you want a *super* sturdy, slightly chewier crunch, bump the oats up by about 10% next time you make it. Conversely, the recipe notes mention enjoying a slightly softer texture; you achieve this by simply pulling the crisp out of the oven five minutes earlier. You are in control of the texture here!
Serving Suggestions for Your Homemade Apple Dessert
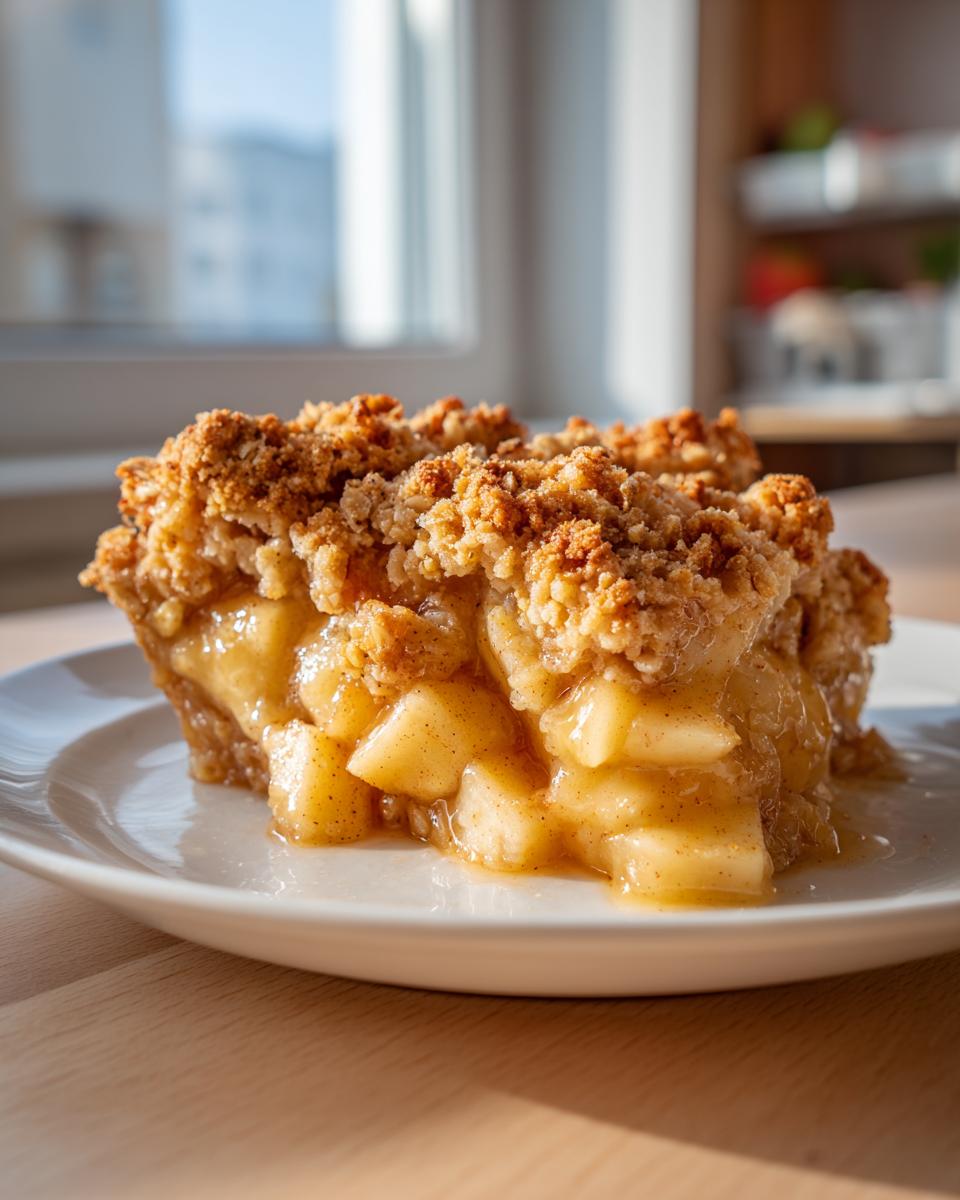
What is truly the best part of baking a warm, aromatic dessert like this? Serving that first heavenly scoop! This Homemade Apple Dessert sings when it’s warm, so please, resist the urge to dig in immediately after it comes out of the oven—remember that 15-minute setting time. The classic presentation, which I adore, is a generous scoop topped with high-quality vanilla bean ice cream. The contrast between the hot, spiced apples and the melting, cold cream is just perfection.
If ice cream feels too heavy, a dollop of freshly whipped cream—maybe lightly touched with cinnamon itself—is elegant and lovely. For a sophisticated pairing that truly elevates this Autumn Baking Idea, I always suggest a slightly sweet, crisp wine. Try a late-harvest Riesling; its honeyed notes play beautifully with baked apples. Alternatively, a super dry, locally-sourced hard apple cider is simply divine with this Classic Apple Crumble. Finish your baking adventure by making a batch of my favorite apple cider donuts next week!
Storage and Reheating the Apple Crisp Recipe
This wonderful apple crisp recipe smells almost better the next day, if that’s even possible! Luckily, it keeps wonderfully well. Once it’s completely cooled, cover the baking dish tightly with foil or transfer leftovers to an airtight container. You can keep it safely at room temperature for about a day if your kitchen isn’t overly warm, but to be safe, I always recommend sticking leftovers in the fridge, where it will be delicious stored for up to four days. This makes it a fantastic make-ahead Weeknight Apple Dessert!
When you are reheating, the goal is to bring back that fantastic crunch. I find that popping a serving size or two back into a toaster oven or a 350-degree regular oven for about 8 to 10 minutes works best. Skip the microwave if you can, as that guarantees a soggy topping! If you do use the microwave, scrape the topping off, heat the apples, and then top with a sprinkle of fresh brown sugar and oats before broiling for two minutes to bring back some texture. If you’re looking for another perfect cozy pairing, try my apple cider sangria recipe!
Variations on the Classic Apple Crisp Recipe
While I truly believe this apple crisp recipe is perfect as written—it’s an Old Fashioned Apple Crisp for a reason!—I also love encouraging you to play a bit in the kitchen once you master the base technique. Having fresh, tested recipes in my back pocket like my apple dumplings helps, but these slight tweaks make this crisp feel like your own signature dish.
For added texture and richness in that star Buttery Oat Topping, try mixing in about 1/2 cup of chopped pecans or walnuts along with your oats. They toast up beautifully! If you are feeling adventurous with the spice profile, skip just a tiny bit of the cinnamon and add 1/4 teaspoon of ground cardamom to the apples; it gives a gorgeous, sophisticated floral note that complements the baked fruit perfectly.
You can also easily swap up the apples. If you want a slightly sweeter result than Granny Smith allows, replace half of them with Honeycrisp or Fuji, as I mentioned earlier. This keeps the flavor interesting for repeat bakes, making this such a versatile Simple Fruit Crisp.
Frequently Asked Questions about this Apple Crisp Recipe
It’s completely normal to have a few running questions when baking a classic like this! I want you to feel totally confident when you tackle this recipe, whether it’s your first time making a Homemade Apple Dessert or you are looking to perfect your technique. I’ve gathered the questions I hear most often from cooks in my kitchen, so let’s clear up any last uncertainties regarding your apple crisp recipe.
What is the best apple to use for an apple crisp recipe?
For the best structure and that wonderful tangy bite that stops the whole thing from tasting like candy, I always recommend using Granny Smith apples. Their firmness means they hold up beautifully in the oven without turning to complete mush. However, I love blending them! Try using half Granny Smith and half Honeycrisp or Fuji. This gives you the structure of the Granny Smith but incorporates the floral sweetness of the second apple variety. It’s a fantastic way to add depth to your spice bake!
How do I prevent my oat topping crisp from getting soggy?
This is the million-dollar question for crunch perfection! Remember the technique we discussed: you must use very cold butter and work it into the dry ingredients quickly, leaving those coarse crumbs intact. That’s technique. Next, the ratio matters; using an 8×8 dish keeps the topping layer thick enough to protect itself. If your topping seems thin, it means there are too many apples packed in, and moisture will inevitably seep up. Keep that ratio balanced, and your crunchy topping dessert will stay crisp!
Can I make this Easy Apple Crisp ahead of time?
Absolutely! That’s why I love labeling this as an Easy Apple Crisp for busy cooks. You have two options for preparation. You can assemble the apple filling and the topping separately, storing them both airtight in the fridge for up to two days. Then, when you’re ready to bake, just combine them and follow the baking instructions. Alternatively, you can bake the whole thing, let it cool, and store it covered in the fridge. Just remember my reheating tip: skip the microwave to keep that beautiful oat topping crisp intact!
If you want to browse more of my culinary thoughts and tips, feel free to look through my latest blog posts for more inspiration.
Nutritional Estimates for This Apple Crisp Recipe
I always try to keep things transparent in the kitchen, and that means talking about the numbers, even for a glorious fall dessert recipe like this. Below you’ll see the approximate nutritional breakdown per serving. Please keep in mind that because we are using real ingredients—the kind of fresh fruit and honest butter I insist on—these numbers are estimates. Brands of flour, the exact size of your apples, and how heavy-handedly you pour the cream on top will all make a difference! Enjoy this simple fruit crisp knowing it’s made with love, but treat these metrics as a general guide.
- Serving Size: 1 serving
- Calories: 380
- Sugar: 30g
- Sodium: 120mg
- Fat: 20g
- Saturated Fat: 12g
- Carbohydrates: 50g
- Fiber: 5g
- Protein: 4g
The Best Old Fashioned Apple Crisp Recipe with Ultra-Crunchy Topping

Create the ultimate comfort dessert with this foolproof apple crisp recipe. You get tender, cinnamon-spiced apples beneath a buttery oat topping that stays perfectly crunchy. This is the easy fall baking staple you need.
- Prep Time: 15 min
- Cook Time: 45 min
- Total Time: 60 min
- Yield: 6 servings 1x
- Category: Dessert
- Method: Baking
- Cuisine: American
- Diet: Vegetarian
Ingredients
- 6 large Granny Smith apples, peeled, cored, and sliced
- 1 tablespoon lemon juice
- 1/4 cup granulated sugar
- 1 teaspoon ground cinnamon
- 1/4 teaspoon ground nutmeg
- 1/2 cup all-purpose flour
- 1/2 cup rolled oats (not instant)
- 1/2 cup packed light brown sugar
- 1/4 teaspoon salt
- 1/2 cup (1 stick) cold unsalted butter, cut into small pieces
Instructions
- Preheat your oven to 375 degrees F. Lightly grease an 8×8 inch baking dish.
- In a large bowl, toss the sliced apples with lemon juice, granulated sugar, cinnamon, and nutmeg until the apples are evenly coated.
- Spread the apple mixture in a single layer in the prepared baking dish.
- In a separate medium bowl, whisk together the flour, rolled oats, brown sugar, and salt for the topping.
- Cut in the cold butter using a pastry blender or your fingertips until the mixture resembles coarse crumbs. Do not overmix; you want visible butter pieces for crunch.
- Sprinkle the oat topping evenly over the apples.
- Bake for 40 to 45 minutes, or until the topping is golden brown and the apple filling is bubbly and tender when pierced with a fork.
- Let the apple crisp cool on a wire rack for at least 15 minutes before serving. This helps the juices set.
- Serve warm, ideally with vanilla ice cream or a dollop of whipped cream.
Notes
- For the crunchiest topping, make sure your butter is very cold when you cut it into the dry ingredients.
- If you prefer a slightly softer topping, bake for 5 minutes less, but check that the apples are tender.
- You can substitute half the apples with Honeycrisp or Fuji for a sweeter filling.
Nutrition
- Serving Size: 1 serving
- Calories: 380
- Sugar: 30
- Sodium: 120
- Fat: 20
- Saturated Fat: 12
- Unsaturated Fat: 8
- Trans Fat: 0
- Carbohydrates: 50
- Fiber: 5
- Protein: 4
- Cholesterol: 45