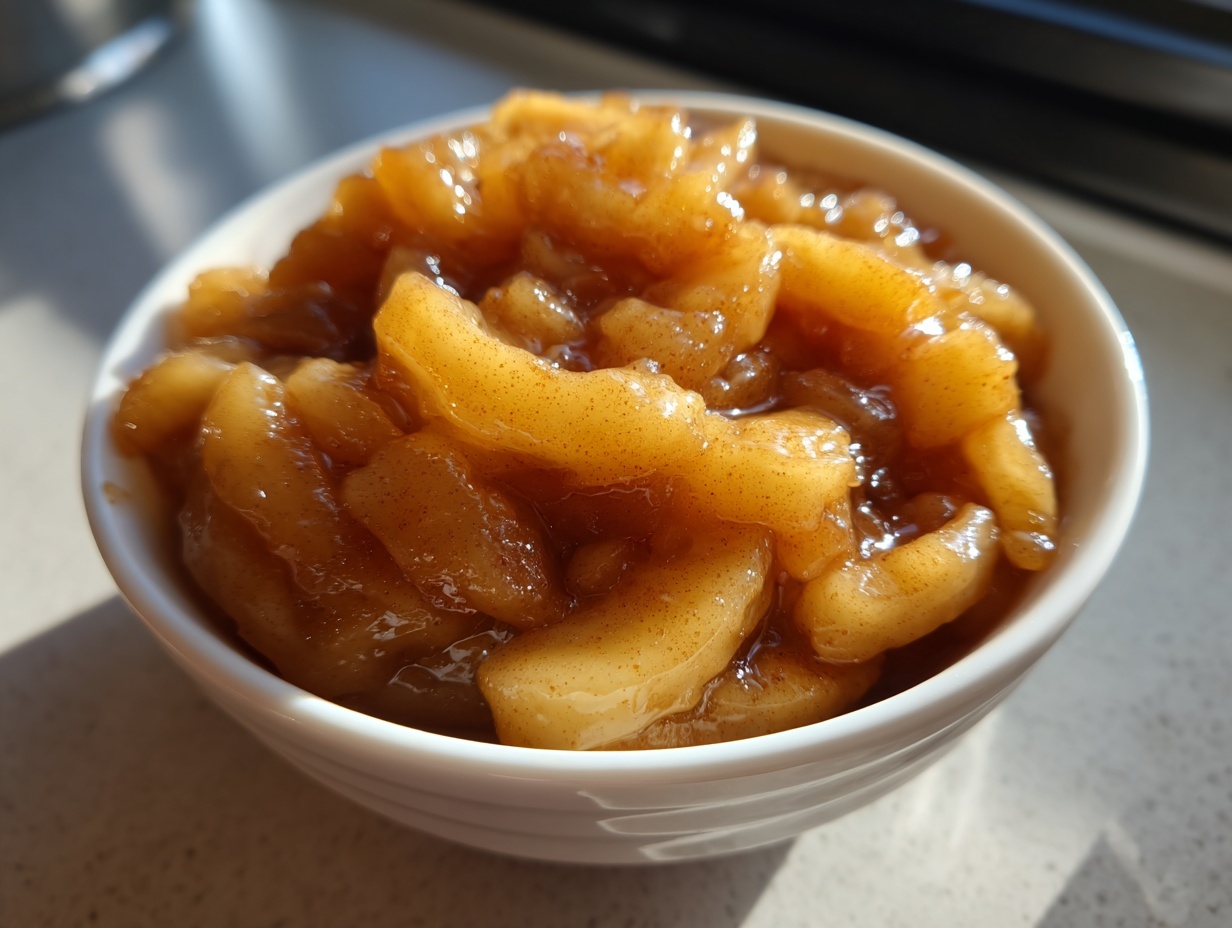

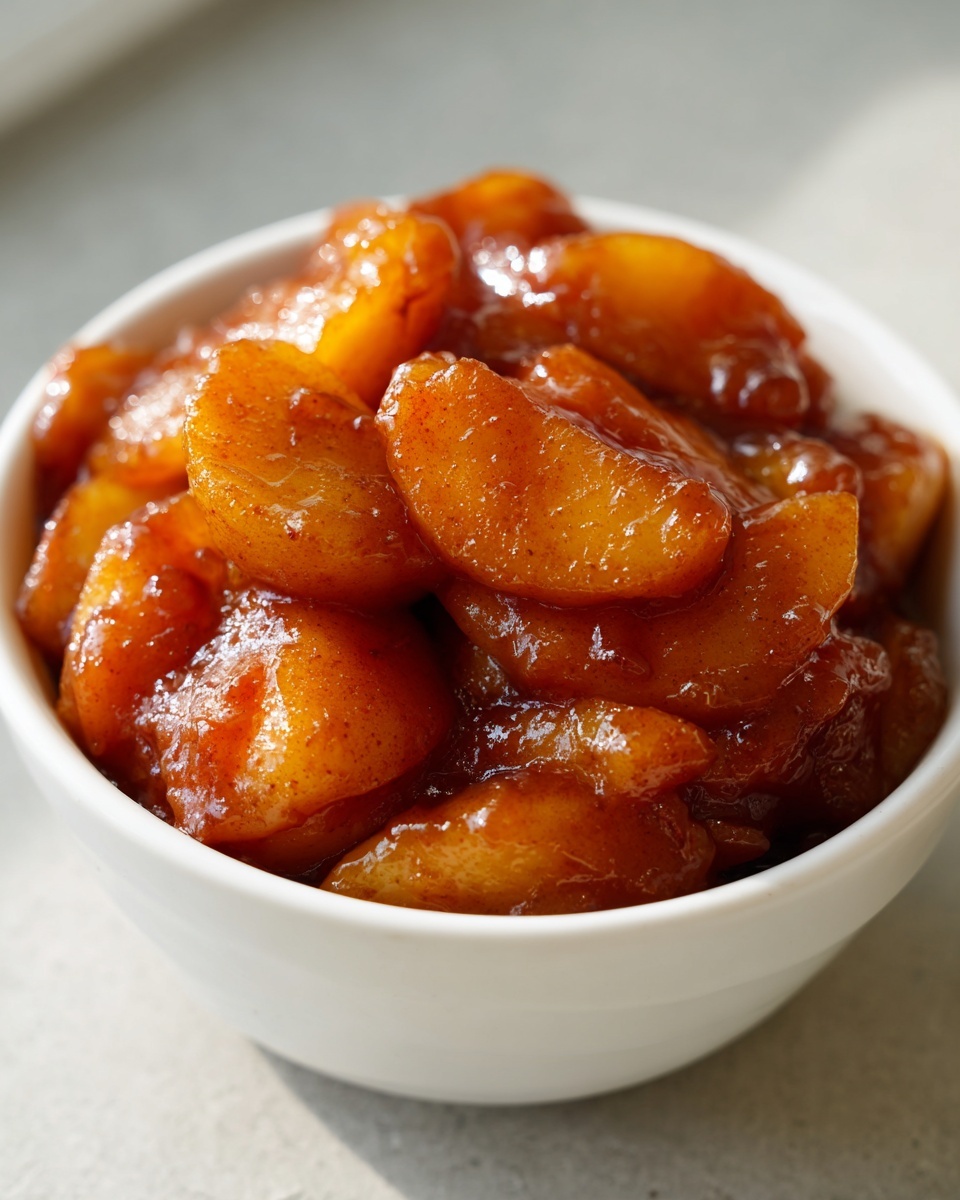
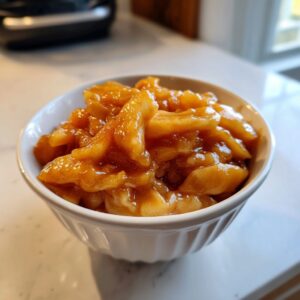
There is nothing sadder in the world of baking than slicing into a homemade pie, only to find the filling is watery, chunky, or just… bland. We’ve all been there, settling for something that just doesn’t measure up to those comforting memories of holidays past. But I promise you, you can ditch the can opener forever! This recipe is my absolute favorite way to make **apple pie filling** right on the stovetop. In just about 30 minutes, we create a rich, glossy, spiced apple filling that sings with flavor and has that perfect, tender yet firm texture. It’s quick, it builds confidence, and it tastes exactly like the cozy story you want to tell with your baking. If you’re looking to unfold a truly wonderful dessert experience, start right here before heading over to read more about my journey in the kitchen here.
- Why This is the Best Homemade Apple Pie Filling Recipe
- From Scratch Pie Ingredients for Superior Apple Pie Filling
- How to Make Stovetop Apple Pie Filling: Step-by-Step Instructions
- Storing and Freezing Your Homemade Apple Pie Filling
- Versatile Fruit Filling Uses Beyond the Pie
- Tips for Success with Your Apple Pie Filling Recipe
- Frequently Asked Questions About Apple Pie Filling
- Nutritional Estimates for This Apple Pie Filling
- Share Your Apple Pie Filling Creations
Why This is the Best Homemade Apple Pie Filling Recipe
What makes this stovetop apple pie filling my go-to recipe? It’s all about trust, confidence, and nailing that texture everyone secretly craves. When you make this **apple pie filling** from scratch, you control everything, ensuring you get that rich, glossy sauce without any dreaded runniness. We skip the guesswork to deliver results that truly stand out.
- It guarantees a **Perfect Pie Filling Texture** thanks to a specific thickening process.
- You get that decadent, warm spice flavor base you just can’t find in a jar.
- This method ensures absolutely **No Watery Pie Filling**—just luscious, thick sauce coating beautiful apple slices!
Achieving Perfect Pie Filling Texture
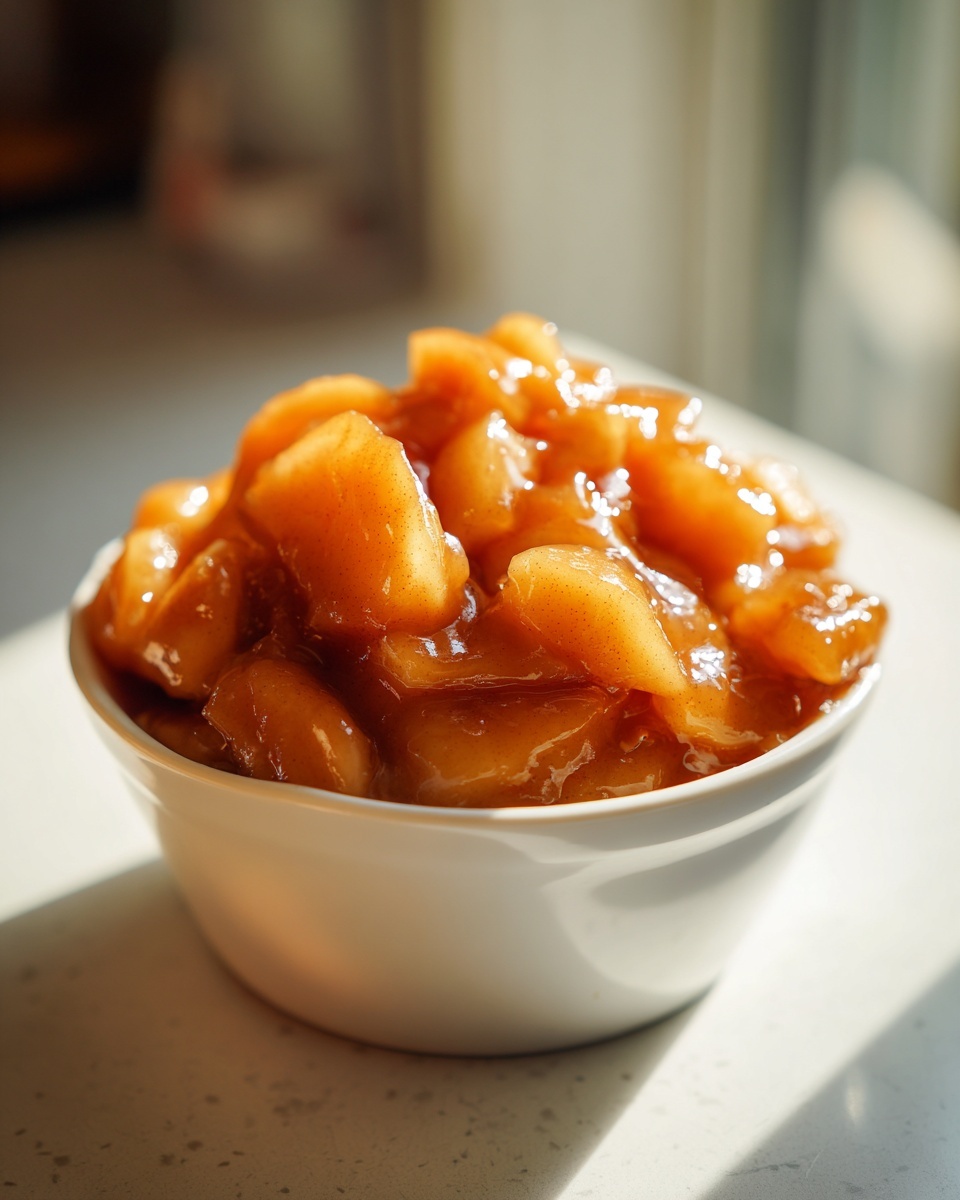
We address the watery filling problem right at the start! Letting the apples rest for 15 minutes allows them to release their own juices naturally. Then, when we introduce that cornstarch slurry, it catches all those apples liquids quickly. See? It’s simple science that delivers a thick sauce that hugs the tender apples perfectly. No slimy messes here, I promise!
The Secret to Balanced Flavor in Your Apple Pie Filling
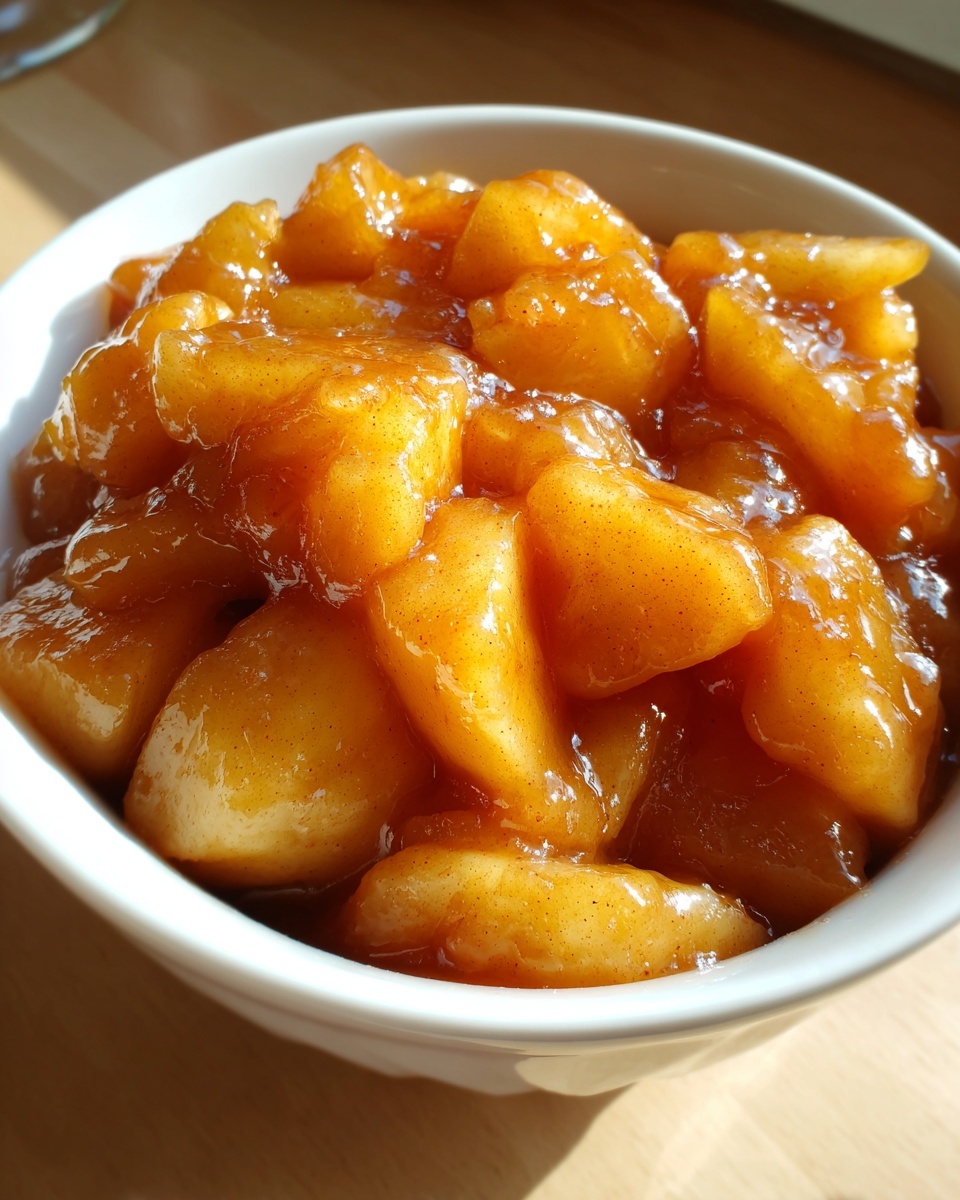
The magic in the flavor profile comes from complexity. We don’t just rely on white sugar; mixing it with rich, molasses-heavy light brown sugar gives a deeper background note. Then, we layer the spices! Cinnamon is the star, but the nutmeg and that tiny hint of allspice elevate this **apple pie filling** beyond basic. It tastes warm, autumnal, and just right.
From Scratch Pie Ingredients for Superior Apple Pie Filling
When you decide to make your **apple pie filling** completely from scratch, you’re taking the first big step toward an amazing dessert. Everything we use is simple and accessible, but the combination is what makes it spectacular. Gather these ingredients, and you’re halfway to filling your home with that incredible, warm spice aroma. We’re using the very best **From Scratch Pie Ingredients** for a result that truly outshines anything store-bought. You can find my recipe for companion slow cooker apple butter if you’re looking for more fall preserving ideas!
Apple Selection for the Best Apple Pie Filling
This is crucial, friends. If you just grab one kind of apple, you risk a filling that is either too mushy or too tart. For the absolutely best flavor and texture in your **apple pie filling**, I insist you mix them! Use firm, tart Granny Smith apples to give some necessary backbone, and mix them with a sweeter variety like Fuji or Honeycrisp. This blend holds up beautifully when cooked and gives you that complex, balanced sweet-tart flavor we’re aiming for.
How to Make Stovetop Apple Pie Filling: Step-by-Step Instructions
Okay, let’s get this beautiful **Stovetop Apple Pie Filling** cooked! This is where the magic really happens, and honestly, the smell that starts to permeate your kitchen is just absolutely heavenly—pure autumn comfort, right there on the burner. I like to think of this as the easiest dessert prep you can do. Just follow these steps, and you’ll have a thick, shiny filling ready in minutes. Don’t forget to check out my Fall Harvest Salad later for a savory pairing!
Prepping the Apples and Spices for Quick Pie Filling
First, get all your sliced apples into a good, large saucepan. Toss them gently with both sugars, the lemon juice, and those wonderful spices—cinnamon, nutmeg, and allspice. Now, resist the urge to crank up the heat! We need the sugar to do some heavy lifting first. Let this mixture sit for a good 15 minutes. This resting period is key for this **quick pie filling** because it draws out the natural moisture from the apples so we can control the final sauce consistency later.
Thickening the Apple Pie Filling on the Stovetop
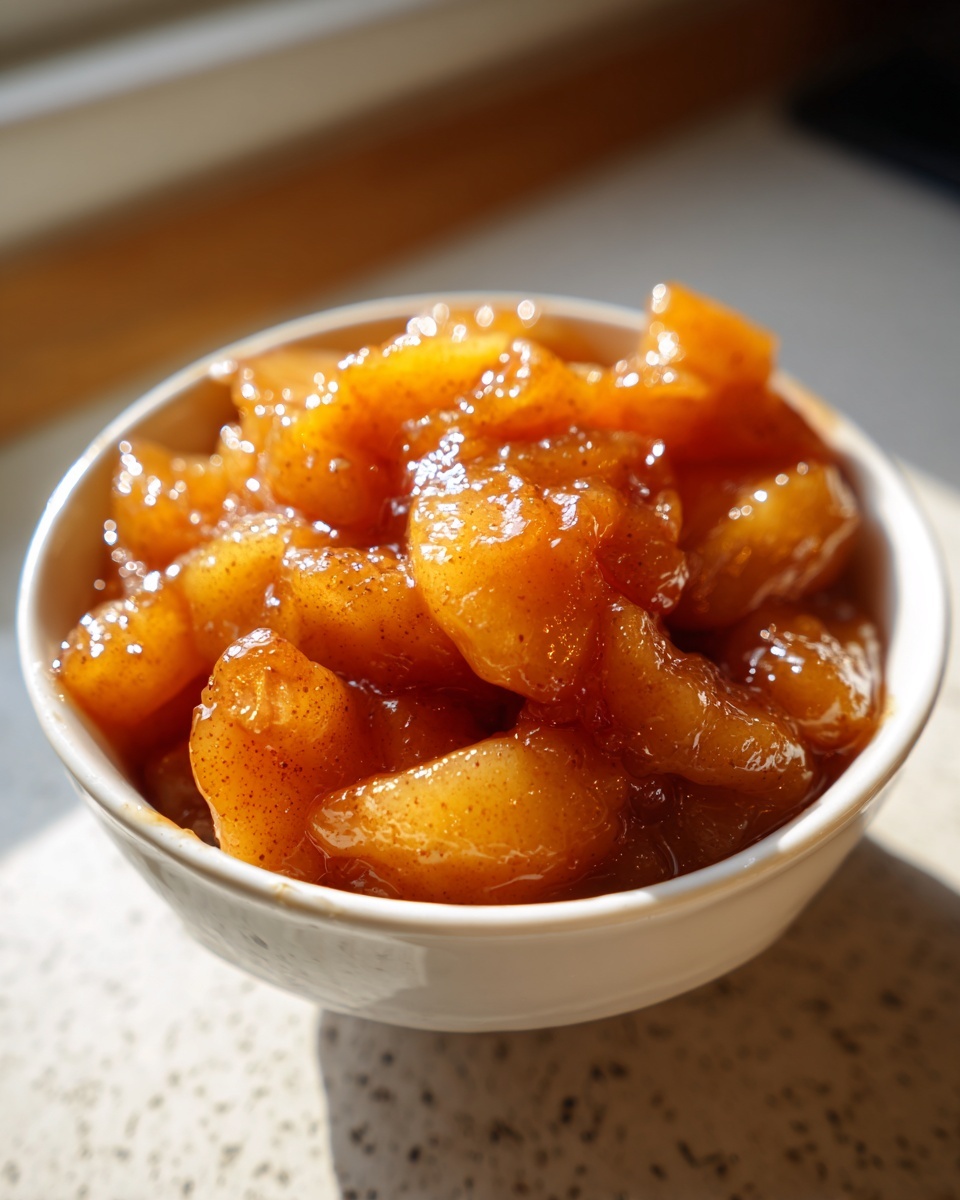
While that’s resting, whisk your cornstarch and water until it’s perfectly smooth—that’s your slurry. Once the apples have rested, turn the heat to medium and cook them down for about 5 to 7 minutes until they just start getting tender. Now, pour in your slurry and stir constantly! Keep stirring until the mixture starts bubbling and thickens up beautifully. That moment when it turns glossy and coats your spoon? That’s the sign you’ve achieved that **Perfect Pie Filling Texture**. Remove it immediately from the heat!
Storing and Freezing Your Homemade Apple Pie Filling
One of the greatest joys of making **apple pie filling** this way is planning ahead. You can absolutely make a huge batch now and save it for those busy fall baking days later! My one hard rule here is cooling. You *must* let the filling cool down completely—down to room temperature—before you tuck it away. Remember that gorgeous shine we got from melting in the butter right at the end? That shine sets best as it cools. Once cooled, transfer it to airtight containers for the fridge (where it lasts about a week) or get ready for **Canned or Frozen Apple Pie Filling**!
If freezing, make sure your containers are freezer-safe, and leave a little headspace because sauces expand. This filling freezes beautifully for months, ready to save the day when you need an **Easy Dessert Prep** for a last-minute tart or pie. It’s also perfect if you decide on making a beautiful apple dump cake next week!
Versatile Fruit Filling Uses Beyond the Pie
Honestly, limiting this glorious **apple pie filling** to just pies feels criminal! This recipe creates such a luscious, thick, and perfectly **Spiced Apple Filling** that it begs to be used in nearly every autumn breakfast or dessert you can dream up. It’s truly a **Versatile Fruit Filling** that should live permanently in your refrigerator during the cooler months. It’s quick enough that you can whip up this filling while your morning coffee brews. You absolutely have to try spooning this warm mixture over my favorite apple crisp recipe for a next-level treat!
Apple Dessert Topping Ideas
Think beyond the crust! This **apple pie filling** is exquisite dolloped generously over vanilla bean ice cream; the creamy cold contrasts beautifully with the warm spice. It’s also phenomenal stirred into plain Greek yogurt for a quick, healthy breakfast, or layered between pancakes or waffles instead of plain syrup. The **Cinnamon Apple Filling** flavor profile just enhances everything it touches, trust me on this one.
Tips for Success with Your Apple Pie Filling Recipe
You’ve got the recipe, now let’s talk about making sure this **apple pie filling** turns out flawlessly every single time. My goal here is giving you the confidence to tackle any fall dessert without fear of a soggy bottom or flat flavor. The resting period we talked about earlier is your best friend for preventing that watery filling, so don’t skip it! Also, when you stir in the butter at the very end, use it just for shine and richness; don’t let it cook too long or you’ll lose that beautiful glossy finish. Mastering this recipe is truly the ultimate **Easy Dessert Prep** that pays off tenfold when you serve it up!
If you ever need a little extra filing inspiration or just want to peek at what I’m cooking up lately, come visit my full recipe blog for more ideas!
Frequently Asked Questions About Apple Pie Filling
It’s totally normal to have questions when you’re making something amazing from scratch! I’ve gathered the essentials that always pop up when people make this **apple pie filling** for the first time. I want you to feel completely confident serving this up, whether it’s tucked into a flaky crust or spooned over breakfast. Once you see how easy this **pie filling from scratch** is, you’ll never look back!
Is this apple pie filling recipe gluten free?
Yes, absolutely! This recipe is naturally **Gluten Free Apple Pie Filling**. We rely on cornstarch as our primary thickener, which contains no gluten. It keeps the sauce silky smooth and lets all you lovely gluten-free bakers enjoy this dessert without stress. Isn’t that wonderful?
Can I use a different thickener than cornstarch for this apple pie filling?
You can, but I really love cornstarch for this specific **apple pie filling** because it yields that beautiful, almost jewel-like glossiness we talked about. If cornstarch isn’t available, you can use an equal amount of all-purpose flour, though it might look slightly cloudier. Tapioca starch is another option if you prefer a slightly stretchier result.
How long does this homemade apple pie filling last in the refrigerator?
Because we cook this **homemade apple pie filling** down properly and seal it tightly once cooled, it stays wonderfully fresh in the refrigerator for about 7 to 10 days. It’s great for an **Easy Dessert Prep** earlier in the week!
If you’re looking for even more delicious **desserts** inspiration using seasonal fruit, please take a peek at my main desserts page!
Nutritional Estimates for This Apple Pie Filling
When we’re talking about the pure joy of this **apple pie filling**, the nutrition facts are definitely secondary, right? But for those of you who like to keep track, I wanted to give you a general guideline. Based on the recipe yields, a standard half-cup serving comes in around 210 calories, with about 35 grams of sugar. Remember, this is just an estimate, because the exact sugar content of your apples can shift things slightly! However, since we are making this **apple pie filling** from scratch, we know exactly what’s going into it, which is always reassuring.
Share Your Apple Pie Filling Creations
This is where our story truly unfolds together! Knowing you’ve made this **apple pie filling** in your own kitchen brings me so much joy. If you loved this easy stovetop method, please come back and leave a star rating and a quick comment right below this post. And if you capture a picture of your pie or your decadent pancake topping, I’d love to see it! You can always send photos or questions my way through my contact page. Happy baking!
PrintThe Best Homemade Stovetop Apple Pie Filling Recipe
Create a glossy, perfectly spiced, and tender homemade apple pie filling on the stovetop. This easy recipe avoids watery results and is versatile for pies, crisps, or as a topping for pancakes.
- Prep Time: 15 min
- Cook Time: 15 min
- Total Time: 30 min
- Yield: About 6 cups 1x
- Category: Dessert
- Method: Stovetop
- Cuisine: American
- Diet: Vegetarian
Ingredients
- 6 large apples (a mix of sweet and tart, like Honeycrisp and Granny Smith), peeled, cored, and sliced 1/4-inch thick
- 3/4 cup granulated sugar
- 1/4 cup packed light brown sugar
- 1 tablespoon lemon juice
- 1 teaspoon ground cinnamon
- 1/4 teaspoon ground nutmeg
- 1/8 teaspoon ground allspice
- 1/4 teaspoon salt
- 2 tablespoons cornstarch
- 1/2 cup water
- 2 tablespoons unsalted butter
Instructions
- Combine the sliced apples, granulated sugar, brown sugar, lemon juice, cinnamon, nutmeg, allspice, and salt in a large saucepan. Toss gently to coat the apples evenly.
- Let the mixture sit for 15 minutes. This allows the sugar to draw out some of the apple juices.
- In a small bowl, whisk the cornstarch and water together until smooth to create a slurry. Set aside.
- Place the saucepan with the apples over medium heat. Cook, stirring occasionally, until the apples begin to soften slightly, about 5 to 7 minutes. Do not let them become mushy.
- Pour the cornstarch slurry into the apple mixture. Stir constantly as the mixture comes to a simmer.
- Continue to cook, stirring, until the filling thickens and becomes glossy, about 1 to 2 minutes. The sauce should coat the back of a spoon.
- Remove the pan from the heat. Stir in the butter until it melts completely, adding richness and shine to the filling.
- Use immediately, or cool completely before storing or freezing.
Notes
- For the best texture, use a combination of apples; Granny Smith provides tartness, while Honeycrisp or Fuji offer sweetness and hold their shape well.
- If you plan to freeze this filling, cool it completely before transferring it to freezer-safe containers. It freezes well for up to 6 months.
- To make this filling gluten free, this recipe is naturally gluten free as it uses cornstarch as the thickener.
- This versatile fruit filling works perfectly as an apple crisp topping base or a warm topping for pancakes and waffles.
Nutrition
- Serving Size: 1/2 cup
- Calories: 210
- Sugar: 35
- Sodium: 110
- Fat: 3
- Saturated Fat: 2
- Unsaturated Fat: 1
- Trans Fat: 0
- Carbohydrates: 46
- Fiber: 3
- Protein: 0
- Cholesterol: 8