
In the world of home baking, sometimes the most stunning moments come from the simplest recipes. I often say that food should tell a story of effortless elegance, and these incredible cream cheese mints are proof of that philosophy! They are the ultimate testament to how a minimalist ingredient list can yield a confection that tastes like it took days of painstaking effort. Whether you are planning a wedding dessert table or need a quick, charming addition to your holiday cookie trays, these melt-in-your-mouth sweets are guaranteed to become a cherished part of your own entertaining narrative. If you love finding simple, impressive dessert recipes to share, these are for you. They are just delightful.
- Why These Cream Cheese Mints Are the Perfect Homemade Confections
- Ingredients for Classic Cream Cheese Mints
- Step-by-Step Guide to Making Perfect Cream Cheese Mints
- Expert Tips for Flawless Cream Cheese Mints
- Customizing Your Cream Cheese Mints for Any Occasion
- Storage and Make-Ahead Instructions for Cream Cheese Mints
- Serving Suggestions for Your Cream Cheese Mints
- Frequently Asked Questions About Cream Cheese Mints
- Nutritional Estimates for Cream Cheese Mints
Why These Cream Cheese Mints Are the Perfect Homemade Confections
What I adore most about these little gems is that they deliver unbelievable richness with almost no effort. Seriously, this is the definition of an easy no bake candy that looks straight out of a high-end confectionary shop. Because we only use a few core ingredients, they come together in minutes. But that texture? That’s the showstopper. They achieve that quintessential, dreamy, melt in your mouth sweets quality because of the magical combination of cream cheese and powdered sugar.

You can make these for any celebration imaginable; they are so versatile! Baby showers, Easter, Christmas—just switch up the colors, and suddenly you have the perfect customizable party candy. They are a classic for a reason, and trust me, everyone will assume you bought these from an expensive bakery. If you’re looking for other straightforward treats, check out my no-bake cookies!
Ingredients for Classic Cream Cheese Mints
When working with such a minimal ingredient list, quality matters, but honestly, it’s mostly about ensuring the cream cheese is perfectly soft—nothing crunchy here! For this recipe, you only need four things, which is why I love it so much for quick entertaining. Remember to sift that sugar for the smoothest outcome!
- 8 ounces cream cheese, softened
- 4 cups powdered sugar, sifted
- 1 teaspoon peppermint extract
- 1-2 drops food coloring (optional, for color customization)
Step-by-Step Guide to Making Perfect Cream Cheese Mints
Now for the fun part! Don’t worry if you don’t have a stand mixer; the hand mixer does a phenomenal job too. The key here is patience during the mixing stage so that we create that perfect, pliable dough. Once the base is made, we can get creative!
Mixing the Cream Cheese Mints Dough
We start by getting the cream cheese nice and soft—room temperature is essential! Drop that softened cheese into your bowl with the sifted powdered sugar and the teaspoon of peppermint extract. Mix this until it genuinely looks like a cohesive, stiff dough. If it seems too sticky to handle, don’t panic! Just add another tablespoon of powdered sugar until it’s firm enough to work with, like a thick cookie dough.
Coloring and Shaping Your Cream Cheese Mints
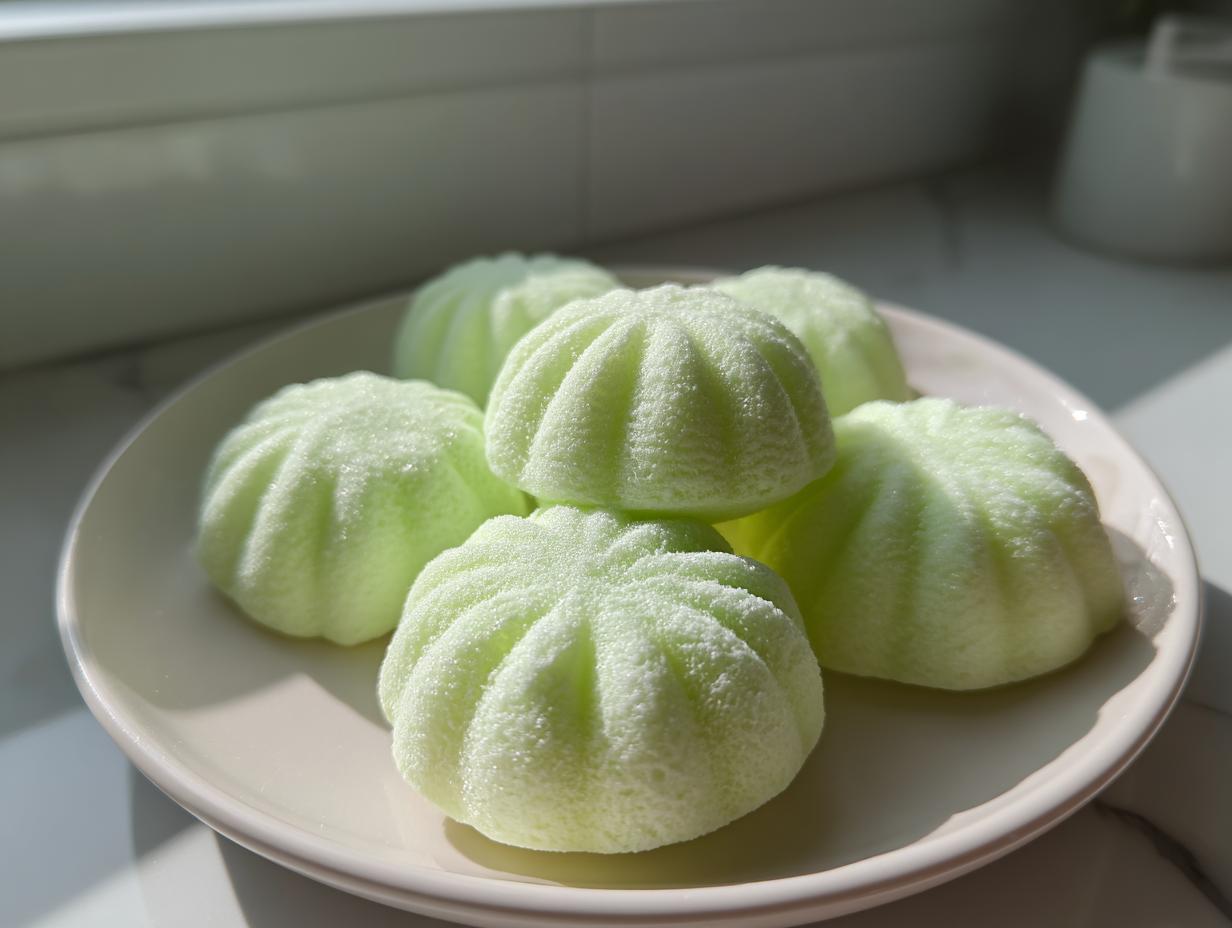
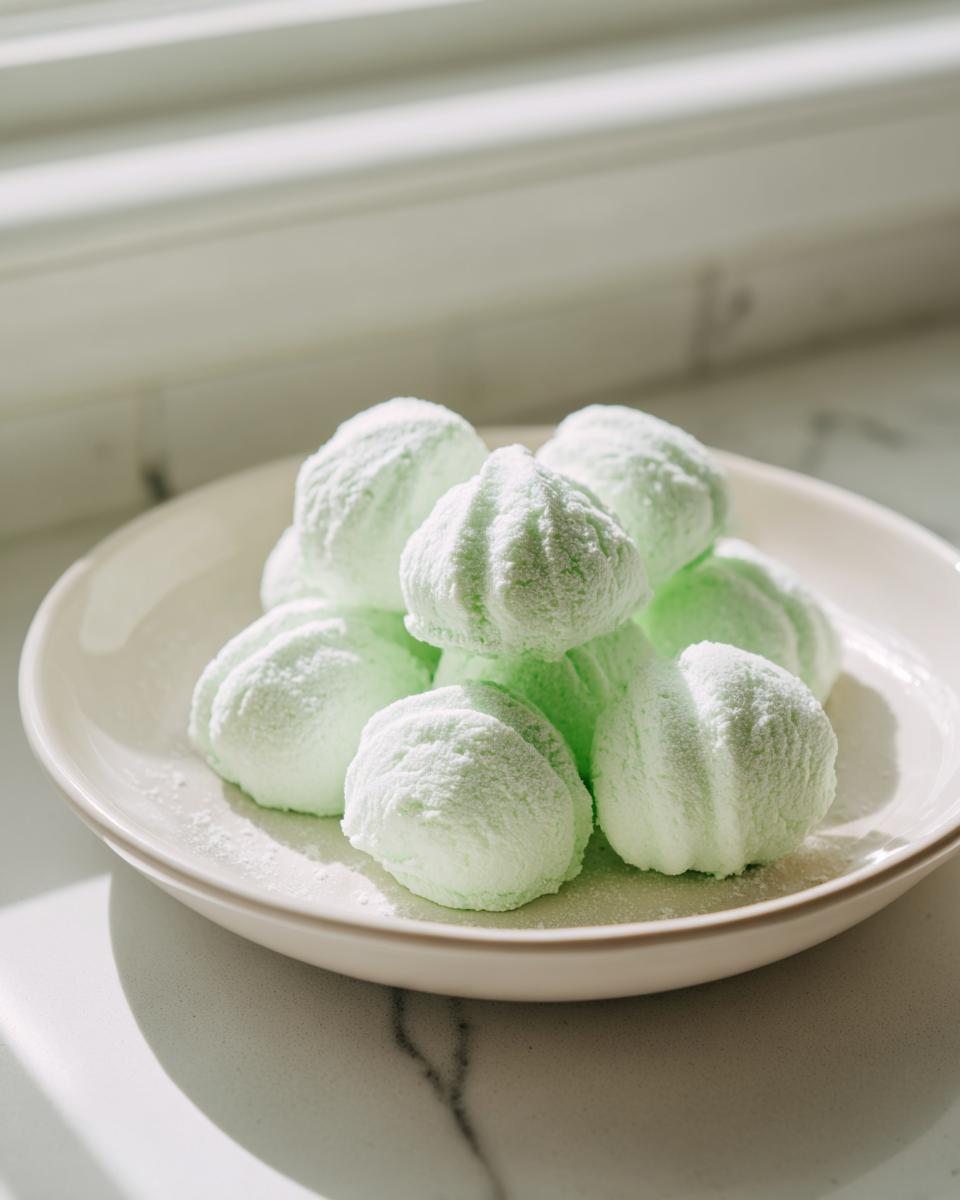
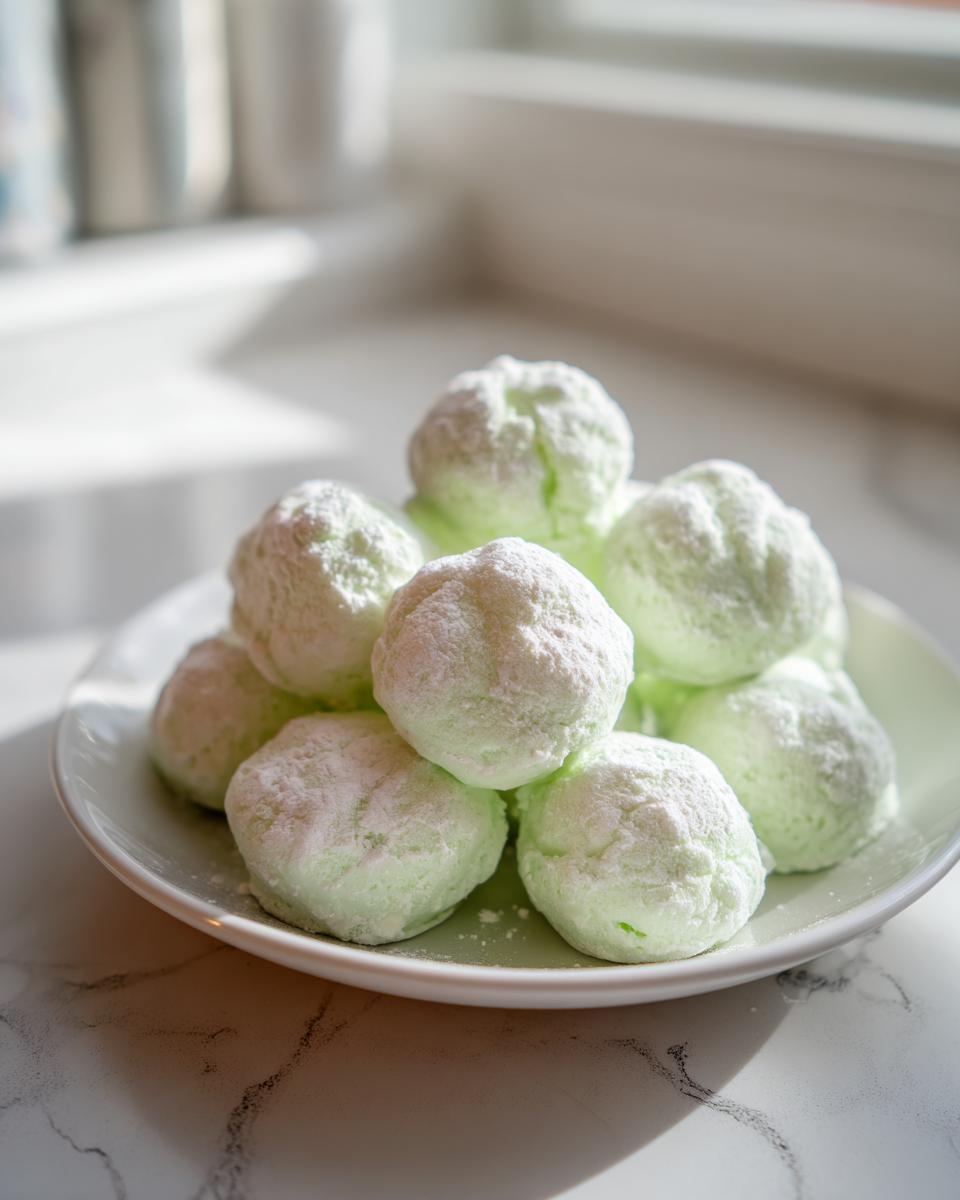
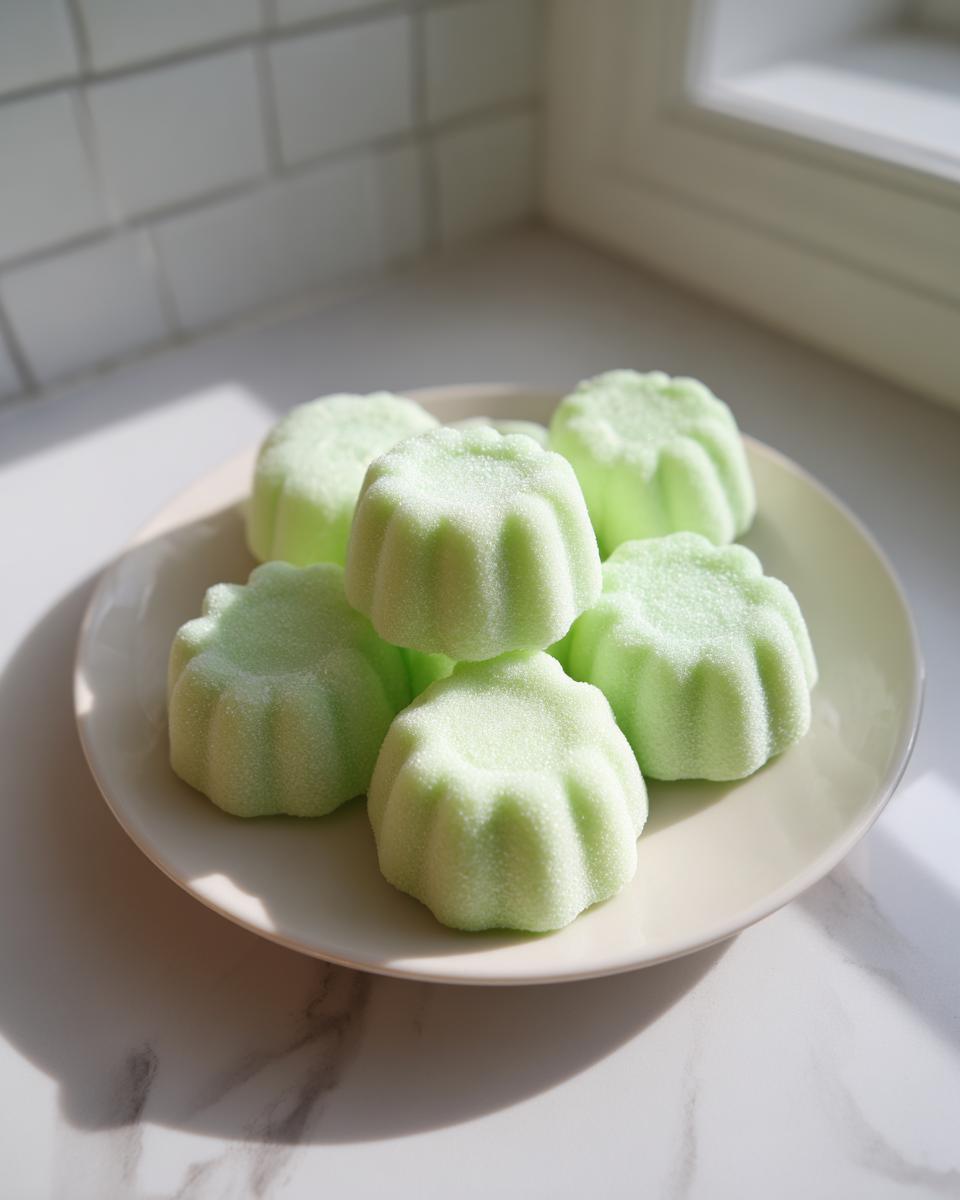
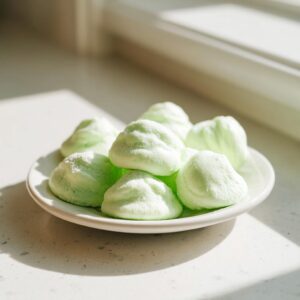
This is where we customize! If you want pretty pastels for a baby shower or holiday colors, take small portions of the dough and knead in just one or two drops of food coloring until the color is totally uniform. For shaping, you have options. You can roll small balls and gently press them flat; for a fancier look, use silicone molds to create beautiful molded mints. If you’re going for the classic look, press the dough about 1/4 inch thick on parchment paper and use a knife to score a crisscross pattern. If you plan on piping these later, make sure your dough is slightly softer, maybe adding just a tiny bit more cream cheese until it’s pipeable!
Achieving the Signature Melt in Your Mouth Texture
Listen closely, because this is the single most important instruction for achieving those famous melt in your mouth sweets! Once everything is shaped, these cannot go straight into the fridge or a tin. They must dry out uncovered at room temperature for at least four hours, but honestly, overnight is best. This resting time firms them up just enough so they don’t stick, but they remain soft and delicate inside. It’s magic, truly!
Expert Tips for Flawless Cream Cheese Mints
Since these delicious cream cheese mints rely so wonderfully on just a few ingredients, sometimes we need an extra culinary nudge to get them absolutely perfect. My background in culinary arts taught me that the small adjustments often make the biggest difference when aiming for that approachable elegance we love here at Unfold Recipes. It’s all about control, even with such a minimal ingredient candy!
If you look at the notes, you’ll see I mention piping. If you decide you want to use a piping bag—which gives them such a beautiful finish, like a professional frosting swirl—you need to adjust the texture slightly. Don’t go back to the mixer, though! You want to gently mix in just a drop or two of milk or perhaps a tiny bit more softened cream cheese until the dough is smooth enough to push through a star tip without tearing. But remember, the softer the dough, the longer the drying time it will need later on!
Also, don’t feel locked into peppermint! The classic flavor is wonderful, but these mints are the perfect canvas for flavor experimentation. Try swapping peppermint extract for almond extract for a beautiful, soft cherry flavor, or try a few drops of lemon extract for a bright, zesty version. These flavor tweaks are effortless and immediately elevate your homemade confections. You can find more of my baking articles over at my blog!
Customizing Your Cream Cheese Mints for Any Occasion
Honestly, the best part about making cream cheese mints is how easily they adapt to whatever party or holiday is on the calendar. They are the ultimate customizable party candy! For weddings, I always stick to pure white, maybe mixed with a touch of almond extract for a subtle, elegant flavor that pairs beautifully with champagne. I’ve found that chocolate cupcakes are always on the menu when these mints are served!
When it comes to holiday candy recipes, that’s when we really bring out the food coloring fun. For Christmas, nobody can resist that perfect festive red and green blend. For Easter, soft yellows and light pinks are just gorgeous. If you’re making a big batch for gifting, try swapping out that peppermint for lemon extract to give them a bright, sunny flavor—it’s surprisingly wonderful!
If you want some proven inspiration for creating themed mints, I’ve seen beautiful examples online, like how to make them super festive for Christmas or checking out how others shape them for showers over here. It’s all about making the food work for your story!
Storage and Make-Ahead Instructions for Cream Cheese Mints
One of the biggest secrets to joyful hosting is realizing what you can do ahead of time, right? These cream cheese mints pass that test with flying colors! Since they need that crucial drying period anyway, they are inherently great make-ahead party treats. Once they are fully set—remember, after that 4-hour minimum dry time—just pop them into a good, quality airtight container.
They hold up beautifully at room temperature for a week, really! If you need to make them further in advance, the freezer is your friend. Lay the hardened mints in a single layer on a baking sheet, freeze them until solid, and then transfer them to a freezer bag. They stay perfect for up to three months, making holiday prep so much easier. When you’re ready to serve, just let them thaw on the counter for twenty minutes. You can see how I prep for big events when I make my pumpkin dump cake—it’s all about planning ahead!
Serving Suggestions for Your Cream Cheese Mints
Once these beautiful cream cheese mints are fully set, presentation is everything! I love setting up elegant dessert tables where these pastel drops add a touch of finesse next to richer items. They are honestly the best simple party desserts because they require zero fuss on the day itself. Make sure to position them strategically on your table—they look stunning nestled between cookies!
They are absolutely necessary mints for cookie trays, especially around the holidays. I often pair the green ones with chocolate bark and the white ones with dark chocolate truffles. If you’re looking for presentation inspiration for parties or showers, you can see some gorgeous examples of shaping techniques right here. Or, if you want something chunkier to balance them out, try making a batch of my caramel popcorn!
Frequently Asked Questions About Cream Cheese Mints
It’s funny how even the simplest recipes get detailed questions! These cream cheese mints are so classic, which means people want to make sure they get that perfect, old-fashioned texture every time. Here are a few things I always get asked when I bring these homemade confections to a gathering.
Why are my cream cheese mints sticky instead of firm?
This always comes down to one thing: they haven’t dried out long enough! You absolutely must let them sit uncovered at room temperature for at least four hours, but I strongly recommend setting them out overnight. They absorb moisture from the air, and that drying time is what sets them into that perfect, melt-in-your-mouth state. If they are still overly sticky after that, you might need to gently knead in one more tablespoon of powdered sugar, but never skip the drying!
Can I substitute butter for cream cheese in this mints recipe?
You can certainly make traditional butter mints recipe variations, but if you substitute butter directly for the cream cheese, the texture becomes much harder and chewier—it won’t have that signature soft, fluffy quality these treats are known for. The cream cheese introduces fats and acid that react perfectly with the sugar to create that unique delicate crumb. I always stick to the cream cheese for this version!
How long do cream cheese mints last in the fridge versus the freezer?
Since they are essentially a confection, they store beautifully! Once fully set (remember that crucial drying time!), you can keep them in a completely airtight container at cool room temperature for about a week. If you need them to last longer, they freeze like a dream for up to three months. I often store leftover cream cheese mints this way after the holidays and pull them out when I need a quick sweet bite. They thaw beautifully on the counter. For more tips on making things ahead, take a peek at my guide on making apple dump cake!
Nutritional Estimates for Cream Cheese Mints
When we serve these beautiful cream cheese mints at parties, people always ask if they are heavy or rich. Because they are so light and melt away so quickly, you might be surprised by the estimates! Please remember that these figures are based on my specific formulation and serving size, and they can certainly change depending on the brand of cream cheese or the exact amount of sugar you use.
Here is a quick breakdown per single mint, based on a yield of about 4 dozen:
- Serving Size: 1 mint
- Calories: 75
- Sugar: 14g
- Fat: 3g
- Protein: 1g
This is why they are such a delightfully light treat to add to any platter! They truly are an old-fashioned candy that provides maximum flavor for minimal fuss.
PrintClassic Cream Cheese Mints: Melt-in-Your-Mouth Party Candy
Create classic cream cheese mints using just a few simple ingredients. These no-bake confections offer a soft, melt-in-your-mouth texture, perfect for weddings, baby showers, or holiday cookie trays.
- Prep Time: 15 min
- Cook Time: 0 min
- Total Time: 4 hr 15 min
- Yield: About 4 dozen 1x
- Category: Dessert
- Method: No Bake
- Cuisine: American
- Diet: Vegetarian
Ingredients
- 8 ounces cream cheese, softened
- 4 cups powdered sugar, sifted
- 1 teaspoon peppermint extract
- 1–2 drops food coloring (optional, for color customization)
Instructions
- Combine the softened cream cheese, sifted powdered sugar, and peppermint extract in a large bowl.
- Mix the ingredients using a hand mixer or stand mixer until a stiff dough forms. If the mixture is too sticky, add a small amount of extra powdered sugar, one tablespoon at a time.
- If coloring the mints, divide the dough and knead in 1-2 drops of food coloring per portion until the color is uniform.
- Shape the dough. You can roll small balls and flatten them slightly, or press the dough into silicone molds for decorative shapes. Alternatively, press the dough into a sheet about 1/4 inch thick and cut into squares or use a fork to create a crosshatch pattern on top.
- Place the shaped mints on a baking sheet lined with parchment paper.
- Allow the cream cheese mints to dry uncovered at room temperature for at least 4 hours, or preferably overnight, until they firm up and achieve the signature melt-in-your-mouth texture.
- Store finished mints in an airtight container. They freeze well for future use.
Notes
- For a different flavor profile, substitute almond extract or lemon extract for the peppermint extract.
- To achieve a professional look, use small candy molds. Press the dough firmly into the mold, then gently scrape off the excess before inverting to release the mint.
- If you plan to pipe these, you may need to slightly soften the mixture by adding a tiny bit more cream cheese or a drop of milk until it reaches a pipeable consistency.
Nutrition
- Serving Size: 1 mint
- Calories: 75
- Sugar: 14
- Sodium: 15
- Fat: 3
- Saturated Fat: 2
- Unsaturated Fat: 1
- Trans Fat: 0
- Carbohydrates: 11
- Fiber: 0
- Protein: 1
- Cholesterol: 8