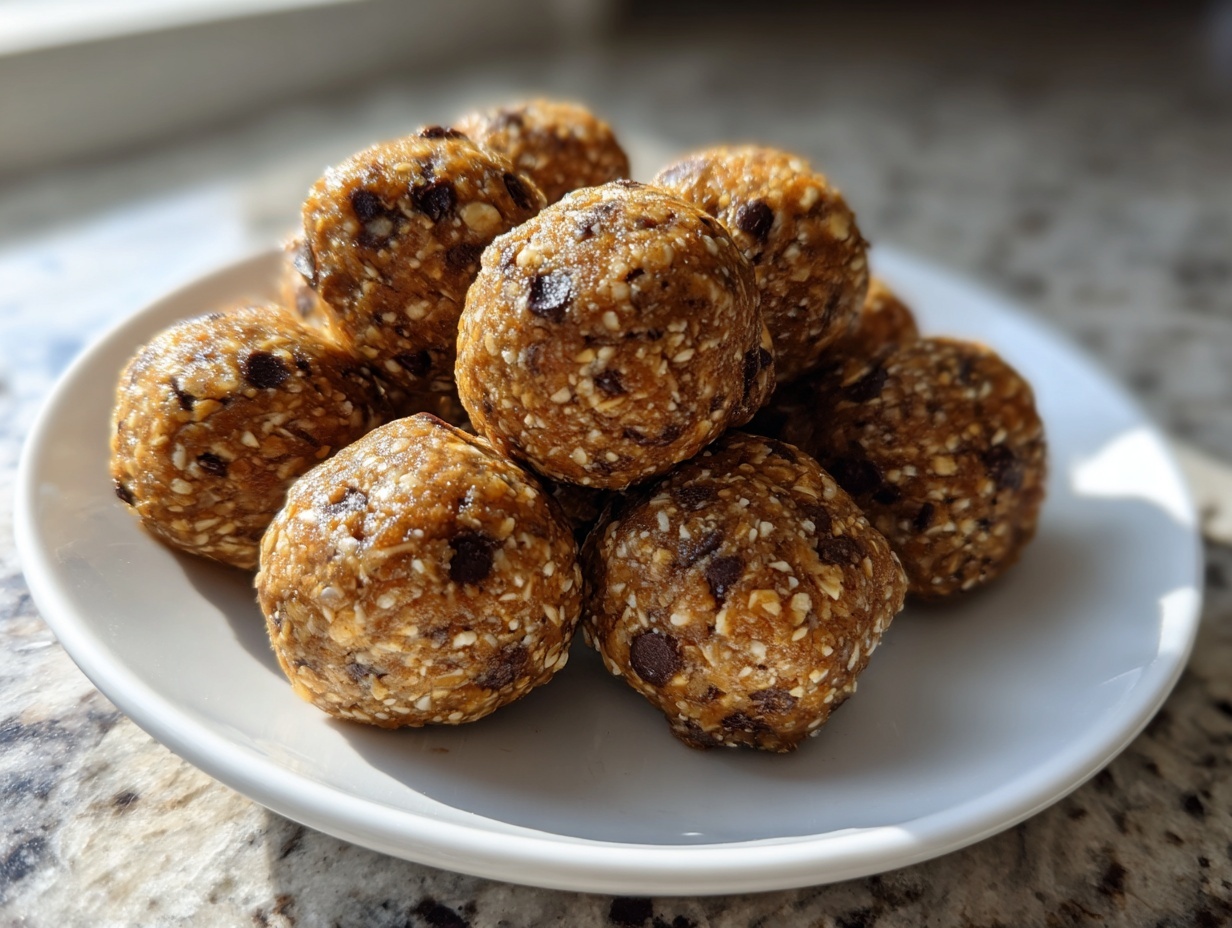

When life gets busy—and goodness knows it always does while trying to keep up with healthy eating—we don’t always have time to turn on the oven. That’s why creating beautiful, reliable snack solutions is such a joy for me here at Unfold Recipes. If you’re hunting down those perfect, grab-and-go options that taste indulgent but fuel you properly, your search ends here. These No-Bake Peanut Butter Oatmeal protein balls are what I turn to when I need something ready in minutes. They mix up so easily, delivering that satisfying chewiness we all crave, making them a trustworthy staple for any busy home cook.
These little bites are designed precisely for that moment when you need energy *now*. I’ve spent time perfecting simple recipes that deliver big flavor without the fuss, ensuring these are something you can confidently make on a Sunday for the week ahead. We are skipping the baking step entirely! If you love the ease of this method, you should also have a peek at my recipe for no-bake cookies; it uses a similar spirit of simplicity.
- Why These Peanut Butter Oatmeal protein balls Are Your New Favorite Quick Healthy Snacks
- Ingredients for the Best No Bake protein balls
- Step-by-Step Instructions for Easy protein balls Recipe
- Tips for Success When Making Batch Cooking protein bites
- Storage and Make Ahead protein balls for Busy Weeks
- Variations on Classic Oatmeal protein balls
- Serving Suggestions for Your High Protein Snacks
- Frequently Asked Questions About Making protein balls
- Estimated Nutrition for These Easy protein balls Recipe
Why These Peanut Butter Oatmeal protein balls Are Your New Favorite Quick Healthy Snacks
When you look for a high-protein snack, you often have to choose between speed and quality, but these peanut butter oatmeal delights offer both! They are truly designed for the modern, fast-paced kitchen. Forget fussy baking; these are ready to roll in mere minutes, making them essential in my rotation of meal prep snacks.
The Ease of Making protein balls in 15 Minutes
- These are the ultimate in quick healthy snacks—we are talking about a simple mix-and-roll process that takes me less than 15 minutes of active time.
- No oven means less cleanup and a huge win on hot summer days. You just combine your binders and dry goods!
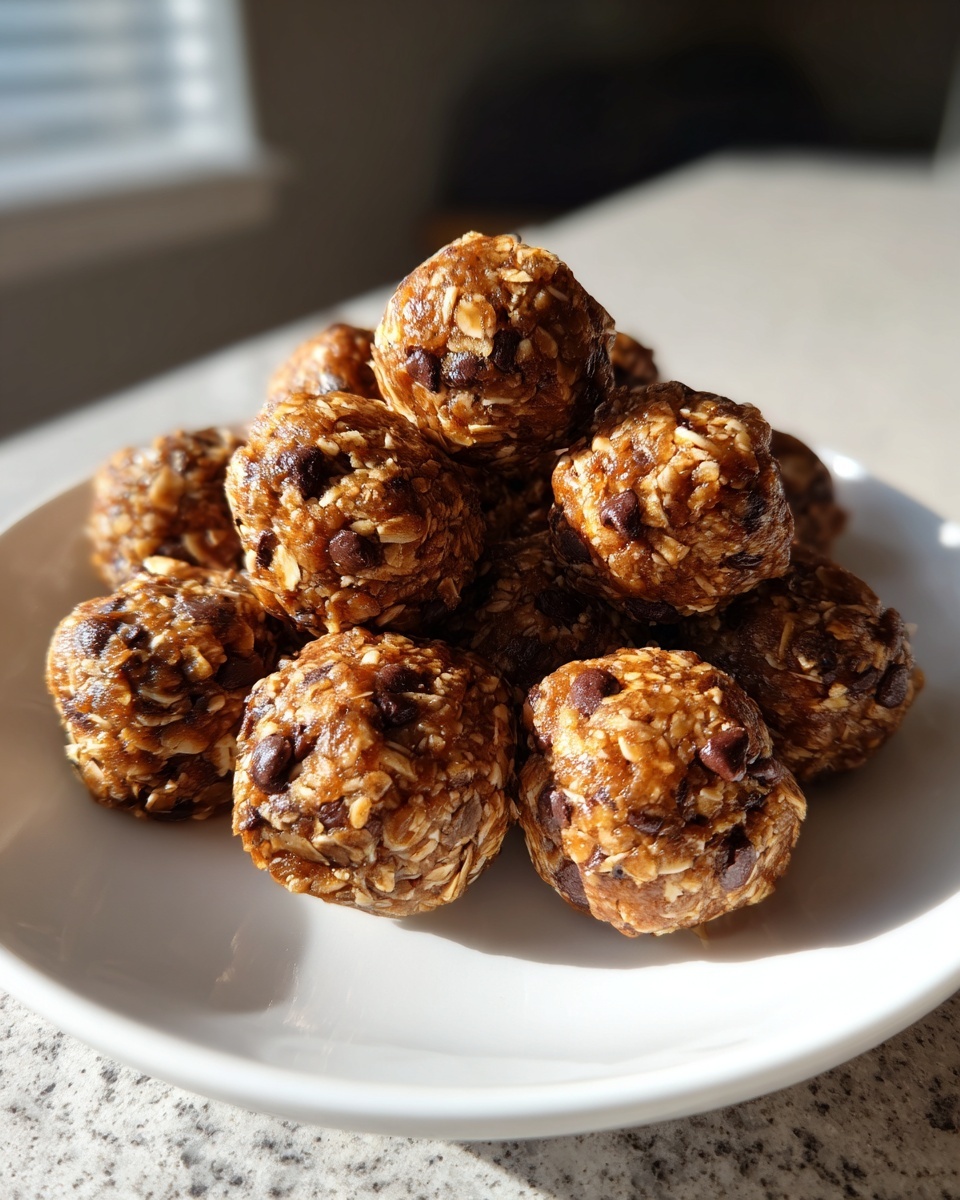
Perfect Texture for Meal Prep Snacks
- The combination of oats and nut butter creates that wonderfully chewy texture that holds up beautifully, even after a week in the fridge.
- They are the perfect vehicle for grab and go protein when you’re rushing out the door.
- They chill quickly, setting them up perfectly to be ready for your next batch of post workout fuel.
Ingredients for the Best No Bake protein balls
The beauty of these no bake protein balls lies in how few *essential* ingredients you need. I keep mine streamlined, but I always include a couple of texture boosters. You’ll want to gather these items before you even get your mixing bowl out, as the mixing goes quickly!
- 1 cup rolled oats (make sure they are rolled, not quick oats!)
- 1/2 cup peanut butter (creamy works best)
- 1/3 cup honey or maple syrup
- 1/2 cup vanilla or unflavored protein powder
- 1/4 cup mini chocolate chips (this is optional, but why skip joy?)
- 1 tablespoon chia seeds or flaxseed meal (a great way to sneak in fiber!)
Ingredient Notes and Substitutions for protein balls
When it comes to substitutions, remember that the binder is key to keeping these together. If your peanut butter is stiff right out of the jar, your dough might be too dry. Always aim for creamy peanut butter to ease the mixing process. For anyone looking to make vegan protein balls, simply swap the honey for maple syrup—it works just as beautifully. If you don’t have peanut butter, almond butter is a fantastic alternative if you don’t need a nut-free snack; just be aware that different nut butters can change the required amount of sweetener slightly. For a wonderful boost, I sometimes use protein powder I got from this source because it tends to blend smoother.
Step-by-Step Instructions for Easy protein balls Recipe
The process for these easy protein balls recipe is so straightforward that you’ll wonder why you hadn’t made them sooner. Remember, since these are no-bake, the structure relies entirely on the ingredients sticking together, so we need a bit of muscle in the mixing stage! For anyone who loves my peanut butter oatmeal energy bites, this is essentially the same method, just with a bit more protein thrown in.
- First things first, let’s get everything into a sturdy mixing bowl. Combine the rolled oats, peanut butter, honey (or maple syrup), and your protein powder.
- If you decided to splurge on those mini chocolate chips or add some healthy flaxseed meal, toss those in now too.
- Stir everything together thoroughly. This is where you apply a bit of pressure until it seems like a thick dough has formed. Don’t stop mixing too soon—it needs to be uniform!
- Scoop out the mixture and roll it gently between your palms until you have nice, even little balls, about an inch across.
- Lay your finished peanut butter protein balls out on a parchment-lined tray.
- Now comes the necessary step: send them to the refrigerator for at least 30 minutes. This chill time is what sets them firm!
Mixing and Achieving the Right Dough Consistency for protein balls
When you get to step three, your mixture might look a little skeptical about coming together. That’s totally normal! If it seems too dry and crumbly, don’t panic. Add water or milk just a teaspoon at a time. You want it cohesive, like thick cookie dough, not sticky sludge. If you go too far, don’t worry; just add another small scoop of protein powder. The chilling time is non-negotiable because it allows that honey and peanut butter to firm up, which is what prevents your peanut butter protein balls from turning into a sticky mess the second you try to grab one later.
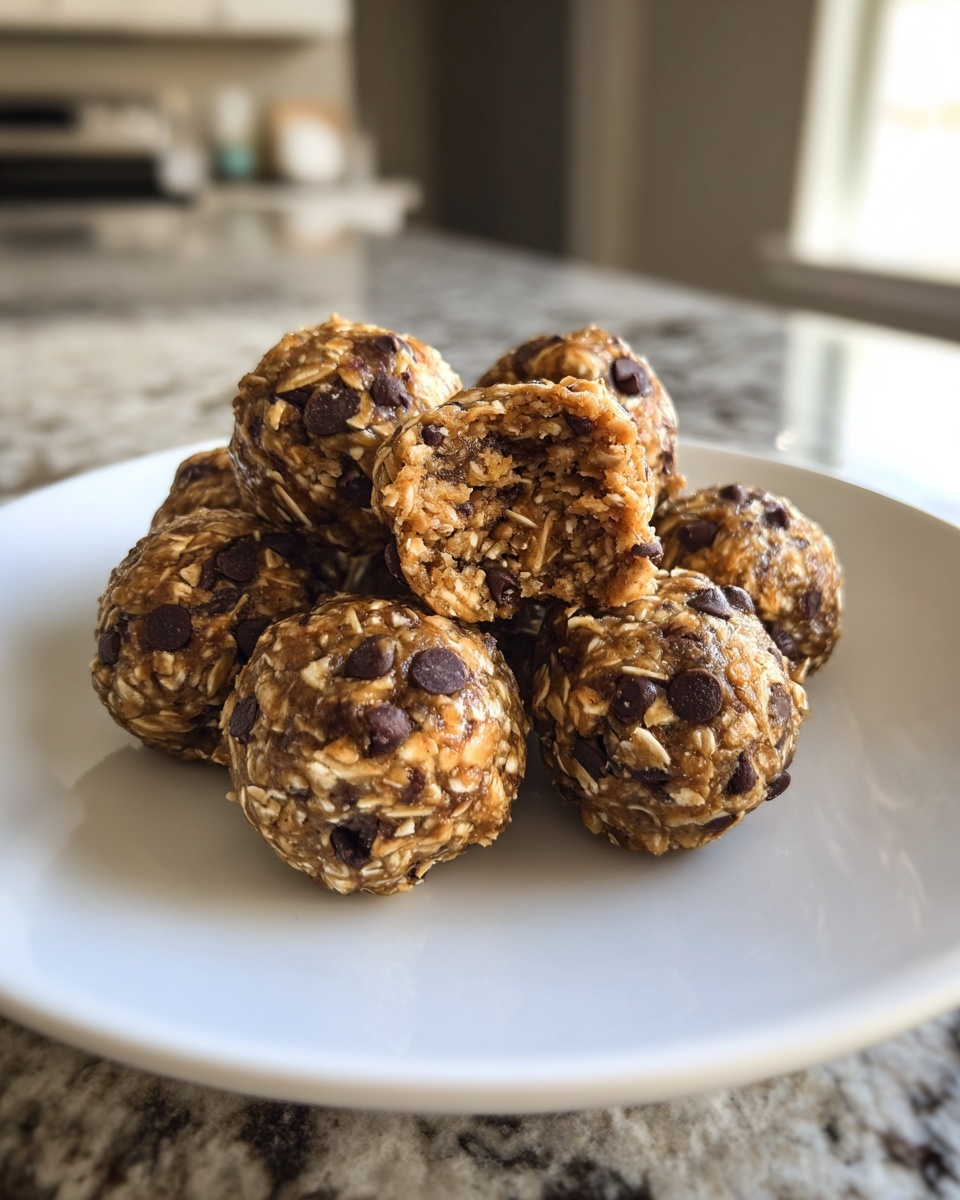
Rolling and Setting Your No Bake protein balls
For the prettiest batch of no bake energy bites, I always grab a small cookie scoop. It takes the guesswork out of making sure they are all the same size—which means they set evenly in the fridge! Once rolled, place them on your lined tray. Don’t skip that 30 minutes in the cold, even if you’re tempted to eat them right away. That waiting time is crucial for developing the perfect chewiness. If you’re in a rush, pop the tray into the freezer for 15 minutes, but the fridge is best for getting that ideal, slightly soft but totally set texture before you stash them away for later.
Tips for Success When Making Batch Cooking protein bites
When we talk about batch cooking protein bites, the goal is always zero waste and perfect results when you grab them weeks later. My biggest tip, which I learned through trial and error (and cleaning a sticky counter!), is utilizing slightly warmed binders.
If your peanut butter is truly cold and stiff—the kind that clings for dear life to the spoon—it makes mixing so hard, and you might be tempted to add excess liquid to compensate. Don’t! Try microwaving your peanut butter and honey combination for just 10 to 15 seconds. It doesn’t need to be hot, just slightly looser so it coats the oats evenly. This small step ensures superior flavor distribution from edge to edge. For a perfect finish, I always make sure to press any visible dry spots of protein powder into the dough against the side of the bowl before rolling. If you love chocolate swirls, toss a tablespoon of melted chocolate into the mixture right before rolling, giving these a beautiful, almost artisanal look, much like the no-bake chocolate peanut butter cookies I adore.
Storage and Make Ahead protein balls for Busy Weeks
One reason I rely on these protein balls so heavily is how wonderfully they store. They genuinely succeed as fantastic make ahead snacks! Once they are set after that 30-minute chill, transfer them into a completely airtight container. I find that stacking them with small squares of parchment paper between layers helps keep them from sticking together into one giant peanut butter blob, especially if you’re making a big batch for freezer meals or snacks.
Stored this way in the refrigerator, you can expect them to stay perfectly fresh and chewy for about a whole week. If you need them to last longer—say, for a whole busy month—they freeze beautifully, too! Just make sure they are very firm first, then place them in a freezer-safe bag. They thaw out perfectly on the counter in about 20 minutes, ready for your next healthy boost.
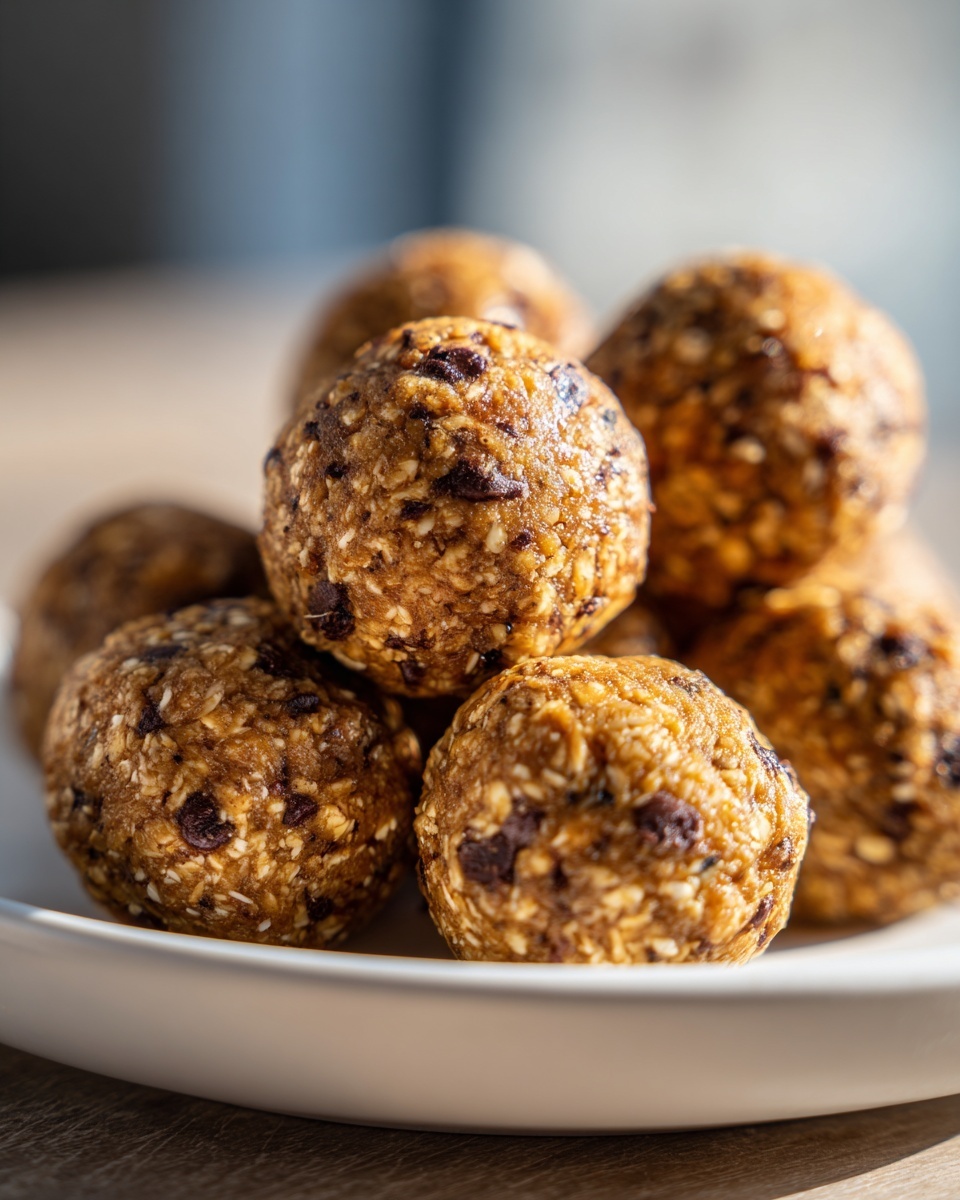
Variations on Classic Oatmeal protein balls
While the peanut butter and chip combination gets all the fanfare, these versatile high protein snacks are excellent canvases for creativity! Once you nail the base ratio of oats to binder, you can start experimenting wildly. Love warm flavors? Try stirring in half a teaspoon of cinnamon or a little vanilla bean paste before chilling. If you’re stocking up for a hiking trip, adding toasted, chopped pecans or dried cranberries makes them feel like a trail mix bite! For a different, sweeter twist, you can always look at adding chocolate chips using my method for chocolate chip breakfast cookies as inspiration.
The possibilities are endless for customizing your protein balls. Don’t be afraid to experiment with other flavors next time you batch cook!
Making Gluten Free protein balls or Vegan protein balls
Catering to different needs in the house is simple with this recipe. To ensure you are making truly gluten free protein balls, you must use rolled oats that are specifically certified gluten-free, as regular oats often see cross-contamination. That’s the only change to the dry ingredients!
If you need to keep things completely plant-based, making vegan protein balls is just as easy: simply swap out the honey for maple syrup or agave nectar. Both sweeteners work just as well as a binder for your mix. Even using a plant-based protein powder in place of whey doesn’t usually change the structure unless the flavor is heavily sweetened, which is why I love using unflavored protein powder here!
Serving Suggestions for Your High Protein Snacks
Now that you have this wonderful supply of easily accessible, high protein snacks, the question becomes: what should you enjoy them with? They truly enhance any small meal or snack break. I often have one tucked into my bag alongside a strong coffee in the afternoon when that 3 PM slump hits hard.
They are marvelous paired with thick Greek yogurt—the tanginess of the yogurt contrasts so nicely with the sweetness of the peanut butter. Another favorite way to use them is as a quick post workout fuel; they offer just the right balance of carbs and protein to get you moving toward recovery. If you are having one mid-morning, perhaps try it alongside a warm cup of tea, like the wonderful chai latte I sometimes make!
Frequently Asked Questions About Making protein balls
It simply wouldn’t be a proper recipe post without addressing those little questions that pop up while you’re mixing! Since these are no bake protein balls, achieving that perfect, rollable consistency can sometimes feel fussy, but trust me, a small adjustment fixes almost everything. I want you to have guaranteed success with these quick healthy snacks every single time, so let’s tackle the most common worries I hear from readers.
Why are my protein balls crumbly?
More often than not, crumbly protein balls mean there wasn’t quite enough binder to coat all the dry ingredients. Did your peanut butter seem stiff? Or perhaps your protein powder is a particularly fluffy or drying variety. If they are crumbling slightly before you even roll them, add liquid back in, just a teaspoon of water or milk at a time until the mixture starts genuinely sticking together when you pinch it. A little extra nut butter also works wonders here.
Can I use a different protein powder in these protein balls?
Yes, absolutely! But you must pay attention to the type. Whey and casein powders tend to absorb moisture differently than plant-based powders. If you switch to a plant-based powder, you might notice the mixture seems a bit drier right away, so be ready to add that extra splash of milk. It’s why I always recommend checking out the general guidelines on using protein powder before making major swaps. It really does affect the final texture of your high protein snacks!
How long do these protein balls last?
Because they are full of natural fats like peanut butter, they stay best when refrigerated in an airtight container. You can easily enjoy them for up to a week this way. If you’re making a huge batch and need them for longer, they freeze splendidly for up to three months, making them excellent for future meal prep snacks.
Estimated Nutrition for These Easy protein balls Recipe
As a home cook, I always preach that recipes are starting points—our exact protein powder or the brand of peanut butter we use will change the final numbers! But, to help you keep tabs on your high protein snacks, here is the estimated breakdown based on the measurements provided (without the optional chocolate chips or chia seeds). Remember, these are estimates per single ball, which makes them fantastic for tracking your post workout fuel intake.
- Calories: About 120
- Protein: A solid 8g!
- Total Fat: Around 6g
- Carbohydrates: Roughly 12g
Use this as a handy guide, but always know that making smarter swaps (like using less honey or opting for less fatty nut butter) will slightly adjust these figures. If you want to check out other high-protein ideas, my recipe for high-protein waffles is another great place to start!
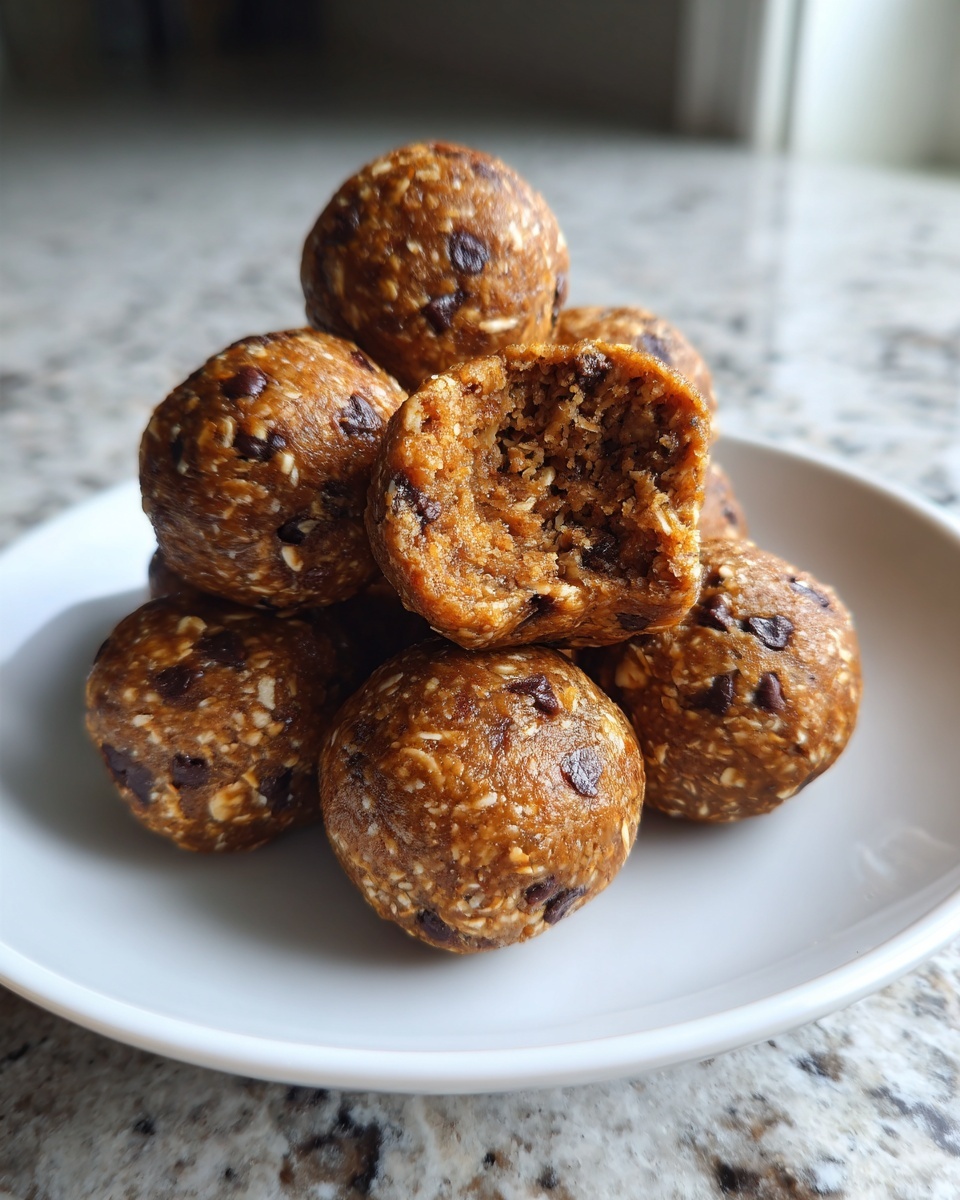
PrintNo-Bake Peanut Butter Oatmeal Protein Balls

Make these simple, no-bake protein balls for a quick, high-protein snack perfect for meal prep or post-workout fuel. They are chewy, satisfying, and require no oven time.
- Prep Time: 15 min
- Cook Time: 0 min
- Total Time: 45 min
- Yield: 16 servings 1x
- Category: Snack
- Method: No-Bake
- Cuisine: American
- Diet: Vegetarian
Ingredients
- 1 cup rolled oats
- 1/2 cup peanut butter
- 1/3 cup honey or maple syrup
- 1/2 cup vanilla or unflavored protein powder
- 1/4 cup mini chocolate chips (optional)
- 1 tablespoon chia seeds or flaxseed meal (optional)
Instructions
- Combine the rolled oats, peanut butter, honey, and protein powder in a medium bowl.
- If using, mix in the mini chocolate chips and chia seeds or flaxseed meal.
- Stir all ingredients together until a thick, uniform dough forms. If the mixture seems too dry, add a teaspoon of water or milk at a time until it holds together.
- Scoop the mixture using a small cookie scoop or your hands and roll it into uniform balls, about 1 inch in diameter.
- Place the finished protein balls on a baking sheet lined with parchment paper.
- Refrigerate for at least 30 minutes to allow them to firm up before serving.
Notes
- For a vegan option, use maple syrup instead of honey.
- Store these grab and go protein bites in an airtight container in the refrigerator for up to one week.
- You can substitute peanut butter with almond butter or sunflower seed butter for different flavors.
Nutrition
- Serving Size: 1 ball
- Calories: 120
- Sugar: 6
- Sodium: 50
- Fat: 6
- Saturated Fat: 1
- Unsaturated Fat: 5
- Trans Fat: 0
- Carbohydrates: 12
- Fiber: 2
- Protein: 8
- Cholesterol: 0