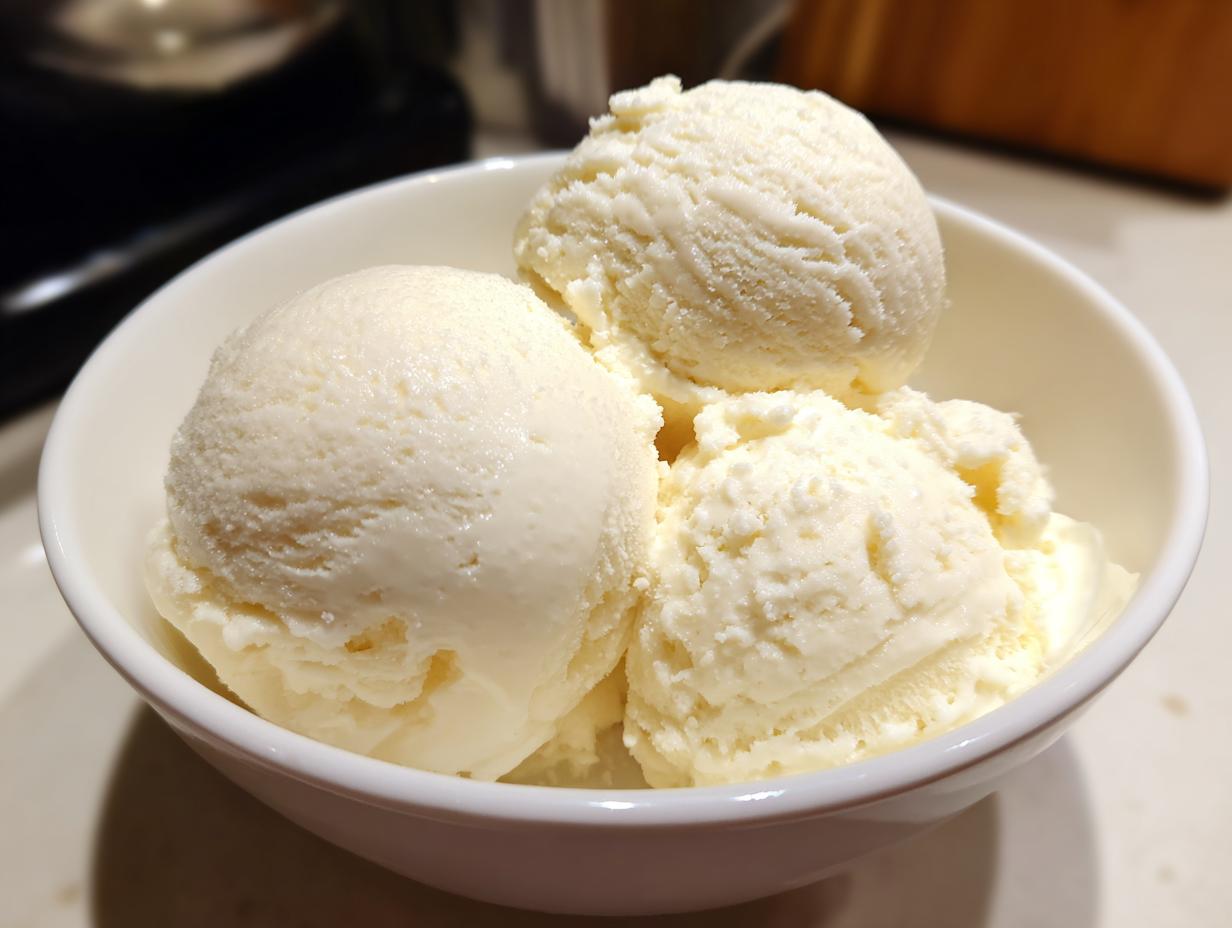

Isn’t it the absolute best when you can satisfy a huge dessert craving without throwing your healthy eating goals completely off track? I live for those moments! That is exactly why I developed this recipe for the creamiest, dreamiest tub of protein ice cream you will ever scoop straight from your home freezer. Forget those chalky, icy failures; this vanilla base is rich, comforting, and proves that indulgence and macros can absolutely coexist. Here at Unfold Recipes, my whole mission, as Catherine, is bringing you that approachable elegance in the kitchen. You can learn more about my journey here! Believe me, this easy, no-churn formula is my crowning achievement in guilt-free frozen treats. It really is the ultimate solution!
- Why This No-Churn Protein Ice Cream Is Your New Favorite Healthy Homemade Ice Cream
- Gathering Ingredients for Creamy Protein Ice Cream
- Essential Equipment for Your Protein Ice Cream Recipe
- Step-by-Step Instructions: Making Simple Protein Ice Cream
- Tips for Achieving the Best Creamy Protein Ice Cream Texture
- Protein Ice Cream Flavors and Variations
- Storage and Reheating Instructions for Your Protein Ice Cream
- Frequently Asked Questions About Making Protein Ice Cream
- Nutritional Estimates for This Guilt Free Frozen Treat
Why This No-Churn Protein Ice Cream Is Your New Favorite Healthy Homemade Ice Cream
You want creamy, right? That’s the number one thing people struggle with when making protein ice cream at home, but this recipe delivers! It hits that sweet spot between being perfectly smooth and absolutely packed with protein. Plus, it’s one of the best Healthy Homemade Ice Cream recipes I’ve ever shared. You get all the joy of a frozen treat without any of the worry. If you love these macro-friendly sweets, you should also check out my high-protein waffles!
Here’s why you’ll be obsessing over this simple recipe:
- It whips up in under five minutes—seriously!
- It transforms into amazing Guilt Free Frozen Treats.
- The texture is unbelievably creamy, even without churning.
Effortless Preparation for Perfect Protein Ice Cream
We are skipping the ice cream maker entirely! That’s the beauty of the no-churn style. Because we rely on the high-fat content of the Greek yogurt and careful blending, we naturally minimize the formation of large ice crystals. This keeps the final product luxurious and prevents that characteristic icy crunch you get from poorly managed home ice creams.
Macro Friendly Desserts: High Protein Ice Cream Benefits
This is truly a winner for balancing flavor and function. We are pushing about 20 grams of protein per serving here, making this a fantastic Post Workout Frozen Dessert. It’s truly one of the best Macro Friendly Desserts out there. You feel satisfied, you get your protein goals met, and you enjoyed something that tastes like magic!
Gathering Ingredients for Creamy Protein Ice Cream
Alright, let’s get down to the good stuff—the actual components that make this protein ice cream sing! Since this is a reliable recipe, I need you to be precise with a couple of things so we nail that texture. We are aiming for that creamy feel, so ingredient quality really counts here. If you’ve been exploring other High Protein Dessert Recipes, you’ll notice this one is fairly straightforward!
You will need the following items for this batch:
- One cup of plain Greek yogurt. And listen, make sure it’s 2% or even full fat if you can swing it! The lower the fat content, the icier your Healthy Homemade Ice Cream gets, and we don’t want that.
- Half a cup of unsweetened almond milk—just enough to get things blending nicely.
- One full scoop of vanilla protein powder. I suggest using a whey or casein blend for the best structure.
- Two tablespoons of your favorite granulated sweetener, or just use enough until it tastes perfect for you.
- A teaspoon of pure vanilla extract for that classic flavor.
- And please, add just a tiny pinch of salt. It sounds funny, but it really makes all the sweet flavors pop!
For more fun, lower-carb ideas, you might also want to look at my recipe for high-protein cookie dough!
Essential Equipment for Your Protein Ice Cream Recipe
Okay, good news here! One of the biggest wins for this protein ice cream recipe is that we aren’t dragging out any complicated gadgets. You absolutely do not need an ice cream maker for this project! That keeps things super simple, which is what I love.
What you need is very basic. Grab a medium mixing bowl where you can combine everything. Then, you’ll want a reliable whisk—or even an electric hand mixer if you want it lightning fast! Finally, you need a freezer-safe container, like a standard loaf pan or just a nice plastic box with a lid. That’s it for your Easy Protein Snacks prep!
Step-by-Step Instructions: Making Simple Protein Ice Cream
This is, thankfully, where all the magic happens fast! Seriously, this whole mixing process takes me about five minutes flat, which is incredible for a dessert that tastes this decadent. Remember, we are making healthy homemade ice cream here, so we aren’t cooking anything, just mixing and freezing. You’ll want to move quickly to make smoothing out those protein powder lumps a priority. If you love this quick method, you absolutely have to try my no-bake cookies next!
Here is the path to perfectly creamy protein ice cream:
- First things first, dump all those ingredients right into a medium bowl: say hello to your Greek yogurt, almond milk, vanilla protein powder, sweetener, vanilla extract, and that crucial little pinch of salt.
- Now, you have to whisk! Whisk it, whisk it, whisk it until it is totally, utterly smooth. I mean no bumps, no dry patches of powder clinging to the sides—nothing. It should look cohesive before it even thinks about hitting the freezer.
- Pour that beautiful mixture into your freezer-safe container. A loaf pan works perfectly for me!
- This next step is non-negotiable if we want great texture: cover the container tightly with plastic wrap. Crucially, I always press that wrap right down onto the surface of the mixture. This acts as a physical barrier against the freezer air, stopping those nasty ice crystals from forming on top.
- Tuck it into the freezer for a good six hours, minimum, until it’s really firm.
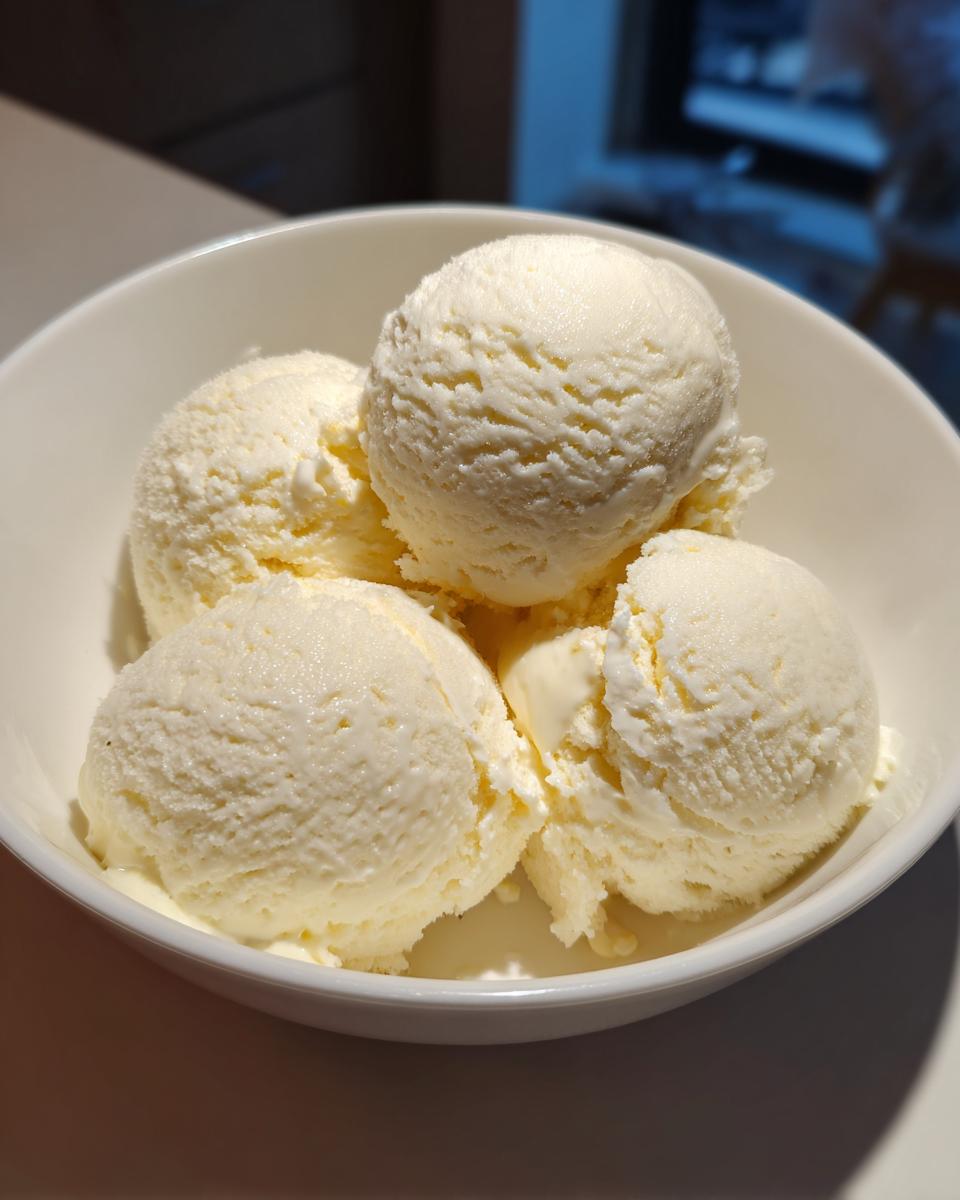
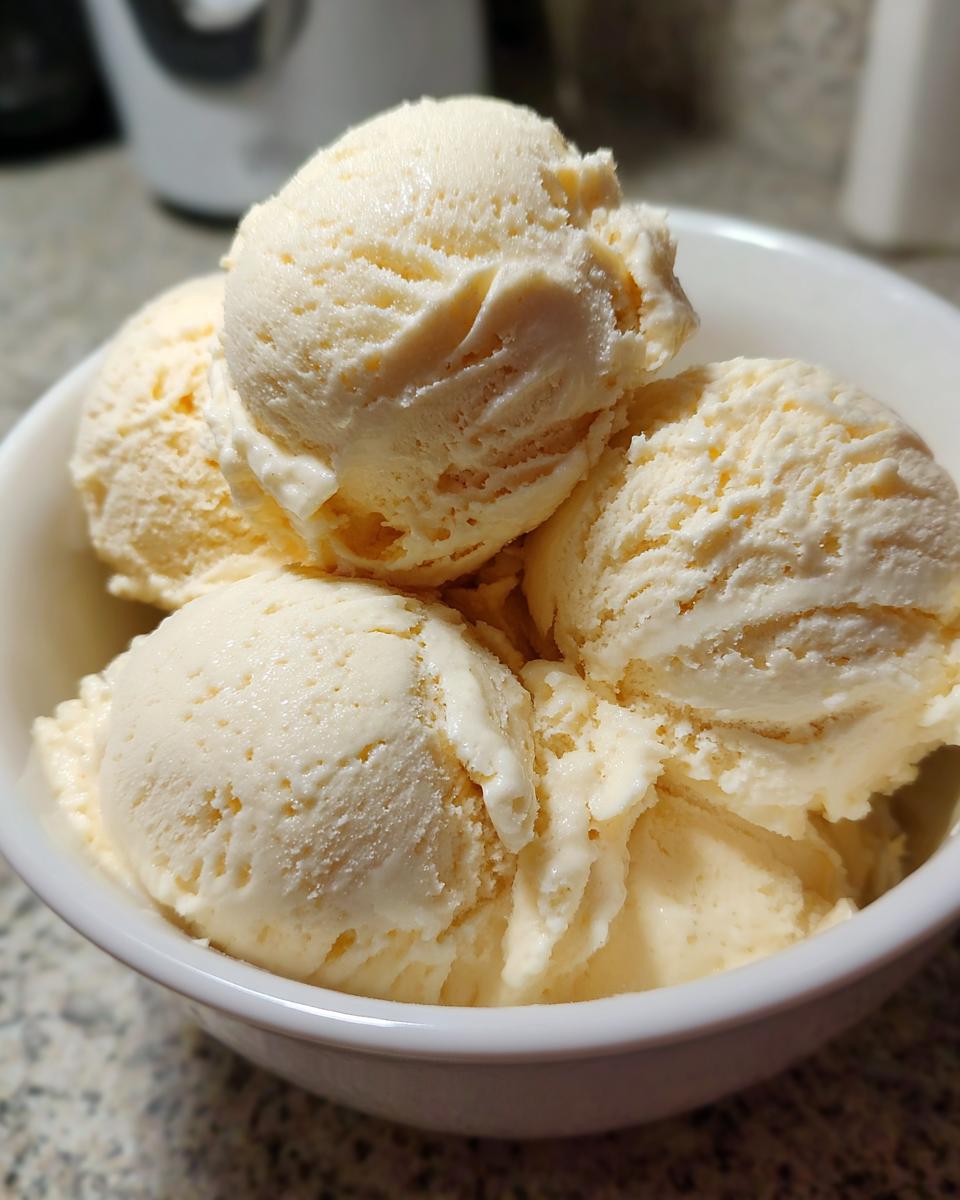
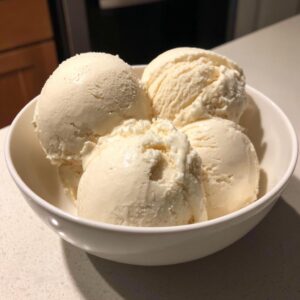
- The very last step separates the pros from the beginners: you MUST let it sit out on the counter for about five to ten minutes before you try to scoop it. Trust me, trying to scoop it straight out of the deep freeze results in pain, not profit!

Tips for Achieving the Best Creamy Protein Ice Cream Texture
The biggest challenge with any protein ice cream that skips the churning machine is avoiding that hard, icy texture, right? We want luscious dessert, not a frozen brick! This vanilla base is naturally fantastic because it doesn’t rely on fruit like bananas, making it fit perfectly into the category of High Protein Dessert Recipes No Banana options. Your sweet tooth is happy, and your macros stay in check!
Now, I have a little trick I learned when I was experimenting with making this batch the ultimate, thickest Healthy Homemade Ice Cream possible. You can substitute about half of that Greek yogurt with half a cup of frozen cauliflower rice before you blend everything up. Don’t panic! You absolutely cannot taste it once it’s frozen, but it boosts the volume and makes the final product feel dense and substantial. If you’re looking for other surprisingly healthy swaps, I adore how these cottage cheese microwave brownies turn out!
My personal enhancement—and this comes straight from my culinary training—is playing with your powder type. If you swap out half of your vanilla powder for pure casein protein, you will get an even denser, more scoopable final product because casein gels more effectively during freezing. It really helps solidify this as one of my favorite Indulgent Healthy Desserts!
Protein Ice Cream Flavors and Variations
The best part about this simple vanilla protein ice cream base is how excited it gets to be transformed! Since this is such a reliable foundation, it instantly becomes the perfect canvas for whatever flavor daydream strikes you. You’ll see other people raving online about things like the perfect chocolate version, and you won’t be jealous because you know how easy it is to make!
If you crave chocolate—and who among us doesn’t?—just swap out about one-third of your vanilla protein powder for unsweetened cocoa powder. A touch more sweetener might be needed to balance the slight bitterness. Voila! You now have an amazing Chocolate Protein Ice Cream.
For something a little more special, try making a Salted Caramel Protein Ice Cream. Add about half a teaspoon of very rich caramel extract along with a small pinch of flaky sea salt when you blend everything together. That little addition makes it feel so luxurious! This is truly the starting point for endless Protein Ice Cream Flavors—just keep that base creamy and you can’t go wrong.
Storage and Reheating Instructions for Your Protein Ice Cream
Since this uses Greek yogurt and has less sugar than traditional ice cream, it freezes up quite hard—so don’t despair if your first scoop is a little tough! For the best results, always store your protein ice cream in a container that is totally airtight. If you can, push a small piece of plastic wrap directly onto the surface before snapping the lid on. This traps out all that nasty freezer air and helps tremendously in preventing freezer burn.
When it’s time to enjoy, remember the magic number: about five to ten minutes on the counter. This short rest allows the low calorie ice cream ideas base to soften just enough so your spoon glides right through. Trust me, waiting that little bit is worth it for a perfect scoop!

Frequently Asked Questions About Making Protein Ice Cream
I always get so many questions whenever I post this protein ice cream recipe because people are generally shocked at how creamy it gets without the machine! I wanted to address a few things here that come up often, especially because I know many of you are also fans of specialized equipment. If you’re looking for even more tips and tricks from my kitchen, feel free to browse my general recipe blog here!
Can I use a Ninja Creami to make this protein ice cream base?
That is such a smart question! While this specific recipe is designed for the freezer (no-churn!), the base itself is absolutely compatible with the Ninja Creami. If you used this mixture in your Creami, you would treat it as your ‘base’ and process it according to the machine’s instructions for a frozen dessert. It will likely need a ‘Lite Ice Cream’ or ‘Protein’ cycle, and you might need a splash of extra liquid for the spin. It’s a totally different process than slow freezing, but the ingredients are spot on for that machine!
What is the best protein powder for protein ice cream?
This is where texture truly lives or dies! The best powders for homemade protein ice cream are those that mix smoothly and don’t absorb every drop of moisture available. I’ve found that using a whey/casein blend works wonders because the casein component helps create that thick, gel-like consistency as it freezes. Be cautious with pure whey isolates; sometimes they can dry the mixture out too much, potentially pushing you toward an icier outcome than the Greek Yogurt Ice Cream Recipes we sometimes see elsewhere.
What if I don’t want to use Greek Yogurt?
Oh, I totally get it! Sometimes you just want a different texture or don’t have yogurt on hand. If you’re looking for Low Calorie Ice Cream Ideas that skip the dairy yogurt, you can experiment by using a base of blended silken tofu, or even blend the protein powder with just a small amount of milk until it forms a thick paste, and then gradually beat in a stabilizer like xanthan gum for texture. It requires more trial and error, but you can certainly make Protein Powder Dessert without the yogurt!
Is this recipe truly low calorie?
When we talk about Guilt Free Frozen Treats, we are aiming for something light, and yes, this recipe is fantastic for that! Because we rely on Greek yogurt and zero added sugar (using zero-calorie sweeteners), this is one of the most macro-friendly choices you can make in the frozen dessert category. Just make sure the protein powder you choose doesn’t add a ton of hidden fats or sugars, leading you away from amazing Sweet Fitness Treats.
Nutritional Estimates for This Guilt Free Frozen Treat
I always think it’s important to be totally upfront about what we’re eating, even when it’s a delicious, healthy treat like this protein ice cream! The estimates below are calculated based on using standard, unsweetened almond milk and a typical vanilla whey protein powder. Please remember, these are just guidelines; your final numbers will change based on the specific brand of yogurt or sweetener you choose. This transparency is just part of how I try to build trust as your guide in the kitchen!
Here are the general estimated macros per serving (which is about half a cup):
- Calories: About 150
- Protein: A fantastic 20 grams!
- Fat: Right around 3 grams
- Carbohydrates: Approximately 12 grams
Enjoy the peace of mind that comes with knowing you’re eating one of the best Guilt Free Frozen Treats around!
PrintSimple No-Churn Vanilla Protein Ice Cream
Make a creamy, high-protein frozen treat without an ice cream maker. This vanilla recipe uses simple ingredients for a guilt-free dessert.
- Prep Time: 5 min
- Cook Time: 0 min
- Total Time: 6 hr 5 min
- Yield: 4 servings 1x
- Category: Dessert
- Method: No-Churn Freezing
- Cuisine: American
- Diet: Low Fat
Ingredients
- 1 cup plain Greek yogurt (2% or full fat for best texture)
- 1/2 cup unsweetened almond milk
- 1 scoop vanilla protein powder (whey or casein blend recommended)
- 2 tablespoons granulated sweetener (or to taste)
- 1 teaspoon vanilla extract
- Pinch of salt
Instructions
- In a medium bowl, combine the Greek yogurt, almond milk, protein powder, sweetener, vanilla extract, and salt.
- Whisk the mixture thoroughly until it is completely smooth and no lumps of protein powder remain. You may use an electric mixer for the smoothest result.
- Pour the mixture into a freezer-safe container, such as a loaf pan or a plastic container with a lid.
- Cover the container tightly with plastic wrap, pressing the wrap directly onto the surface of the mixture to prevent ice crystals from forming.
- Freeze for at least 6 hours, or until firm.
- Before serving, allow the ice cream to sit at room temperature for 5 to 10 minutes to soften slightly for easier scooping.
Notes
- For a thicker, richer texture, substitute half of the Greek yogurt with 1/2 cup of frozen cauliflower rice before blending. This adds volume without affecting the flavor much.
- If you are interested in structured eating plans, look into options like weight loss programs for guidance.
- If you prefer a different base, this recipe avoids banana, making it suitable for those avoiding that fruit.
Nutrition
- Serving Size: 1/2 cup
- Calories: 150
- Sugar: 5
- Sodium: 150
- Fat: 3
- Saturated Fat: 1.5
- Unsaturated Fat: 1.5
- Trans Fat: 0
- Carbohydrates: 12
- Fiber: 1
- Protein: 20
- Cholesterol: 15