
Oh, fall! It’s that magical time when the air gets crisp, the leaves start to turn, and all I can think about is baking up something cozy and delicious. And honestly, what says fall better than pumpkin and cheesecake all rolled into one creamy, dreamy bar? These Pumpkin cheesecake bars are my absolute go-to for any gathering. They’re so much easier than a full cheesecake – no water bath stress here! – but they deliver all the fabulous flavor and fancy-pants presentation you could want. Trust me, as someone who loves sharing those perfect, approachable recipes, these bars are a total winner for Friendsgiving or just because!
- Why You'll Love These Pumpkin Cheesecake Bars
- The Perfect Gingersnap Crust Pumpkin Cheesecake
- Easy Pumpkin Cheesecake Filling: No Water Bath Needed
- How to Prepare Pumpkin Cheesecake Bars
- Chilling Your Pumpkin Cheesecake Bars: How Long to Chill
- Tips for Success with Pumpkin Cheesecake Bars
- Make-Ahead and Storage for Pumpkin Cheesecake Bars
- Frequently Asked Questions About Pumpkin Cheesecake Bars
- Estimated Nutritional Information
- Share Your Fall Cheesecake Bars Creations!
Why You’ll Love These Pumpkin Cheesecake Bars
These bars are just pure fall magic, and I can’t wait for you to try them! Here’s why they’re destined to become a favorite:
- Seriously Simple: Forget the fussy water bath! These bars come together easily, meaning less kitchen stress and more time for fun.
- Flavor explosion: Creamy, spiced pumpkin cheesecake meets a perfectly crumbly gingersnap crust. It’s fall in every single bite!
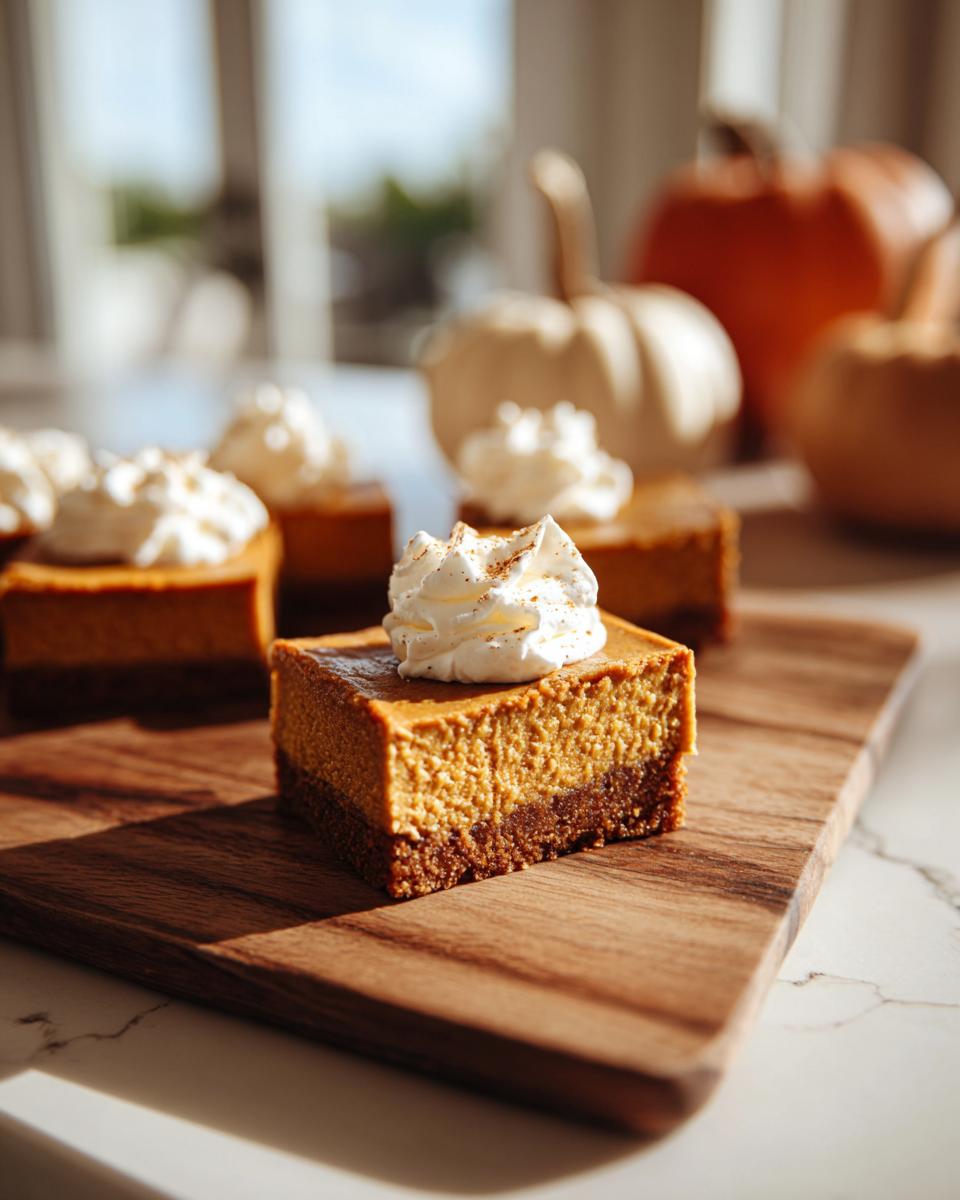
- Party Perfect: They look absolutely stunning and are always a huge hit for holidays, potlucks, or even just a cozy weekend treat.
- Make-Ahead Dream: Bake them up the day before, and they’re ready to go, making entertaining so much easier!
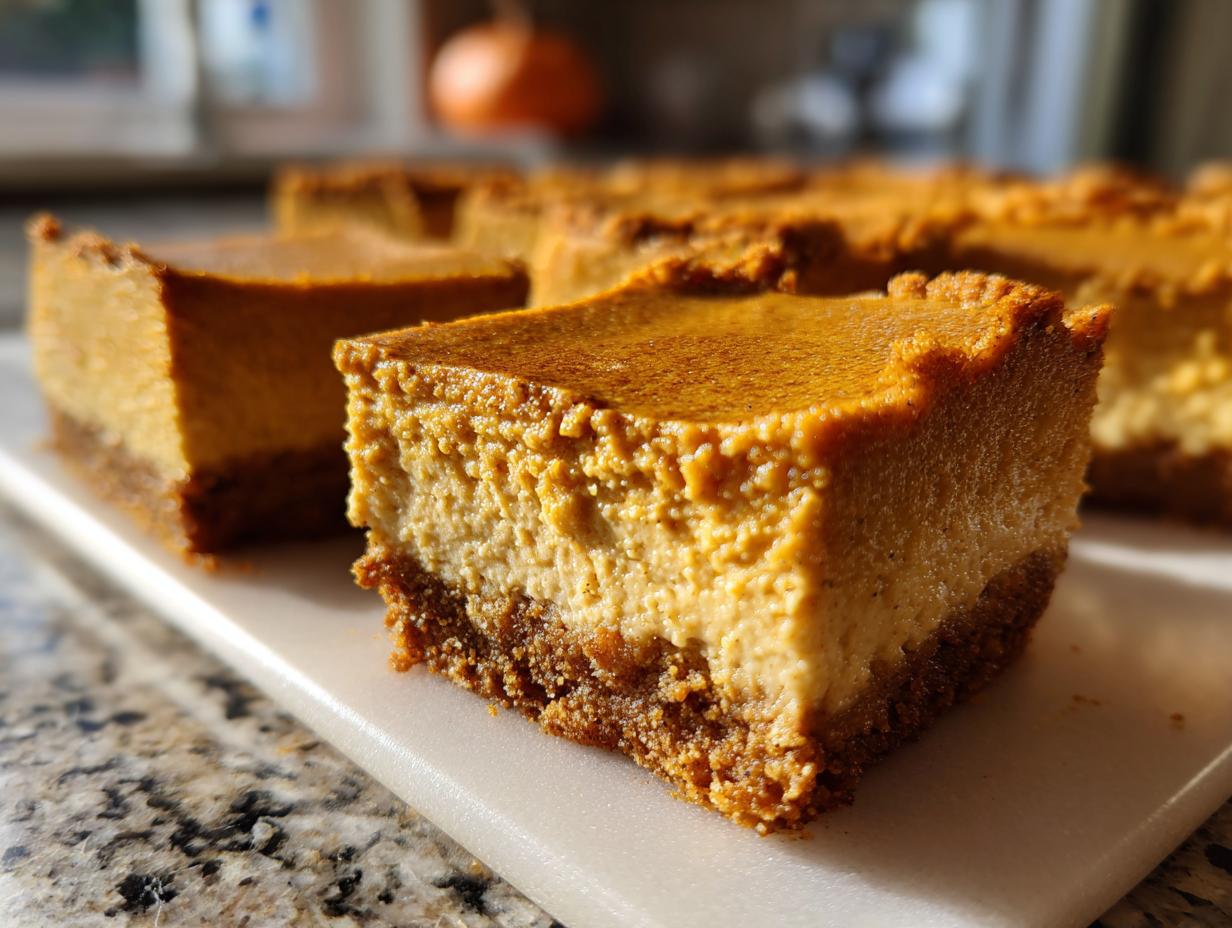
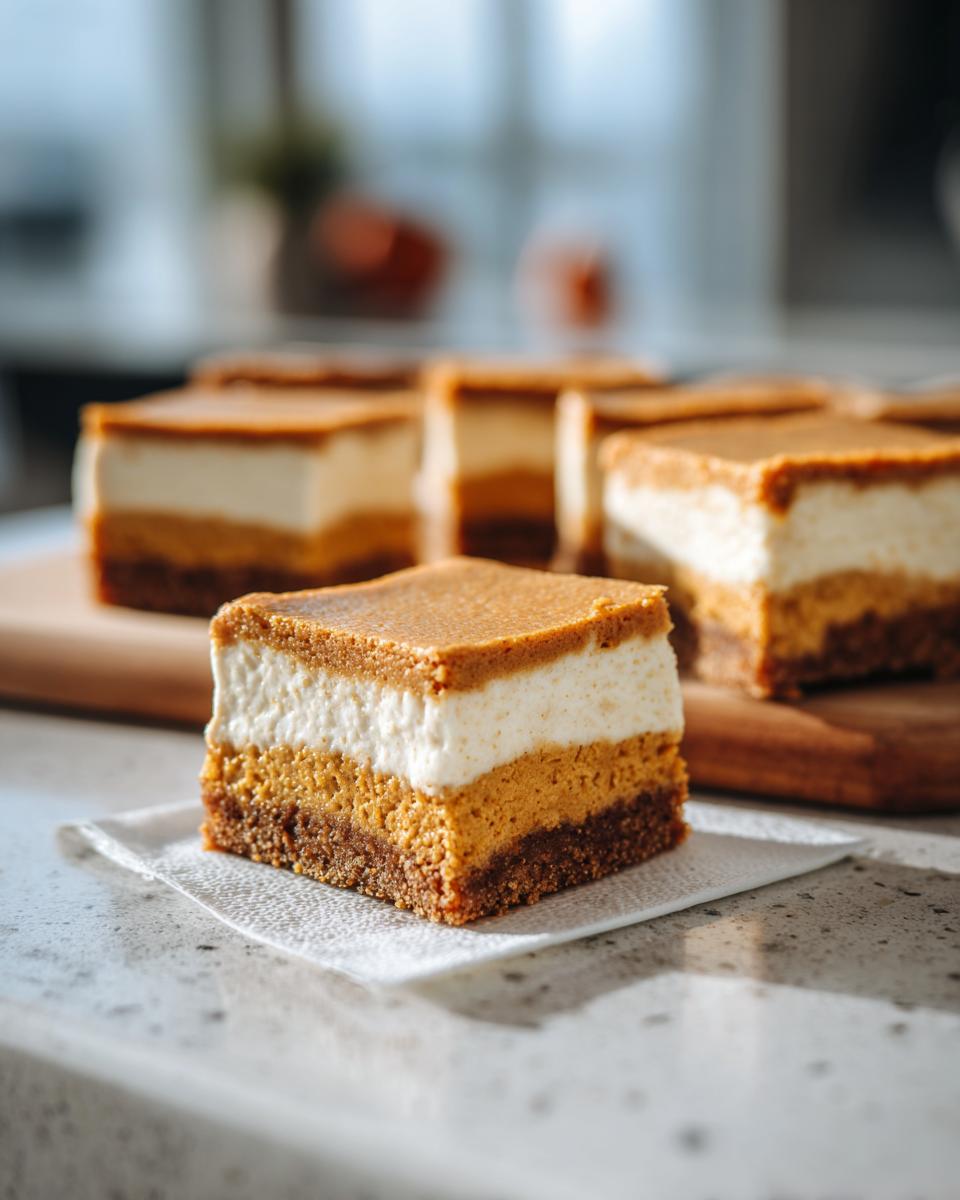
The Perfect Gingersnap Crust Pumpkin Cheesecake
Okay, let’s talk crust! For these gingersnap crust pumpkin cheesecake bars, I just *adores* gingersnap cookies. They bring this warm, spicy kick that plays SO well with creamy pumpkin. It’s like they were meant to be together! Plus, they bake up into this wonderfully crisp base that holds up beautifully to the rich filling. Making it is super simple: just crush your gingersnaps nice and fine – I like to pulse mine in a food processor, but you can totally do it in a zip-top bag with a rolling pin if you’re feeling the stress relief. Press it evenly into the bottom of your pan. My trick for a super neat crust? Use the flat bottom of a glass or a measuring cup to pack it down really firmly. It keeps it from crumbling when you slice!
Crust Ingredients for Your Pumpkin Cheesecake Bars
Here’s what you’ll need for that perfect gingersnap base:
- 1 1/2 cups finely crushed gingersnap cookies
- 1/4 cup granulated sugar
- 6 tablespoons unsalted butter, melted
Easy Pumpkin Cheesecake Filling: No Water Bath Needed
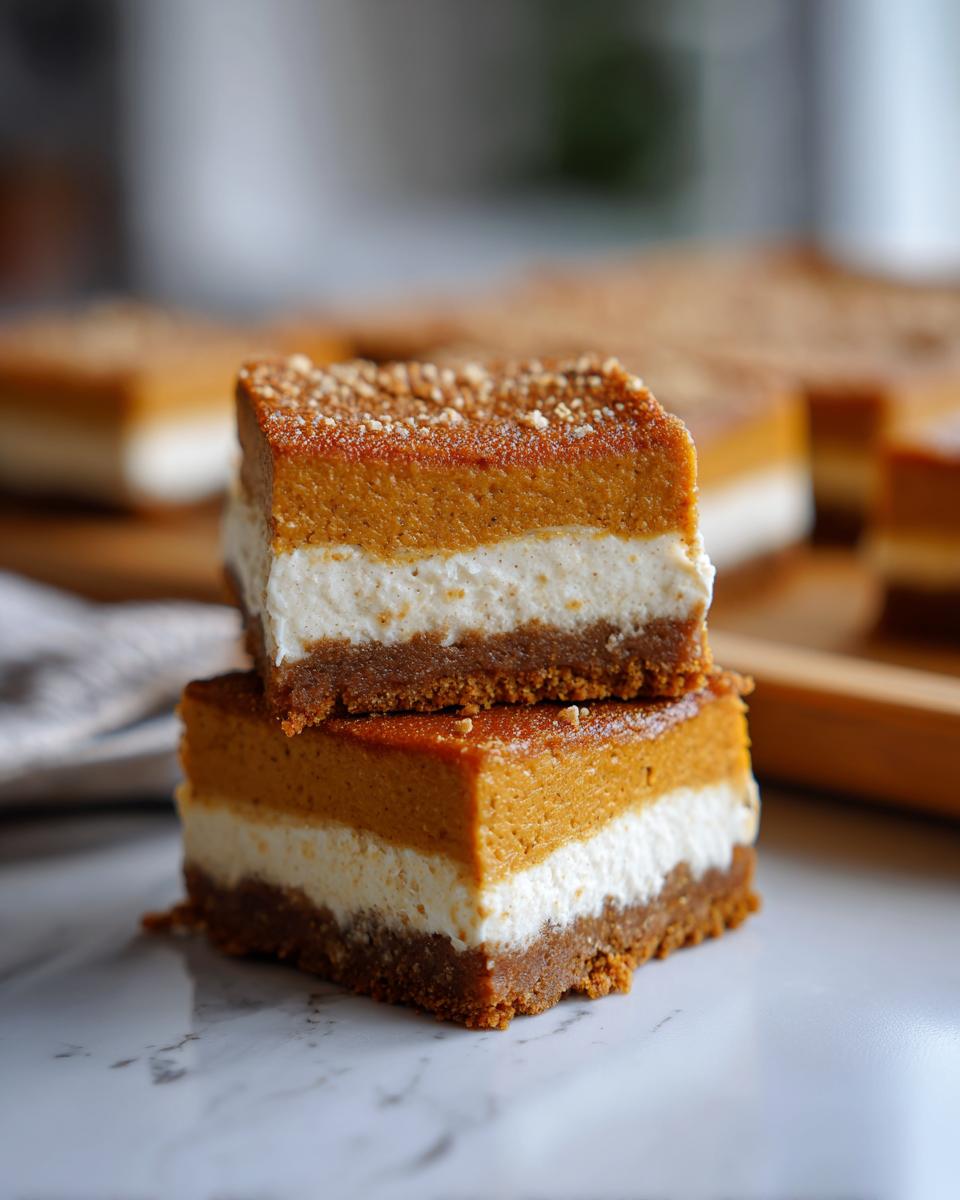
Now for the star of the show – that luscious pumpkin cheesecake filling! The best part? We’re skipping the whole water bath drama. Trust me, these Pumpkin cheesecake bars bake up beautifully without all the fuss, and you still get that gorgeous, crack-free top. It’s all about getting your ingredients just right and not overbaking, which is a trick I picked up way back when I was first learning. If you’re feeling fancy, you can totally do a cute swirl by taking a little bit of the plain cream cheese mixture and dropping dollops of it onto the pumpkin batter, then swirling gently with a toothpick. I usually just pour it all in and call it a day – it’s still delicious! We want this filling to be super smooth and creamy, so make sure that cream cheese is really soft.
Creamy Filling Ingredients for Pumpkin Cheesecake Bars
Here’s what you’ll need to make the magic happen for the filling:
- 2 (8 ounce) packages cream cheese, softened like butter
- 3/4 cup granulated sugar
- 1/4 cup pumpkin puree (make sure it’s not pumpkin pie filling!)
- 2 large eggs, at room temperature, please!
- 1 teaspoon pumpkin pie spice (oops, sometimes I forget this, but don’t you!)
- 1/2 teaspoon vanilla extract
- 1/4 cup sour cream, for that extra tang
How to Prepare Pumpkin Cheesecake Bars
Alright, let’s get these beauties ready for the oven! It’s pretty straightforward, so don’t sweat it. First things first, preheat your oven to 350°F (175°C). Then, grab an 8×8 inch baking pan and line it with parchment paper. Make sure you let the paper hang over the sides – this is our little secret weapon for lifting these Pumpkin cheesecake bars out super easily later on. Mix up those gingersnap crumbs, sugar, and melted butter, then press it all down firmly into the pan for your crust. Pop that in the oven for about 8-10 minutes until it’s lightly golden. While it cools just a bit, whip up that creamy filling – remember, super soft cream cheese is key! If you’re looking for other fun fall flavors, check out my pumpkin pancakes! Once your crust is ready, pour that glorious pumpkin mixture right over the top. Easy peasy!
Baking Your Pumpkin Cheesecake Bars
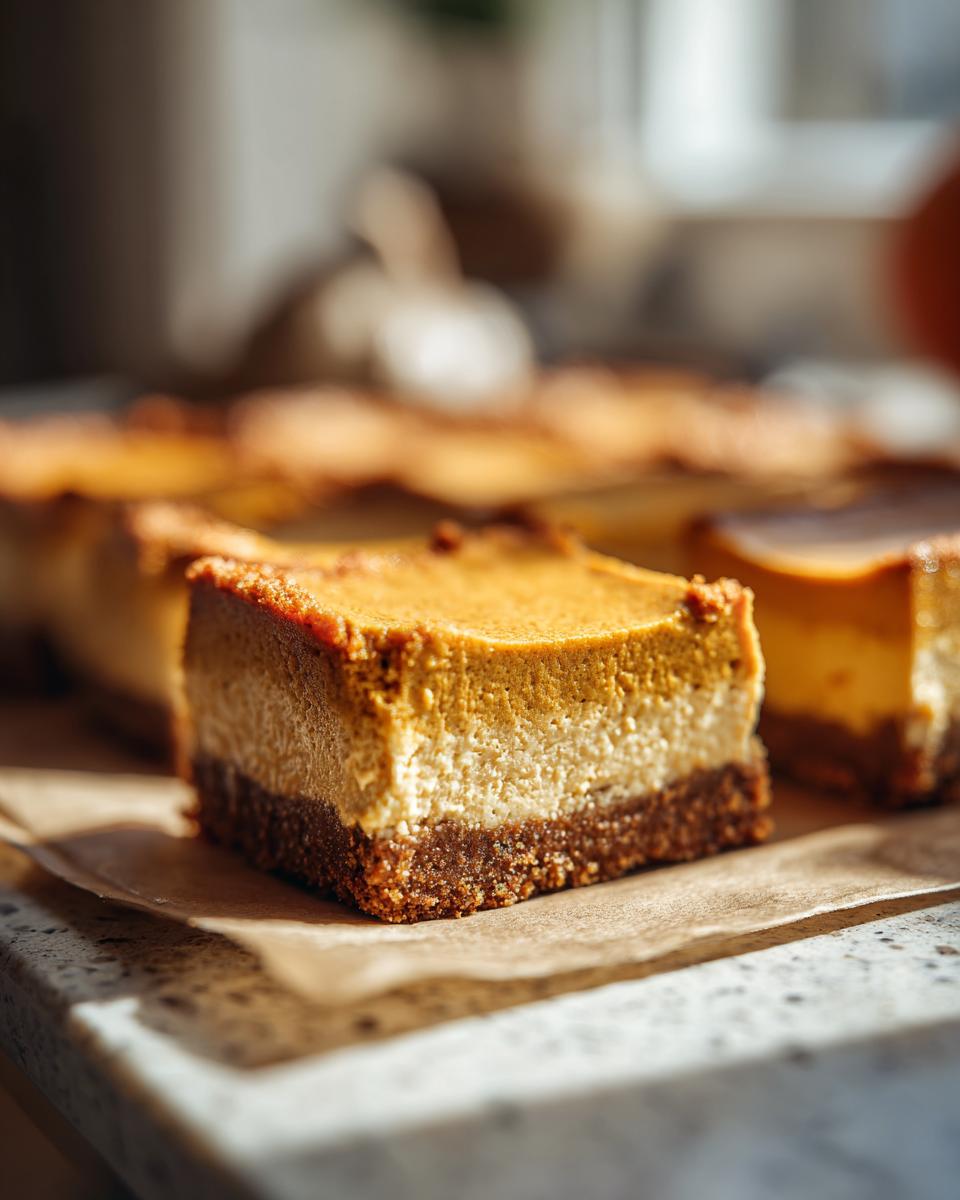
Now for the bake! This is where the magic happens and we avoid those pesky cracks without a water bath. Pop the pan into your preheated oven – remember that 350°F? Bake them for about 30-35 minutes. You’re looking for the edges to be set, looking nicely firm, but the center should still have a very slight wobble, like Jell-O. Don’t overbake it, that’s the absolute biggest tip for a smooth, crack-free top. Once they’re done, just let those gorgeous Pumpkin cheesecake bars cool completely on a wire rack. It feels like forever, but patience is totally rewarded here!
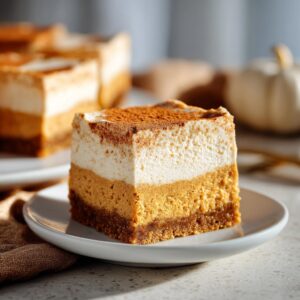
Chilling Your Pumpkin Cheesecake Bars: How Long to Chill
Okay, the baking is done, and they smell heavenly, right? But here’s the crucial part for those perfect Pumpkin cheesecake bars: chilling! Seriously, don’t rush this step. It’s vital for getting that wonderfully firm texture that lets you cut nice, clean slices. Without enough chill time, they can be a bit too soft and messy. I always cover my pan really well – plastic wrap directly on the surface, then maybe foil on top – and pop them in the fridge for at least 4 hours. Honestly, though, overnight is even better if you can wait! It gives them plenty of time to fully set up, ensuring that smooth, creamy bite every single time. It’s worth the wait, I promise!
Tips for Success with Pumpkin Cheesecake Bars
Alright, let’s get down to the nitty-gritty for making these Pumpkin cheesecake bars absolutely perfect! My biggest tip? Room temperature ingredients, especially for the cream cheese and eggs. It makes all the difference for a super smooth, lump-free filling. If you forget to take them out ahead of time, no worries! Just pop the cream cheese (in its wrapper!) into a bowl of warm water for a few minutes. Be gentle when mixing the filling too; we don’t want to beat too much air into it, which can lead to cracks. Overbaking is the usual culprit for those, so keep an eye on it and don’t cook past that gentle wobble in the center. Need more pumpkin inspiration? You’ve gotta try my pumpkin spice cake or my super moist pumpkin bread! Even my pumpkin snickerdoodle cookies are a winner in my house. For those clean slices everyone raves about, make sure those bars are *completely* chilled and use a sharp knife, wiping it clean between cuts. It makes all the difference for presentation!
Make-Ahead and Storage for Pumpkin Cheesecake Bars
One of the best things about these Pumpkin cheesecake bars is how perfectly they fit into your holiday entertaining plans. They’re truly a make-ahead marvel! I actually prefer making them the day before I need them. Once they’re completely cooled, I pop them in the fridge, covered really well, and that chilling time just makes them even better. They firm up beautifully, so you don’t have to worry about a thing on the day of your party. If you need to stash them for even longer, they freeze like a dream! Just make sure they’re cut into bars first, tightly wrapped in plastic wrap, and then tucked into an airtight container or a freezer bag. They’ll last up to a month in the freezer, so you can get a head start on your holiday baking way in advance. Check out my tips on freezer breakfast burritos for other make-ahead ideas!
Frequently Asked Questions About Pumpkin Cheesecake Bars
Got questions about these delightful Pumpkin cheesecake bars? I totally get it! Baking is all about details. Let’s dive into some common puzzles.
Can I use a different crust for these pumpkin cheesecake bars?
Absolutely! While I adore the gingersnap, graham cracker crumbs make a fantastic base too, really leaning into that classic cheesecake vibe. Or, if you’re feeling chocolatey, crushed chocolate sandwich cookies or even shortbread would be divine! Just follow the same ratio of crumbs to butter and sugar.
How do I get clean slices of my pumpkin cheesecake bars?
Ah, the clean slice! It’s all about that chill time, seriously. Make sure they’re in the fridge for at least 4 hours, but overnight is best. Then, use a long, sharp knife. Dip it in hot water and wipe it dry between each cut. It makes such a difference for beautiful presentation, kind of like with my chocolate chip cookie bars or blueberry pie bars!
What if my cheesecake center is still too jiggly?
It’s totally normal for the center to have a slight wobble – that’s actually what you want to avoid overbaking! If it looks *really* liquidy after the recommended time, pop it back in for just a few more minutes. Trust your instincts and the visual cues!
Estimated Nutritional Information
Just a little heads-up: the nutritional info you see below is an estimate, of course. It really depends on the brands you use and the exact size you cut your bars. But roughly, per serving, you’re looking at around 250 calories, 15g of fat (with about 9g being saturated), 4g of protein, and 25g of carbs. It’s a treat, after all!
Share Your Fall Cheesecake Bars Creations!
I just poured my heart into this recipe, and now it’s your turn! I would absolutely LOVE to see your beautiful Pumpkin cheesecake bars. Did you try them with a different crust? Did you add a fun swirl? Snap a photo and tag us on social media, or better yet, leave a comment right here to share your experience! Your creations inspire me so much, and I can’t wait to hear all about them. If you loved them, a quick rating would be amazing too. You can find me over on the blog, or feel free to reach out through the contact page!
PrintPumpkin Cheesecake Bars
Easy pumpkin cheesecake bars with a gingersnap crust, perfect for fall gatherings. These bars are made without a water bath and can be prepared ahead.
- Prep Time: 20 min
- Cook Time: 35 min
- Total Time: 4 hours 55 min
- Yield: 16 bars 1x
- Category: Dessert
- Method: Baking
- Cuisine: American
- Diet: Vegetarian
Ingredients
- 1 1/2 cups gingersnap cookie crumbs
- 1/4 cup granulated sugar
- 6 tablespoons unsalted butter, melted
- 2 (8 ounce) packages cream cheese, softened
- 3/4 cup granulated sugar
- 1/4 cup pumpkin puree
- 2 large eggs
- 1 teaspoon pumpkin pie spice
- 1/2 teaspoon vanilla extract
- 1/4 cup sour cream
Instructions
- Preheat your oven to 350°F (175°C). Line an 8×8 inch baking pan with parchment paper, leaving an overhang on the sides.
- In a small bowl, combine the gingersnap cookie crumbs, 1/4 cup granulated sugar, and melted butter. Press the mixture evenly into the bottom of the prepared pan.
- Bake the crust for 8-10 minutes, until lightly golden. Remove from oven and let cool slightly.
- In a large bowl, beat the softened cream cheese and 3/4 cup granulated sugar with an electric mixer until smooth.
- Beat in the pumpkin puree, eggs one at a time, pumpkin pie spice, and vanilla extract until just combined.
- Gently fold in the sour cream.
- Pour the cream cheese mixture over the prepared crust.
- Bake for 30-35 minutes, or until the edges are set and the center is slightly jiggly.
- Let the bars cool completely in the pan on a wire rack.
- Once cooled, cover the pan and refrigerate for at least 4 hours, or preferably overnight, until firm.
- Use the parchment paper overhang to lift the bars out of the pan. Cut into desired bar sizes.
Notes
- For a layered look, you can reserve a small amount of the cream cheese mixture before adding pumpkin and swirl it in.
- To avoid cracks without a water bath, do not overbake. The center should still have a slight wobble.
- Chill time is crucial for the bars to set properly.
- These bars can be stored in an airtight container in the refrigerator for up to 4 days or frozen for up to 1 month.
Nutrition
- Serving Size: 1 bar
- Calories: 250
- Sugar: 20g
- Sodium: 150mg
- Fat: 15g
- Saturated Fat: 9g
- Unsaturated Fat: 6g
- Trans Fat: 0g
- Carbohydrates: 25g
- Fiber: 1g
- Protein: 4g
- Cholesterol: 50mg