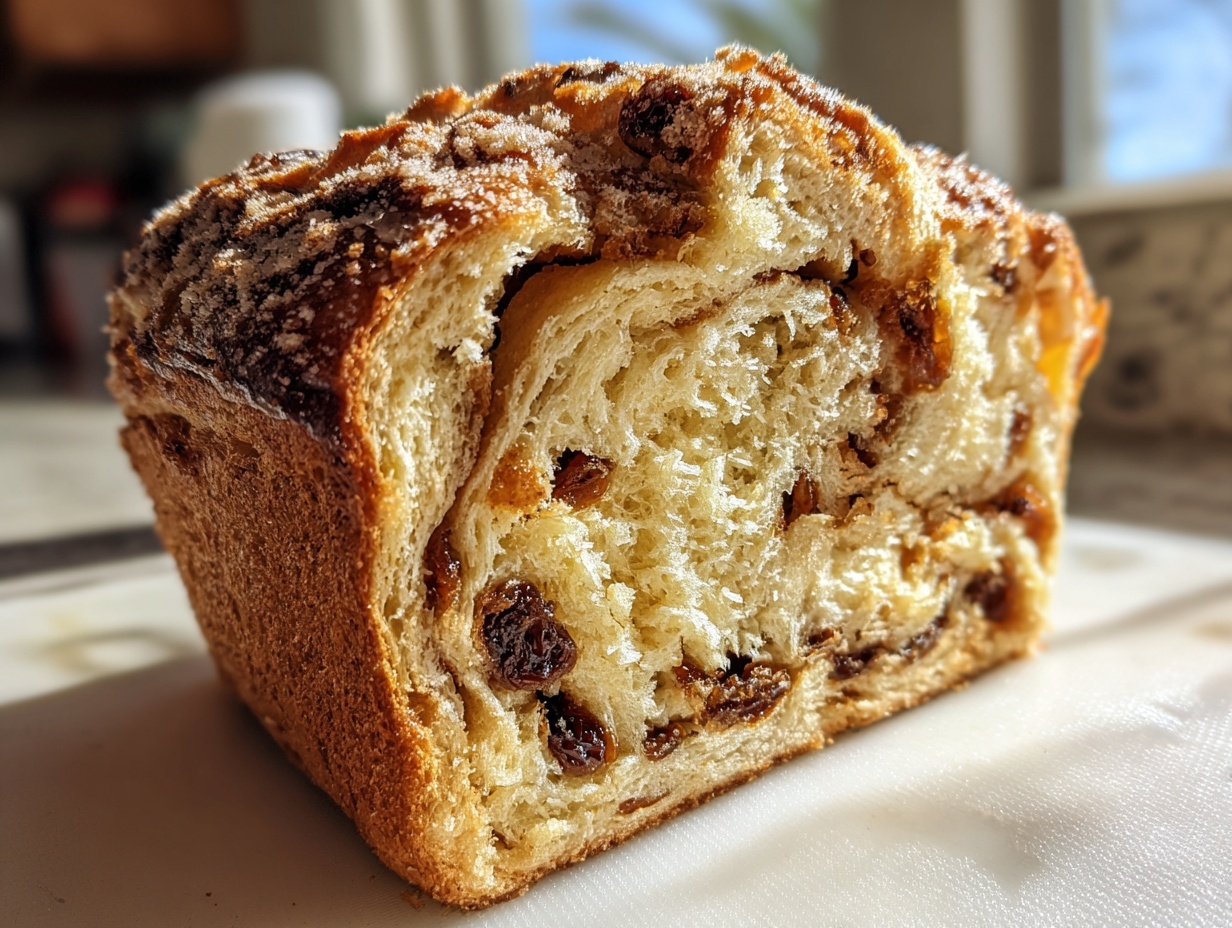

There is truly nothing that compares to the smell of genuine comfort baking filling your home early in the morning. Forget those dry, flavorless loaves from the supermarket; we are making something special today. I’m absolutely thrilled to share what I consider the absolute gold standard: the ultimate Soft Homemade Cinnamon Raisin Bread. After spending years honing my skills from my Spanish-Californian roots through formal culinary training, I can promise you this recipe is vetted, tested, and guaranteed to deliver that bakery-style tenderness you crave right on your countertop. If you want to learn more about my journey from PR to the kitchen, you can always read about my philosophy over at my About Page. Get your yeast ready!
- Why This Homemade Raisin Bread is Your New Favorite Breakfast Bread Ideas
- Essential Ingredients for the Best Raisin Loaf Recipe
- Step-by-Step Instructions for Your Soft Raisin Bread
- Tips for Success with Your Homemade Cinnamon Swirl Bread
- Serving Suggestions for Warm Raisin Bread Slices
- Storage & Reheating Instructions for Leftover Raisin Bread
- Frequently Asked Questions About This Sweet Bread Recipes
- Nutritional Estimates for a Slice of Homemade Raisin Bread
- Share Your Homemade Bakery Style Bread Experience
Why This Homemade Raisin Bread is Your New Favorite Breakfast Bread Ideas
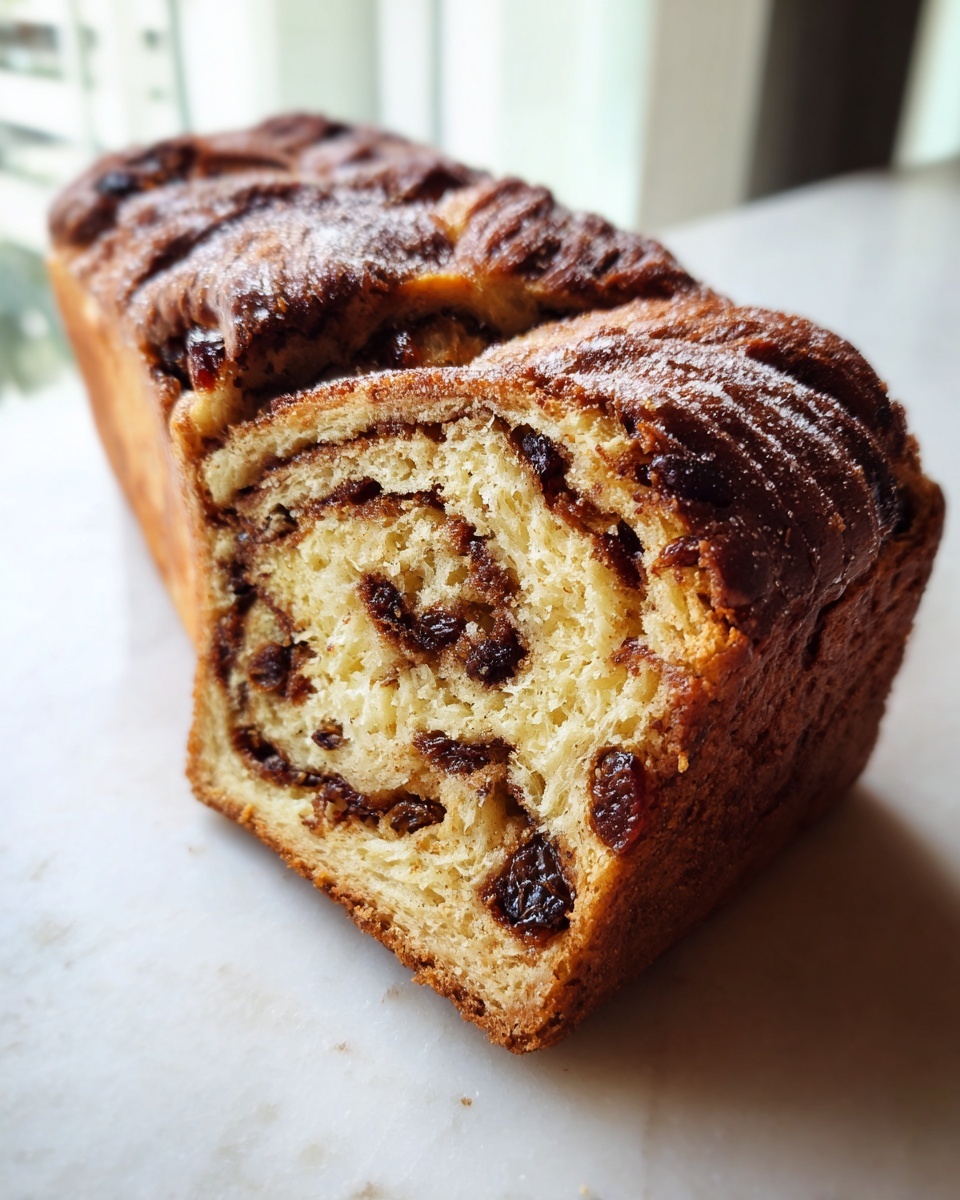
When that yeast starts bubbling and the cinnamon hits the warm dough, honestly, my house smells like pure magic. That aroma is why I’m so excited to share this recipe with you! It completely captures that feeling of a cozy morning gathered around the table, which is exactly what I aim for when developing my Breakfast Bread Ideas here at Unfold Recipes. It’s not just bread; it’s an experience.
We nail the essential elements that store-bought versions completely miss: the pillowy softness and the rich, spiced interior. This is the definitive Homemade Raisin Bread, and once you master the swirl, you won’t look back. Cooking should always feel like an act of love and comfort, and this loaf definitely delivers that warm, welcoming hug. If you’re looking for more cozy recipes perfect for weekend mornings, be sure to explore my Brunch collection.
Achieving That Perfect Soft Raisin Bread Texture
The secret to that famously soft crumb isn’t complicated, but it requires precision. You absolutely must use warm milk—not hot, just warm enough to wake up the yeast, which keeps the structure tender. The egg also needs to be at room temperature. Why? Because cold ingredients shock the dough, hardening the fats, and that immediately ruins the chance of achieving genuinely Soft Raisin Bread.
Essential Ingredients for the Best Raisin Loaf Recipe
To achieve what I call the Best Raisin Loaf Recipe, you need to honor the measurement of every component. I’ve laid out everything you need below. Don’t try to sneak in margarine or skip the brown sugar for the swirl—that’s when we lose the magic flavor we’re chasing! This recipe relies on simple ingredients mixed precisely for that stunning final lift.
- 1 cup warm milk (about 110°F)
- 2 1/4 teaspoons active dry yeast
- 1/4 cup granulated sugar plus 1 teaspoon for yeast
- 1 large egg, room temperature
- 1/4 cup unsalted butter, melted
- 3 1/2 cups all-purpose flour, plus more for dusting
- 1 teaspoon salt
- 1 cup raisins, plumped
- 1/2 cup packed light brown sugar
- 2 tablespoons ground cinnamon
- 1/4 cup unsalted butter, softened (for swirl)
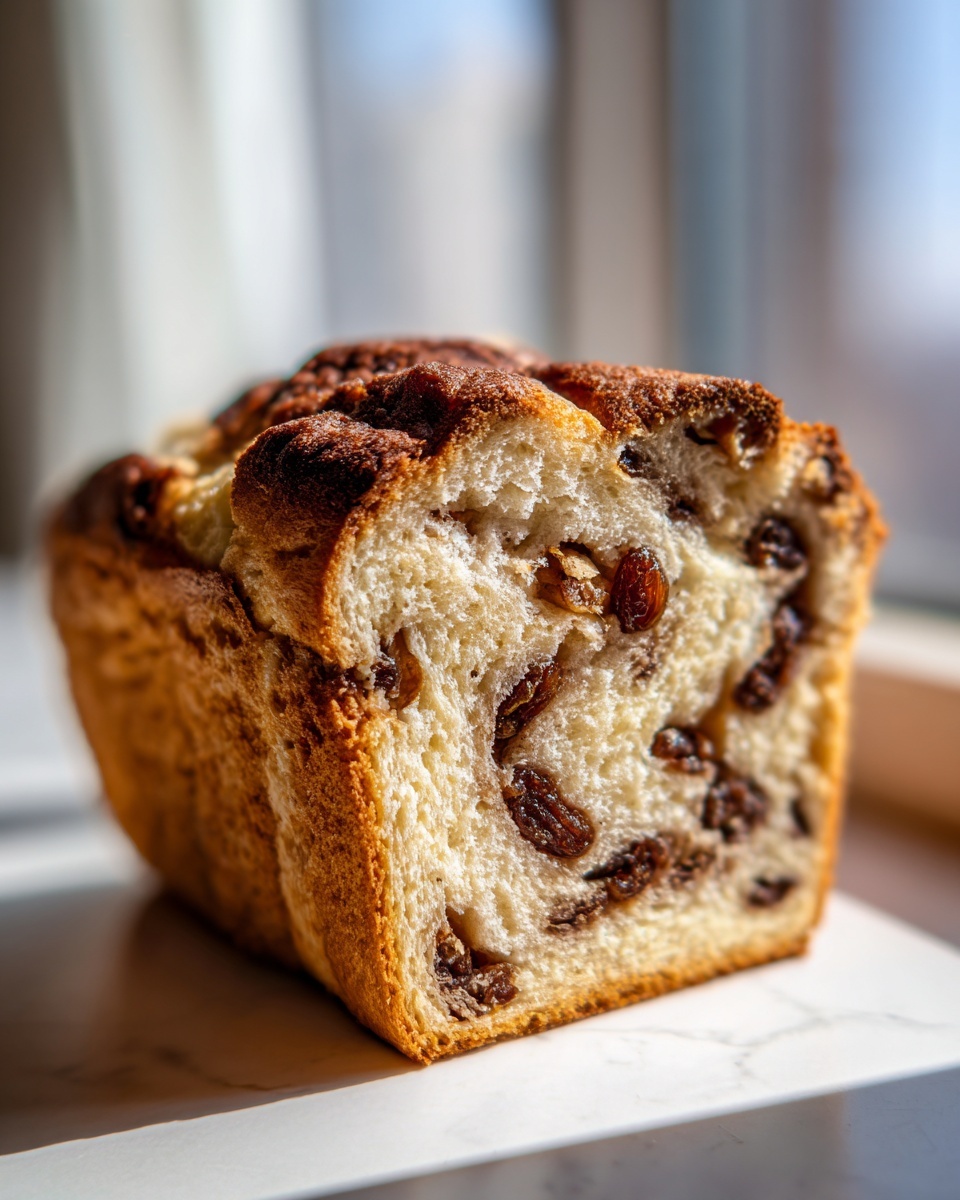
Ingredient Notes and Raisin Preparation for Fluffy Raisin Bread Baking
Before you even think about mixing, you need to plump those raisins! I usually soak mine in hot water for about ten minutes until they look nice and swollen, then I always, always drain and pat them dry. This keeps them from sucking moisture out of your beautiful dough, ensuring we get that truly Fluffy Raisin Bread Baking texture we want. Also, remember that egg must be at room temperature. It incorporates so much better that way, leading to a smoother, more uniform dough structure right from the start.
Step-by-Step Instructions for Your Soft Raisin Bread
Alright, let’s get this dough going! Baking bread can feel intimidating, but trust me, since I developed this to be straightforward yet elegant, you’ve got this. We’re going to take this slow and steady, especially through the rising stages. Once you get the technique down for this classic loaf, you’ll feel like a true pro. Just focus on the tactile sensations—the smoothness of the dough and the scent of the cinnamon as we layer it in! For more helpful kitchen techniques, check out my latest thoughts on the Unfold Recipes Blog.
Mastering the Yeast Raisin Bread Dough and First Rise
First things first: waking up the yeast. This is non-negotiable for a good Yeast Raisin Bread. Combine your warm milk—it should feel pleasantly warm on your wrist, not hot—with the sugar and yeast. Let it foam up beautifully for about ten minutes. Once that’s foamy, we fold in the rest of our wet elements. After adding flour and salt, you mix it just until it comes together into a shaggy mess before you even start kneading toward that smooth, elastic texture. Then, cover that bowl and walk away for at least an hour! That first rise builds all the structure.
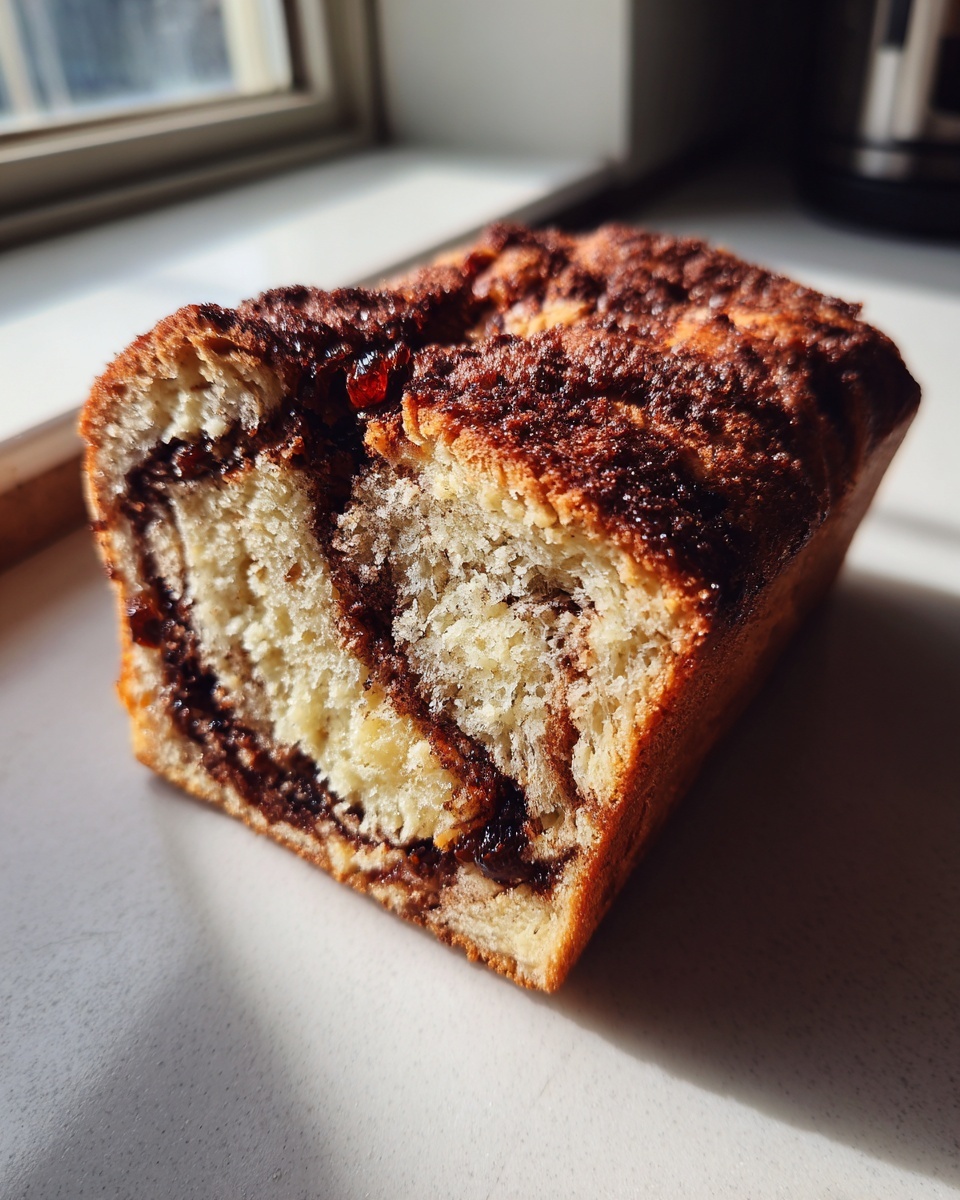
Creating the Cinnamon Sugar Swirl in Your Raisin Bread
Once the dough has happily doubled, it’s time for the fun part: the swirl! Mix your brown sugar and cinnamon until they are perfectly combined—this is our flavor bomb. Punch down the dough gently and roll it out into a big rectangle. Now, ensure you spread that softened butter evenly edge-to-edge before sprinkling on the cinnamon sugar and those plumped raisins. Roll it up tight, starting from the long side, pinch that seam to seal it shut, and tuck it snugly into your greased loaf pan.
Tips for Success with Your Homemade Cinnamon Swirl Bread
Even though this is a straightforward recipe, a few tricks elevate it from good to absolutely phenomenal, giving you that perfect Homemade Cinnamon Swirl Bread quality every single time. When you take it out of the oven, don’t let it sit in that hot pan for even a moment! Immediately turn the loaf out onto a wire rack to cool completely. If you leave it in the pan, the residual steam will make the bottom crust soggy, and we want a beautiful texture all around.
Also, don’t shy away from utilizing that instant-read thermometer—it’s a modern miracle! While the golden-brown crust is a great visual clue, the real key is hitting an internal temperature of 200°F (93°C). If you’re going for that extra bakery shine, right when the loaf comes out, brush the top lightly with some melted butter. It melts into the crust and gives it the most gorgeous sheen. It’s these little professional touches taught in culinary school that make all the difference. If you’re planning a gathering, you can check out my simple tips for seamless entertaining on my Appetizers page.
Serving Suggestions for Warm Raisin Bread Slices
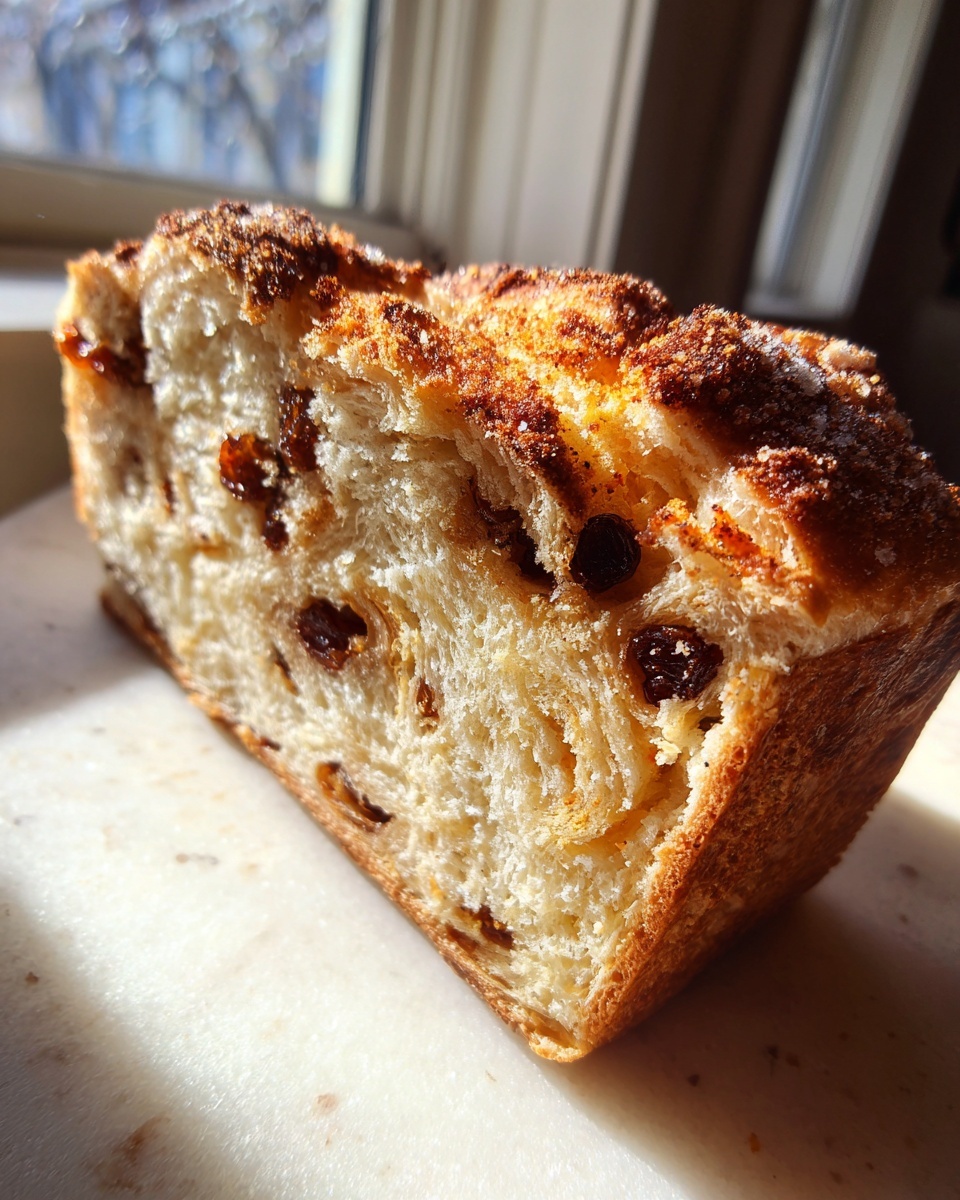
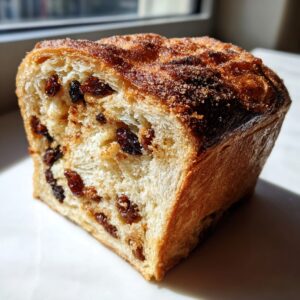
Once this loaf has cooled just enough that you can handle it without burning your fingers—that perfect stage of warmth—it’s time to slice it open! The smell alone is enough to categorize this as one of the best Comfort Baking Recipes you’ll ever make. For such a flavorful bread, you don’t need much!
I love taking thick, Warm Raisin Bread Slices, toasting them lightly, and slathering them with just a touch of good quality, softened salted butter. If you want to elevate it just a touch more, a schmear of softened cream cheese or ricotta is divine. Truly, that simple combination lets the cinnamon and raisins shine perfectly. Explore more ideas for pairing foods on my Side Dishes page.
Storage & Reheating Instructions for Leftover Raisin Bread
Okay, so inevitably we have leftovers, right? If you manage to resist eating the whole loaf in one sitting! To keep that perfect, almost unbelievable Soft Raisin Bread crumb intact, you have to let it cool completely before you even think about slicing. Seriously, slicing it warm traps moisture weirdly and ruins the structure later.
Once it’s totally cool, store it tightly wrapped in foil or in a completely airtight container at room temperature. It stays fresh for three or four days this way. If you just can’t finish it by then, just wrap individual slices really well and pop them in the freezer. Then, when you want a treat, you can just pop a frozen slice right into the toaster!
Frequently Asked Questions About This Sweet Bread Recipes
I get so many lovely questions about adapting things once people try this loaf! It means so much that you are trusting me with your kitchen time. I truly believe that once you master this technique for Sweet Bread Recipes, you can adapt it for so many occasions. Here are some of the most common things people ask when making their first loaf.
Can I make this an Easy Raisin Bread Recipe using the No Knead Method?
That’s a fantastic question about finding an Easy Raisin Bread Recipe! While I call for a good 8 minutes of kneading to develop the gluten structure needed for that beautiful cinnamon swirl to hold up, you *could* try a variation of a no-knead style. If you skip the kneading, you’ll need to significantly increase that first rise time—think closer to 3 or 4 hours, or even an overnight retardation in the fridge. You have to let time do the work the kneading usually handles, but be careful the dough doesn’t get too slack before you add the filling!
What is the best way to substitute raisins?
If raisins aren’t your absolute favorite, you have great options! Dried cranberries or chopped, plumped dried cherries work beautifully and add a little extra tartness to balance the sugar. If you happen to have some nuts lying around, you can definitely combine them! For instance, mixing dried cranberries with chopped walnuts makes a lovely Raisin Walnut Bread vibe. If you substitute, just be sure they are roughly the same volume as the raisins called for so you maintain that textural balance throughout the loaf. If you love sweet bakes, you might want to browse my Desserts category next!
Nutritional Estimates for a Slice of Homemade Raisin Bread
Because we use real butter and plenty of wholesome flour and fruit, these estimates give you a good baseline for what you’re enjoying. Keep in mind that these figures are approximations for one slice based on the provided ingredient list, and they will vary depending on how generously you fill that gorgeous cinnamon swirl!
- Serving Size: 1 slice
- Calories: 220
- Sugar: 12g
- Fat: 5g
- Protein: 5g
Share Your Homemade Bakery Style Bread Experience
Now that you’ve pulled this beautiful loaf from your oven, I truly want to hear about it! Did the cinnamon swirl look as elegant as you hoped? Please leave a rating below and let me know how this Homemade Bakery Style Bread turned out for you. If you snapped a photo of your glorious slices, tag me! Sharing your baking journey helps me continue crafting reliable, elegant recipes for our community. You can always get in touch via my Contact Page anytime!
PrintSoft Homemade Cinnamon Raisin Bread
Bake a soft, fluffy loaf of homemade Cinnamon Raisin Bread with a warm cinnamon sugar swirl. This recipe delivers bakery-style flavor with simple steps perfect for your cozy mornings.
- Prep Time: 30 min
- Cook Time: 35 min
- Total Time: 2 hr 40 min
- Yield: 1 loaf (about 12 slices) 1x
- Category: Breakfast
- Method: Baking
- Cuisine: American
- Diet: Vegetarian
Ingredients
- 1 cup warm milk (about 110°F)
- 2 1/4 teaspoons active dry yeast
- 1/4 cup granulated sugar plus 1 teaspoon for yeast
- 1 large egg, room temperature
- 1/4 cup unsalted butter, melted
- 3 1/2 cups all-purpose flour, plus more for dusting
- 1 teaspoon salt
- 1 cup raisins, plumped
- 1/2 cup packed light brown sugar
- 2 tablespoons ground cinnamon
- 1/4 cup unsalted butter, softened (for swirl)
Instructions
- Activate the yeast: In a large bowl, combine the warm milk, 1 teaspoon of sugar, and the yeast. Let stand for 5 to 10 minutes until foamy.
- Mix the dough: Add the remaining 1/4 cup sugar, melted butter, and egg to the yeast mixture. Stir well. Gradually add the flour and salt. Mix until a shaggy dough forms.
- Knead: Turn the dough out onto a lightly floured surface. Knead for 6 to 8 minutes until the dough is smooth and elastic.
- First Rise: Place the dough in a lightly oiled bowl, turning to coat. Cover the bowl and let it rise in a warm place for 1 to 1.5 hours, or until doubled in size.
- Prepare the filling: While the dough rises, mix the brown sugar and cinnamon together in a small bowl.
- Shape the loaf: Gently punch down the risen dough. Roll it out on a lightly floured surface into a rectangle about 10 by 16 inches.
- Spread the filling: Spread the softened butter evenly over the dough surface. Sprinkle the cinnamon sugar mixture over the butter. Scatter the plumped raisins evenly over the sugar.
- Roll and place: Starting from the long edge, tightly roll the dough into a log. Pinch the seam closed. Place the log, seam-side down, into a greased 9×5 inch loaf pan.
- Second Rise: Cover the loaf pan loosely and let it rise again for 30 to 45 minutes, or until the dough has crowned about 1 inch above the rim of the pan.
- Bake: Preheat your oven to 375°F (190°C). Bake for 30 to 35 minutes, or until the top is golden brown and the internal temperature reaches 200°F (93°C).
- Cool: Remove the bread from the pan immediately and cool on a wire rack before slicing.
Notes
- To plump raisins, soak them in hot water or a splash of rum for 10 minutes, then drain and pat them dry before adding to the dough.
- For a beautiful, shiny crust, brush the top of the loaf with a little melted butter immediately after it comes out of the oven.
- This bread is excellent toasted and served with cream cheese or butter for breakfast.
Nutrition
- Serving Size: 1 slice
- Calories: 220
- Sugar: 12
- Sodium: 250
- Fat: 5
- Saturated Fat: 3
- Unsaturated Fat: 2
- Trans Fat: 0
- Carbohydrates: 40
- Fiber: 2
- Protein: 5
- Cholesterol: 25