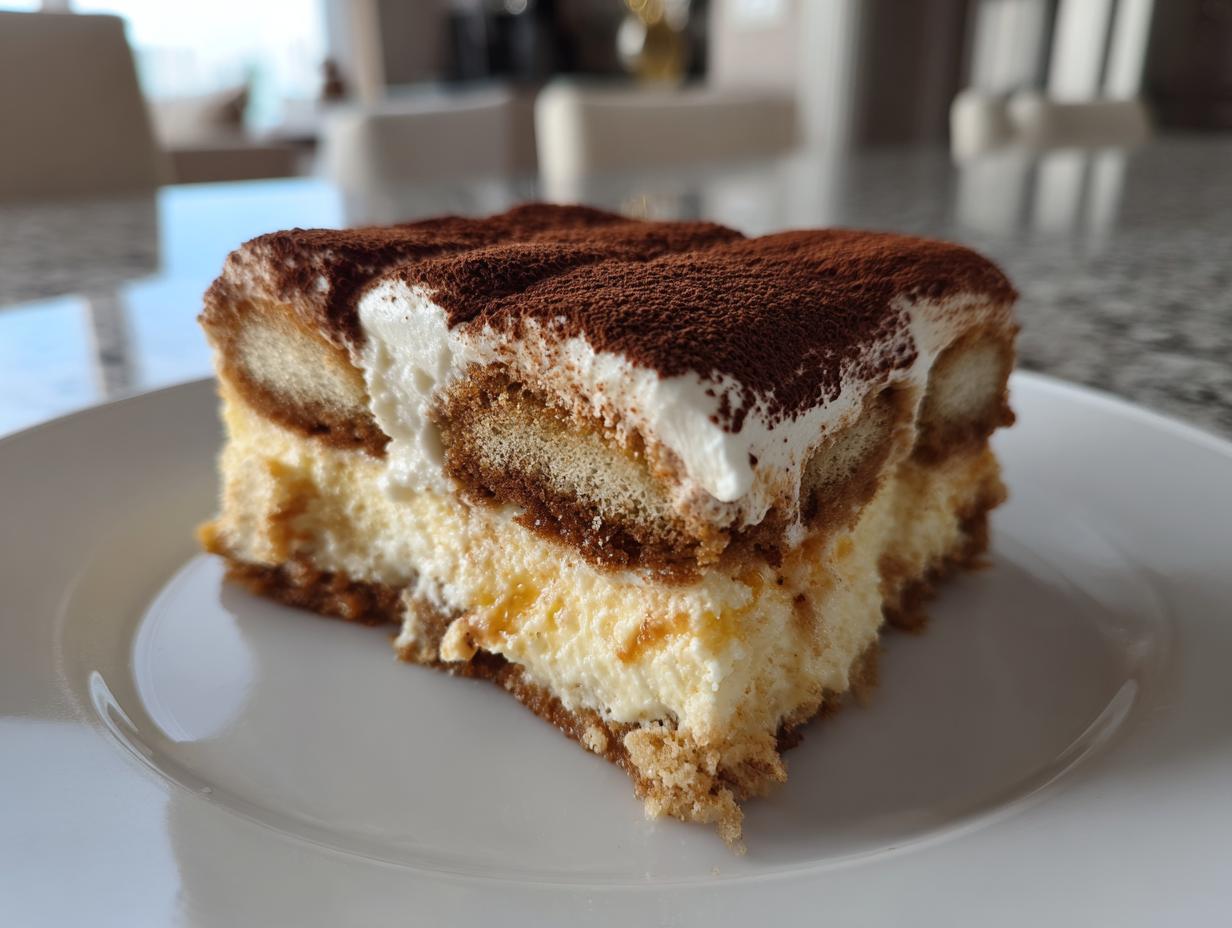

When I think about truly elegant desserts, my mind always drifts straight to Italy. There’s something in the simplicity—the quality of the mascarpone, the deep, dark kiss of espresso—that feels both decadent and perfectly balanced. For me, mastering a few core Classic Italian Desserts felt like unlocking a secret language of hosting. And nothing speaks more eloquently than a flawless tiramisu recipe.
When I left my corporate life to pursue cooking, I realized that the most beautiful dishes aren’t always the most time-consuming. Tiramisu perfectly embodies my philosophy here at Unfold Recipes: approachable elegance. It looks like it took hours of delicate pastry work, but honestly, this layered dessert comes together with surprisingly little fuss. You’ll be serving something truly impressive to your guests without ever turning on your oven. You can read more about my journey here at Unfold Recipes. This recipe brings that rich, traditional flavor right into your modern kitchen, and trust me, it’s going to become a staple for your entertaining repertoire.
- Why This Classic Italian Tiramisu Recipe Is Your New Favorite (Easy Tiramisu)
- Gathering Ingredients for Your Simple Tiramisu Recipe
- Step-by-Step Instructions for the No Bake Tiramisu
- Tips for Success: Mastering Your Homemade Tiramisu
- Serving Suggestions for this Coffee Dessert Recipe
- Storage and Make Ahead Dessert Tips for Your Tiramisu Recipe
- Variations on the Classic Italian Dessert
- Frequently Asked Questions About This Easy Tiramisu Recipe
- Estimated Nutritional Data for this Creamy Dessert
Why This Classic Italian Tiramisu Recipe Is Your New Favorite (Easy Tiramisu)
I know you probably see a lot of incredible Italian recipes online, but I had to dedicate a space to why this specific tiramisu recipe needs to be in your rotation. We built this recipe from the ground up focusing on flavor integrity without the stress. It’s the epitome of what I strive for here at Unfold Recipes: something that tastes absolutely professional but is genuinely simple to make.
- It’s completely No Bake Tiramisu—perfect for warm evenings or when your oven is busy with something else!
- We nail the Authentic Tiramisu flavor profile using quality mascarpone and strong espresso.
- It’s such a reliable Homemade Tiramisu; it sets up perfectly every time.
You can easily find more of my favorite sweet bakes over on my Desserts page, but for entertaining, nothing beats this coffee-soaked delight.
Approachable Elegance for Any Occasion
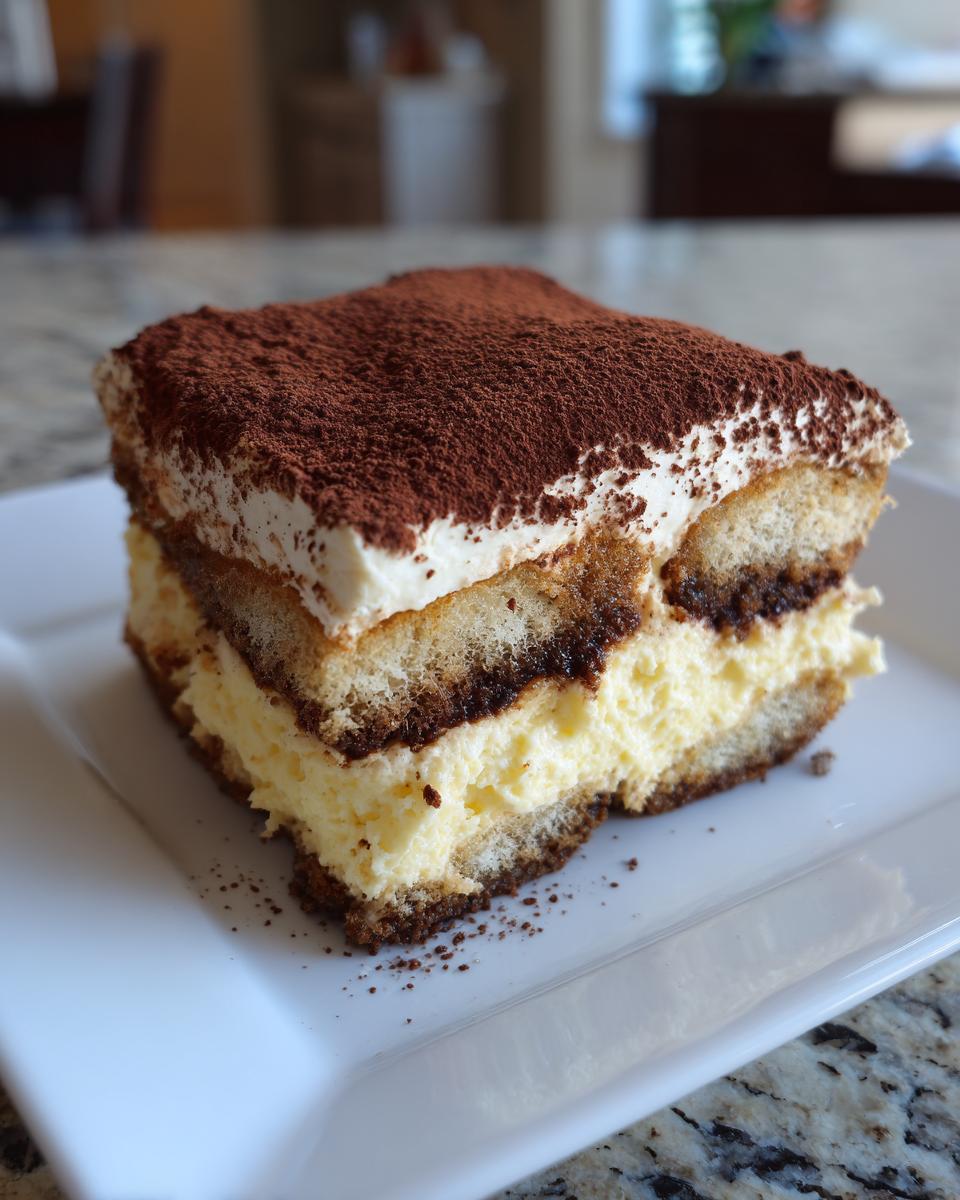
This is the ultimate Dessert for Parties because it looks so rich and layered when you slice into it, yet truly, the assembly is quick. You just dip, layer, and chill. It’s that quiet showstopper that makes guests think you spent all day patiently waiting for it to set. It’s sophisticated without demanding complicated pastry skills from you!
Gathering Ingredients for Your Simple Tiramisu Recipe
Before we get to the fun layering part, let’s talk about what you need. For this Simple Tiramisu Recipe to truly sing, we can’t skimp on the core players. This isn’t the place for substitutes, honestly—especially when it comes to that beautiful, rich mascarpone cheese. Every piece you gather here is essential for achieving that perfect texture that makes this the Best Tiramisu you’ll ever make.
It truly takes just a few quality components to create this Mascarpone Dessert, which is why it’s such a satisfying make-ahead treat for entertaining. You can see the whole list below, but first, you’ll want to pay close attention to the prep notes for the coffee and cream. You can find other wonderful sweets on my Desserts page, but this one is truly special.
Ingredient Notes and Substitutions for this Mascarpone Dessert
Listen, the coffee needs to be strong. We’re talking serious espresso that’s cooled down. Since this is a Coffee Dessert Recipe, weak coffee is just going to result in soggy, sad biscuits. If you’re leaving out the alcohol—and totally understandable for a family setting—swap that measure of rum or liqueur for a stronger coffee hit or perhaps a teaspoon of almond extract for an elevated flavor profile—think of it as a quick twist on a Classic Italian Dessert.
Now, about the eggs for this tiramisu recipe. Since we aren’t baking this dessert, we start with raw yolks. If you are cautious about using raw eggs—and I know many of you prefer to avoid them—you absolutely can temper them first, just like you would for a zabaglione. Gently heating the yolks and sugar over a double boiler until they thicken and reach about 160°F pasteurizes them beautifully and creates an even smoother base for your cream before you fold in the whipped cream. This is one way to ensure a safe, creamy base for your No Bake Tiramisu.
Step-by-Step Instructions for the No Bake Tiramisu
Okay, this is where the magic happens! Because this is a No Bake Tiramisu, assembly is fast, which is why I listed the prep time separately. Once your espresso is cool and your cheese is soft, put everything else out on the counter. We move quickly from here to ensure everything stays light and luxurious. This is the moment that turns your ingredients list into the Elegant Dessert you’ve been dreaming of. You can check out my tips over on my No Bake Cookies page for general tips on keeping things out of the oven!
Creating the Creamy Dessert Filling for Your Tiramisu Recipe
First things first, we need that rich body for our Creamy Dessert. Whisk those yolks and sugar by hand or mixer until they get seriously pale and ribbon off the whisk—it lightens them up beautifully. Then, gently stir in your soft mascarpone. Don’t go crazy beating it right now; we only want it smooth.
Next, grab your chilled bowl and whip that heavy cream until you get those stiff, beautiful peaks. This air is critical! Now, fold the whipped cream into the mascarpone mixture in two gentle additions. I mean it: fold slowly and carefully. We are sacrificing speed here for airiness. Overmixing at this stage deflates the cream, and suddenly, your amazing tiramisu recipe feels dense instead of light.
Assembling the Layered Dessert (Ladyfinger Dessert)
Time for the famous coffee dip! This is the biggest mistake people make in a Ladyfinger Dessert: they leave the biscuit in the coffee too long. Swish it quickly—literally one second per side. We want them saturated with flavor but not dissolving under the weight of your cream. They should still have a tiny bit of structure.
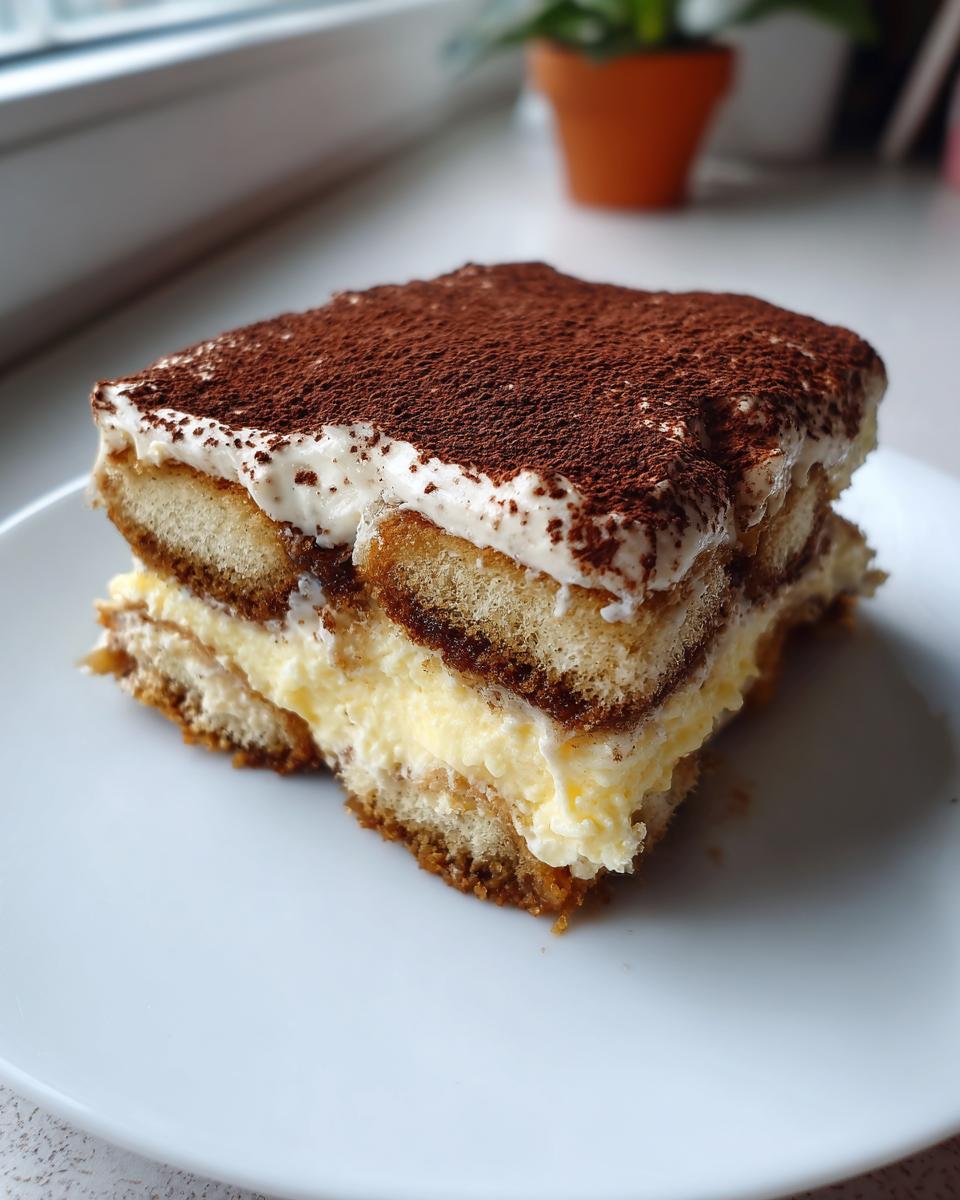
In your dish, lay down a single, beautiful layer of those dipped ladyfingers. Spread exactly half of your creamy filling right over the top. Smooth it out. Then, quickly repeat: another layer of quick-dipped biscuits, topped with the last of the cream. Use your spatula to make the top look nice and even, ready for its chilling time. Remember, this Layered Dessert needs a long, cold sleep to truly become what it’s meant to be!
Tips for Success: Mastering Your Homemade Tiramisu
Now that you’ve assembled this beautiful Layered Dessert, the hardest part is waiting, but trust me, these final tips will ensure your Homemade Tiramisu is the absolute best. Achieving that perfect, luxurious mouthfeel takes just a little bit of attention to timing and temperature.
First, let’s talk about the biscuits again—this is where many of us trip up! If your ladyfingers are soaking for more than a quick count of two per side, they will turn into sad, soggy mush after chilling. You want that espresso flavor, yes, but they should still hold their shape when you press them lightly. If you accidentally over-dip one? Tuck it into the middle layer where no one will see its slight structural failure!
The other common pitfall is thinking you can rush the chilling period. This isn’t just about making sure the dish is cold; it’s about integration. The flavors need time together. The espresso needs to wick evenly through the biscuits, and the mascarpone structure needs to firm up. Truly, your Make Ahead Dessert tastes exponentially better on day two. Plan for at least six hours, but if you can resist for overnight, you will be so rewarded with the richest, most stable slices.
If you find your cream mixture seems a little too soft even before assembly—maybe your mascarpone was too warm—don’t panic. You can gently place the bowl back in the fridge for 10 to 15 minutes just to stabilize it before spooning it over the biscuits. This little pause helps secure the structure, ensuring your final product lives up to the title of the Best Tiramisu.
For more insights into hosting and elevating your kitchen creations, feel free to browse my latest posts!
Serving Suggestions for this Coffee Dessert Recipe
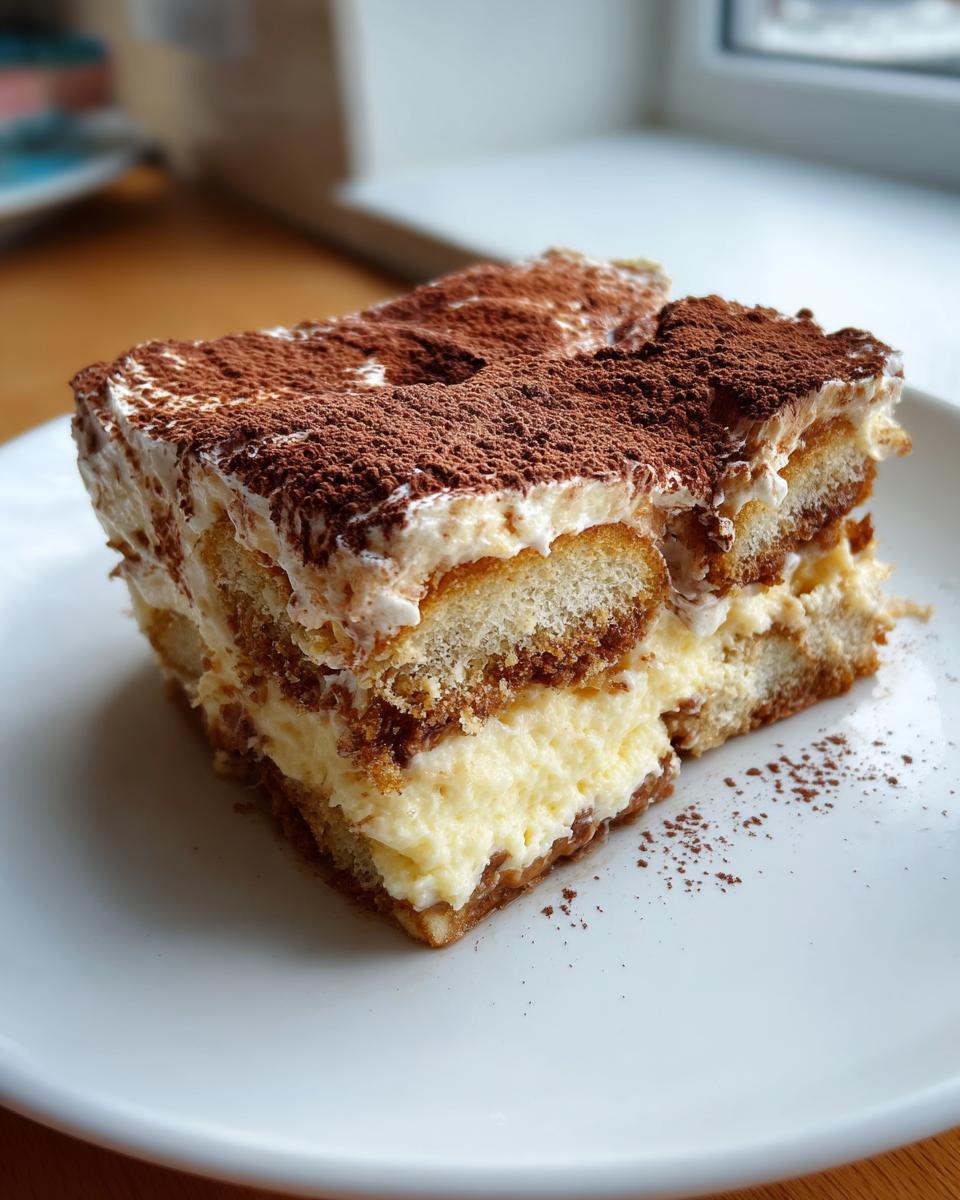
The moment you dust that final layer of bittersweet cocoa powder over your chilled tiramisu, the hard work is done—but the presentation is what unlocks that truly stunning, Aesthetic look we love. Since this Coffee Dessert Recipe is rich, the pairings are just as important as the layers themselves!
For the ultimate pairing, think about contrasting textures or amplifying the coffee notes. If you have leftovers from my Chai Latte Spiced Milk Tea recipe, that warm, spiced milk is an absolute dreamy companion to balance the intense espresso here. It’s like a little hug next to the vibrant Italian flavor.
Presentation Ideas for an Elegant Dessert
While serving straight from the 8×8 dish is always lovely—it gives that rustic, truly homemade feel—if you want to elevate this even further, try assembling it in individual glasses or small ramekins. You can use clear stemless wine glasses, for example. This immediately turns your tiramisu recipe into an utterly elegant individual dessert. You still get all those gorgeous layers visible through the glass!
When dusting with cocoa powder, skip shaking it directly over the top. Instead, use a very fine-mesh sieve and tap it very gently. This creates a fine, even veil of chocolate dust rather than clumps. If you’re feeling fancy for a special occasion, you can use a stencil—maybe a small heart or a simple initial—to dust cocoa through before carefully lifting it away. It’s such a small step, but it makes that first serving look absolutely magazine-worthy.
Finally, a tiny drizzle of high-quality, dark chocolate sauce right over the cocoa just before serving adds this beautiful, glossy sheen that catches the light. It really highlights the rich flavor profile of this beautiful Mascarpone Dessert. It’s all about those little finishing touches that make people pause and admire before they take that first, creamy spoonful!
Storage and Make Ahead Dessert Tips for Your Tiramisu Recipe
One of the absolute best things about this tiramisu recipe is that it actually needs to be made ahead of time—it’s the dream Make Ahead Dessert! You literally get to finish all the work, stash it away, and then completely forget about it until you need that magnificent, creamy final course later.
I always advise aiming for overnight if you possibly can. Seriously, if you assemble this beautiful layered beauty tonight, tomorrow its flavor will be exponentially deeper. The coffee soaks in perfectly overnight, the mascarpone firms up beautifully, and those flavors just meld together in this magical, cohesive way. It goes from delicious to truly unforgettable after a good, long chill.
When you cover it, use plastic wrap and press it gently right down onto the surface of the cocoa dust to prevent that surface from getting sweaty or drawing in fridge smells. If you’re worried about the wrap sticking to the dusting, you can wait until the very last minute to dust the cocoa, which I sometimes do for an extra aesthetic push, though I prefer dusting it before chilling if I’m keeping it simple.
How Long Does Homemade Tiramisu Last?
Because we use pasteurized yolks or a tempered method in this tiramisu recipe—which gives us that wonderful stability—it keeps really well in the refrigerator. Stored tightly covered and kept cold, you can safely enjoy this dessert for four full days. Four days! That means you can make it for a dinner party on Friday and still serve beautiful, creamy slices on Tuesday without losing quality.
If you are making it in individual glasses, like I suggested for an aesthetic presentation, make sure those little lids or plastic wraps seal tightly around the tops. For larger dishes, just be sure the plastic doesn’t touch the top layer of cocoa too hard. Don’t even think about freezing it, though! The texture of the mascarpone and whipped cream just doesn’t do well coming back from a deep freeze, and you want that luscious melt-in-your-mouth factor.
If you’re interested in other fantastic make-ahead recipes that save you time, you should definitely check out my tips for Pumpkin Overnight Oats—they follow a similar philosophy of preparing ahead for simple mornings!
Variations on the Classic Italian Dessert
While I truly believe this tiramisu recipe as written captures the soul of a Classic Italian Dessert, I also know that the best cooks love to play! Once you’ve mastered the technique and understand why those layers work, you can start shifting things around to make it uniquely yours. These are just small tweaks, mind you—we aren’t reinventing the wheel, just adding a little flair to our favorite Mascarpone Dessert.
The easiest place to play is always with the soaking liquid. If you’ve made the family-friendly version without alcohol, or if you just want to keep experimenting, try swapping that optional rum for something else that speaks to you. This is where you can create distinct, elegant versions of this layered dessert!
Boosting the Coffee Kick
Sometimes you just need that bold, intense coffee hit to cut through the richness of the cream. If your espresso machine is pulling a little weak one morning, don’t worry about letting the liquid cool for too long. A slightly warmer, more concentrated espresso dip will give you a deeper, slightly more bitter note that really grounds the sweetness of the mascarpone. It leans more toward that rich, intense flavor you might find in the more traditional versions.
Conversely, if you’re serving this to folks who aren’t huge coffee fans, you can cut your espresso with strong brewed chicory or even a dark, steeped black tea. It still gives you that necessary liquid base for the ladyfingers, but the flavor is gentler. It’s still a wonderful Coffee Dessert Recipe, just a softer iteration.
Extract Swaps for New Flavors
My favorite trick when I want to change things up without messing with the core structure is adding a complementary extract to the mascarpone cream base, right when you add the vanilla. This is a fantastic way to personalize your Simple Tiramisu Recipe!
For fall gatherings, a half teaspoon of pure maple extract added to the cream mixture works shockingly well, bringing a cozy note that pairs beautifully with the cocoa dusting. Or, for something really lush, try a small splash of Amaretto liqueur instead of rum—that almond note sings against the coffee beautifully. It makes for such an Elegant Dessert for a special occasion!
Speaking of fun flavor variations, if you enjoyed learning the structure of this dessert, you might also appreciate my approach to other structured bakes, like my Pumpkin Coffee Cake Recipe. It follows a similar principle of layering flavor beautifully!
A Touch of Citrus Zest
If you want brightness, this is the easiest path. Before you fold in your whipped cream, grate the zest of one full orange—just the orange part, please, no bitter white pith!—and mix it directly into the mascarpone and yolk mixture. The citrus oils awaken the entire dessert and make it feel almost lighter on the palate. This is a wonderful option for serving after a heavy meal because the brightness lifts that richness. It’s an easy way to create a visually stunning, unforgettable Homemade Tiramisu.
Frequently Asked Questions About This Easy Tiramisu Recipe
I always get the best questions after someone tries this recipe for the first time! Since we are aiming for that sweet spot between simple execution and traditional taste, there are always little details that pop up. Don’t hesitate to reach out on my Contact Page if you have any lingering curiosity about your gorgeous Homemade Tiramisu!
Can I skip the alcohol in this *tiramisu recipe*?
Absolutely, yes! Please do if you prefer, especially if little ones are joining you for this incredible Creamy Dessert. The alcohol is really just there to enhance the coffee notes, not to make or break the dish. If you skip it, I highly recommend putting that liquid volume back into your strong espresso. Alternatively, for a lovely depth in your Coffee Dessert Recipe, you can add a teaspoon of pure almond extract or even a few drops of vanilla to the espresso mix. It keeps that wonderful flavor complexity without needing any booze.
How long must the *No Bake Tiramisu* chill before serving?
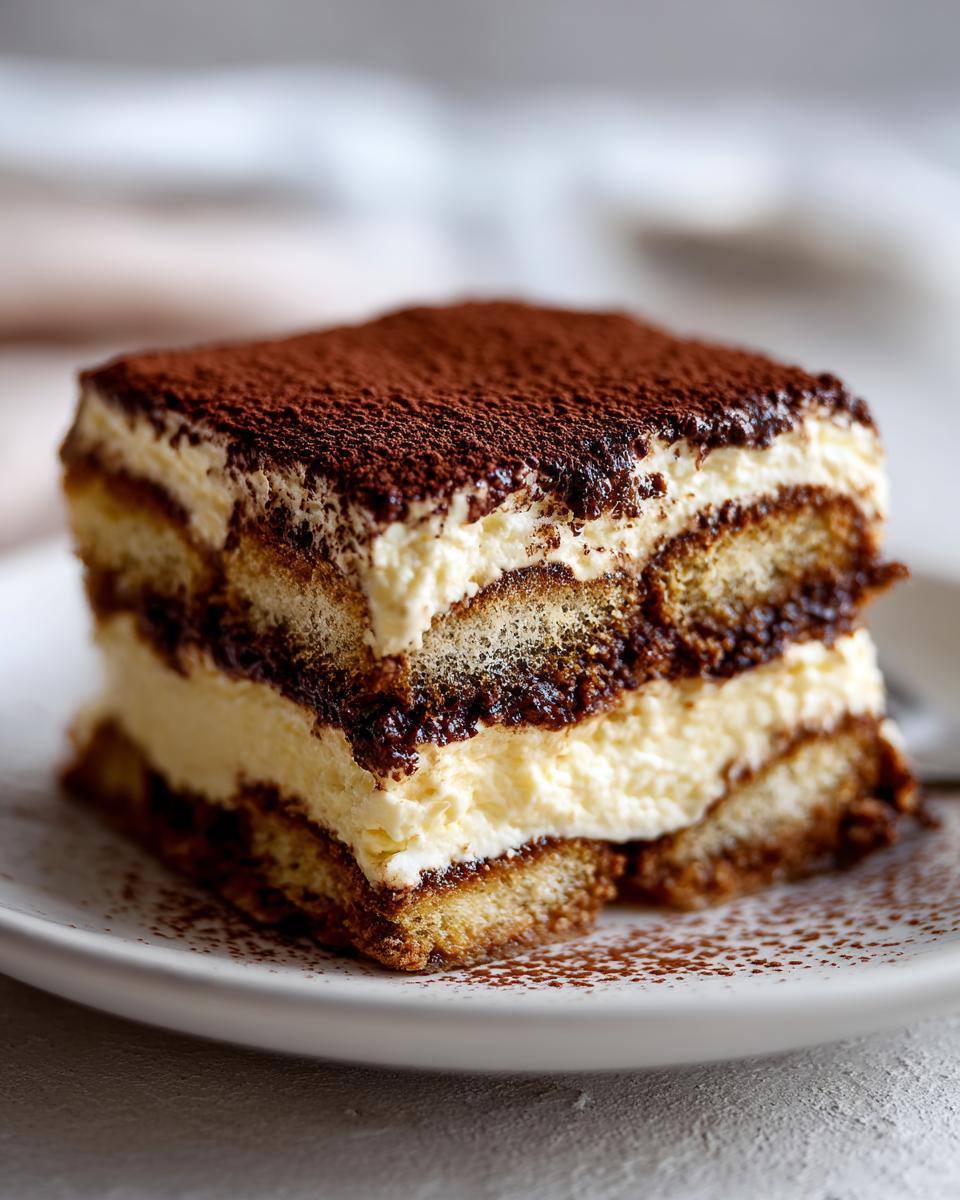
This is my number one piece of advice: Do not rush the chill! While technically, if you are in a pinch, you can cover the dish and refrigerate it for a minimum of six hours, I genuinely insist that you aim for overnight. That long, cold rest is what transforms those dipped ladyfingers and the mascarpone cream from ‘just layered’ to a cohesive, luscious, Layered Dessert. When you taste it the next day, you’ll know exactly what I mean. It truly becomes the Best Tiramisu after that overnight nap!
Is this truly an *Authentic Tiramisu* if it is *Easy Tiramisu*?
That is such a wonderful question that gets right to the heart of what I do here. Yes, I wholeheartedly believe this honors the spirit of Authentic Tiramisu! While a highly traditionalist Italian baker might argue about tempering the yolks or using Marsala wine, this simplified way still respects the core components that define the treat: intense espresso, high-quality mascarpone, and ladyfingers. We’ve just made the steps more approachable for the modern home cook, which is the goal of an Easy Tiramisu. It delivers that classic flavor profile of a Classic Italian Dessert without intimidating you!
Estimated Nutritional Data for this Creamy Dessert
Now, I always want to be super clear about these numbers since every kitchen uses slightly different items—maybe your mascarpone is a bit richer or your espresso has added sugar! These figures are estimates based on the ingredients listed in the recipe, assuming you use the optional rum but no extra sugar in the coffee dip.
This Creamy Dessert is definitely an indulgence worth having, but knowing the numbers can help you plan the rest of your menu. This estimate breaks down what you can generally expect in one generous slice of what I promise is your new favorite tiramisu recipe.
- Serving Size: 1 slice
- Calories: 420
- Fat: 30g (with 18g saturated)
- Carbohydrates: 32g
- Protein: 8g
- Sugar: 28g
- Cholesterol: 150mg
It gives you a good idea of the rich, satisfying nature of this Classic Italian Dessert. Enjoy every bite!
PrintThe Best Classic Italian Tiramisu Recipe: Easy No-Bake Delight

Create this irresistible, classic Italian Tiramisu right in your kitchen. This simple, no-bake method layers creamy mascarpone with coffee-soaked ladyfingers for an elegant dessert that impresses every time.
- Prep Time: 25 min
- Cook Time: 0 min
- Total Time: 25 min
- Yield: 8 servings 1x
- Category: Dessert
- Method: No Bake
- Cuisine: Italian
- Diet: Vegetarian
Ingredients
- 1 cup strong brewed espresso, cooled
- 2 large egg yolks
- 1/2 cup granulated sugar
- 1/4 cup dark rum or coffee liqueur (optional)
- 16 ounces mascarpone cheese, softened
- 1 cup heavy cream, cold
- 1 teaspoon vanilla extract
- 1 package (7 ounces) ladyfingers (Savoiardi biscuits)
- Unsweetened cocoa powder, for dusting
Instructions
- Prepare the espresso mixture: In a shallow bowl, combine the cooled espresso, optional rum or liqueur, and half of the granulated sugar. Stir until the sugar dissolves.
- Make the mascarpone cream base: In a medium bowl, whisk the egg yolks and the remaining granulated sugar until the mixture is pale yellow and thick. This takes about 3 minutes. Gently whisk in the softened mascarpone cheese until smooth.
- Whip the cream: In a separate, chilled bowl, beat the cold heavy cream and vanilla extract with an electric mixer until stiff peaks form.
- Fold the mixtures: Gently fold the whipped cream into the mascarpone-yolk mixture in two additions until just combined. Do not overmix. This creates your creamy dessert filling.
- Assemble the tiramisu: Quickly dip each ladyfinger, one at a time, into the espresso mixture. Do not soak them too long, or they will become soggy.
- Arrange a single layer of dipped ladyfingers in the bottom of an 8×8 inch baking dish or a similar-sized serving dish.
- Spread half of the mascarpone cream mixture evenly over the ladyfinger layer.
- Repeat the layers: Dip and arrange a second layer of ladyfingers over the cream, followed by the remaining mascarpone cream. Smooth the top with a spatula.
- Chill: Cover the dish tightly with plastic wrap. Refrigerate the tiramisu for at least 6 hours, or preferably overnight, to allow the flavors to meld and the dessert to set properly. This make ahead dessert tastes best after chilling.
- Serve: Before serving, dust the top generously with unsweetened cocoa powder using a fine-mesh sieve. Slice and serve this elegant dessert.
Notes
- For a family-friendly version, skip the rum or liqueur entirely. You can add a teaspoon of almond extract to the espresso for a different flavor note.
- If you prefer a richer, more traditional cream, you can temper the egg yolks over a double boiler until they reach 160°F before whisking with sugar.
- This layered dessert looks beautiful when assembled in individual glasses for an aesthetic presentation.
Nutrition
- Serving Size: 1 slice
- Calories: 420
- Sugar: 28
- Sodium: 110
- Fat: 30
- Saturated Fat: 18
- Unsaturated Fat: 12
- Trans Fat: 0.5
- Carbohydrates: 32
- Fiber: 1
- Protein: 8
- Cholesterol: 150