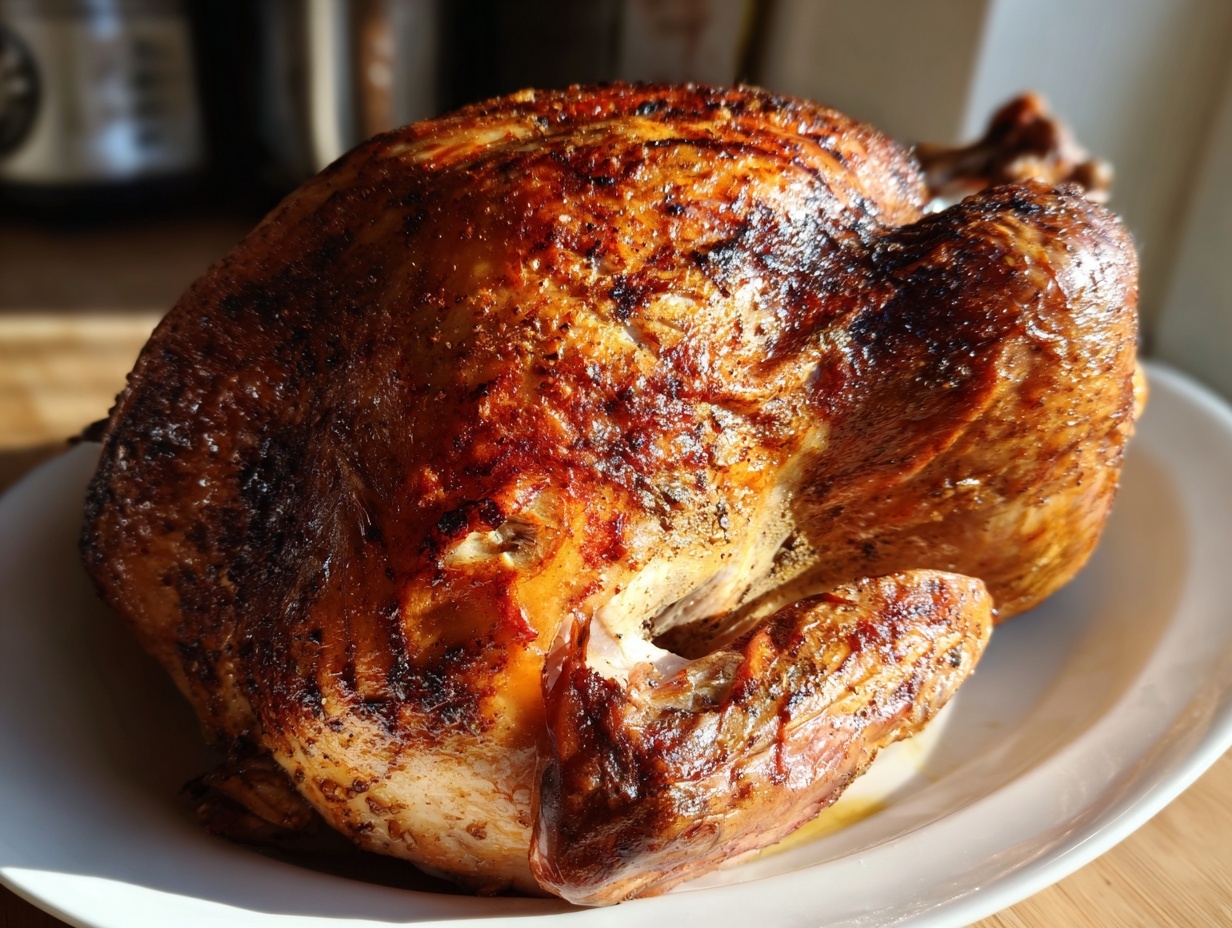

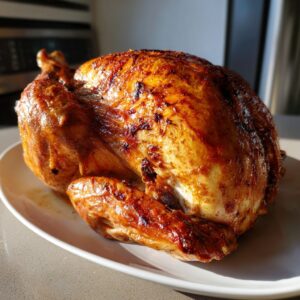
There is nothing sadder on a holiday table than a beautiful, huge bird that turns out dry and stringy. I’ve certainly had those moments myself when the pressure of the feast got the better of me! But now? I never worry. That is because I rely on what I consider the most essential step for any grand roast: the perfect turkey brine. Developing this method was crucial for me as I brought my mother’s bright Californian style together with the deep, soulful flavors I remember from my father’s family heritage.
For me, creating warmth and connection at the table starts with meat that sings. This ultimate juicy turkey brine recipe has become my signature approach to ensuring the centerpiece is tender, flavorful, and absolutely unforgettable, year after year. It truly is the secret weapon.
- Why This Ultimate Turkey Brine Recipe Guarantees a Juicy Turkey Recipe
- The Best Turkey Brine Ingredients for Flavorful Turkey Poultry
- Brining Steps for Beginners: How to Brine a Turkey Perfectly
- Crucial Post-Brine Turkey Brine Steps for Crisp Skin
- Making Ahead Turkey Cooking and Storage Tips
- Troubleshooting Common Turkey Brine Issues
- Serving Suggestions to Complete Your Holiday Roast Turkey Tips
- Frequently Asked Questions About Turkey Brine
- Estimated Nutritional Data for This Turkey Brine Recipe
Why This Ultimate Turkey Brine Recipe Guarantees a Juicy Turkey Recipe
When you want that perfectly tender, savory bird, you simply have to trust the science of the soak. This recipe uses a wet brine for turkey, which is the fastest and most reliable way to inject deep flavor right into the muscle fibers. Forget worrying about uneven seasoning; this method locks in unbelievable roast turkey moisture!
I know some cooks swear by dry brining these days, and it’s a great technique, but for sheer, foolproof juiciness, nothing beats submerging your bird in this ultimate juicy turkey recipe solution. It’s my guarantee that you’ll never serve a dry centerpiece again. It’s just the essential step for achieving the most memorable, flavorful turkey.
Wet Brine for Turkey vs. Dry Brining: A Quick Comparison
Simply put, wet brining means you’re allowing the turkey to soak directly in a saltwater solution before cooking. This solution works its way gently through all the tissue, keeping things incredibly moist. Dry brining, which involves rubbing salt directly onto the skin, works differently by slowly drawing moisture out and reabsorbing it.
While dry brining gives you fantastic skin crispiness, I lean on this wet brine for turkey when I need absolute assurance against dryness. It’s an easier method for beginners, and the flavor infusion is unbeatable when using all those herbs we add!
The Best Turkey Brine Ingredients for Flavorful Turkey Poultry
The success of any great recipe truly comes down to respecting the ingredients, and that’s certainly the case here! These are, in my humble opinion, the best turkey brine ingredients you can use for an incredibly flavorful turkey poultry centerpiece. The secret isn’t just the quantity of salt, but the sacred ballet between the salt and the brown sugar.
The salt is essential for the magic, of course, but the brown sugar—packed firmly, please!—balances that salinity, ensuring the meat stays seasoned savory, not intensely salty. This careful ratio is what makes this recipe consistently delicious, earning its place in my holiday tradition. If you’re curious about other approaches, you can always check out a basic recipe idea like the one over at this basic turkey brine for reference!
Ingredient Clarity and Preparation Notes
To make sure you have everything ready for your brine base, here is the definitive list. Pay close attention to how you prep the aromatics; it helps them release their oils more deeply into the solution:
- 1 cup Kosher salt
- 1/2 cup packed brown sugar
- 1 whole orange, halved
- 1 lemon, halved
- 4 sprigs fresh rosemary
- 6 sprigs fresh thyme
- 4 cloves garlic, smashed
- 1 tablespoon black peppercorns
- 1 gallon cold water (plus more ice)
- 1 (12-14 pound) whole turkey
Remember, smashing the garlic cloves (don’t even bother peeling them!) and halving the citrus means we get maximum flavor contribution as the brine heats up.
Citrus Herb Turkey Brine Spotlight
This combination of fresh herbs and bright citrus defines our citrus herb turkey brine profile. We aren’t messing around with dried herbs here; we need the potent oils from fresh rosemary and thyme.
The orange and lemon aren’t just for decoration; their acidity actually helps tenderize the meat slightly while adding a bright counterbalance to the savory salt and earthy herbs. It just lifts the entire flavor profile, making the final roast taste complex and wonderfully fresh, even under all that roasted skin!
Brining Steps for Beginners: How to Brine a Turkey Perfectly
If you’ve never done this before, don’t let the process intimidate you! Learning how to brine a turkey is one of the simplest ways to guarantee a show-stopping holiday meal. This straightforward process ensures you get that incredible flavor infusion we talked about in every bite. These brining steps for beginners are designed to give you total confidence as you prepare your turkey brine.
Creating the Turkey Brine Base
First, we build the foundation. In a large, heavy-bottomed pot, you’ll combine your salt, brown sugar, citrus halves, and all those lovely herbs and peppercorns. Add about four cups of water. Heat this gently over medium heat, stirring constantly until you see all the salt and sugar vanish completely. This is key: just dissolve them; you absolutely do not want this mixture to come to a boil. Boiling can actually change the texture of the salt, and we are keeping things safe and steady here!
Achieving Safe Brining Temperature
This is where my culinary training kicks in! Once the salt and sugar are gone, take the pot off the heat immediately. You must cool this liquid down fast before the turkey ever touches it. I add the remaining cold water and a good amount of ice to shock it down. You have to get the brine below 40 degrees Fahrenheit before the bird goes in. Honestly, I use my instant-read thermometer because I’m obsessive about food safety; we never want that meat sitting lukewarm!
Submerging and Brining Time Guide
Now for the soaking! Place your whole turkey—make sure it’s neck-free and patted down first—into your container. Pour that beautifully cooled turkey brine over top, ensuring the bird is absolutely submerged. If it isn’t, add more ice and cold water until it is. Once submerged, that’s when your brining time guide clock starts ticking: 12 to 24 hours in the fridge for a whole bird. If you’re looking for more inspiration on timing right after this, check out this great resource on turkey brine recipes!
If you’re only doing a turkey breast, you can be quicker, aiming for 6 to 8 hours maximum. I learned this from my friends working in professional kitchens; trust me, you don’t want to over-brine. After the time is up, remember to toss that brine out, rinse everything well (we’ll cover that next!), and link over here for my foolproof gravy recipe to complete the meal!
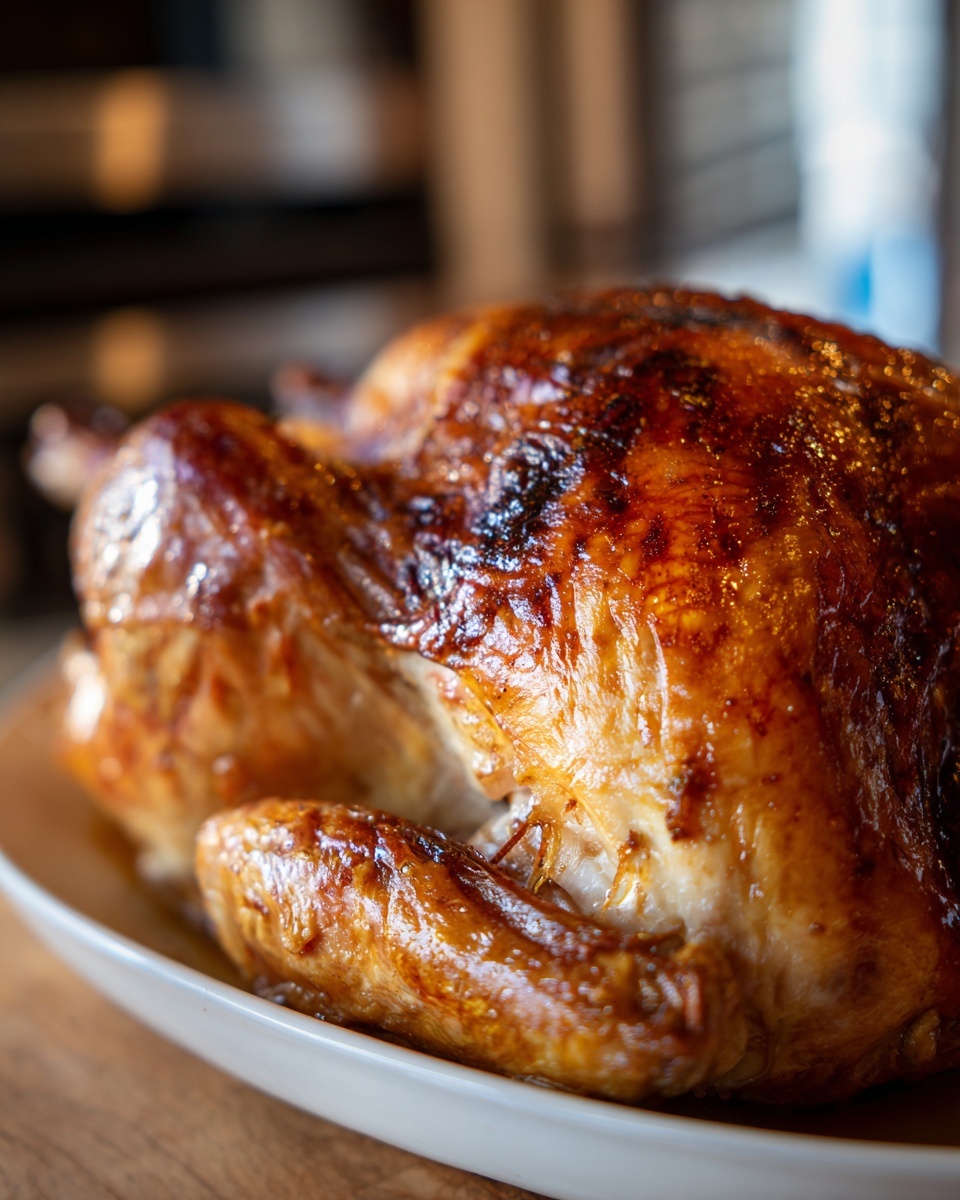
Crucial Post-Brine Turkey Brine Steps for Crisp Skin
Okay, you’ve done the hard part, and your turkey has soaked up all that wonderful salty goodness. Congratulations! But stop right there—the post-turkey brine steps are where people panic or, worse, mess up the beautiful work they just did. We need to transition from plump and seasoned to perfectly prepped for roasting, and that means getting rid of any lingering saltiness and achieving skin that actually *crisps up*.
Rinsing the Turkey After the Poultry Seasoning Soak
This is non-negotiable! You must rinse the turkey thoroughly once it comes out of the bath. Think of it as washing off the excess seasoning you don’t actually want baked onto the surface. A quick, cold shower inside and out under the faucet works wonders to remove any surface salt left over from the poultry seasoning soak. If you skip this, your final roast will likely taste far too salty.
The Essential Pat Down for Roast Turkey Moisture
Now for the real secret that gets mentioned in all those “no dry turkey secrets” guides: D-R-Y. After you rinse it, you have to pat it down. Use tons of paper towels—seriously, use the whole roll—until every bit of the skin is bone dry. I like to let it air dry uncovered in the fridge for a few hours too, which helps even more. If the skin is even slightly damp, you end up steaming instead of roasting, which ruins the beautiful color and texture you want! This drying step is truly essential for that perfect roast turkey moisture barrier.

After this, you can proceed with buttering or oiling and seasoning for the oven. You did great! If you want to see how I use my crockpot for a tender roast later in the year, check that out!
Don’t forget to read the great advice on post-brine care over at Natural Dishery to keep that juiciness locked in!
Making Ahead Turkey Cooking and Storage Tips
One of the things I love most about using a turkey brine is how much it helps with thanksgiving turkey preparation stress! This process is fantastic for make ahead turkey cooking because once you rinse and dry the bird, it’s practically ready to go. You can complete the entire brining, rinsing, and drying process a full day before you actually need to roast.
Once that bird is rinsed and patted completely dry—remember my obsession with that dry skin!—you need to store it safely. I place my bird on a rack set inside a rimmed baking sheet. Then it goes right back uncovered into the refrigerator. This allows the skin to firm up even more, which buys you time and sets you up for success later. This preparation is the key to a graceful hosting experience!
Don’t forget to have my bright and festive cranberry orange punch ready for your guests while you focus on that last-minute roasting!
Troubleshooting Common Turkey Brine Issues
Even with the best recipe guiding you, sometimes things don’t go exactly to plan in the kitchen, and that’s absolutely fine! That’s what experience is for. If you run into a snag while making your turkey brine, here are my go-to fixes. Please don’t panic; we can save your bird!
If your turkey tastes overwhelmingly salty after brining—which usually means it wasn’t rinsed enough—don’t worry about throwing it out! Simply give the turkey an extra, longer rinse under cold water. Better yet, let it sit submerged in a big bowl of clean, fresh water for an hour, changing the water halfway through. This helps leach out some of that surface salt.
What if you realized halfway through that the bird wasn’t totally covered? It happens! If it’s only slightly uncovered, the brined parts will be amazing, but the rest will be plain. If it was submerged for at least 10 hours, it should still be okay, but that’s why ensuring it’s 100% covered is so important.
Lastly, if you worried your brine base was too hot when the turkey went in—meaning it was above 40°F—you need to remove the turkey immediately and chill the whole setup. Always aim for that sweet spot for perfect, safe results. For the best tips on making your soak easy, I love checking out the quick ideas on Munchkin Time, but always bring it back to refrigeration safety!
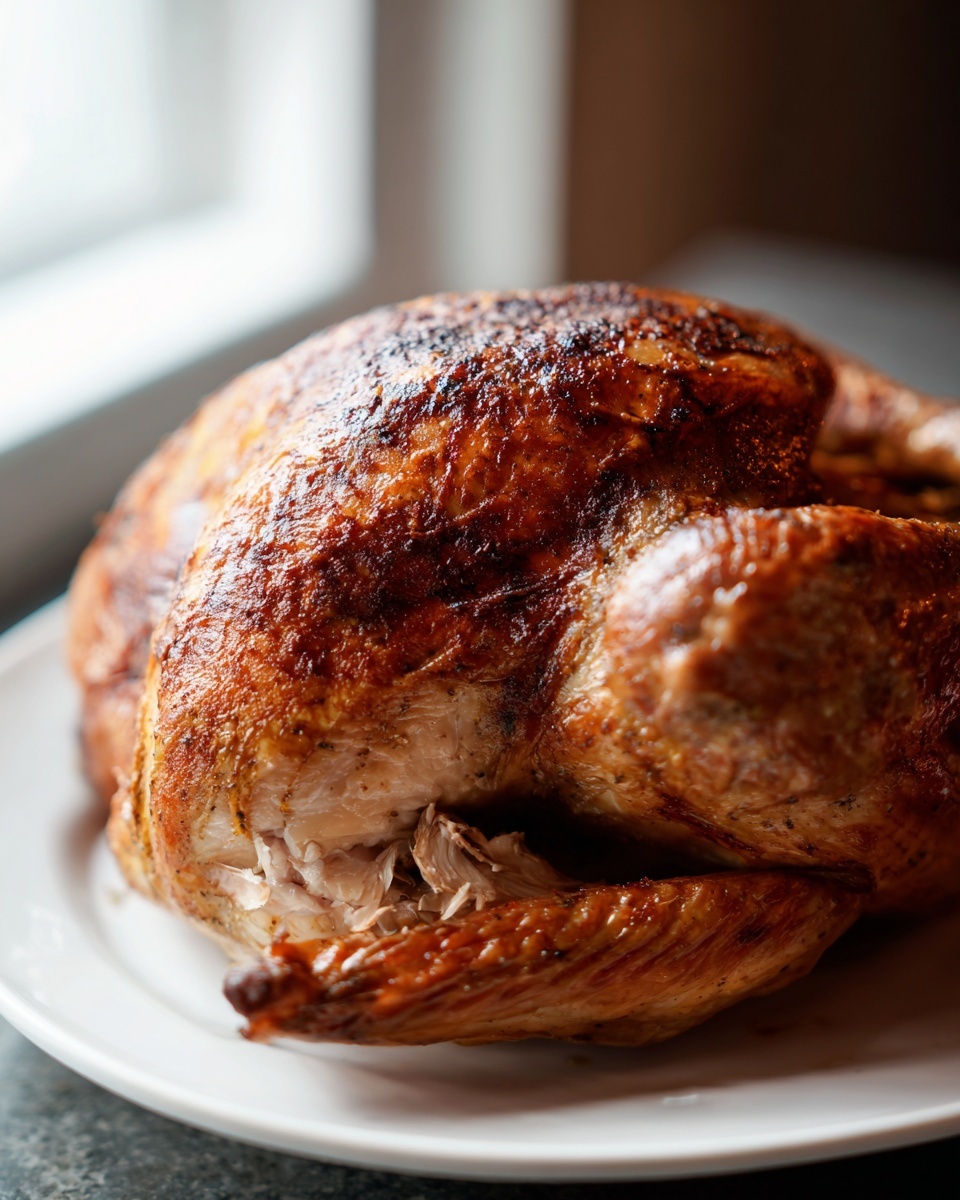
Serving Suggestions to Complete Your Holiday Roast Turkey Tips
Now that you’ve mastered ensuring your turkey is impossibly juicy and infused with savory flavor thanks to our brine, the fun really starts! It’s time to think about what accompanies this stunning centerpiece. Great holiday roast turkey tips aren’t just about the bird itself; they’re about the entire plate experience. You want sides that complement that deep, herbal flavor we built into the meat.
For me, the perfect pairing has to balance richness. Since the brine leaves the meat so flavorful, you don’t need heavy, overly seasoned accompaniments. Keep things bright!
If you’re looking for that quintessential holiday side that matches perfectly with the rich flavor of the seasoned poultry, you simply must make my Roasted Garlic Mashed Potatoes. The earthy sweetness of the roasted garlic plays beautifully off the rosemary and thyme used in the brine solution.
Also, don’t forget acidity! A really sharp relish or a simple green vegetable tossed with lemon zest and good olive oil will cut through the richness of the meat and keep the palate refreshed between bites. A simple glazed root vegetable medley works wonders too. These pairings ensure that every element on the table sings alongside your perfectly prepared turkey.
Frequently Asked Questions About Turkey Brine
It’s natural to have a few last-minute questions before a big cooking day, especially when you’re learning a new technique! I always want you to feel confident walking into the kitchen, so here are the things folks ask me most often about using this savory soak for their holiday poultry.
Can I use table salt instead of Kosher salt in the turkey brine?
Oh, that’s a fantastic question about ingredient swaps! You should resist substituting standard table salt for Kosher salt if you can. Because table salt crystals are much finer and denser than the flaky Kosher salt I recommend, if you substitute them one-for-one, you will accidentally oversalt your turkey and it might end up way too salty. It’s all about the volume, not the weight, when measuring for a large batch like this. If table salt is truly all you have, I strongly suggest reducing the amount by about 25% to start, just to keep that perfect savory balance.
What do I do if I only have a turkey breast recipe?
That’s perfect! Sometimes you’re only cooking for a smaller crowd, and a turkey breast is much easier to handle. If you are using just a breast portion, you need to cut down on that soaking time significantly so the meat doesn’t get overwhelmed by the salt. For a typical turkey breast, I recommend keeping it in the homemade seasoning solution for only 6 to 8 hours. That’s enough time to get great results without over-processing the meat!
Is it safe to leave the turkey in the brine overnight?
Yes, leaving the turkey in the solution overnight is absolutely the standard—it’s how we achieve that incredible depth of flavor for our Thanksgiving turkey preparation! The critical thing, which I can’t stress enough for food safety, is that your refrigerator must maintain a consistent temperature below 40°F throughout the entire time. If you’re not sure about your fridge temperature, use a little thermometer placed next to your brining container. As long as it stays cold, you are golden for an overnight soak.
Estimated Nutritional Data for This Turkey Brine Recipe
You’ve probably noticed I focus more on flavor and technique than the exact calorie count, but I know some of you are curious about the final numbers! Since this recipe involves brining, the final nutritional profile is based on the turkey meat that has absorbed the solution and is then roasted. The final numbers will, of course, change depending on how you roast it—whether you baste it with butter or not!
Here is a rough estimate per serving of the resulting meat. Remember, these are just guides. I always say, if you’re making the centerpiece for a gathering, the joy it brings outweighs the fine print!
- Serving Size: 1/10th of turkey
- Calories: 150
- Sugar: 3g
- Sodium: 1800mg
- Fat: 5g
- Saturated Fat: 2g
- Unsaturated Fat: 3g
- Trans Fat: 0g
- Carbohydrates: 4g
- Fiber: 0g
- Protein: 25g
- Cholesterol: 85mg
One quick note on that sodium reading—it looks high because the calculation includes the salt pulled directly into the meat during the brine process. If you rinse thoroughly, you minimize that surface salt, but the internal seasoning is the whole reason we do this! Don’t sweat the numbers too much; just enjoy the incredibly moist and flavorful poultry you created!
PrintThe Ultimate Juicy Turkey Brine for Your Holiday Roast
This easy wet brine recipe infuses your turkey with moisture and savory flavor using simple herbs and citrus. It is the essential step for achieving a tender, flavorful holiday centerpiece.
- Prep Time: 20 min
- Cook Time: 3 to 4 hours (roasting time varies)
- Total Time: 12 hr 20 min
- Yield: 10 servings 1x
- Category: Poultry Main
- Method: Wet Brining
- Cuisine: American
- Diet: Low Fat
Ingredients
- 1 cup Kosher salt
- 1/2 cup packed brown sugar
- 1 whole orange, halved
- 1 lemon, halved
- 4 sprigs fresh rosemary
- 6 sprigs fresh thyme
- 4 cloves garlic, smashed
- 1 tablespoon black peppercorns
- 1 gallon cold water (plus more ice)
- 1 (12-14 pound) whole turkey
Instructions
- Prepare the brine base: In a large pot, combine the salt, brown sugar, orange halves, lemon halves, rosemary, thyme, garlic, and peppercorns. Add 4 cups of water.
- Heat the mixture over medium heat, stirring until the salt and sugar fully dissolve. Do not boil.
- Remove the pot from the heat. Add the remaining cold water and ice to cool the brine down quickly to below 40 degrees Fahrenheit.
- Place the whole turkey in a large, food-safe container or brining bag. Pour the cooled brine over the turkey, making sure it is completely submerged. Add more ice or water if necessary to cover the bird fully.
- Refrigerate the turkey in the brine for 12 to 24 hours. For a turkey breast, brine for 6 to 8 hours.
- Remove the turkey from the brine. Discard the brine solution.
- Rinse the turkey thoroughly inside and out under cold running water to remove excess salt and aromatics.
- Pat the turkey completely dry with paper towels. This step is crucial for crispy skin.
- Proceed with your roasting recipe immediately, or let the turkey air-dry uncovered in the refrigerator for up to 12 hours for even better skin.
Notes
- This wet brine method is the most reliable way to prevent dry meat and is perfect for roast turkey moisture.
- For a quick brine, reduce the soaking time to 4 hours for a whole bird, but ensure the bird is completely submerged.
- If you prefer a dry brine, skip this process and rub the turkey with salt and seasonings directly.
- This recipe focuses on the best turkey brine ingredients for ultimate flavor.
Nutrition
- Serving Size: 1/10th of turkey
- Calories: 150
- Sugar: 3
- Sodium: 1800
- Fat: 5
- Saturated Fat: 2
- Unsaturated Fat: 3
- Trans Fat: 0
- Carbohydrates: 4
- Fiber: 0
- Protein: 25
- Cholesterol: 85