

There’s just something magical about fall, isn’t there? The crisp air, the changing leaves, and of course, all those amazing pumpkin spice flavors! If you’re like me, you probably dream about pumpkin pie and creamy cheesecake, so why not have both? This pumpkin cheesecake recipe is my absolute favorite way to capture that cozy, autumnal feeling. It’s got that rich, super-creamy texture you expect from a great cheesecake, all swirled with the warm, comforting spices of classic pumpkin pie. I developed this recipe in my own kitchen, keeping in mind that we home cooks want desserts that look stunning but are totally doable. It truly is a show-stopper, perfect for those special fall gatherings or just because!
- Why You'll Love This Pumpkin Cheesecake Recipe
- Ingredients for the Perfect Pumpkin Cheesecake
- Ingredient Notes and Substitutions for Your Pumpkin Cheesecake
- Equipment Needed for Making Pumpkin Cheesecake
- Step-by-Step Guide to Making Pumpkin Cheesecake
- Tips for a Crack-Free Pumpkin Cheesecake
- Serving and Storing Your Delicious Pumpkin Cheesecake
- Frequently Asked Questions about Pumpkin Cheesecake
- Estimated Nutritional Information
Why You’ll Love This Pumpkin Cheesecake Recipe
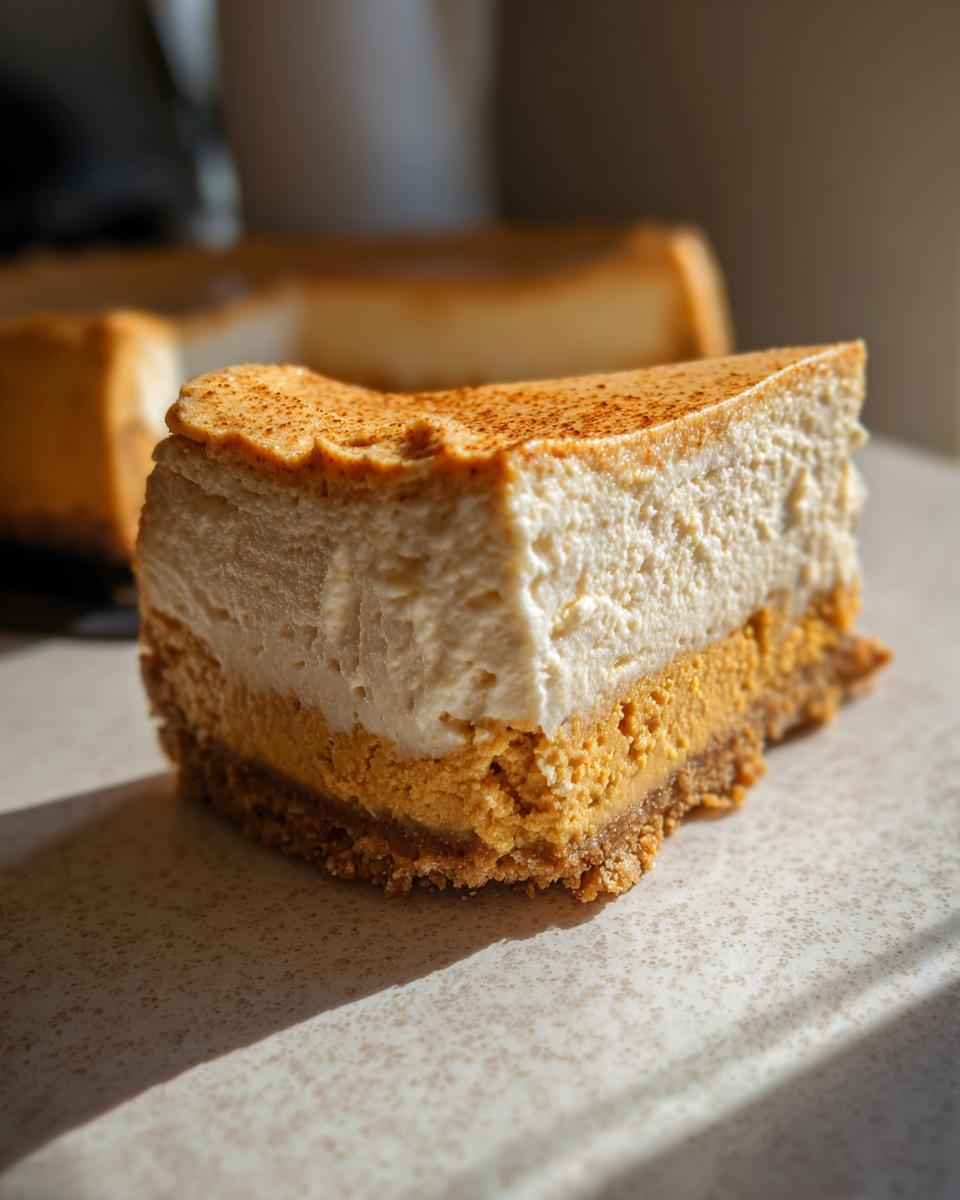
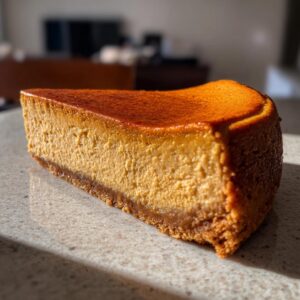
This pumpkin cheesecake is just the best of both worlds, isn’t it? It’s got that super-creamy, dreamy texture everyone loves in a cheesecake, plus all those warm, cozy pumpkin pie spices that just scream fall. Seriously, the flavor is spot-on, and the graham cracker crust is just the perfect little nutty base!
Even though it looks totally fancy and impressive, I promise it’s actually pretty simple to make right in your own kitchen. It’s become our go-to for Thanksgiving, holiday parties, or honestly, just any excuse to make something special on a chilly autumn night. People always ask for the recipe!
Ingredients for the Perfect Pumpkin Cheesecake
Alright, let’s talk about what goes into this glorious pumpkin cheesecake! Gathering your ingredients is half the fun, right? It’s like assembling a little flavor puzzle. You’ll want to make sure your cream cheese is nice and soft – that’s key for a super smooth filling. And don’t skimp on the good stuff, real butter and fresh spices make all the difference here.
Here’s what you’ll need to get this showstopper made:
- 1 1/2 cups graham cracker crumbs (about 10-12 full crackers)
- 1/4 cup granulated sugar
- 6 tablespoons unsalted butter, melted
- 24 ounces cream cheese, softened (that’s three standard blocks!)
- 1 cup granulated sugar
- 1/2 cup packed light brown sugar
- 3 large eggs
- 1 teaspoon vanilla extract
- 1 teaspoon ground cinnamon
- 1/2 teaspoon ground ginger
- 1/4 teaspoon ground nutmeg
- 1/8 teaspoon ground cloves
- 1 cup pumpkin puree (make sure it’s pure pumpkin, not pie filling!)
- 1/2 cup sour cream
- 1/4 cup heavy cream
- Maybe some whipped cream for topping, but that’s optional (though highly recommended!)
Ingredient Notes and Substitutions for Your Pumpkin Cheesecake
Okay, a few little notes about these ingredients that really make a difference! First off, that pumpkin puree – you absolutely want *pure pumpkin*, not the pumpkin pie filling. The filling already has sugar and spices, which will throw off the flavor balance way too much. Trust me on this one!
For the cream cheese, make sure it’s full-fat and softened to room temperature. This is super important for getting a smooth, luscious filling with no lumps. If you’re feeling adventurous, you could totally swap out the graham cracker crumbs for crushed ginger snaps for the crust – it adds a fantastic spicy kick that pairs beautifully with the pumpkin!
Equipment Needed for Making Pumpkin Cheesecake
Before you dive in, let’s make sure you’ve got your kitchen arsenal ready! You don’t need anything too fancy. A good 9-inch springform pan is your best friend here – it makes getting the cheesecake out so much easier. You’ll also want a couple of mixing bowls, measuring cups and spoons, and either a stand mixer or a handheld electric mixer. And of course, a good old spatula or spoon for stirring just seals the deal!
Step-by-Step Guide to Making Pumpkin Cheesecake
Okay, so we’ve got our ingredients and our tools, and now it’s time for the fun part – actually making this amazing pumpkin cheesecake! Don’t be intimidated, I’ll walk you through it. It’s a process, sure, but each step just builds on the last to create something really special. We’re going to get that perfect crust, whip up a dreamy filling, and then bake it just right so it’s wonderfully creamy and delicious. Trust me, the end result is so worth it!
Preparing the Graham Cracker Crust for Your Pumpkin Cheesecake
First things first, let’s get that crust ready. Grab your graham cracker crumbs, that quarter cup of sugar, and the melted butter. Just mix them all up in a little bowl until it looks like damp sand. Now, press this mixture evenly into the bottom of your 9-inch springform pan. I like to use the bottom of a measuring cup to get it nice and snug. Pop that into the oven for about 8 to 10 minutes to give it a little head start before it cools. This makes it nice and firm!
Creating the Creamy Pumpkin Cheesecake Filling
Now for the star of the show: the filling! In a big bowl, you’ll beat your softened cream cheese with the granulated sugar and the brown sugar. Beat it until it’s perfectly smooth and creamy – no lumps allowed! Then, we’ll add the eggs, but here’s a little trick: only one at a time, and mix just until it’s combined after each egg. Overmixing at this stage can make the cheesecake crack later, so be gentle! Then, stir in the vanilla and all those warm spices – cinnamon, ginger, nutmeg, and cloves. Oh, it smells so good already! In a separate little bowl, just whisk together your pumpkin puree, sour cream, and heavy cream until it’s all blended. Now, gently add this pumpkin mixture into the cream cheese batter and beat on low speed just until it’s combined. Seriously, *just* combined! We don’t want to whip too much air into this!
Baking and Cooling Your Perfect Pumpkin Cheesecake
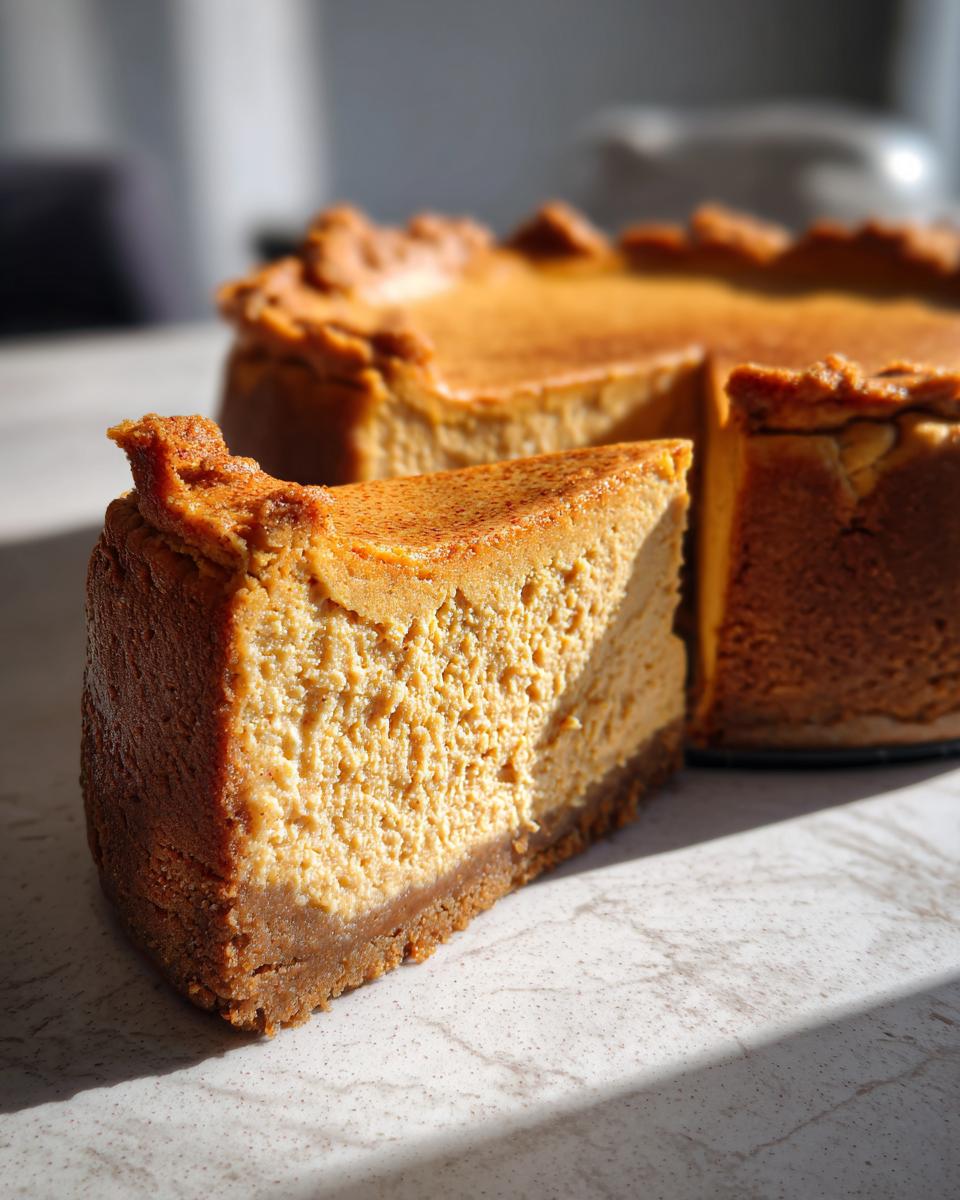
Alright, pour that gorgeous, smooth filling over your cooled crust. Now, the baking part. Pop it into your preheated 350°F oven for about 50 to 60 minutes. You’ll know it’s ready when the edges are set, but the very center still has a little wiggle – kind of like Jell-O. The most important part for preventing cracks? We’re going to turn the oven OFF, crack the door open just a bit (I sometimes wedge a wooden spoon in there), and let the cheesecake hang out in the warm oven for a whole hour. This gradual cooling is like magic for keeping it smooth. After that hour, take it out and let it cool completely on a wire rack. Then, into the fridge it goes for at least 4 hours, but I always say overnight is truly best for that perfect, firm texture and amazing flavor! For even more tips on keeping your cheesecakes crack-free, you can check out my guide to no-crack cakes!
Tips for a Crack-Free Pumpkin Cheesecake
Oh, the dreaded cheesecake crack! I know, it’s a total bummer when your beautiful creation gets a little fissure on top. But don’t you worry, I’ve learned a few tricks over the years to keep my pumpkin cheesecakes looking super smooth and gorgeous. My absolute favorite is a gentle, gradual cooling process – you know, turning the oven off and letting it hang out in there? That slow cooldown is seriously a game-changer for preventing those unsightly cracks. Speaking of avoiding cracks, remember how we talked about not overmixing the batter? That’s another huge one! Too much air whipped in can cause problems later. And if you’re feeling really fancy and want ultimate insurance, a water bath can be your best friend. It creates this lovely, moist environment for the cheesecake to bake in. For more of my pro secrets, you can always check out my tips for no-crack cakes – they apply to this one too!
Serving and Storing Your Delicious Pumpkin Cheesecake
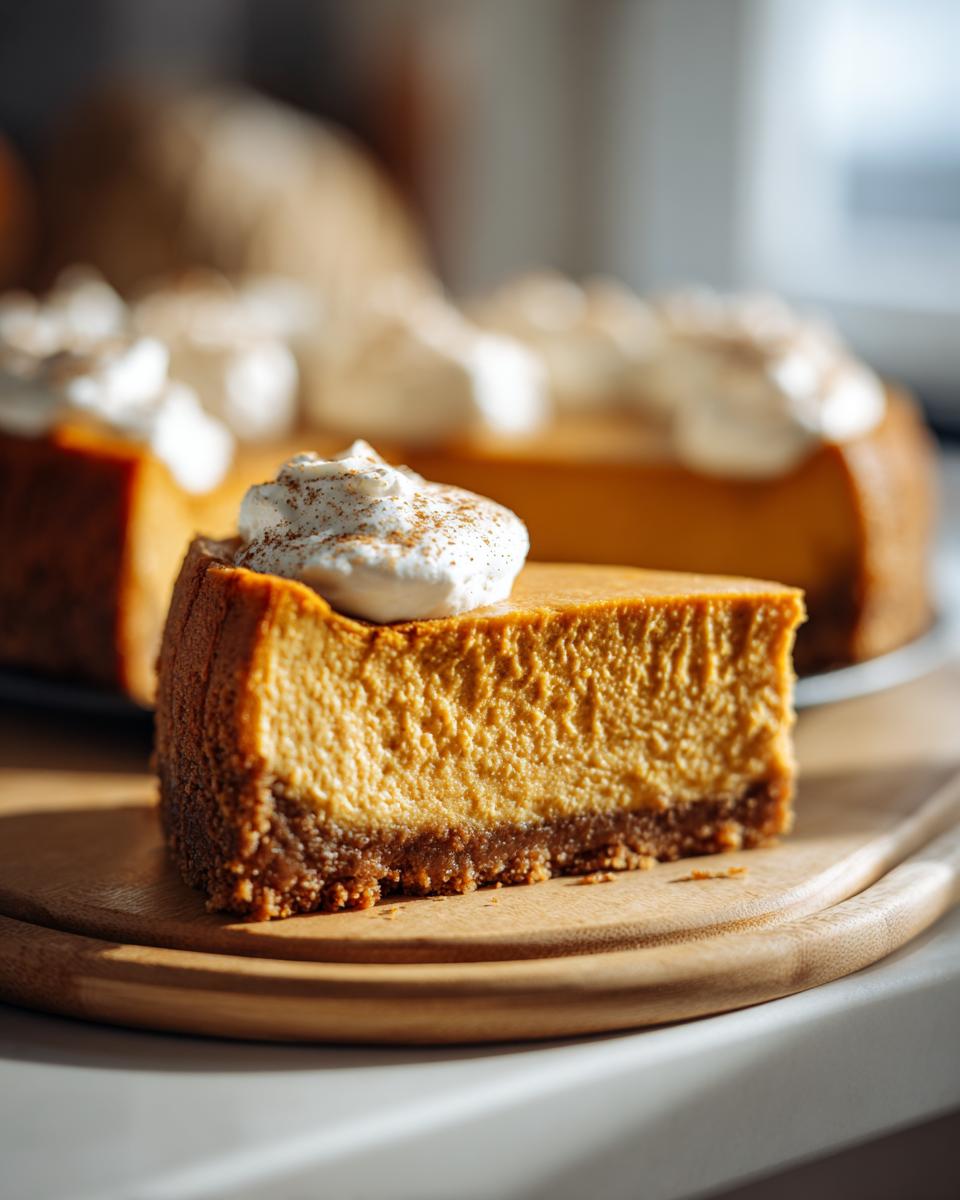
Alright, the moment of truth! Once your pumpkin cheesecake has chilled thoroughly – and trust me, overnight is best for peak flavor and texture – it’s time to serve. I love topping mine with a generous dollop of fluffy whipped cream, maybe a little sprinkle of cinnamon, or even some candied pecans if I’m feeling extra festive. Just lift the springform ring carefully, and admire your handiwork!
Got leftovers? Smart move! Just cover the cheesecake snugly with plastic wrap or pop it into an airtight container and pop it back in the fridge. It’ll keep beautifully for about 3 to 4 days. Since it has all that creamy goodness, it’s best enjoyed cold, so no need to worry about reheating!
Frequently Asked Questions about Pumpkin Cheesecake
Got questions? I’ve got answers! Making the perfect pumpkin cheesecake is totally doable, and sometimes just a little nugget of info makes all the difference. Here are a few things people often ask me about this recipe.
Can I make this pumpkin cheesecake ahead of time?
Absolutely! This is actually one of my favorite things about making cheesecake – it’s even better when made ahead of time. I usually bake mine the day before a gathering. It allows all those fall flavors to really meld together, and chilling it overnight makes it perfectly set. So yes, prep away!
What’s the best way to tell if the cheesecake is done?
Great question! Besides the edges looking set, the center should still have a slight wobble when you gently shake the pan. It shouldn’t look liquidy, but more like… well, wobbly! Think of it like a relaxed dance move. It’ll firm up completely as it cools. The toothpick test isn’t always super reliable with cheesecake, so go for that gentle wobble!
Can I use a different crust for my pumpkin cheesecake?
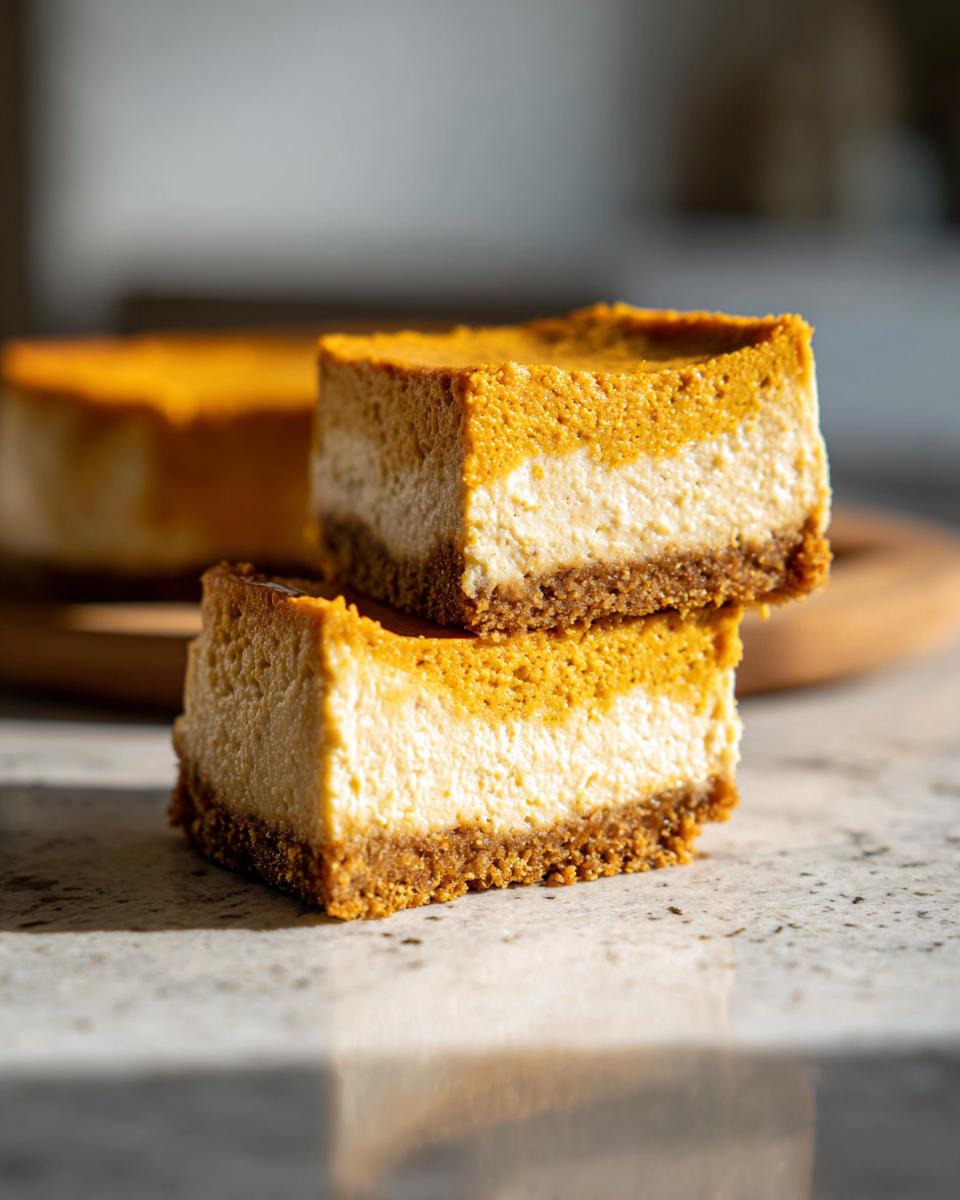
You sure can! While I adore the classic graham cracker crust for this spiced pumpkin cream cheese cake, ginger snap crumbs are fantastic if you want an extra spicy kick. Just use them the same way you would the graham crackers. You could even try a press-in shortbread crust if you’re feeling innovative! If you wanted to try pumpkin cheesecake bars, you might even adjust the crust slightly. You can find neat ideas on different crusts on my pumpkin cheesecake bars post!
Estimated Nutritional Information
Okay, so when you dig into a slice of this gorgeous pumpkin cheesecake, you’re looking at roughly 450 calories per serving. Of course, this is just an estimate, and it can totally change depending on the exact ingredients you use and how big a slice you cut! You’re getting about 30g of fat, with 18g of that being saturated fat, and around 40g of carbohydrates. Plus, there’s about 8g of protein and a good dose of sweetness with around 35g of sugar. It’s definitely a treat, but oh-so-worth-it for that fall indulgence!
PrintPumpkin Cheesecake
A creamy, spiced pumpkin cheesecake with a graham cracker crust, perfect for fall holidays.
- Prep Time: 25 min
- Cook Time: 60 min
- Total Time: 7 hours 25 min
- Yield: 12 servings 1x
- Category: Dessert
- Method: Baking
- Cuisine: American
- Diet: Vegetarian
Ingredients
- 1 1/2 cups graham cracker crumbs
- 1/4 cup granulated sugar
- 6 tablespoons unsalted butter, melted
- 24 ounces cream cheese, softened
- 1 cup granulated sugar
- 1/2 cup packed light brown sugar
- 3 large eggs
- 1 teaspoon vanilla extract
- 1 teaspoon ground cinnamon
- 1/2 teaspoon ground ginger
- 1/4 teaspoon ground nutmeg
- 1/8 teaspoon ground cloves
- 1 cup pumpkin puree
- 1/2 cup sour cream
- 1/4 cup heavy cream
- Whipped cream, for topping (optional)
Instructions
- Preheat your oven to 350°F (175°C).
- In a small bowl, combine graham cracker crumbs, 1/4 cup granulated sugar, and melted butter. Press mixture evenly into the bottom of a 9-inch springform pan.
- Bake the crust for 8-10 minutes, then let it cool.
- In a large bowl, beat cream cheese and both sugars until smooth.
- Beat in eggs one at a time, mixing well after each addition.
- Stir in vanilla extract, cinnamon, ginger, nutmeg, and cloves.
- In a separate bowl, whisk together pumpkin puree, sour cream, and heavy cream.
- Add the pumpkin mixture to the cream cheese mixture and beat on low speed until just combined. Do not overmix.
- Pour the filling over the prepared crust.
- Bake for 50-60 minutes, or until the edges are set and the center is slightly jiggly.
- Turn off the oven and let the cheesecake cool in the oven with the door ajar for 1 hour.
- Remove from oven and let cool completely on a wire rack.
- Chill in the refrigerator for at least 4 hours, or preferably overnight.
- Serve topped with whipped cream, if desired.
Notes
- To prevent cracks, avoid overmixing the batter and use a water bath during baking.
- For a smoother texture, ensure your cream cheese is fully softened.
- You can substitute ginger snap crumbs for graham cracker crumbs for a spicier crust.
Nutrition
- Serving Size: 1 slice
- Calories: 450
- Sugar: 35g
- Sodium: 250mg
- Fat: 30g
- Saturated Fat: 18g
- Unsaturated Fat: 12g
- Trans Fat: 0g
- Carbohydrates: 40g
- Fiber: 2g
- Protein: 8g
- Cholesterol: 100mg