
As soon as the air gets crisp here in California, I find myself craving something warm, buttery, and deeply comforting—nothing screams cozy quite like a bubbling fruit dessert. Forget fiddling with intricate pie lattice work; when I need that perfect, rustic sweetness, I turn straight to my go-to apple cobbler recipe. It’s a winner because it delivers everything a classic dessert should—tender, spiced apples and a glorious, golden crown—but in half the time and with none of the fuss of a traditional pie. This particular recipe holds a special place in my heart; it’s one of the very first layered bakes I truly mastered after my culinary school transition. It’s become my family’s favorite way to use up autumn harvests, and I know it will soon be yours too! If you want to learn more about my journey from PR to pastry chef, you can always check out my story on the About Page.
- Why This is the Best Apple Cobbler Recipe You Will Make
- Gathering Ingredients for Your Apple Cobbler Recipe
- Mastering the Tender Spiced Apples Recipe for Your Apple Cobbler Recipe
- Creating the Buttery Cobbler Crust Topping for This Apple Cobbler Recipe
- Step-by-Step Instructions for the Ultimate Easy Apple Cobbler Recipe
- Serving Suggestions for Your Warm Apple Cobbler Dessert
- Tips for Making a Classic Apple Dessert Recipe from Scratch
- Storing and Reheating Your Apple Cobbler Recipe
- Frequently Asked Questions About This Apple Cobbler Recipe
- Estimated Nutritional Data for This Apple Cobbler Recipe
- Share Your Apple Cobbler Recipe Experience
Why This is the Best Apple Cobbler Recipe You Will Make
If you’re looking for a truly show-stopping dessert that doesn’t demand hours in the kitchen, stop right here. This truly is the best apple cobbler recipe because it prioritizes pure, comforting flavor without complicated steps. It’s my favorite quick apple dessert for impromptu gatherings.
Key Features of Our Easy Apple Cobbler Recipe
- Simple ingredient list means less time shopping and more time enjoying that wonderful cinnamon aroma filling your house.
- Total time is comfortably under an hour, making it perfect for weeknights!
- The biscuits bake up into a gorgeous, rich, buttery cobbler crust that is superior to a plain crisp.
- You get those perfectly tender spiced apples recipe results every single time. I often pair this with something like my Easy Apple Dump Cake when I feel like mixing things up.
Gathering Ingredients for Your Apple Cobbler Recipe
To achieve that perfect balance of tart apples and rich, buttery topping, assembly is key. You don’t want to substitute foundational things here—especially the cold butter! I’ve broken down exactly what you need for both the filling and what I think makes the superior apple dessert with biscuit topping. Don’t forget to check out my Apple Cider Donuts Recipe if you’re looking for more fall baking inspiration later!
Filling Ingredients:
- 6 large Granny Smith apples, peeled, cored, and sliced 1/4 inch thick (Tartness is essential here, trust me!)
- 1/2 cup granulated sugar
- 1/4 cup packed light brown sugar
- 1 tablespoon all-purpose flour (This helps thicken the juices!)
- 1 teaspoon ground cinnamon
- 1/4 teaspoon ground nutmeg
- 1 tablespoon lemon juice
- 1/4 cup water
- 1/2 cup (1 stick) cold unsalted butter, cut into cubes (We will dot this over the top later.)
Biscuit Topping Ingredients:
- 1 1/2 cups all-purpose flour
- 2 tablespoons granulated sugar
- 1 tablespoon baking powder
- 1/2 teaspoon salt
- 1/2 cup (1 stick) cold unsalted butter, cut into small pieces (It must be COLD for a flaky crust!)
- 1/2 cup buttermilk (Buttermilk provides that lovely tang and tenderness.)
For Finishing:
- 1 large egg, beaten (For brushing the tops)
- 1 tablespoon coarse sugar (For that glistening crunch.)
Mastering the Tender Spiced Apples Recipe for Your Apple Cobbler Recipe
The heart of any amazing cobbler is, naturally, the fruit! For this tender spiced apples recipe, I insist on Granny Smith apples. They hold their shape beautifully and provide that necessary tart contrast to the sweetness of the sugars we add. Since I went to culinary school, I’ve learned that the secret to avoiding a watery filling is ensuring everything is coated well.
In a big bowl, toss those lovely sliced apples—about 1/4 inch thick is perfect—with the sugars, flour, cinnamon, nutmeg, lemon juice, and water until every slice is glistening. Don’t skip the flour; it’s what thickens those juices into a beautiful, rich sauce as it bakes.
Now for the magic touch: once the apples are settled in your prepared dish, take the reserved cold butter that you cubed earlier (that’s 1/2 cup!) and dot the top evenly all over the apples. This butter melts down into the fruit while baking, enriching the entire filling. For even more inspiration on using up those beautiful apples, you can check out my recent Homestyle Apple Fritters Recipe!
Creating the Buttery Cobbler Crust Topping for This Apple Cobbler Recipe
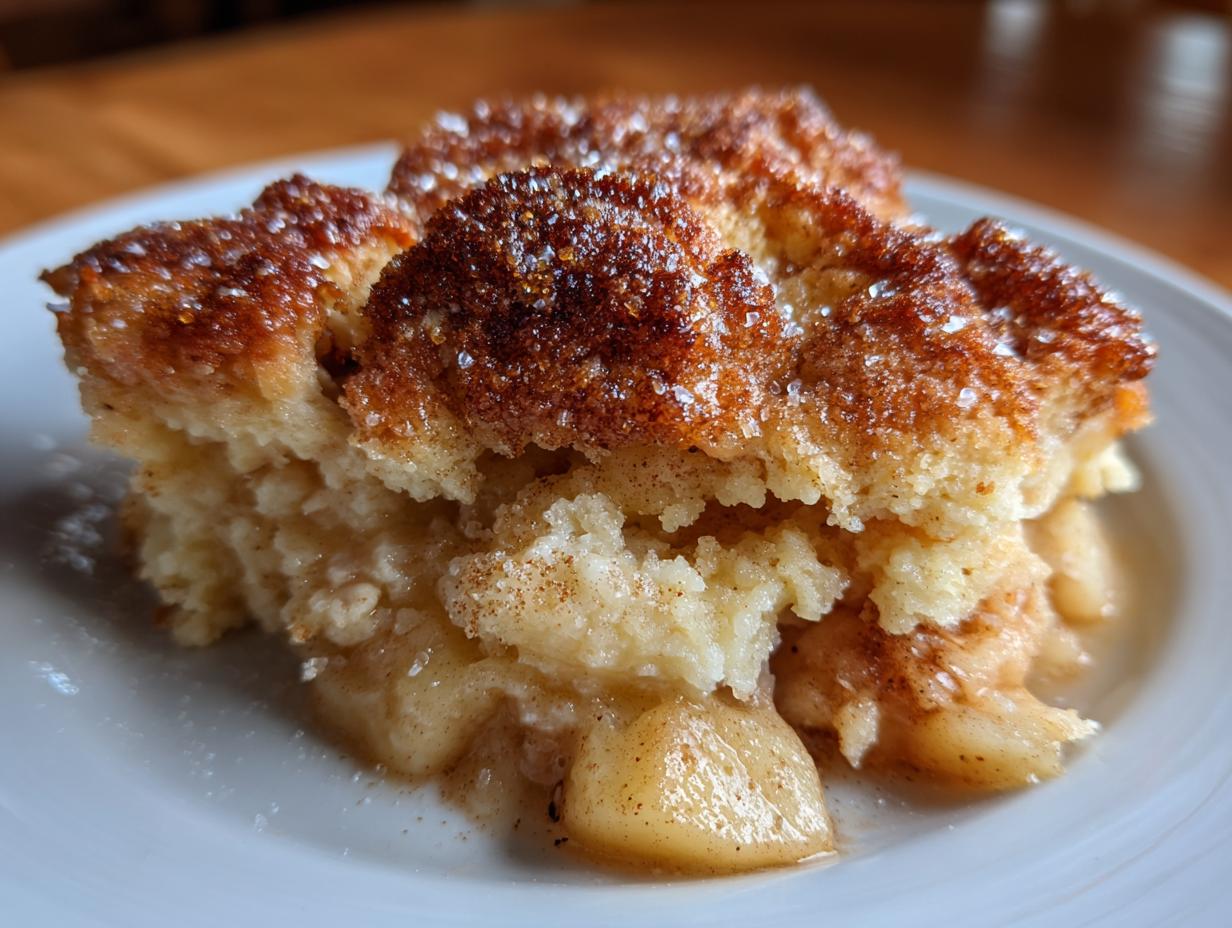
This is where we separate ourselves from the simple crumble! The topping is crucial for this apple dessert with biscuit topping, and it needs to be rich, tender, and just a little bit flaky—that’s the buttery biscuit approach. Remember, we want a rustic look, so please don’t strive for perfection here; little imperfections make the best homemade apple cobbler from scratch!
Start with your dry ingredients for the topping in a clean bowl: the flour, sugar, baking powder, and salt. Whisk those together quickly, just to distribute everything evenly. Now comes the tactile, essential part: “cutting in the butter.” You must use the very cold butter pieces we prepared earlier. I prefer using my fingertips for this, rubbing the cold butter into the dry mix super fast. You’re aiming for a texture that looks like rough sand mixed with some lovely pea-sized clumps of butter. Those clumps are what melt and create those fantastic little pockets in your crust!
Once you have that crumb texture, pour in the buttermilk. This is non-negotiable; the slight acidity in the buttermilk reacts beautifully with the baking powder, helping your biscuits rise tenderly. Stir it with a fork—and I mean stir, not beat—just until everything comes together into a shaggy, slightly messy dough. Stop stirring the moment you see no more dry streaks! Overmixing is the enemy of tender biscuits; we are aiming for soft drops, not elastic batter, which would result in a tough topping rather than our desired buttery cobbler crust.

When you drop those messy spoonfuls over your spiced apples, leave some gaps. Those gaps allow the heat to get to the filling, and they also let the biscuit tops brown and steam nicely. If you want tips on making other biscuit-style toppings, take a peek at my Fluffy Biscuits and Gravy Recipe!
Step-by-Step Instructions for the Ultimate Easy Apple Cobbler Recipe
Okay, now that we have our gorgeous, glistening apple filling ready in the 9×13 dish, and our rustic biscuit topping dough waiting patiently, it’s time to put this simple fall treasure together! This process moves so quickly, which is why I love calling this the easy apple cobbler version. I often make this when I have folks over unexpectedly; it’s just so much less fuss than a full pie, yet delivers all that comforting spiced apple goodness.
First things first: if you haven’t done so already, preheat your oven to 375°F (190°C). It needs to be nice and hot when the cobbler goes in. Lightly grease your baking dish—a quick spritz of cooking spray or a light wipe with butter works perfectly.
Transfer those spiced apples you tossed earlier into that prepared dish. Make sure they are spread out somewhat evenly. Remember all those beautiful cold butter cubes we prepared for the filling? Now is the moment to dot them across the top of the apples. Don’t worry about covering every inch; these little pockets of cold butter will melt during the bake, adding richness right where we need it.
Next, gently scoop spoonfuls of your shaggy biscuit dough right over the apple layer. Honestly, don’t overthink the placement! The gaps are your friends here; they allow steam to escape and give you those lovely crispy edges where the biscuit meets the hot fruit. You want the topping to look charmingly haphazard.
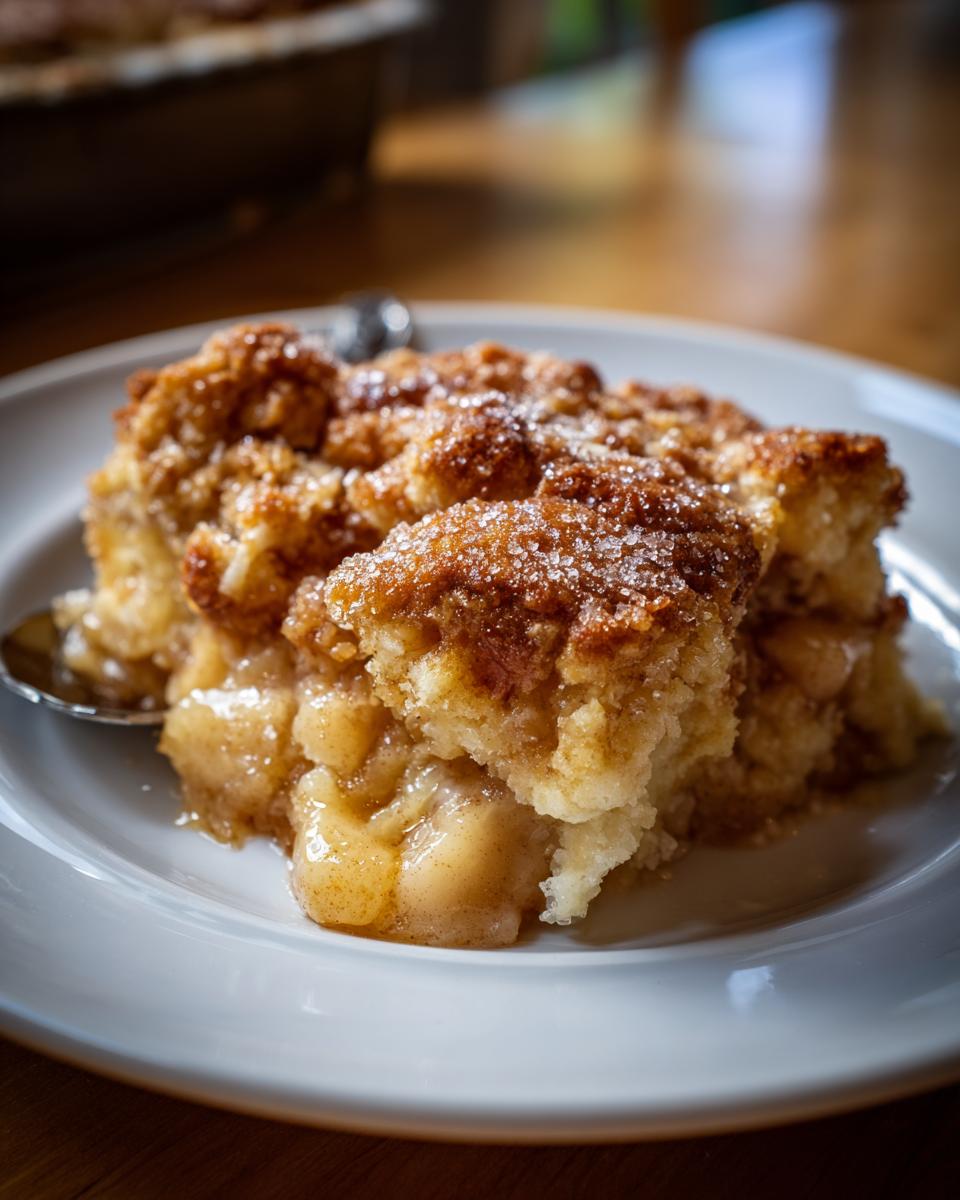
For the finishing touch, whisk that one egg lightly and brush it over the tops of all those biscuit dollops. This gives you that professional, golden sheen. Then, sprinkle generously with that tablespoon of coarse sugar—that final sparkle really makes the classic apple dessert recipe shine!
Now, slide it carefully into the preheated oven. This beauty needs about 40 to 45 minutes to bake. You’ll know it’s perfectly done when the biscuit topping is deeply golden brown, and you can see the apple filling underneath bubbling up thick and happily around the edges. If you’re looking for more ways to highlight those apples, check out my Apple Crisp Recipe—it uses similar spiced fruit!
Baking Time and Resting for the Perfect Apple Cobbler Recipe
This is perhaps the hardest step because you just pulled a hot, bubbling dessert out of the oven, but trust me, you must resist! Once you pull the dish out, let your apple cobbler recipe rest on a wire rack for at least 15 minutes. Why? Because that bubbling filling underneath hasn’t finished setting up yet. Those 15 minutes allow the starches and sugars to properly thicken into that lovely sauce you want. If you slice into it immediately, you risk a runny mess instead of that thick, spoonable sauce that makes this dessert so wonderful. This small period of waiting shows real attention to detail, which is what elevates any homemade apple cobbler from scratch.
Once it has rested, you can proudly bring this out as a true warm apple cobbler dessert!
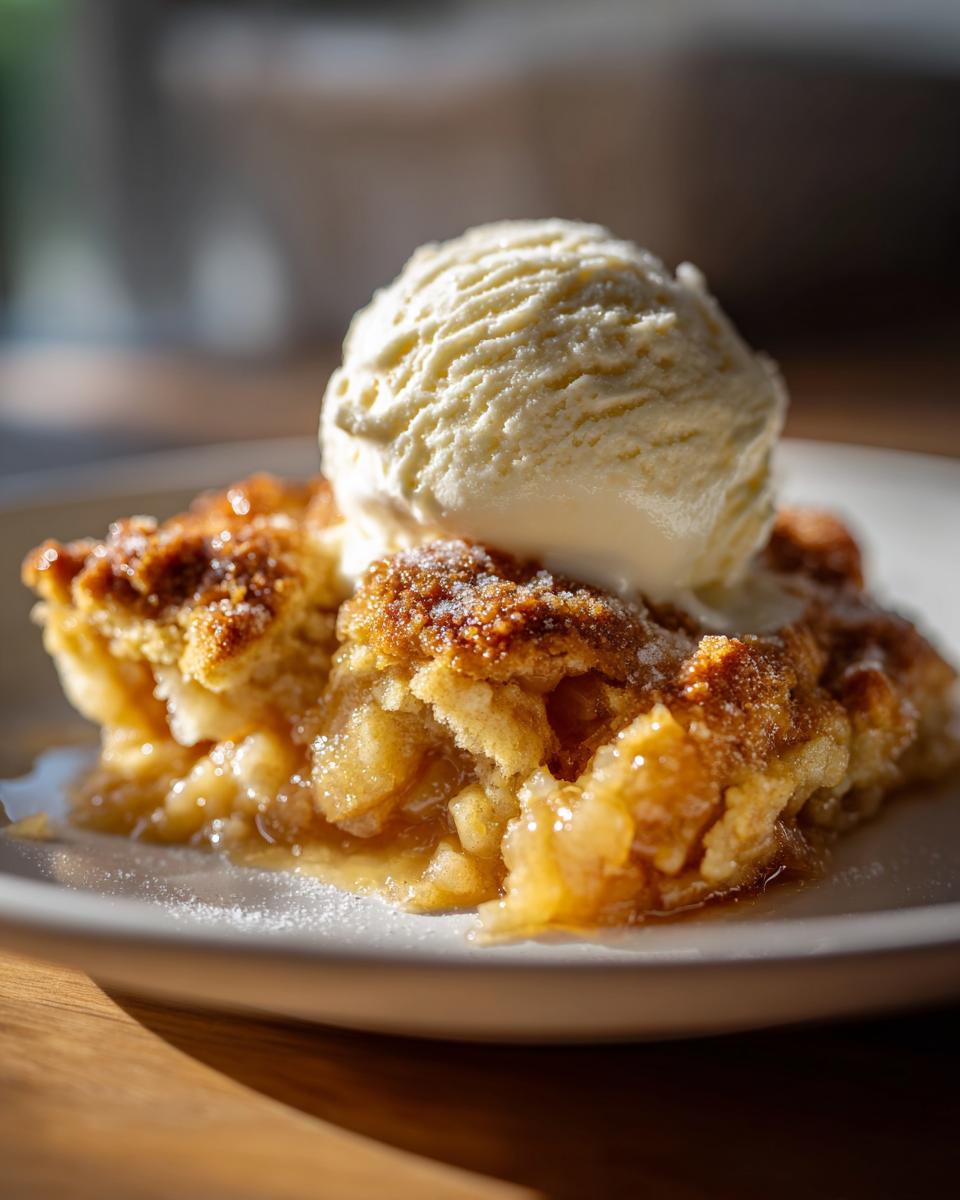
Serving Suggestions for Your Warm Apple Cobbler Dessert
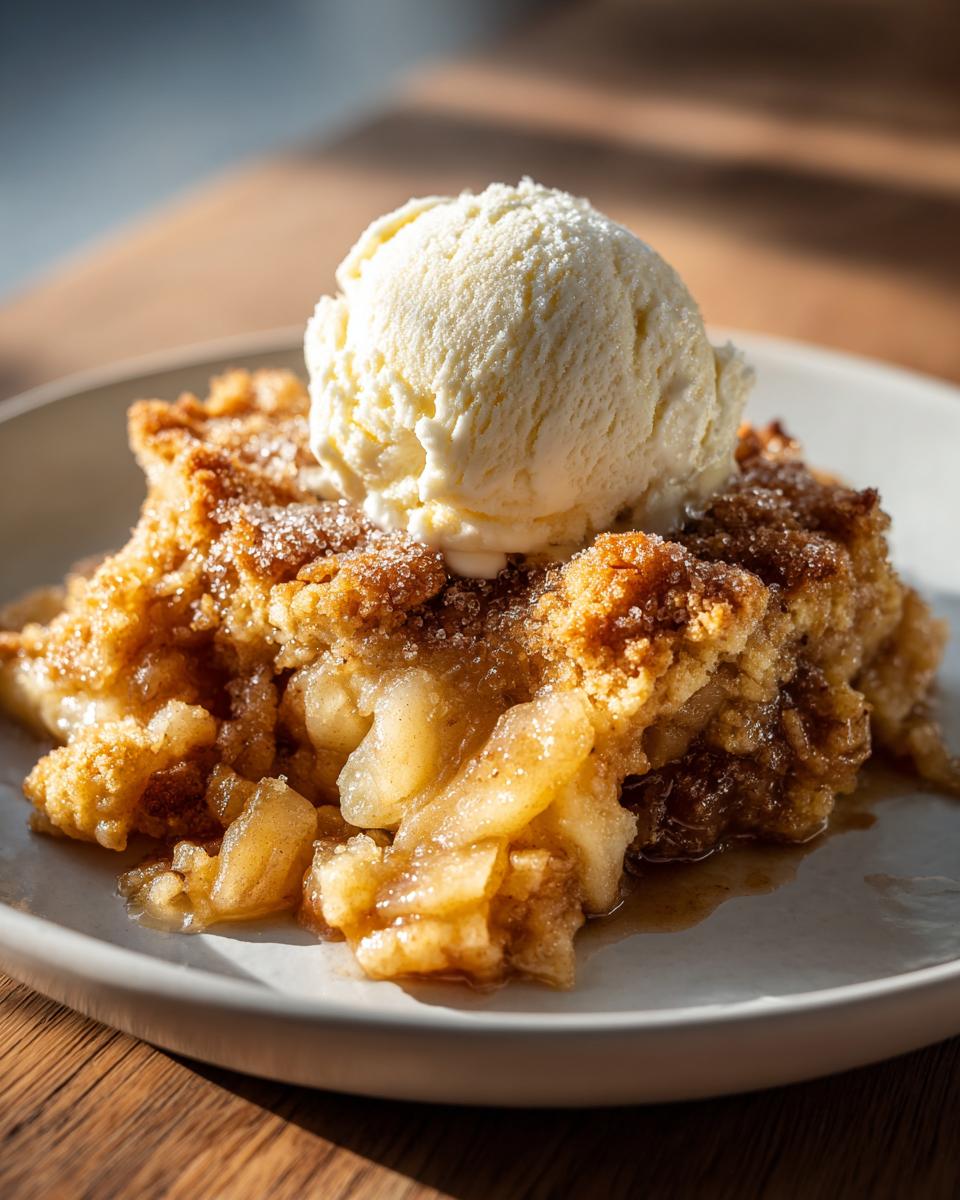
Pulling this out of the oven is a moment to celebrate, truly! Nothing beats that glorious scent. For the ultimate presentation of this warm apple cobbler dessert, I always serve it right out of the baking dish while it’s still piping hot. My absolute favorite way—the way I grew up eating it—is topped with a massive, melting scoop of high-quality vanilla ice cream. That contrast between the hot, spiced fruit and the cold, creamy luxury is just heaven. It makes for the perfect apple dessert served with ice cream.
If you want to elevate things just a touch more, a light drizzle of rich caramel sauce over the ice cream and cobbler is divine. If you’re interested in another easy, beautiful fall pairing, I highly recommend checking out my Caramel Apples Recipe!
Tips for Making a Classic Apple Dessert Recipe from Scratch
When you’re making a homemade apple cobbler from scratch, small tweaks can make a world of difference in the final texture and flavor profile. I always encourage you to play a little, just after you’ve mastered the basic method. Since every kitchen—and every apple season—is slightly different, these little adjustments ensure your cobbler turns out exactly how you love it. If you’re looking for other ways to preserve that beautiful fall harvest, check out my recipe for Slow Cooker Apple Butter!
Here are a few tricks I learned both in culinary school and watching my mother cook:
- For a Richer Flavor Profile: We use all-purpose flour in the biscuit topping because it gives the best rise, but if you want a slightly nutty, more rustic touch, try substituting half (maybe 3/4 cup) of the flour with whole wheat flour. It adds a wonderful depth that pairs beautifully with the cinnamon.
- Adjusting Topping Texture: Remember how I said not to overmix the biscuit dough? That keeps it tender. However, if you are someone who truly prefers your topping to be more like a soft, slightly moist cake rather than crumbly biscuits—which I totally understand!—you can actually mix that dough a bit longer. Keep mixing until the dough starts to just pull away from the sides of the bowl and forms a soft, pliable ball before dropping it onto the apples.
- The Importance of Cold Butter: I mentioned it before, but I can’t stress this enough for achieving that amazing, flaky ribboning in your buttery cobbler crust: your butter absolutely must be cold. If you cut it into those small pieces using a pastry blender or your fingers, and you feel the butter getting soft or greasy under the warmth of your hands, just pop the whole bowl back into the fridge for five minutes before continuing. Cold fat creates steam in the hot oven, which is what keeps the topping light and layered.
Storing and Reheating Your Apple Cobbler Recipe
One of the best things about this beautiful apple cobbler recipe is that it tastes just as wonderful the next day! This is proof that it works perfectly as a real comfort food dessert recipes staple, not just a one-time treat. However, how you store and reheat it makes all the difference, especially when trying to keep that gorgeous biscuit topping tender and not overly soggy.
When you have leftovers—if there are any, which is rare in my house!—keep the cobbler covered tightly but loosely enough so condensation doesn’t collect directly on the crust. If you plan to eat it within 24 hours, leaving it on the counter at room temperature is fine for a rustic dessert like this. If you are storing it for several days, definitely pop it into the refrigerator.
Reheating is where we preserve that glorious, broken-up buttery cobbler crust. The microwave is fast, sure, but it often makes the topping steamy and a little tough. If you want that ‘just-baked’ experience, I strongly urge you to use the oven or toaster oven. Simply take a serving size portion, pop it onto an oven-safe plate, and heat it at about 350°F (175°C) for about 10 to 12 minutes. You’ll hear the filling start to bubble again, and the topping will warm right through!
If you’re in a tremendous rush and can only reach for the microwave, just heat the portion for about 30 to 45 seconds until it’s warm to the touch. It won’t have that crisp top, but the warm, spiced apples underneath soften up nicely. For more inspired recipes that warm up well, like my Pumpkin Bread Pudding, check out the blog archives!
Frequently Asked Questions About This Apple Cobbler Recipe
I get so many wonderful questions whenever I share this recipe, which tells me how much you all love a good, classic fruit bake! I want to make sure you feel completely confident serving this up, whether it’s for a quiet Tuesday night or a big holiday gathering. Here are some of the most common things people ask me when they are making up this delicious apple cobbler recipe.
Can I use other fruits in this apple cobbler recipe?
Yes, absolutely! While Granny Smiths are my standard for that perfect balance, feel free to mix it up! Pears are a beautiful substitute if you have them; they bake up beautifully tender. You can also replace about a third of the apples with firm berries, like blueberries or blackberries. Just remember that if you use fruit that releases more liquid than apples, you might need to increase that tablespoon of flour in the filling slightly to keep your sauce thick. If you’re interested in other fruit bakes, be sure to check out my main blog archive!
How do I make this an old fashioned apple cobbler?
That’s such a lovely idea! This recipe leans toward a modern, fluffy biscuit topping, but if you are aiming for a truly old fashioned apple cobbler taste reminiscent of my grandmother’s day, you can adjust the fat in the topping. Try replacing half of that cold butter (about 1/4 cup) with high-quality vegetable shortening or even lard. That swap lends a slightly different, more traditional flakiness to the crust. Also, reducing the granulated sugar in the filling by about two tablespoons will give you that slightly less-sweet profile common in older recipes.
Is this apple cobbler recipe suitable for a crowd?
It is! The 9×13 dish makes about 8 generous servings, which is perfect for a standard family dinner or a small gathering. If you are hosting a larger event and need apple cobbler for a crowd—say, 16 to 20 people—you can simply double the entire recipe! You will just need two separate 9×13 dishes. Keep in mind that baking two dishes might add about 5 to 7 minutes to your total baking time, so keep an eye on that bubbly filling!
Estimated Nutritional Data for This Apple Cobbler Recipe
I always feel a little nervous sharing nutrition facts because every single ingredient—from the brand of flour to exactly how much butter you work into that beautiful biscuit topping—will change the final numbers. Cooking from scratch means you are in control, but it also means the final count is exactly that: an estimate!
Please consider these figures to be a helpful guideline based on the recipe measurements provided, serving 8 people total. If you’re like me and tend to serve this warm apple cobbler dessert heaped high with ice cream, you’ll obviously need to add those extra calories to your tally!
- Serving Size: 1 serving
- Calories: 410
- Fat: 21g
- Saturated Fat: 13g
- Unsaturated Fat: 8g
- Trans Fat: 0.5g
- Carbohydrates: 55g
- Fiber: 3g
- Sugar: 35g
- Protein: 5g
- Cholesterol: 55mg
Remember, this is a rich, comfort food dessert recipe enjoyed best as an occasional treat! Use these numbers as a fun reference point, not a strict guide, when you’re diving into such a delicious classic apple dessert recipe.
Share Your Apple Cobbler Recipe Experience
Now that you have the blueprint for what I truly believe is the ultimate apple cobbler recipe, the best part begins—watching you create your own memories in the kitchen! This is what cooking is all about for me: taking these tested steps and making them uniquely yours. I hope that first bite of warm, cinnamon-spiced apples topped with that buttery, golden biscuit crust brought a real sense of comfort to your table.
I absolutely love hearing how people customize my dishes. Did you stick exactly to the recipe, or did you sneak in a tiny dash of cardamom with your cinnamon? Perhaps you made a special variation for a holiday gathering? Please don’t be shy!
Let me know how everything turned out for you. Drop a rating below—giving me those stars lets me know what’s working well—and share all the delicious details about your bake in the comments. Seeing your beautiful results truly makes my day, and your feedback helps other home cooks approaching this easy apple cobbler for the first time. And, if you ever need to reach out directly with a specific question, the Contact Page is always open!
PrintThe Ultimate Easy, Buttery Apple Cobbler with Cinnamon Biscuit Topping
This recipe creates a comforting dessert featuring tender, cinnamon-spiced apples beneath a rich, buttery biscuit topping. It is simpler than pie and perfect for cozy nights or feeding a crowd.
- Prep Time: 20 min
- Cook Time: 45 min
- Total Time: 65 min
- Yield: 8 servings 1x
- Category: Dessert
- Method: Baking
- Cuisine: American
- Diet: Vegetarian
Ingredients
- 6 large Granny Smith apples, peeled, cored, and sliced 1/4 inch thick
- 1/2 cup granulated sugar
- 1/4 cup packed light brown sugar
- 1 tablespoon all-purpose flour
- 1 teaspoon ground cinnamon
- 1/4 teaspoon ground nutmeg
- 1 tablespoon lemon juice
- 1/4 cup water
- 1/2 cup (1 stick) cold unsalted butter, cut into cubes (for the filling)
- 1 1/2 cups all-purpose flour
- 2 tablespoons granulated sugar
- 1 tablespoon baking powder
- 1/2 teaspoon salt
- 1/2 cup (1 stick) cold unsalted butter, cut into small pieces (for the topping)
- 1/2 cup buttermilk
- 1 large egg, beaten (for brushing)
- 1 tablespoon coarse sugar (for sprinkling)
Instructions
- Preheat your oven to 375°F (190°C). Lightly grease a 9×13 inch baking dish.
- In a large bowl, combine the sliced apples, granulated sugar, brown sugar, 1 tablespoon flour, cinnamon, nutmeg, lemon juice, and water. Toss gently to coat the apples evenly.
- Pour the apple mixture into the prepared baking dish. Dot the top of the apples evenly with the 1/4 cup of cold butter cubes.
- Prepare the biscuit topping: In a separate medium bowl, whisk together the 1 1/2 cups flour, 2 tablespoons sugar, baking powder, and salt.
- Cut in the 1/2 cup cold butter pieces using a pastry blender or your fingertips until the mixture resembles coarse crumbs with some pea-sized pieces remaining.
- Pour in the buttermilk and stir just until a shaggy dough forms. Do not overmix.
- Drop spoonfuls of the biscuit dough evenly over the apple filling. You do not need to cover the entire surface; gaps are fine.
- Brush the tops of the biscuits lightly with the beaten egg and sprinkle with coarse sugar.
- Bake for 40 to 45 minutes, or until the topping is golden brown and the apple filling is bubbling thickly.
- Let the cobbler cool on a wire rack for at least 15 minutes before serving warm.
Notes
- Serve this warm apple cobbler dessert with a scoop of high-quality vanilla ice cream for the ultimate comfort food dessert experience.
- For a richer flavor, substitute half of the all-purpose flour in the topping with whole wheat flour.
- If you prefer a more cake-like topping, mix the biscuit dough slightly longer until it comes together into a soft ball before dropping it onto the apples.
Nutrition
- Serving Size: 1 serving
- Calories: 410
- Sugar: 35g
- Sodium: 280mg
- Fat: 21g
- Saturated Fat: 13g
- Unsaturated Fat: 8g
- Trans Fat: 0.5g
- Carbohydrates: 55g
- Fiber: 3g
- Protein: 5g
- Cholesterol: 55mg