

There is something truly magical that happens when you take sharp, pungent onions and coax them over time into something deeply sweet, jammy, and rich. It feels like alchemy, doesn’t it? This transformation is the foundation of so many incredible dishes, and today, I’m sharing my method for mastering perfectly caramelized onions. After my culinary training, I became obsessed with technique, and I realized that while slow cooking is the gold standard, we also need options for busy weeknights. This guide is my definitive approach, giving you that ultimate deep flavor while also offering secrets for when you need results fast. You can learn more about my cooking philosophy over on my About Page!
- The Science Behind Perfect Caramelized Onions: Why Patience Matters
- The Ultimate Slow-Cooked Onions Technique for Deep Flavor
- When Time is Short: Tips for Quick Caramelized Onions
- Essential Ingredients for Perfect Caramelized Onions
- Step-by-Step Instructions for Making Caramelized Onions
- Versatile Ways to Use Your Gourmet Onion Topping
- Storage and Reheating Instructions for Caramelized Onions
- Frequently Asked Questions About Caramelized Onions
- Share Your Story: What Will You Create?
- Share Your Story: What Will You Create?
The Science Behind Perfect Caramelized Onions: Why Patience Matters
People often ask me why I insist on the slow method. Honestly, it all comes down to chemistry, darling! When we cook onions low and slow, we are encouraging two beautiful things to happen. First, the natural sugars start to fully liquefy and then brown—that’s caramelization. Second, you get that deep, nutty complexity known as the Maillard reaction. That is exactly how to make deep flavor onions.
If you rush this process by cranking up the heat, you just end up with burnt bits stuck to the pan and onions that are mushy but still taste sharp. We want texture, we want sweetness, we want those beautiful, savory sweet onions that redefine comfort food. Trust me, the time invested here pays off tenfold in flavor.
Understanding the Role of Fat and Salt in Caramelized Onions
Before any browning can even think about happening, we have to get the water out. That’s where salt and fat come in handy. We use a blend of butter—because flavor, obviously—and olive oil. The oil keeps the butter from burning too quickly on those low temperatures.
As soon as the salt hits those freshly sliced onions, it starts drawing out the internal moisture. You’ll see them sweat right away! We need that moisture to escape so the onions can finally begin to soften and then, eventually, turn that gorgeous golden hue. It’s a crucial first step; if you skip it, you’re just steaming your onions instead of truly cooking them.
The Ultimate Slow-Cooked Onions Technique for Deep Flavor
Alright, here is where we settle in for the real show: mastering caramelized onions the proper way, which means committing at least 45 to 60 minutes. I always use the absolute lowest heat setting possible—and yes, that means patience! You are aiming for low and slow; maybe stirring every five minutes initially, and then decreasing that frequency as they get darker.
As the onions shrink down, you’ll notice beautiful dark bits sticking to the bottom of your pan. That, my friends, is called the *fond*, and it is pure gold. That fond is intensely concentrated flavor. If your onions stick too much, add just a tablespoon of water or some broth and scrape it up immediately. This act of deglazing releases all that richness right back into the onions. This is precisely how you build that incredible, complex French onion flavor into everything you use them for. If you are looking for my tried-and-true soup base that uses this same depth, check out my French Onion Soup recipe!
Achieving Jammy Onions: The Final Stages of Caramelized Onions
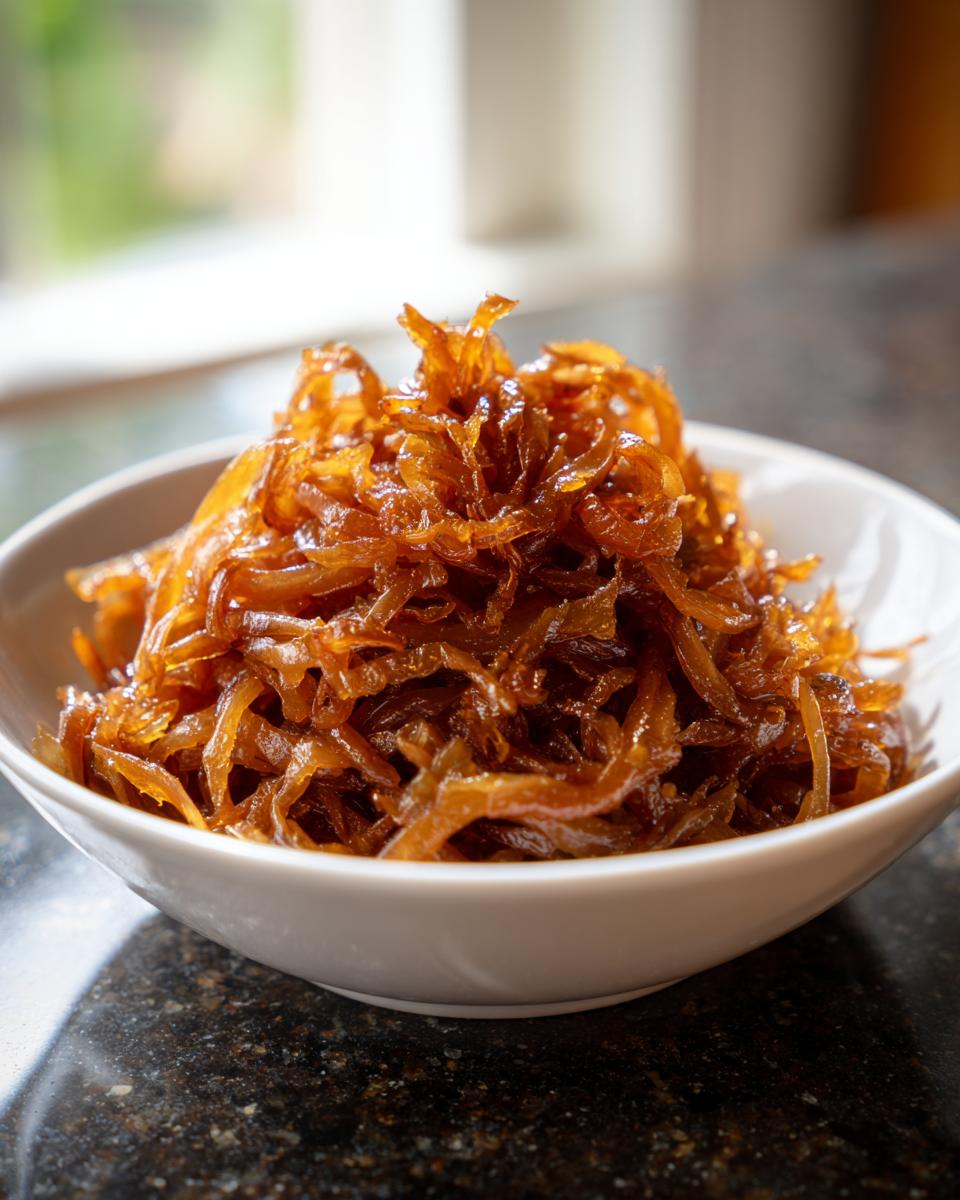
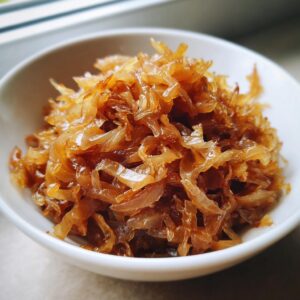
For the last 10 to 15 minutes, you’ll see the magic really happen. The onions should look a deep mahogany color—that deep brown that looks almost black but isn’t burnt. This is the stage for what I call *jammy onions*. If you decided to add that optional tiny bit of sugar with the water splashes, add it now to encourage that final deep glaze.
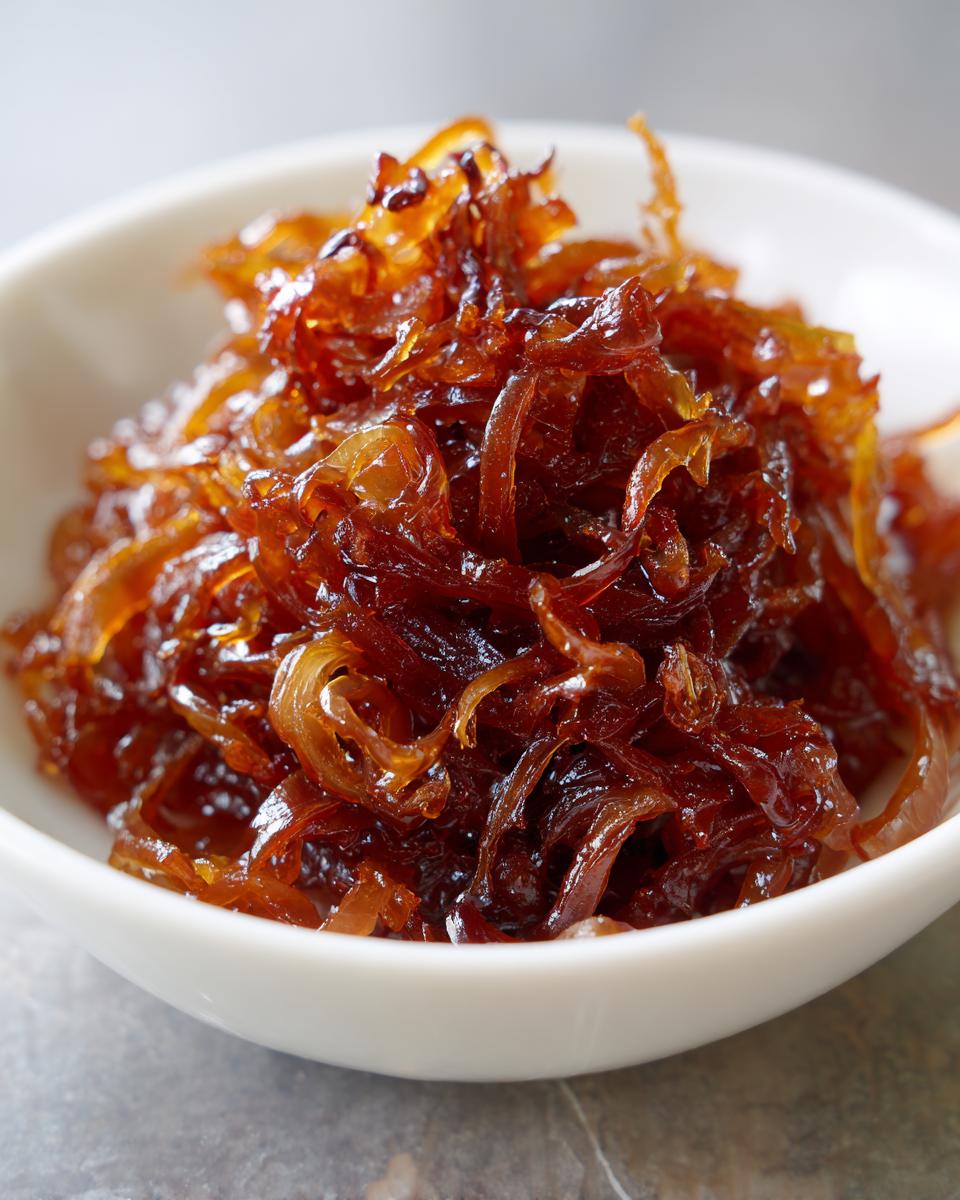
They should slump onto the spoon, incredibly soft, sweet, and almost like a rich savory jam. If they look wet, cook another five minutes uncovered. Don’t stop until they feel tender and rich. This texture is what makes them the best way to cook onions!
When Time is Short: Tips for Quick Caramelized Onions
Now, I know life doesn’t always allow for an hour dedicated just to onions. Sometimes you need that deep, sweet flavor boost for a weeknight meal, and that’s okay! We can cheat just a little bit to get quick caramelized onions without completely sacrificing quality.
The trick to speed is using slightly higher heat—I mean, bump it up to medium-low, not high, so be careful! You will need to stir much more frequently, maybe every three minutes, because those sugars will want to burn fast when the heat is up. The trade-off here is that you won’t hit that full, complex depth of those ultra-slow-cooked ones, remember that; speed sacrifices subtlety.
But here is my absolute favorite trick if you’re in a hurry: finish with an acid. Right when they look golden brown and nearly done, splash in just a teaspoon of good balsamic vinegar, or even a tiny bit of soy sauce if you’re making a savory dish. That acid helps deepen the color instantly and mimics that rich, aged flavor we get from the full caramelization process. It’s a total game-changer when you are trying to get dinner on the table faster! For more quick hacks, you can check out this article on fast cooking methods.
Essential Ingredients for Perfect Caramelized Onions
Having the right foundation makes all the difference when creating that savory sweet onion base. I always pull exactly what I need before I even turn on the stove—it helps me stay focused during that long, slow cook time. Here is what you’ll need right from the recipe card for the best results:
- 4 large yellow onions, thinly sliced
- 2 tablespoons unsalted butter (the real stuff, always!)
- 1 tablespoon olive oil
- 1 teaspoon salt
- 1/2 teaspoon sugar (optional, only if you want to speed things up slightly)
- 1/4 cup water or low-sodium vegetable broth (this is for deglazing only)
Ingredient Notes and Vegan Caramelized Onions Substitutions
You might notice I call for yellow onions specifically. They have a great balance of sugar and sharp flavor that really develops beautifully during the slow cook. While the recipe notes mention a sweet onions recipe works, I find that yellow onions give you that more complex, darker result we are chasing here.
For those of you eating plant-based, making vegan caramelized onions is incredibly easy! Forget the butter entirely, or swap it out for your brand of high-quality vegan butter. The olive oil step is already vegan, so you are set there. The low and slow cooking method works perfectly well without dairy fat.
Now, about that optional sugar—I usually skip it because 50 minutes of slow cooking usually draws tons of natural sugar out anyway. I only add it when I’m trying to rush the process a bit. If you prefer those milder sweet onions recipe results, you might lean into adding that extra half teaspoon near the end!
Step-by-Step Instructions for Making Caramelized Onions
While knowing the *why* is important, actually getting your hands sticky is what really counts! Making these caramelized onions is straightforward, but timing is everything. I want you, my dear cook, to feel totally confident following along here. Just remember to manage your heat based on the stage of cooking we are in. If you have any questions about the process itself, you can always check out this guide from Running to the Kitchen.
Here is how we officially turn those layers into liquid gold:
- Prepare the onions: First things first, peel those onions and slice them thinly and uniformly. If you have pieces that are super thick and others that are paper-thin, they won’t cook at the same rate, and that’s frustrating! Uniformity helps them cook evenly.
- Start the cooking process: Grab your largest, heaviest skillet—don’t skimp on pan size, or they will steam! Set it over medium-low heat. Melt the butter in with the olive oil until it’s shimmering slightly. Toss in all those sliced onions and the teaspoon of salt. Gently stir until every single piece is coated in fat.
- Initial softening: For the first 15 minutes, our only goal is softening and moisture release. Keep the heat steady and stir every 5 to 7 minutes. We are not trying to brown anything yet; we are just letting them sweat out their toughness.
- Begin caramelization: Now, reduce the heat down to low. This is the crucial phase. You need to continue cooking, stirring about every five minutes. This slow cooking is what draws out those deep sugars. As you stir, watch the bottom of the pan. If you see good brown bits sticking (the fond!) and the onions start adhering, splash in just one tablespoon of water or broth. Scrape that bottom immediately and swirl it around—that releases the flavor right back into the onions.
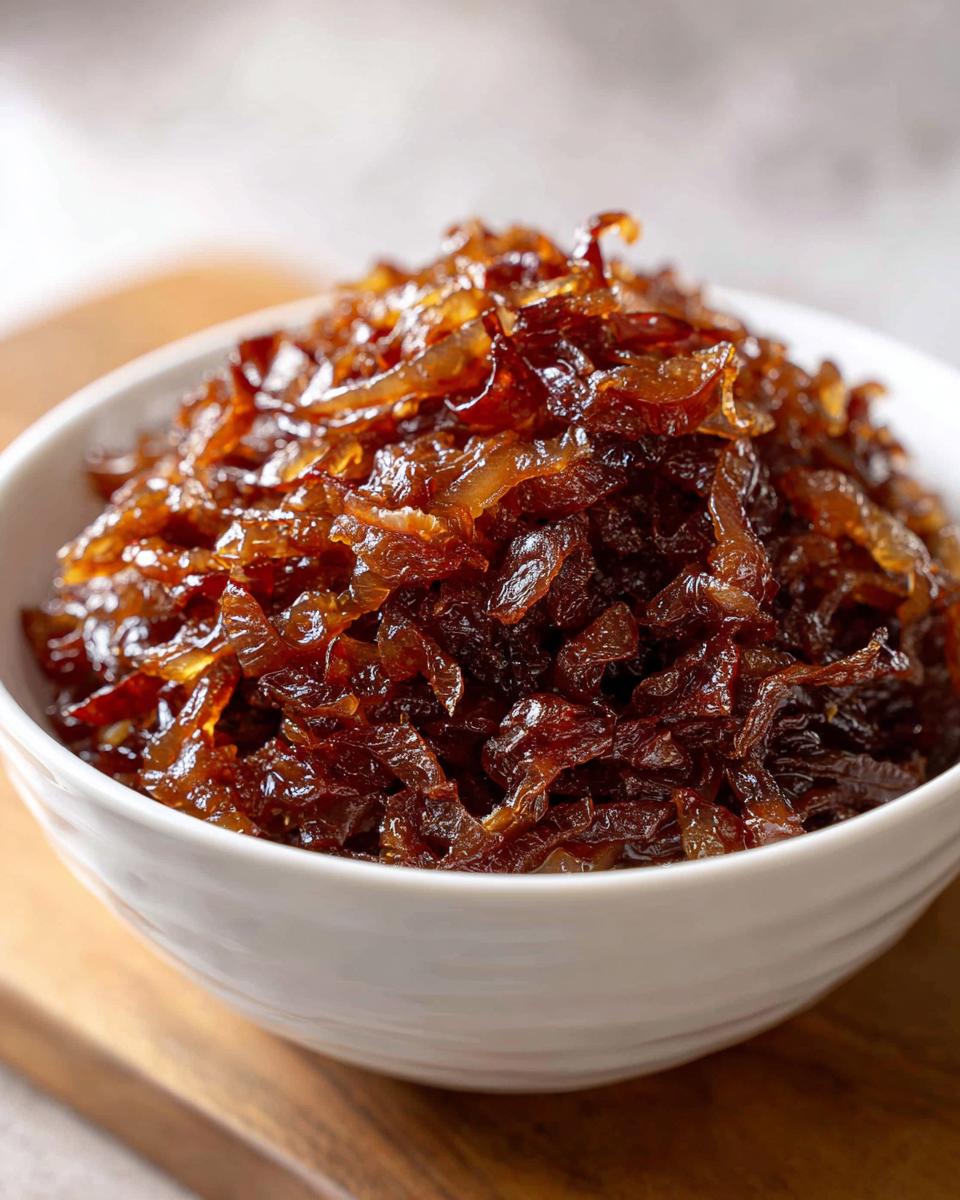
- Deepen the color: Keep going, stirring regularly, for another 30 to 45 minutes. You are looking for that deep, rich, mahogany brown color—it should look incredibly dark but smell sweet, not acrid! If you happen to be using that optional sugar, this is when you want to toss it in, usually during the last 10 minutes of cooking.
- Check for tenderness: When you think you’re done, test them. The final texture should be wonderfully jammy, incredibly sweet, and completely tender. If they seem a bit wet, let them cook uncovered for five more minutes to let that last bit of moisture evaporate.
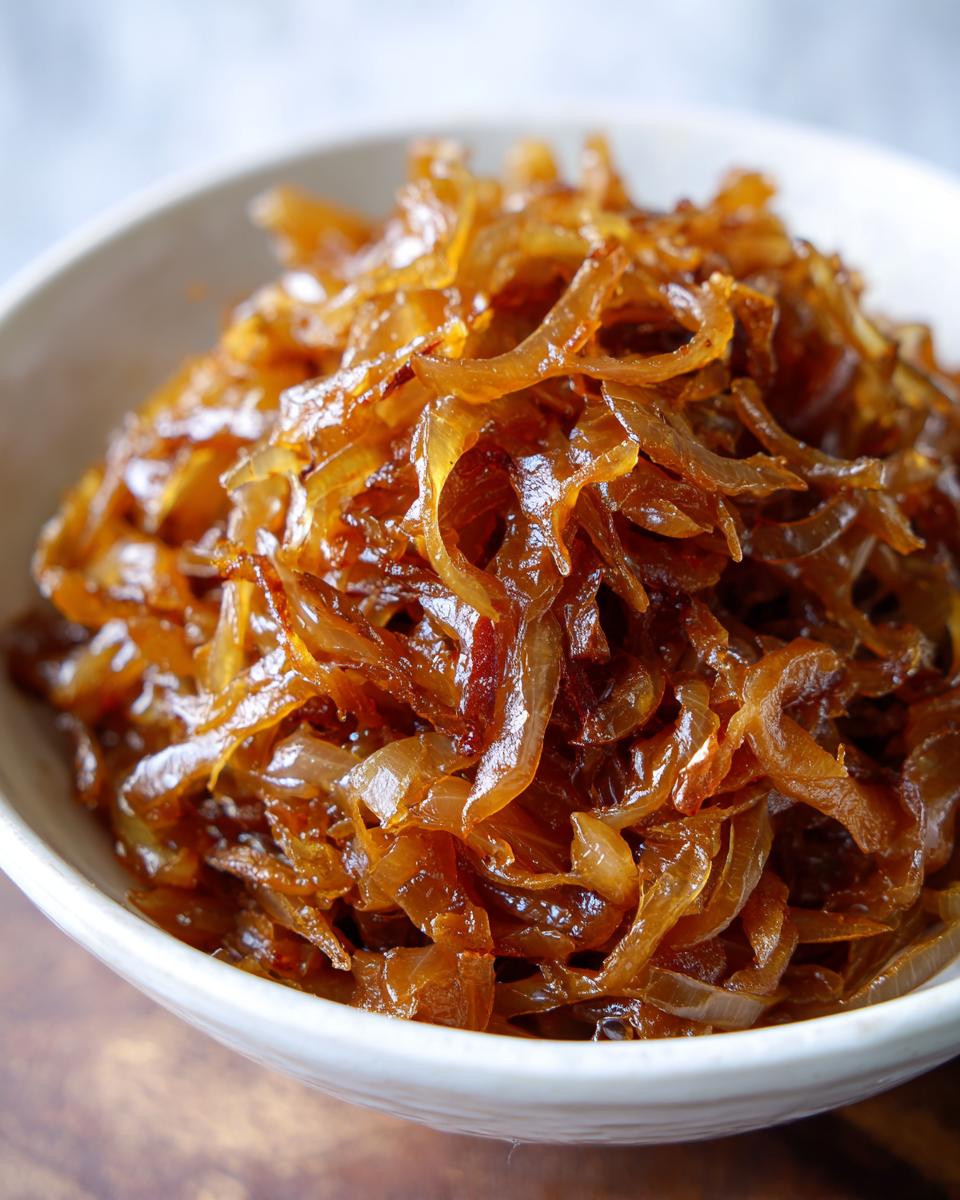
- Finish and store: Once you reach that perfect color and melt-in-your-mouth texture, pull the pan off the heat right away! You don’t want residual heat to burn them. Let them cool completely before you move them to storage containers. They are beautiful and ready to use as the ultimate onion side dish or topping!
Versatile Ways to Use Your Gourmet Onion Topping
This is honestly my favorite part! Once you have achieved that deep, rich flavor, you realize you haven’t just made an onion side dish; you’ve created a flavor shortcut for a dozen spectacular meals. When I first mastered caramelized onions, I immediately put them on my favorite burger recipe—it instantly took a simple weeknight burger up to gourmet status. If you want to see how I use strong umami elements like this to elevate a classic, you have to check out my smash burger recipe!
The uses are limitless, trust me. They add incredible sweetness when mixed subtly into creamy sauces or sprinkled on top of roasted chicken. They make a fantastic addition to any charcuterie board, too. If you’re looking for more ways to serve fantastic side dishes in general, take a peek at my broader Side Dishes category.
From Dip to Pasta: Comfort Food Onion Recipes
It’s the depth of flavor that makes them so amazing in comfort food recipes. Everyone is talking about those creamy, rich pasta bowls that have been trending online, and guess what the secret driver is? You guessed it: slow-cooked onions! They provide that savory-sweet base that makes the cream sauce so addictive. That’s why mastering the technique is so important for these modern dishes.
And let’s not forget dips! A truly phenomenal appetizer is a warm dip loaded with these beauties. Whether you are leaning toward a cheese-forward dip or trying a vegan version (which is actually surprisingly easy, just use a little olive oil trick from this clean recipe), the rich flavor is unbeatable.
Storage and Reheating Instructions for Caramelized Onions
You’ve gone through the patience, the stirring, and the slow cooking—don’t let those gorgeous caramelized onions go to waste! The wonderful news is that these are actually better the next day because the flavors have time to meld and deepen even further. Think of this as cooking ahead for your future self!
Because they are cooked down so completely and have very little water content left, they become an absolute dream for meal prepping. These freeze exceptionally well, which is why I classify them as the perfect kitchen staple onion recipe—you make a huge batch one weekend, and suddenly, you have flavor boosters ready for weeks!
For refrigeration, let them cool completely first. Seriously, don’t put a hot container of onions in the fridge; it can raise the temperature of other foods. Once cool, store them in an airtight container. They will keep beautifully in the refrigerator for up to one full week. I often find myself grabbing a scoop to toss into scrambled eggs or top a piece of toast!
Freezing is even better for long-term use. Place the completely cooled onions into small, freezer-safe containers or even heavy-duty zip-top bags. Lay the bags flat on a baking sheet in the freezer until solid, and then you can stack them up easily in your freezer drawer. They last for about three months this way, which is fantastic for busy seasons.
When you’re ready to use them, and I highly recommend checking out my guide on a great kitchen staple onion recipe while you’re at it, reheating is simple. For a small portion, a quick minute in the microwave usually does the trick. If you are using a larger quantity, just pop them into a small saucepan over very low heat with a tiny splash of water or broth to loosen them up again. They warm up quickly, and that incredible aroma fills the kitchen all over again!
Frequently Asked Questions About Caramelized Onions
I always get so many questions when I share this process because everyone wants that perfect flavor without the guesswork! Here are a few things I hear all the time when readers are first trying their hand at making their own savory sweet onions.
Troubleshooting: Why Aren’t My Onions Browning?
This is probably the number one panic call I get! You’ve been stirring patiently, but they just look… wet. The main reason your onions fail to turn into beautiful golden brown onions usually comes down to one of three things. First, your pan is too crowded. If the onions are piled too high, they are going to steam in their own moisture instead of frying and caramelizing. You need space for that water to evaporate!
Second, check your heat. If you start higher than medium-low, you’re just scorching the edges before the moisture is released. If you see black bits forming too early, turn that heat down immediately. Finally, make sure you used enough fat. Fat conducts the heat evenly and helps that browning happen consistently across the slices. If you’re worried about flavor next time, remember that using both butter and oil is the real trick for that rich taste!
Can I use sweet onions instead of yellow onions?
Oh, absolutely you can use them! If you are making a sweet onions recipe, you might find you need to adjust your cooking time slightly. Sweet onions, like Vidalia, have a higher inherent sugar content than standard yellow onions. This means two things: they might turn brown slightly faster, and they might taste sweeter overall.
If you love that super delicate sweetness, go for it! Personally, I prefer the slight sharpness of the yellow onion because it gives me better contrast when I use them in savory dips or rich pasta dishes. But for a mild onion side dish, sweet onions are delightful.
How do I get that deep, rich French Onion Flavor faster?
This goes back to blending the slow method with an acid, as I mentioned earlier. If you commit to at least 30 minutes on low heat, you build the foundation. Then, to get that deeper, more complex flavor associated with French onion flavor without waiting another 20 minutes, add a small splash of sherry, red wine, or balsamic vinegar right at the end. It reacts with the fond on the bottom of the pan and mimics that aged, deep flavor profile in seconds. Try this out next time you’re aiming for an easy onion recipe that tastes like it took all day!
Can these caramelized onions be made entirely vegan?
Yes! As I touched on briefly, this is easily adapted for vegan caramelized onions. The technique relies on the heating process and the salt drawing out moisture, which doesn’t require dairy. Simply use your favorite high-quality vegan butter substitute or stick entirely to olive oil for the starting fat. They come out just as jammy and absolutely delicious—perfect for topping burgers or mixing into vegan pasta bowls!
If you ever have specific questions about ingredient swaps or want to see my latest culinary thoughts, feel free to check out my latest blog posts!
Share Your Story: What Will You Create?
I truly hope this guide gives you the confidence to master this cornerstone technique. There’s absolutely nothing better than knowing you can turn a humble onion into something that tastes this luxurious!
Now that you have the secrets for stunning caramelized onions, I want to know what you’re making first! Are these going straight onto a towering burger, or are you swirling them into a creamy pasta dish? Please leave a comment below and let me know how your batch turned out, and don’t forget to give the recipe a rating—it really helps other home cooks see what’s working!
Share Your Story: What Will You Create?
I truly hope this guide gives you the confidence to master this cornerstone technique. There’s absolutely nothing better than knowing you can turn a humble onion into something that tastes this luxurious!
Now that you have the secrets for stunning caramelized onions, I want to know what you’re making first! Are these going straight onto a towering burger, or are you swirling them into a creamy pasta dish? Please leave a comment below and let me know how your batch turned out, and don’t forget to give the recipe a rating—it really helps other home cooks see what’s working! If you ever need to reach out directly with feedback or questions, the best place is always my Contact Page.
PrintThe Ultimate Guide: How to Perfectly Caramelize Onions
Learn the technique to transform sharp onions into sweet, tender, golden-brown caramelized onions. This guide covers the slow method for deep flavor and tips for faster results, creating a kitchen staple for gourmet toppings and savory dishes.
- Prep Time: 10 min
- Cook Time: 50 min
- Total Time: 60 min
- Yield: About 1.5 cups 1x
- Category: Side Dish
- Method: Slow Cooking
- Cuisine: General
- Diet: Vegetarian
Ingredients
- 4 large yellow onions, thinly sliced
- 2 tablespoons unsalted butter
- 1 tablespoon olive oil
- 1 teaspoon salt
- 1/2 teaspoon sugar (optional, helps speed browning)
- 1/4 cup water or low-sodium vegetable broth (for deglazing)
Instructions
- Prepare the onions: Peel and slice the onions thinly and uniformly. Uniformity helps them cook evenly.
- Start the cooking process: In a large, heavy-bottomed skillet or Dutch oven, combine the butter and olive oil over medium-low heat. Add the sliced onions and the salt. Stir to coat them completely in the fat.
- Initial softening: Cook the onions slowly, stirring every 5 to 7 minutes. For the first 15 minutes, the goal is to soften them and release moisture. Do not let them brown yet.
- Begin caramelization: Reduce the heat to low. Continue cooking, stirring every 5 minutes. This slow process draws out the natural sugars. If the bottom of the pan starts to develop brown bits (fond) and the onions stick, add a tablespoon of water or broth and scrape the bottom of the pan to release those flavors back into the onions (deglazing).
- Deepen the color: Continue cooking for another 30 to 45 minutes, or until the onions reach a deep, rich, mahogany brown color. If you are using sugar, add it during the last 10 minutes of cooking.
- Check for tenderness: The final texture should be jammy, sweet, and very tender. If you are aiming for quick caramelized onions, you can raise the heat slightly near the end, but watch closely to prevent burning.
- Finish and store: Remove from heat. These are now ready to use as a gourmet onion topping or side dish. Cool completely before storing.
Notes
- For the best French onion flavor depth, commit to the full 45–60 minute slow cook time. Patience creates the best savory sweet onions.
- If you need quick caramelized onions, use a higher heat (medium-low) and add a splash of balsamic vinegar near the end to mimic deep color quickly.
- Store cooled caramelized onions in an airtight container in the refrigerator for up to one week, or freeze them for up to three months.
- These are excellent as an onion topping for burgers or mixed into pasta bowls.
Nutrition
- Serving Size: 1/4 cup
- Calories: 85
- Sugar: 9
- Sodium: 250
- Fat: 5
- Saturated Fat: 2
- Unsaturated Fat: 3
- Trans Fat: 0
- Carbohydrates: 10
- Fiber: 1
- Protein: 1
- Cholesterol: 5