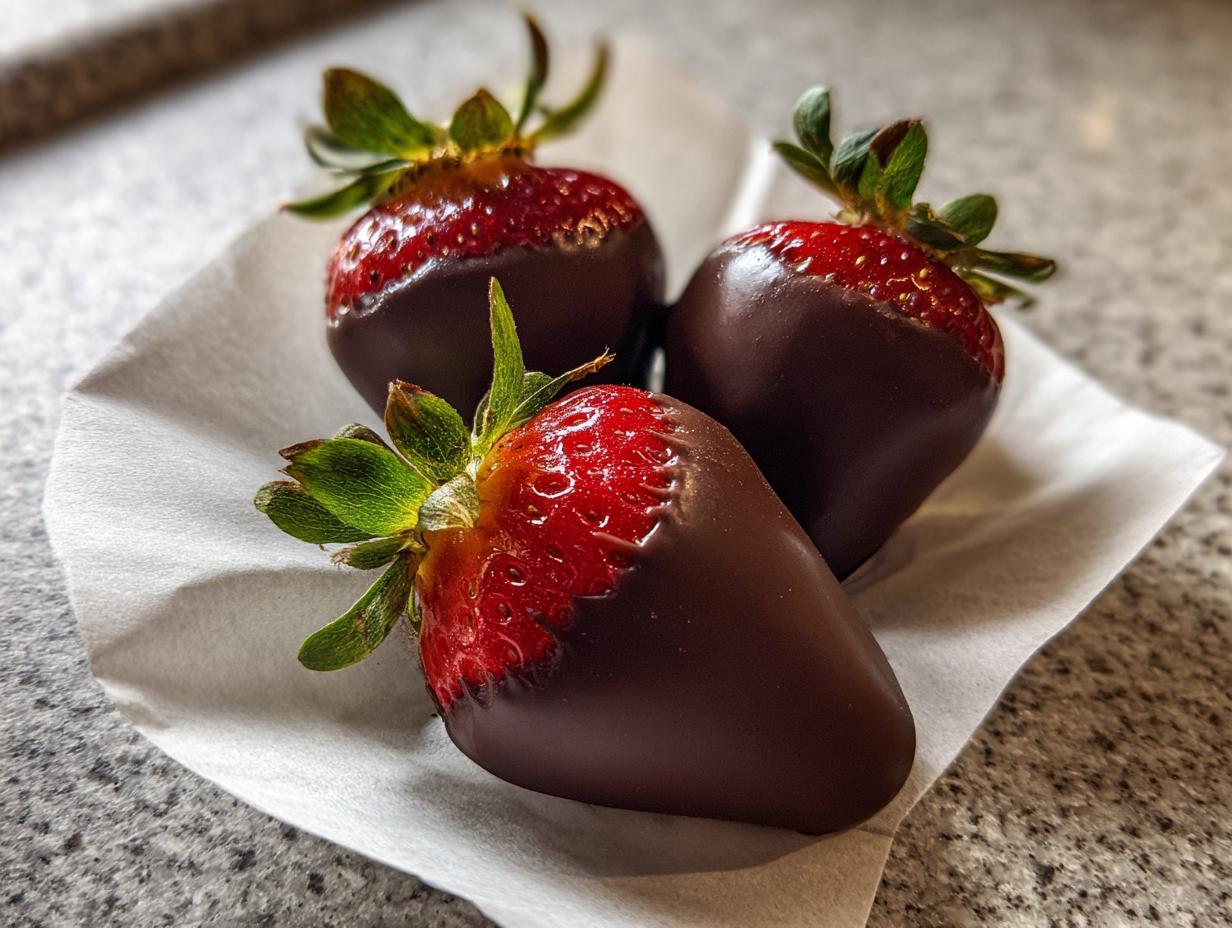

While my heart belongs to the vibrant flavors of the Mediterranean and Spanish coastlines, I also firmly believe in the power of a classic, stunning dessert. Sometimes, you just need something simple yet utterly elegant—a showstopper that doesn’t demand hours of complicated technique. That’s why I compiled this ultimate guide for making perfect chocolate covered strawberries. Truly, this is where approachable elegance shines brightest! We are going to unlock the secrets to getting that gorgeous, smooth coating on your berries, ensuring they look worthy of any gourmet display, even if it’s your very first time dipping. If you want to know more about how I bring these dual culinary worlds together, you can always read a bit more about my journey over at Unfold Recipes. Consider this recipe your new secret weapon for effortless entertaining.
- Why Our Recipe Delivers Perfect Chocolate Covered Strawberries Every Time
- Ingredients for Gourmet Chocolate Covered Strawberries
- Step-by-Step Instructions for Easy Chocolate Dipped Strawberries
- Chocolate Covered Strawberry Dipping Tips for a Professional Look
- Variations for Decorative Chocolate Dipped Strawberries
- Storage and Shelf Life for Chocolate Covered Strawberries Storage
- Tips for Success with Homemade Chocolate Covered Strawberries
- Frequently Asked Questions About Chocolate Covered Strawberries
- Enjoying Your Easy Chocolate Desserts
Why Our Recipe Delivers Perfect Chocolate Covered Strawberries Every Time
When you’re looking for truly chocolate covered strawberries that look like they came from an actual chocolatier, it usually comes down to battle between moisture and temperature. The biggest fear is always that weeping, sweaty look a day later, or worse, that dull, cracked finish. We solve these problems right away using just two main insights. First, we make sure the berries are absolutely bone dry—this is non-negotiable for preventing the chocolate from seizing up on you. Second, we skip the stressful tempering process most of the time, using a simple little helper to ensure that beautiful, hard shell. If you’re seeing chocolate slide right off, you need to check out some fantastic advice, like what I found over at Cooking En Vogue about preventing leaky chocolate.
The Secret to Shiny Chocolate Coating That Hardens
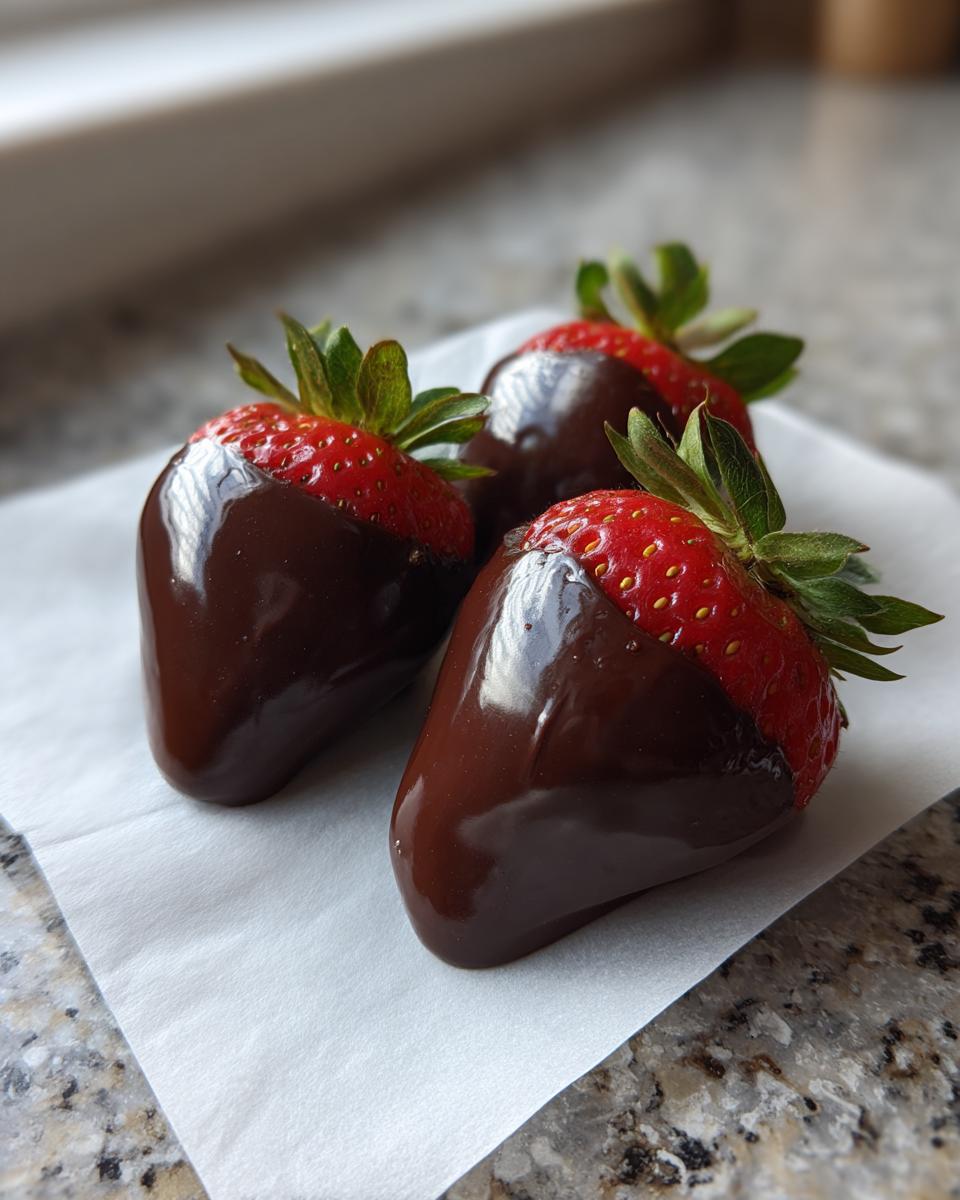
So, you want that gorgeous, glass-like finish? That’s where the optional coconut oil or shortening comes in. This trick is fantastic for anyone avoiding the fuss of tempering! Adding just a tiny bit of fat to your melted chocolate lowers the viscosity, making it flow beautifully over the berry. This small addition helps out with how to make chocolate strawberries shiny and, crucially, helps the chocolate set into a firm shell, not a soft, smudgeable mess. It’s my favorite shortcut for achieving that gourmet feel.
Beginner Chocolate Covered Strawberry Recipe: No Tempering Required
Listen, if you’re new to this, don’t even let the word “tempering” scare you! While the professionals might swear by true tempering for the ultimate snap, our easy chocolate dipped strawberries recipe uses high-quality melting chocolate and that little bit of oil we just talked about. This combination gives you a reliable, hard, and glossy shell without needing a candy thermometer or worrying about crystal structures. We’ve made the hardest part simple so you can focus on dipping those perfect chocolate covered strawberries.
Ingredients for Gourmet Chocolate Covered Strawberries
When we’re aiming for that gourmet look, choosing quality ingredients is key, even if the list is short! Think of these as the foundation for something truly special. I always grab the firmest, freshest berries I can find because sad, soft fruit just won’t hold up to the dipping process. You only have three core things for this whole operation, but pay attention to the details I added in the recipe card, okay?
Strawberries and Prep Items
- 1 pound fresh strawberries, washed and completely dried
- 1 teaspoon coconut oil or vegetable shortening (optional, for shine)
The Chocolate
You’ll need about 12 ounces of chocolate here. I usually lean toward a really good quality dark chocolate, since that slight bitterness balances the sweetness of the fruit so nicely. But honestly, pick whatever you love—milk or white chocolate work beautifully too! Just make sure whatever you choose melts nicely in the microwave.
Step-by-Step Instructions for Easy Chocolate Dipped Strawberries
Okay, now that we have our beautiful ingredients ready, let’s get dipping! Making beautiful chocolate covered strawberries is really just about following a few simple rules in order. If you take your time on the prep work, the rest is smooth sailing. I promise this straightforward method means you’ll have stunning, easy chocolate dipped strawberries ready before you know it. Remember, precision in the beginning saves so much heartache later on! If you need other quick ideas, my recipe for no-bake cookies shares that same simple philosophy.
Crucial Prep: Drying Strawberries to Prevent Chocolate Sweating
We have to talk about Step 1 again because it’s everything! You have to wash them gently, yes, but you absolutely must dry them completely. I mean it—every single drop needs to be gone. If there’s even a tiny bit of moisture remaining, that water reacts badly with the fat in the chocolate, which causes it to seize up into a stiff crumbly mess, or worse, it causes the dreaded sweating later on. Just use paper towels and pat every berry lovingly until you are sure they are dry. I recommend leaving the green stems on, too; they act as the perfect little handle!
Melting Chocolate and Adding Shine for Beautiful Chocolate Covered Strawberries
Next up is getting our coating just right. We’re melting this very carefully in the microwave. Never just blast it! Use 30-second bursts, stirring really well between each one. This prevents scorching, which no one wants. Once it’s *almost* melted, take it out and stir until the residual heat finishes the job. This is where we add our secret weapon—that optional coconut oil or shortening. Mix it in until everything is completely smooth and super glossy. This tiny addition gives your chocolate covered strawberries that beautiful shine that makes them look so gourmet. For more insight on getting that perfect berry prep, I loved the tips I saw on Downshiftology’s guide to chocolate covered strawberries.
Chocolate Covered Strawberry Dipping Tips for a Professional Look
You’ve dried your berries, you’ve melted your glossy chocolate—now comes the fun part! Dipping takes just a little bit of finesse, but trust me, a few little tricks will elevate your chocolate covered strawberries from ‘homemade’ to ‘bakery-worthy.’ These chocolate covered strawberry dipping tips are what separate the beginners from the bakers who look like they’ve been doing this for years. Think about how you hold things; we need control! If you want to see some gorgeous dips for inspiration, check out the tutorial from Savory Discovery here.
First, line your baking sheet with parchment paper—this is essential! When you dip, hold the berry firmly by those green stems. Dip the berry deep, maybe three-quarters of the way up, and then tilt the bowl slightly. This uses gravity to help the chocolate flow evenly. Immediately after lifting, gently tap the wrist holding the berry against the side of the bowl a couple of times. This vibration shakes off that thick drip hanging off the bottom, which is what usually pools up weirdly on your setting tray.
Techniques to Keep Chocolate from Sliding Off Strawberries
This is such a common frustration! If you find the chocolate just wants to run right down to the tip and leave the top bare, you need to address the ‘shoulder’ of the strawberry—that top area right under the leaves. Before you even dip, take a completely dry paper towel and very gently wipe down that top section. This removes any lingering moisture or oils on the skin right there, giving the chocolate something better to grip onto. It creates a great base so your coating stays exactly where you want it!
Variations for Decorative Chocolate Dipped Strawberries
Now, let’s make these gorgeous chocolate covered strawberries truly yours! Once you’ve dipped them and they are just starting to look set—that magic window right before they go completely solid—is the time to accessorize. This is where you transform a simple dessert into a centerpiece. If you went with dark chocolate, melting a little white chocolate separately and drizzling it back and forth over the berries creates such a lovely visual contrast. It really screams gourmet!
For extra texture, you can scatter some finely chopped toasted nuts or colorful sprinkles right after that first dip. Speaking of fun ideas, I always look at sites like Sarah Scoop when I need a new theme for my toppings—she has loads of chocolate dipped strawberry ideas that are just inspiring. And if you love a decorative touch but want to keep working with chocolate, check out my recipe for my favorite chocolate cupcakes; the principles of decorating are often similar!
Storage and Shelf Life for Chocolate Covered Strawberries Storage
This is vital, especially if you’re making your amazing chocolate covered strawberries ahead of time for a party or as a gift. Listen closely: humidity is the enemy of that perfect chocolate shell! While it seems like the fridge offers safety, that cold air causes condensation, which leads straight to sticky, sweating chocolate—and no one wants that mess. For the best chocolate covered strawberries storage, you really want a cool, dry place, like a basement pantry that stays below 70°F if you have one. If you must refrigerate, only do it briefly (maybe 15 minutes) just to set the last few berries, and then get them out!
Ideally, you should enjoy these beauties the same day you make them, but they usually last a solid 24 hours at room temperature if kept out of direct sunlight. If you need a little more time, try to store them in a single layer in an airtight container. For all the nitty-gritty details on keeping them fresh, Amira’s Pantry has some wonderful, detailed advice on how to store chocolate covered strawberries. Always check my general blog for more tips on preserving all your sweet treats!
Tips for Success with Homemade Chocolate Covered Strawberries
I know we’ve covered the big ones—drying your berries and adding that wink of coconut oil for shine—but I have a couple more secrets up my sleeve to make sure your chocolate covered strawberries are always faultless. You want reliability when hosting, right? That’s what I learned in culinary school: perfect execution comes from respecting the details. If you are looking to really push your skills and achieve that classic, super-crisp snap that professional confectioners get, you absolutely *can* temper your chocolate. It’s a dedicated process that requires a candy thermometer, but it yields incredible results! For a full walkthrough on that advanced technique, I always point people toward the fantastic tutorial Sugar Geek Show has available here.
But for everyday elegance, just remember this: if you ever feel your melted chocolate starting to thicken—maybe from residual moisture or just cooling down too much—don’t panic and try to re-melt harshly! Just stir in maybe half a teaspoon more of your fat (the coconut oil) until it flows smoothly again. If you have any questions at all about the process, don’t hesitate to reach out to me directly; you can always get in touch via my contact page. Happy dipping!
Frequently Asked Questions About Chocolate Covered Strawberries
It’s completely normal to have a few lingering questions when you’re aiming for that picture-perfect result. I get asked the same things all the time when people try this for the first time! We’ve talked about moisture and storage, but let’s tackle a couple more quick issues that might pop up when you’re making these stunning, homemade chocolate covered strawberries.
What is the best chocolate for dipping strawberries?
This is such a great question that touches on the ‘best chocolate for dipping strawberries‘ debate! Honestly, for the beginner cook, I really recommend using high-quality candy melts or melting wafers. They behave wonderfully in the microwave and are designed to set up hard with that satisfying snap. If you want to use actual chocolate bars—say, a good quality dark chocolate—you absolutely can, but you need to ensure you stir in that pinch of coconut oil we discussed. That oil basically mimics the consistency needed by tempered chocolate, giving you a solid finish without the fuss of true tempering. Using lower quality chocolate often leads to a waxy texture, so please splurge a tiny bit on good stuff!
Can I make chocolate strawberries ahead of time?
Yes, you certainly can get a jump start on these beautiful homemade treats, especially if you’re prepping for a big party. But here’s the catch, which ties back to our storage discussion: you can generally make them a day ahead, maximum two, and they will still be fantastic. The key is keeping them away from that kitchen humidity! If you stick them in the fridge, you risk that condensation forming, which makes them sticky. So, aim to have them done the day before, store them in an airtight container in the coolest, driest spot in your pantry, and enjoy them the next day. If you have to refrigerate them for any reason, make sure they are cool, but let them sit on the counter for about 20 minutes before serving so they aren’t ice cold!

Enjoying Your Easy Chocolate Desserts
And just like that, you’re holding a platter of stunning, gourmet-looking delights! Congratulations! These easy chocolate desserts are guaranteed to impress whomever you share them with. Whether you’re setting them out for a big party, packaging them up as a thoughtful homemade gift, or setting aside a few for a romantic Valentine dessert—they always feel special.
Since this recipe is so quick, you can even make a small batch just because it’s Tuesday! That’s the beauty of keeping things simple but elegant, right? I always love seeing how readers decorate theirs, so once you’ve had a chance to try this method, please come back and tell me how they turned out!
Did you stick with plain dark chocolate? Did you try a fun drizzle or maybe some crushed pistachios? Drop a rating and let me know in the comments below. I truly love hearing from you and finding out what sweet stories you’re unfolding in your own kitchens. For more delicious sweet inspiration, feel free to browse all my dessert recipes here at Unfold Recipes. Happy savoring!
PrintThe Ultimate Guide to Perfect Chocolate Covered Strawberries
Create beautiful, gourmet-looking chocolate-covered strawberries at home. This guide provides simple instructions and pro tips to achieve a smooth, shiny coating that hardens perfectly, making them ideal for any celebration.
- Prep Time: 20 min
- Cook Time: 5 min
- Total Time: 25 min
- Yield: About 20 strawberries 1x
- Category: Dessert
- Method: Dipping
- Cuisine: American
- Diet: Vegetarian
Ingredients
- 1 pound fresh strawberries, washed and completely dried
- 12 ounces high-quality melting chocolate (dark, milk, or white)
- 1 teaspoon coconut oil or vegetable shortening (optional, for shine)
Instructions
- Prepare the strawberries: Gently wash the strawberries. It is crucial that you dry them completely. Use paper towels to pat each berry dry. Moisture causes chocolate to seize or sweat later. Leave the green stems attached for easy dipping.
- Prepare the dipping surface: Line a baking sheet with parchment paper or wax paper.
- Melt the chocolate: Place the chocolate in a microwave-safe bowl. Microwave in 30-second intervals, stirring well after each interval, until the chocolate is mostly melted.
- Achieve a smooth finish: Stir in the coconut oil or shortening, if using. Continue stirring until the chocolate is completely smooth and glossy. If you are not tempering, this addition helps the chocolate set with a better shine.
- Dip the strawberries: Hold the strawberry by the stem. Dip the berry into the melted chocolate, tilting the bowl slightly. Rotate the berry to cover about three-quarters of the fruit.
- Remove excess chocolate: Lift the strawberry out of the chocolate, allowing any excess to drip back into the bowl. You can gently tap the wrist holding the berry against the side of the bowl to encourage dripping.
- Set the coating: Place the dipped strawberry onto the prepared parchment-lined baking sheet.
- Decorate (optional): If adding toppings like sprinkles or chopped nuts, apply them immediately before the chocolate sets.
- Allow to set: Let the strawberries set completely at room temperature for about 30 minutes, or place them in the refrigerator for 10-15 minutes to speed up the process. Do not leave them in the refrigerator for too long, as this can cause condensation (sweating) later.
Notes
- For the best results and a hard, shiny chocolate coating that does not sweat, ensure your strawberries are completely dry before dipping.
- If you want a professional, tempered chocolate finish, use a candy thermometer and follow a standard tempering process for your chosen chocolate type.
- To prevent the chocolate from sliding off, gently wipe the shoulder area of the strawberry (just below the leaves) with a dry paper towel before dipping.
- Store homemade chocolate covered strawberries in a single layer in an airtight container in a cool, dry place for up to 2 days. Avoid the refrigerator unless necessary, as humidity causes stickiness.
Nutrition
- Serving Size: 1 strawberry
- Calories: 80
- Sugar: 8
- Sodium: 5
- Fat: 5
- Saturated Fat: 3
- Unsaturated Fat: 2
- Trans Fat: 0
- Carbohydrates: 9
- Fiber: 1
- Protein: 1
- Cholesterol: 0