
Halloween night is HERE, and you need something that screams fun and fits the spooky vibe, right? Forget boring treats! We’re diving headfirst into making the most adorable, ridiculously tasty dirt pudding cups that your guests will absolutely devour. Trust me, these little guys are a total slam dunk for any Halloween bash. Here at Unfold Recipes, we’re all about making impressive food feel totally doable, just like Catherine does with her passion for storytelling through delicious, approachable dishes. You can read more about her kitchen philosophy and how she believes every recipe tells a story, but for now, let’s get our hands a little dirty and whip up something magical!
- Why You'll Love These Spooky Dirt Pudding Cups
- Gather Your Hauntingly Delicious Ingredients
- How to Make Dirt Pudding Cups: A Step-by-Step Guide
- Tips for the Best Dirt Pudding Cups
- Frequently Asked Questions about Dirt Pudding Cups
- Serving Suggestions for Your Spooky Treat
- Estimated Nutritional Information
- Share Your Spooky Creations!
Why You’ll Love These Spooky Dirt Pudding Cups
These little cups of awesome are just perfect for Halloween! Here’s why:
- Super Easy to Make: Seriously, you can whip these up in no time, even if you’re not a pro baker.
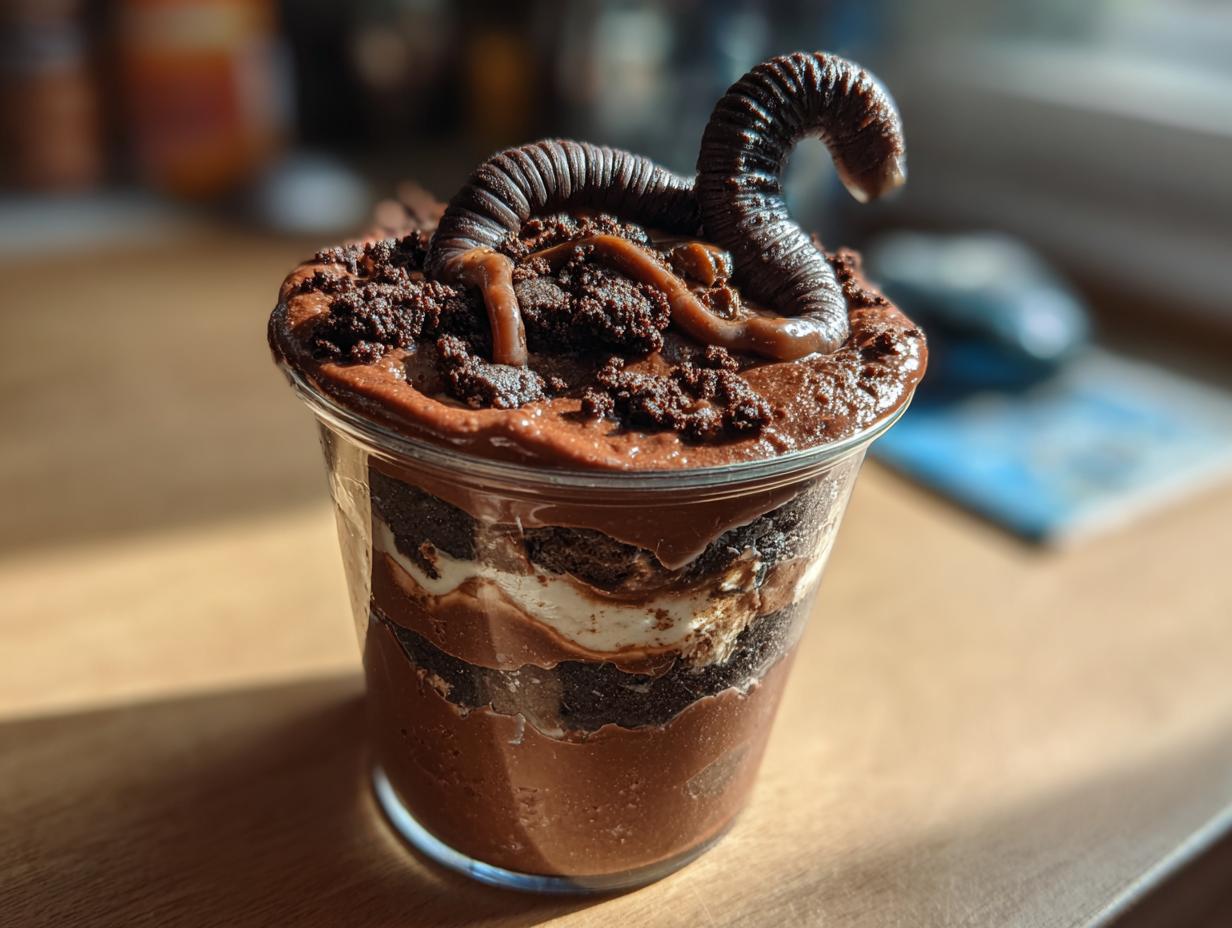
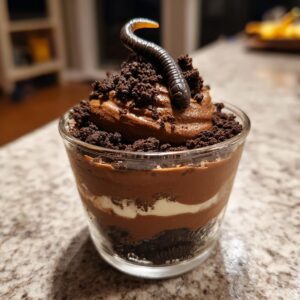
- Spooky Fun Factor: They look just like little graves with worms popping out – total win for Halloween!
- Crowd Pleaser: Who doesn’t love creamy chocolate pudding and crunchy cookies? Everyone devours them!
- Perfect for Parties: They’re individually portioned, making serving a breeze for all your ghoulish guests.
Gather Your Hauntingly Delicious Ingredients
Okay, so to make these spooky delights, you’ll need to grab a few things from the store. Nothing too wild, promise! You’ll need one box of instant chocolate pudding mix (the 3.9-ounce kind works perfectly), about 3 cups of nice, cold milk, and a cup of heavy cream for that super luscious texture. Don’t forget a little splash of vanilla extract, the whole package of those yummy chocolate sandwich cookies – you know, the ones with the creamy filling, about 15 ounces total – and of course, the stars of the show, some silly gummy worms!

How to Make Dirt Pudding Cups: A Step-by-Step Guide
Alright, let’s get down to business and put these spooky creations together! Making dirt pudding cups is honestly more fun than complicated. You just need to follow a few simple steps, and you’ve got yourself a Halloween hit. It’s like a little bit of magic for your party! For more inspiration in the kitchen, you can check out these easy no-bake cookies or even some festive Halloween Oreo balls!
Preparing the Chocolate Pudding Base
First things first, grab a bowl and whisk together that instant chocolate pudding mix with the 3 cups of cold milk. Give it a good whisk until it’s all smooth and no powdery bits are left. Let it sit for about five minutes; it’ll get nice and thick on its own!
Whipping the Cream for a Fluffy Texture
Now, in a completely different, clean bowl – this is important! – pour in your heavy cream and that teaspoon of vanilla extract. Get your electric mixer going. You want to beat it until it forms those lovely, stiff peaks, meaning when you lift the beaters, the cream stands straight up proudly.
Combining Pudding and Cream
Time to make this pudding extra luxurious! Gently fold that fluffy whipped cream into your thickened chocolate pudding. Use a spatula and make these soft, “under-and-over” motions. You don’t want to go crazy and stir it too much, just enough so there are no white streaks left. It should look like the smoothest, creamiest chocolate cloud.
Creating the ‘Dirt’ Effect
For that essential ‘dirt’ look, we need cookie crumbs! Take your chocolate sandwich cookies and pop them into a zip-top bag. Seal it up tight, and then get a little creative – you can bash them with a rolling pin, use the bottom of a glass, or even pulse them in a food processor. You want nice, coarse crumbs, not dust!
Assembling Your Spooky Dirt Pudding Cups
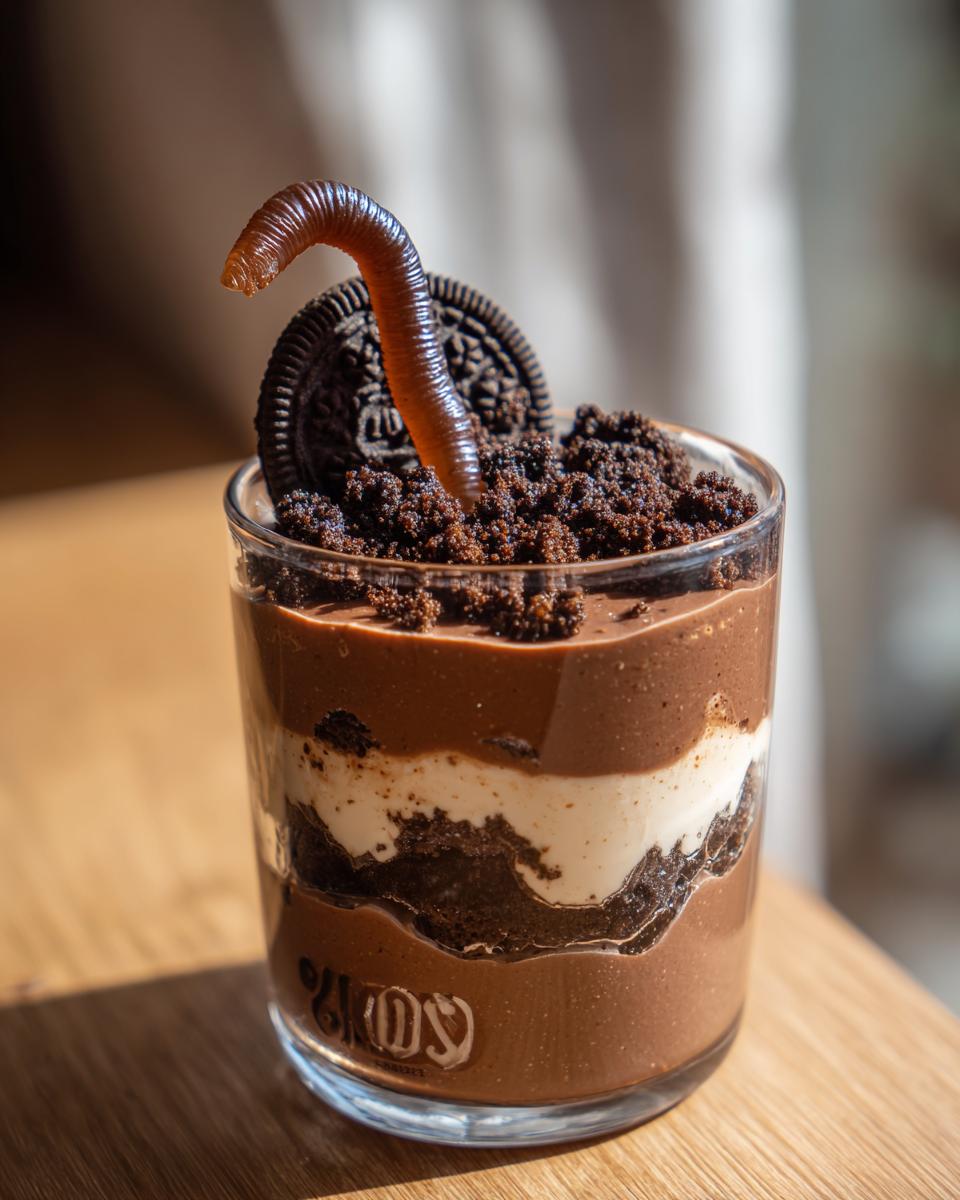
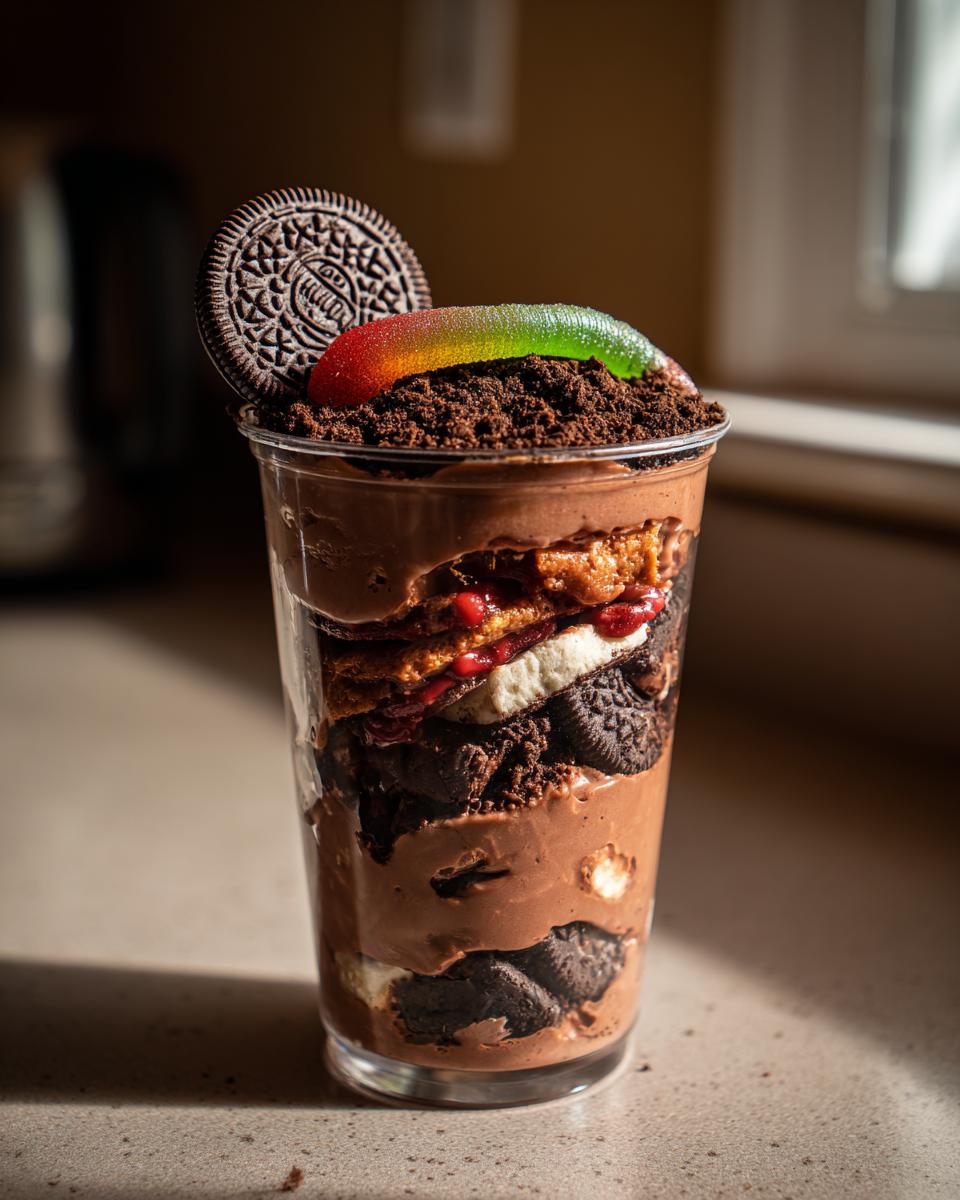
This is where the fun really happens! Grab your clear cups or jars. Spoon a good layer of those crushed cookie crumbs into the bottom of each one for your ‘soil’. Then, scoop a generous dollop of that chocolate pudding mixture on top. Add another layer of cookie crumbs, and then finish with another layer of that dreamy pudding. Now for the best part: gently stick a gummy worm out of the top of each cup, making it look like it’s crawling its way out of the dirt!

The Crucial Chilling Step
Almost there! Pop those festive cups into the refrigerator for at least 30 minutes. This lets everything chill out and firm up perfectly. It makes them so much tastier and easier to eat.
Tips for the Best Dirt Pudding Cups
Alright, let’s talk secrets to making these dirt pudding cups absolutely perfect for your spooky soiree! It’s all about the little things. You know, I’ve found that the richer the chocolate cookie, the better the ‘dirt’ tastes. If you’re baking these for a big crowd, maybe check out some other easy dessert ideas too, but trust me, these cups are always a winner!
Ingredient Notes and Substitutions
For the best flavor, I really love using classic chocolate sandwich cookies – the ones with the creamy filling, like Oreos. They give you that perfect dark crumb and a hint of sweetness. If you can’t find those or want something a little different, a good chocolate wafer cookie would work too, but the creamy filling ones really make the “dirt” taste extra rich. Just make sure they’re crushed well!
Making Dirt Pudding Cups Ahead of Time
Here’s a pro tip: these cups are actually better if you make them a day ahead! Just assemble them as usual, then cover them tightly with plastic wrap. Pop them in the fridge, and they’ll be nice and chilled and perfectly set when it’s party time.
Frequently Asked Questions about Dirt Pudding Cups
Got questions about these spooky little treats? I’ve got answers!
Can I use a different type of cookie for my dirt pudding cups?
Absolutely! While chocolate sandwich cookies are my go-to for that classic ‘dirt’ look and taste, you could totally use chocolate wafers or even graham crackers if you’re in a pinch. Just remember, different cookies will change the flavor a bit!
How long do dirt pudding cups last in the refrigerator?
These guys hold up super well! I usually make them the day before a party, and they’re still delicious for about 2-3 days. Just keep them covered tightly so they don’t soak up any other fridge smells.
Can I make dirt pudding cups dairy-free?
You can give it a whirl! Just swap the regular milk for a plain, unsweetened dairy-free milk like almond or soy, and use a dairy-free whipped topping or coconut cream for that fluffy element. Always double-check your cookie ingredients, too!
Serving Suggestions for Your Spooky Treat
These spooky dirt pudding cups are the ultimate Halloween party stars! They’re fantastic on their own, but you can really elevate your dessert table. Serve them alongside other festive desserts like pumpkin cookies or ghost meringues. They also make a fun addition to a spooky buffet, nestled amongst some creepy Halloween appetizers. Trust me, these little cups are always a guaranteed crowd-pleaser, no matter how you present them!
Estimated Nutritional Information
Just a heads-up, the nutritional info for these fun dirt pudding cups is an estimate! Things like the exact brand of cookies or pudding mix you use can change up the numbers a bit. But generally, you’re looking at around 350 calories, with about 18g of fat, 50g of carbs, and 4g of protein per serving. Plus, they’ve got around 40g of sugar, which is pretty typical for a delicious Halloween treat!
Share Your Spooky Creations!
Did you make these creepy-crawly dirt pudding cups? I just love seeing your kitchen creations! Please, drop a comment below and tell me how they turned out! Did you rate them? Share a pic on social media? I’m dying to see your spooky masterpieces!
PrintSpooky Dirt Pudding Cups
Create these fun and festive dirt pudding cups for your Halloween party. They are easy to make and a guaranteed hit with guests.
- Prep Time: 20 min
- Cook Time: 0 min
- Total Time: 20 min
- Yield: 6-8 servings 1x
- Category: Dessert
- Method: No-Bake
- Cuisine: American
- Diet: Vegetarian
Ingredients
- 1 package (3.9 ounces) instant chocolate pudding mix
- 3 cups cold milk
- 1 cup heavy cream
- 1 teaspoon vanilla extract
- 1 package (15.25 ounces) chocolate sandwich cookies (like Oreos)
- 12–15 gummy worms
Instructions
- Prepare the pudding: Whisk the instant chocolate pudding mix and cold milk in a bowl until well combined. Let it sit for 5 minutes to thicken.
- Whip the cream: In a separate bowl, beat the heavy cream and vanilla extract with an electric mixer until stiff peaks form.
- Fold in the cream: Gently fold the whipped cream into the thickened chocolate pudding until no streaks remain.
- Crush the cookies: Place the chocolate sandwich cookies in a zip-top bag and crush them into coarse crumbs using a rolling pin or the bottom of a heavy glass.
- Assemble the cups: Spoon a layer of crushed cookies into the bottom of 6-8 clear plastic cups or small jars.
- Add pudding: Top the cookie crumbs with a layer of the chocolate pudding mixture.
- Repeat layers: Add another layer of cookie crumbs, followed by another layer of pudding.
- Add gummy worms: Stick a gummy worm out of the top of each cup to look like it’s crawling out of the dirt.
- Chill: Refrigerate the dirt pudding cups for at least 30 minutes before serving.
Notes
- For a more intense chocolate flavor, use chocolate sandwich cookies with chocolate filling.
- You can add a few drops of green food coloring to the pudding for a slightly mossy effect.
- These cups can be made a day in advance and stored in the refrigerator.
Nutrition
- Serving Size: 1 cup
- Calories: 350
- Sugar: 40g
- Sodium: 250mg
- Fat: 18g
- Saturated Fat: 10g
- Unsaturated Fat: 8g
- Trans Fat: 0g
- Carbohydrates: 50g
- Fiber: 2g
- Protein: 4g
- Cholesterol: 40mg