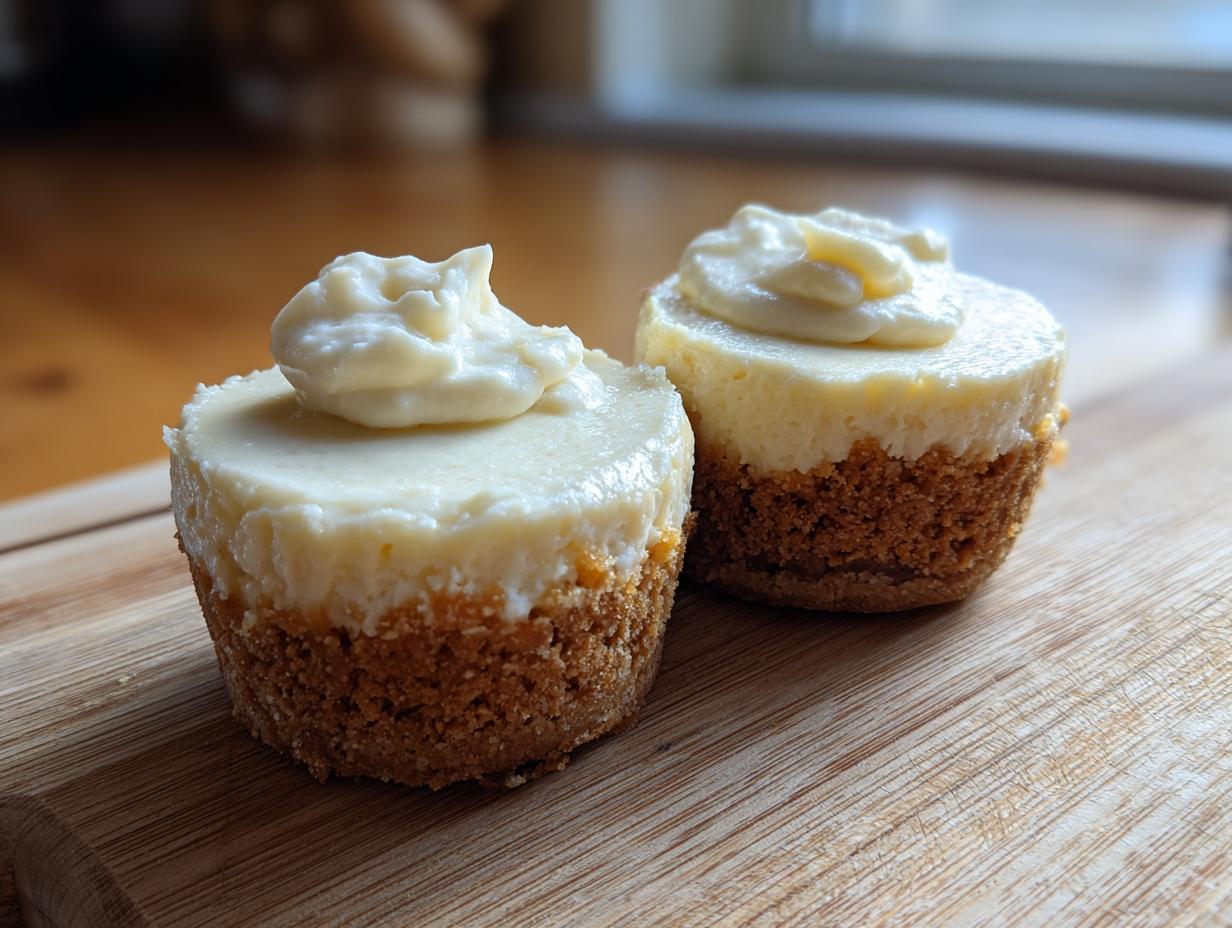

There’s just something magical about a dessert that fits perfectly in your hand, isn’t there? I absolutely adore the concept of **bite sized desserts**, especially when they pack all the decadent flavor of their full-sized counterparts. Forget wrestling with a giant springform pan! What I’m sharing with you today is my absolute go-to **easy cheesecake recipe**: the ultimate, foolproof, New York Style **mini cheesecake** bites.
This recipe delivers that signature rich, creamy experience while maintaining what I call ‘approachable elegance’—meaning it looks stunning for any gathering, but trust me, it’s simple enough for a weeknight craving. I’ve tested these miniature wonders until they are completely reliable. They are truly the best way to share that classic cheesecake flavor without any stress!

- Why This Recipe Makes the Best Mini Cheesecake Bites
- Gathering Ingredients for Your Easy Mini Cheesecake Recipe
- Step-by-Step Instructions for Perfect Muffin Tin Cheesecake
- Expert Tips for the Best Mini Cheesecake Recipe
- Creative Dessert Toppers Ideas for Your Mini Cheesecake
- Make Ahead Desserts and Storage for Mini Cheesecake
- Frequently Asked Questions About Mini Cheesecake
- Nutritional Estimates for Your Creamy Cheesecake Cups
- Share Your Perfect Mini Cheesecake Creations
Why This Recipe Makes the Best Mini Cheesecake Bites
I’ve made a lot of cheesecakes in my life, but these little gems are the ones I keep coming back to, especially when I know I need **portable desserts** that travel well. They hit all the right notes, making them truly the best **mini cheesecake** version out there. Here’s why they shine:
- They have that classic, rich, New York Style flavor that serious cheesecake lovers expect. Quality ingredients shine through!
- They bake up consistently because the small size prevents the dreaded giant crack across the surface.
- These are perfect for entertaining; no slicing required! You can find more great ideas for entertaining over at this spot!
Perfectly Portioned for Parties and Entertaining
When you are hosting, the absolute last thing you want is to stand there with a knife trying to get even slices. These little beauties eliminate that struggle entirely! They are fantastic **party desserts** because they are ready to go—just drop them on a platter and watch them disappear. They are easy to manage, which makes them ideal **individual desserts**.
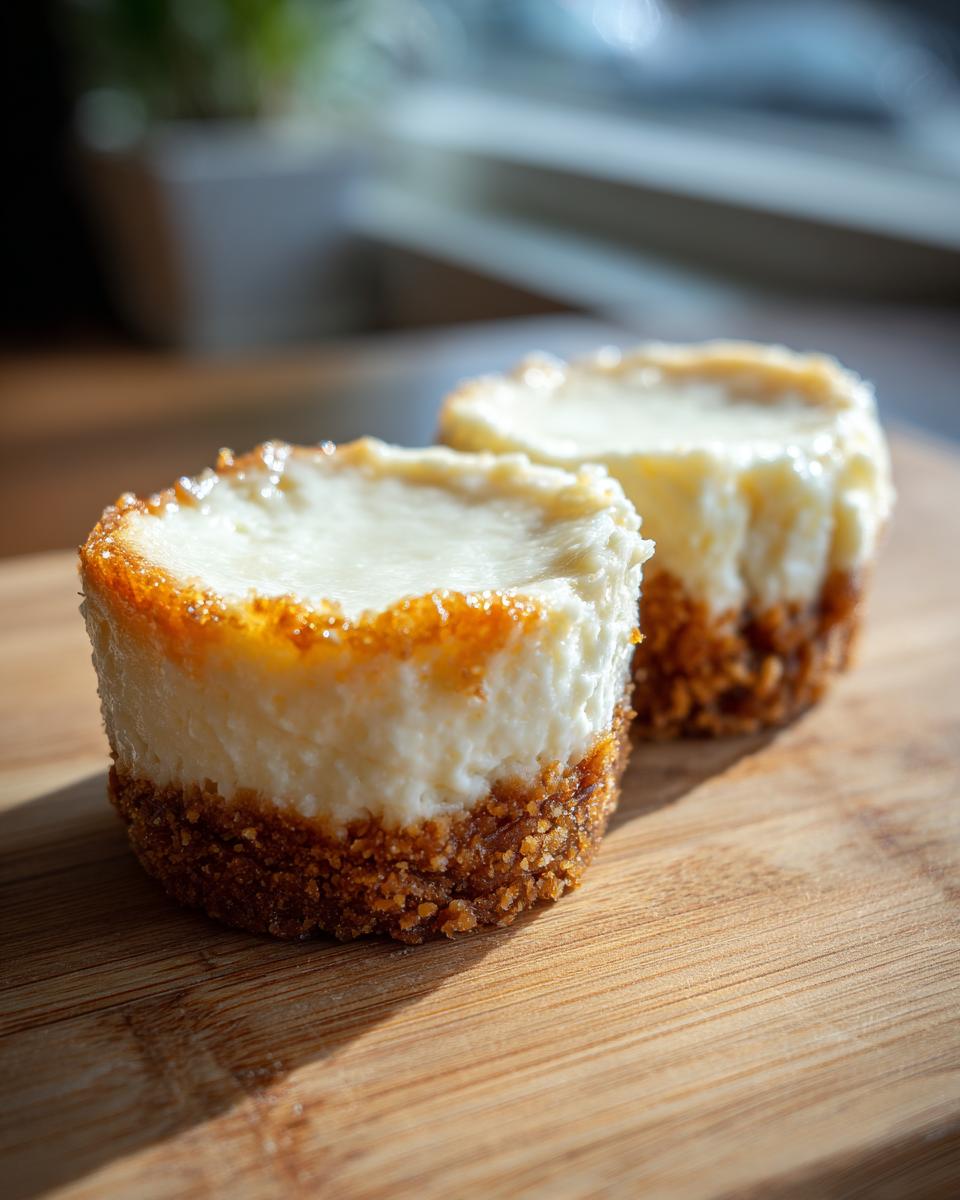
Achieving Creamy Cheesecake Cups Texture
When you use a standard muffin tin like we do in the instructions, the heat distributes so much more evenly than in a huge pan. This is how we manage to get those incredibly smooth, **creamy cheesecake cups** without the filling separating or getting too airy. It’s a simple trick that gives you that professional look every time.
Gathering Ingredients for Your Easy Mini Cheesecake Recipe
Okay, even the most elegant dessert starts with a trip to the grocery store! Because we want these **mini cheesecake** bites to be incredibly reliable and smooth, precision in measurement is key. I’ve laid out exactly what you need below, separate the crust and the filling so you don’t accidentally grab the wrong sugar!
If you want to check out another wonderfully straightforward recipe for inspiration, I always suggest looking over what they’ve done at The Toasty Kitchen while you assemble your components.
For the Graham Cracker Crust Desserts
This base is what holds everything together and gives you that fantastic crunch. You need:
- 1 1/2 cups graham cracker crumbs
- 1/4 cup granulated sugar (just for the crust!)
- 6 tablespoons unsalted butter, melted (make sure it’s fully melted!)
For the Rich Mini Cheesecake Filling
This is where the magic happens. For the creamiest texture possible, your cream cheese needs to be completely soft—think room temperature soft, not just starting to melt soft! You will need:
- 16 ounces cream cheese, softened
- 3/4 cup granulated sugar
- 1 teaspoon vanilla extract
- 2 large eggs
- 1/4 cup sour cream
Step-by-Step Instructions for Perfect Muffin Tin Cheesecake
Now that we have our beautiful ingredients ready, it’s time to assemble these **mini cheesecake** treats! Remember, precision here leads to those perfectly smooth tops we all dream about. We’re aiming for results you’d see on a professional dessert table, made right here in your home kitchen. Don’t forget to check out the wonderful tips on presentation over at Sally’s Baking Addiction!
Preparing and Pre-Baking the Graham Cracker Crust Desserts
First things first: Preheat your oven to 325 degrees F. Line that muffin tin with liners—this is crucial! Toss the graham cracker crumbs, crust sugar, and that melted butter together until it looks like wet sand, then press about a tablespoon firmly into the bottom of each liner. Pop that tin into the oven and bake the crusts for just 5 minutes. We want them set, not burnt!
Mixing the Creamy Cheesecake Bites Filling
Next up, the filling! Use your mixer, but be gentle. Beat the softened cream cheese until it’s utterly smooth—no lumps allowed! Only then do you mix in the sugar and vanilla just until they combine. Here’s where you show restraint: Add those eggs in one by one. I mean it—one at a time, mixing only until you can no longer see the yellow streak. Overmixing is the enemy of smooth **cheesecake bites**!
Baking and Crucial Cooling for Your Mini Cheesecake
Spoon that perfect batter over your slightly cooled crusts, filling them about two-thirds of the way up. Bake these **muffin tin cheesecake** beauties for 18 to 20 minutes. The edges should look set, but the centers need to have that tiny little wobble left. Right when they’re done, turn the oven off, crack the door open just a bit, and let them chill out inside for a full 30 minutes. This slow cool-down is the secret to preventing those frustrating cracks in your **mini cheesecake**!

Expert Tips for the Best Mini Cheesecake Recipe
When I was learning to bake, I realized that following the steps is important, but knowing *why* you are following them is what makes you a truly confident cook. That’s the difference between just trying a recipe and truly mastering it! Since developing these **mini cheesecake** bites, I’ve learned a few things that move them from great to absolutely unforgettable. You know I want that New York Style richness for you!
If you’re looking for more beautiful, reliable recipes, I always point people toward the amazing work done by our friends over at Choco Fever Dream. They really know how to make elegant food approachable.
Ingredient Temperature for New York Style Cheesecake Bites
I know it seems tedious to wait for dairy to warm up, but I promise you, this is non-negotiable if you want that velvety smooth texture. If your cream cheese and sour cream are cold going into the bowl, you absolutely will get little lumps floating in your beautiful batter. You’ll end up overmixing trying to beat them out, which brings in too much air—and too much air leads to cracks later!
Make sure both the cream cheese and sour cream are fully, truly at room temperature. Leave them out for at least an hour, maybe two, depending on how warm your kitchen is. When they are ready, they should yield easily to gentle finger pressure.
Avoiding Cracks in Your Single Serving Cheesecake
We already talked about the slow cooling method inside the turned-off oven, and that’s honestly 90% of the battle won! But if you are stressing about preventing cracks—maybe you’re making these for a very important event—I have one more trick up my sleeve.
For ultra-smooth **single serving cheesecake** perfection, consider using a water bath, even for these small treats. You can simply place your muffin tin inside a larger roasting pan. Pour about an inch of hot water into the roasting pan before you put it all into the oven with the cheesecakes. The steam creates a super humid, gentle environment, which bakes them evenly and keeps the filling incredibly moist and crack-free. It’s a little extra setup, but if you want perfection, it’s worth it!
Creative Dessert Toppers Ideas for Your Mini Cheesecake
A gorgeous **mini cheesecake** is perfect naked, but the real fun starts when you think about toppings! This is where you can truly stamp your personality onto these **bite sized desserts**, making them unique for whatever party you’re throwing. Don’t forget, having great **dessert toppers ideas** ready means you can whip up the base ahead of time and decorate them last minute!
We mentioned berries and caramel in the main instructions, but let’s get inspired! If you want something tart to cut through the richness, a swipe of lemon curd is just divine. Thinking chocolate? A drizzle of dark ganache finished with a sprinkle of flaky sea salt turns this into something incredibly sophisticated.
My personal favorite variation? I love taking a dollop of creamy peanut butter and swirling it slightly with a toothpick before popping a tiny square of dark chocolate right on top. It feels indulgent! For more seriously stunning presentation ideas that always get rave reviews, you should definitely check out what the folks at Hungry Happenings have compiled for inspiration.
Make Ahead Desserts and Storage for Mini Cheesecake
One of the biggest wins when it comes to these little guys is that they fit perfectly into my philosophy of stress-free entertaining! If you are like me, you want to enjoy your party, not spend the afternoon frantically trying to finish up **sweet treats** while guests ring the doorbell. Good news: these **mini cheesecake** bites are absolutely fantastic as **make ahead desserts**.
You need to plan for chilling time anyway—at least four hours—so you are already halfway there! Once they are fully chilled and set, you can store them in the refrigerator for up to four days. I find this absolutely invaluable when I am getting ready for a big gathering. I can bake them Friday night, top them Saturday morning, and they are perfect for a Sunday event.
The trick to keeping them fresh is making sure they are really well covered. I usually place a sheet of plastic wrap gently over the muffin tin (or the platter they are sitting on) making sure it doesn’t touch the tops of the cheesecakes—especially if you haven’t added your decorative toppings yet. If they are already topped, just seal the container. This is one of the most reliable **simple dessert recipes** because they hold up so well in cold storage. If you want to see how others handle storage for their tasty creations, pop over to The First Year for some great inspiration!

Frequently Asked Questions About Mini Cheesecake
It happens to all of us—you’re reviewing the recipe, and a little question pops up! Since developing this recipe, I’ve learned exactly what folks need to know to ensure these little desserts turn out perfectly every time. Here are the most common things people ask about these wonderful **bite sized desserts**.
Can I make these mini cheesecake bites without baking?
That’s a great question! If you’re looking for a **no bake mini cheesecake** option, this specific recipe isn’t it. We bake these **cheesecake bites** to achieve that dense, rich, classic New York Style flavor and texture we are after. The baking process properly sets the eggs and firms up that beautiful filling. If you absolutely need a no-bake version, I have friends who have fantastic recipes for **no bake mini cheesecake** cups that rely on chilling time instead of the oven. You can check out one of those reliable guides for that style over here: No-Bake Cups!
What is the best way to serve these individual desserts?
These are best served cold, honestly. They need that full chill time—at least four hours, but overnight is even better! When it comes to serving your **individual desserts**, the trick is peeling the paper liner away right before you hand it to your guest. If you try to peel them before they are fully chilled, the crust tends to stick and tear. But once they are rock solid from the fridge, the liner slips off beautifully, showcasing that perfect crust and clean edge. They really are fantastic **single serving cheesecake** options when presented cleanly!
How can I incorporate meal planning into making these sweet treats?
Well, when I’m thinking about **meal planning** for a large dinner party, I look at desserts like these **sweet treats** as an easy solve! They require almost no active time on the day of the party because they are fantastic **make ahead desserts**. Since they don’t require heating or last-minute assembly (unless you add whipped cream toppings), you can focus on your main courses. These are perfect **small portion desserts** that satisfy a craving without completely overwhelming guests after a big meal. It makes hosting so much easier!
If you want to see a wider variety of inspiration for desserts that fit perfectly after a planned meal, you might enjoy browsing through this collection of recipes from a fellow cook: 30 Mini Cheesecake Recipes.
Nutritional Estimates for Your Creamy Cheesecake Cups
I get asked all the time about the specifics of what goes into these delicious morsels, even though I focus more on flavor and technique than counting calories! But since these **creamy cheesecake cups** are made with rich ingredients, I always want to give you a general idea of what you are looking at per serving.
Please remember, this breakdown is just an estimate based on the standard ingredients list we used here. If you swap out the sour cream for Greek yogurt, or use a different crumb base, those numbers will certainly change!
- Serving Size: 1 mini cheesecake
- Calories: 250
- Total Fat: 16g
- Saturated Fat: 10g
- Carbohydrates: 22g
- Protein: 5g
- Sugar: 18g
- Cholesterol: 55mg
See? Still completely worth every single bite! These are the kinds of **sweet treats** that feel completely indulgent. If you are tracking macros or watching sugar intake, it’s good to know these details, but honestly, the best way to enjoy your **mini cheesecake** is probably to just not look at this list and savor the moment!
Share Your Perfect Mini Cheesecake Creations
Well, we made it! You’ve got the recipe, you know the secrets to keeping the filling smooth and crack-free; now it’s your turn to get creative. I truly hope you enjoy making these **mini cheesecake** bites as much as I love sharing this recipe with you.
My greatest joy here at Unfold Recipes is seeing your beautiful results and hearing your stories! So please, once you’ve baked a batch, come back here and let me know how they turned out. Did you stick to the salted caramel, or did you try something wild with a fruit swirl?
Leave a rating at the top of the page if this became your new favorite **easy cheesecake recipe**! And if you snapped a picture of your beautifully topped **creamy cheesecake cups**, I’d absolutely love to see them in the comments below. Connecting with you all makes the whole process worthwhile. Happy baking!
PrintEasy New York Style Mini Cheesecake Bites

Create rich, creamy, bite-sized mini cheesecakes using a muffin tin. This recipe delivers classic New York style flavor with a simple graham cracker crust, perfect for parties or small desserts.
- Prep Time: 20 min
- Cook Time: 20 min
- Total Time: 4 hours 40 min
- Yield: 12 servings 1x
- Category: Dessert
- Method: Baking
- Cuisine: American
- Diet: Vegetarian
Ingredients
- 1 1/2 cups graham cracker crumbs
- 1/4 cup granulated sugar (for crust)
- 6 tablespoons unsalted butter, melted
- 16 ounces cream cheese, softened
- 3/4 cup granulated sugar (for filling)
- 1 teaspoon vanilla extract
- 2 large eggs
- 1/4 cup sour cream
Instructions
- Preheat your oven to 325 degrees Fahrenheit. Line a standard 12-cup muffin tin with paper liners.
- Prepare the crust: Mix graham cracker crumbs, 1/4 cup sugar, and melted butter in a small bowl until combined. Press about 1 tablespoon of the mixture firmly into the bottom of each paper liner.
- Bake the crusts for 5 minutes. Remove from the oven and let cool slightly.
- Prepare the filling: In a large bowl, beat the softened cream cheese with an electric mixer until smooth. Add 3/4 cup sugar and vanilla extract, mixing until just combined. Do not overmix.
- Beat in the eggs one at a time, mixing only until incorporated after each addition. Gently stir in the sour cream.
- Spoon the filling evenly over the crusts, filling each liner about two-thirds full.
- Bake for 18 to 20 minutes, or until the edges are set but the centers still have a slight wobble.
- Turn off the oven, crack the door open slightly, and let the cheesecakes cool inside the oven for 30 minutes. This prevents cracking.
- Remove the cheesecakes from the oven and let them cool completely on a wire rack. Chill in the refrigerator for at least 4 hours before serving.
- Top with your choice of fresh berries, salted caramel, or chocolate ganache before serving.
Notes
- For a New York style flavor, ensure your cream cheese and sour cream are fully at room temperature before mixing.
- If you are planning ahead, these mini cheesecakes are excellent make ahead desserts and can be stored covered in the refrigerator for up to 4 days.
- These individual desserts are great for entertaining; consider them an alternative to larger cakes when you are looking at meal planning for a gathering.
Nutrition
- Serving Size: 1 mini cheesecake
- Calories: 250
- Sugar: 18
- Sodium: 180
- Fat: 16
- Saturated Fat: 10
- Unsaturated Fat: 6
- Trans Fat: 0.1
- Carbohydrates: 22
- Fiber: 1
- Protein: 5
- Cholesterol: 55