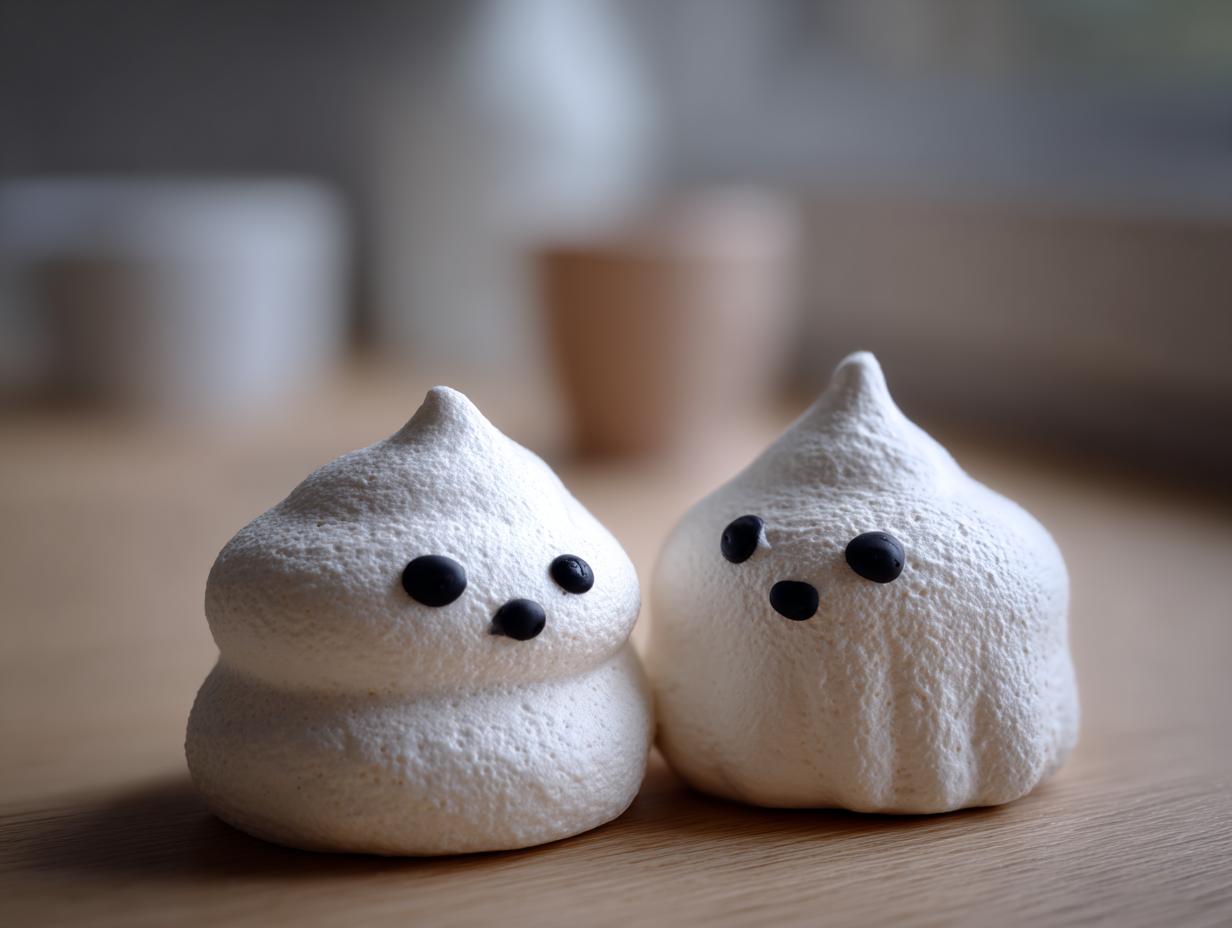

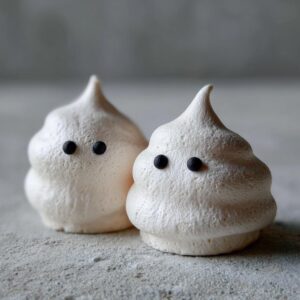
Halloween is coming, and you know what that means – it’s time for some seriously spooky treats! Forget those store-bought candies; this year, we’re making something truly special, something that’ll have your guests practically floating with delight. I’m talking aboutGhost Meringues! These little guys are just too cute to spook, but they definitely bring the festive spirit. Like my mom used to say when she’d bake for our family gatherings, there’s just something magical about creating these little edible moments that everyone can enjoy. Baking up a batch of these ghost meringues is my favorite way to add that homemade, heartfelt touch to our Halloween celebrations.
- Why You'll Love These Ghost Meringues
- Gather Your Ingredients for Ghost Meringues
- How to Make Ghost Meringues: Step-by-Step
- Tips for Perfect Ghost Meringues Every Time
- Variations for Your Spooky Party Treat
- Serving and Storing Your Ghost Meringues
- Frequently Asked Questions about Ghost Meringues
- Nutritional Information for Ghost Meringues
- Share Your Spooky Creations!
Why You’ll Love These Ghost Meringues
So, why are these ghost meringues my go-to spooky treat? Let me tell you!
- Super Spooky & Festive: They’re absolutely perfect for Halloween, adding that whimsical, eerie touch to any party spread.
- Incredibly Easy to Make: Trust me, even if you’re new to meringues, these are totally doable. They come together surprisingly fast!
- Impressive Presentation: They look SO cute and professional, but everyone will be amazed you made them yourself. Talk about a homemade dessert win!
- Deliciously Light: They’re sweet, airy, and just melt in your mouth. They’re the perfect light bite after all that Halloween candy!
Gather Your Ingredients for Ghost Meringues
Alright, let’s get our spooky baking station ready! You only need a few simple things to bring these little ghosts to life. Here’s what you’ll want to grab:
- 4 large egg whites, make sure they’re at room temperature – this really helps them whip up nicely.
- 1 cup of granulated sugar, nice and fine for that smooth texture.
- 1 teaspoon of white vinegar, it acts like magic to stabilize everything.
- 1 teaspoon of vanilla extract, because everything’s better with a hint of vanilla!
- And finally, a black edible marker for giving our ghosts those cute, spooky eyes.
How to Make Ghost Meringues: Step-by-Step
Alright, let’s get down to business! Making these ghosties is more fun than scary, I promise. Just follow these steps, and you’ll have a whole haunting crew of meringues in no time.
Preparing Your Ghost Meringues Base
First things first, let’s get our oven prepped. We want it nice and cozy at 250°F (120°C). While that’s warming up, grab two baking sheets and line them with parchment paper. This makes sure our little ghosts don’t stick! Now, for the magic: take your egg whites (make sure your bowl and beaters are squeaky clean – no grease allowed, or they won’t get fluffy!) and beat them on medium speed with your electric mixer. You’re looking for soft peaks, you know, those gentle little mounds that hold their shape for a second before collapsing.
Achieving Stiff Peaks for Ghost Meringues
Okay, now for the crucial part that gives our ghosts their structure! Keep that mixer going on high speed and start adding your granulated sugar, just a tablespoon at a time. Seriously, go slow here. You want to beat it until you have stiff, glossy peaks – like little mountains that stand straight up and don’t budge. A good trick is to rub a little bit between your fingers. If it feels smooth and you don’t feel any sugar granules, you’re golden! Then, just give it a quick mix with that white vinegar and vanilla extract.
Piping Your Spooky Ghost Meringues
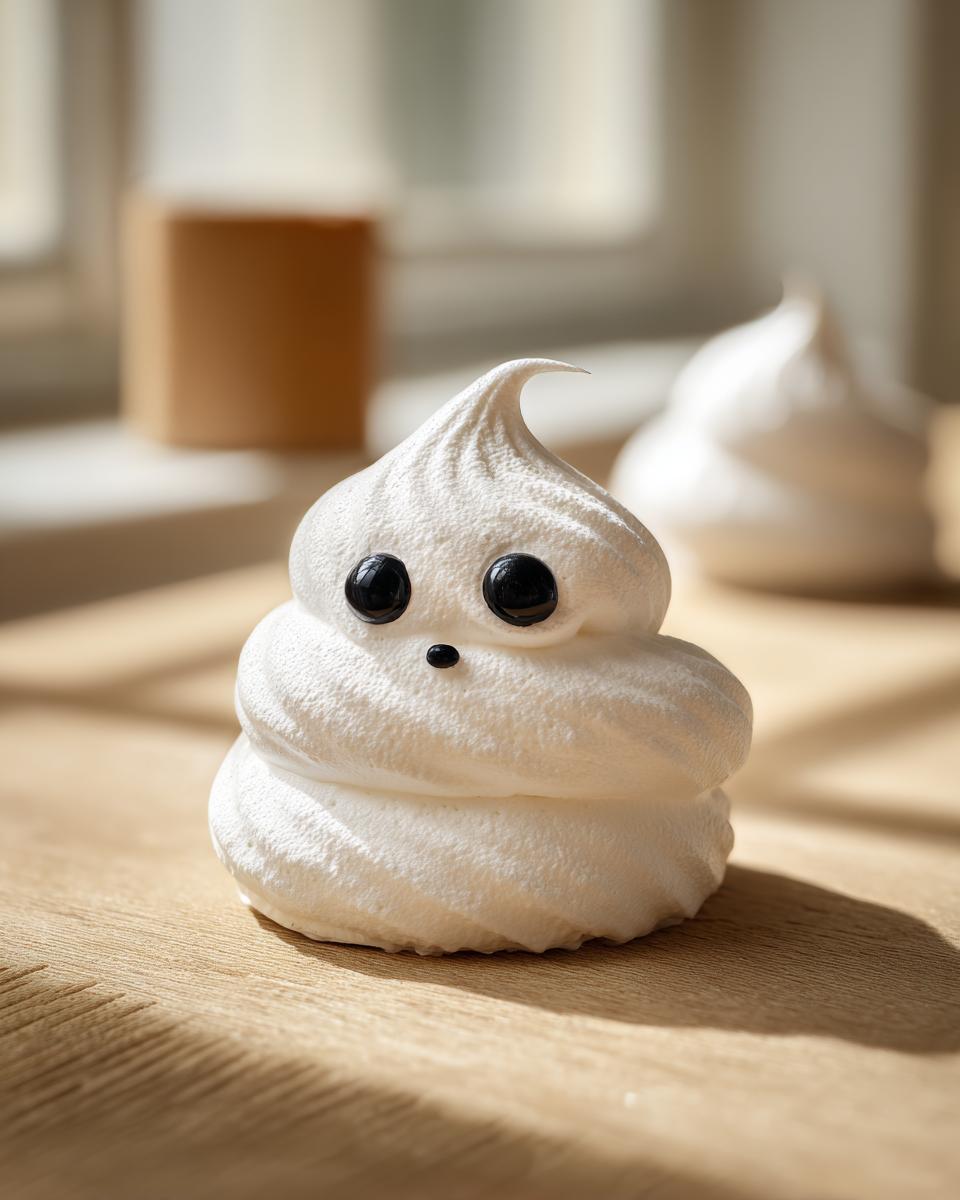
Time to get artistic! Transfer all that glorious meringue mix into a piping bag. A large round tip is perfect for this. Now, hold your bag steady and pipe little ghosts onto those prepared baking sheets. I like to do a wider round base first, then pipe a smaller round on top for the head. If you want them to look extra wispy and ethereal, give the tip a little flick upwards as you finish the head – it looks so cool!

Baking and Cooling Your Ghost Meringues
Into the oven they go for about an hour to an hour and 15 minutes. We want them firm and easy to lift off the paper. Here’s my grandma’s secret for no cracking: turn off the oven, prop the door open just a tiny bit (a wooden spoon works great for this!), and let them cool down completely inside. It’s a little extra step, but trust me, it makes all the difference for those perfectly smooth ghosts.
Adding the Finishing Touches to Your Ghost Meringues
Once your little ghosts are totally cool, it’s time for the best part – giving them a face! Grab that black edible marker and carefully draw on two little eyes for each meringue. Now they’re ready to haunt your dessert table!
Tips for Perfect Ghost Meringues Every Time
Okay, so making these ghost meringues totally sets my kitchen off with that Halloween charm! I’ve learned a few little tricks over the years that really make them come out just right. First off, remember that super clean bowl and beaters for the egg whites? Seriously, not even a speck of grease or yolk is allowed in there, or your whites just won’t get that fluffy, voluminous texture we need. Trust me, I’ve had that happen, and it’s a bit disheartening! Also, that sugar test I mentioned? Rub a little bit between your fingers. If you don’t feel any grit, you’re good to go. It means all that sugar has dissolved, which helps create a smooth, stable meringue that won’t weep or crack.
Variations for Your Spooky Party Treat
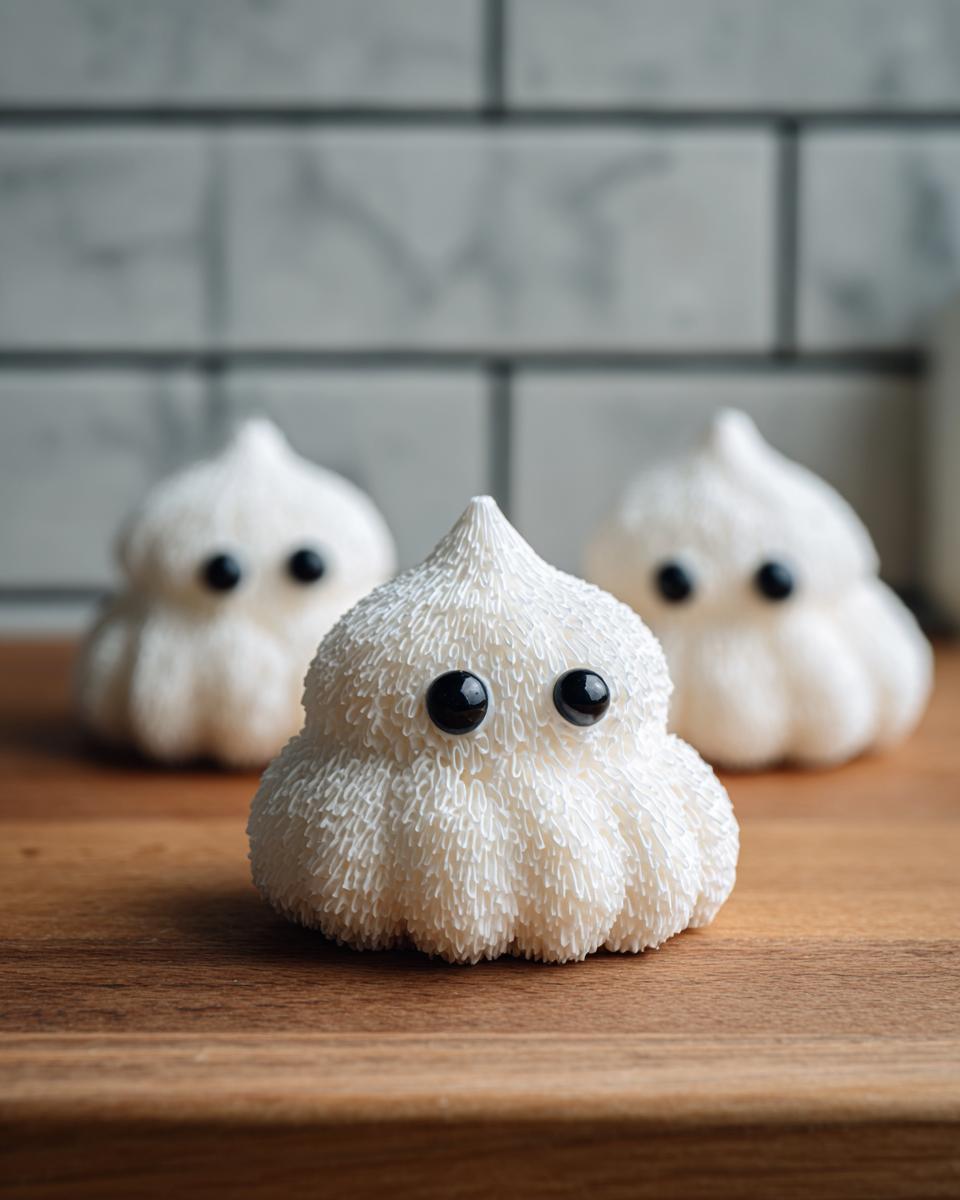
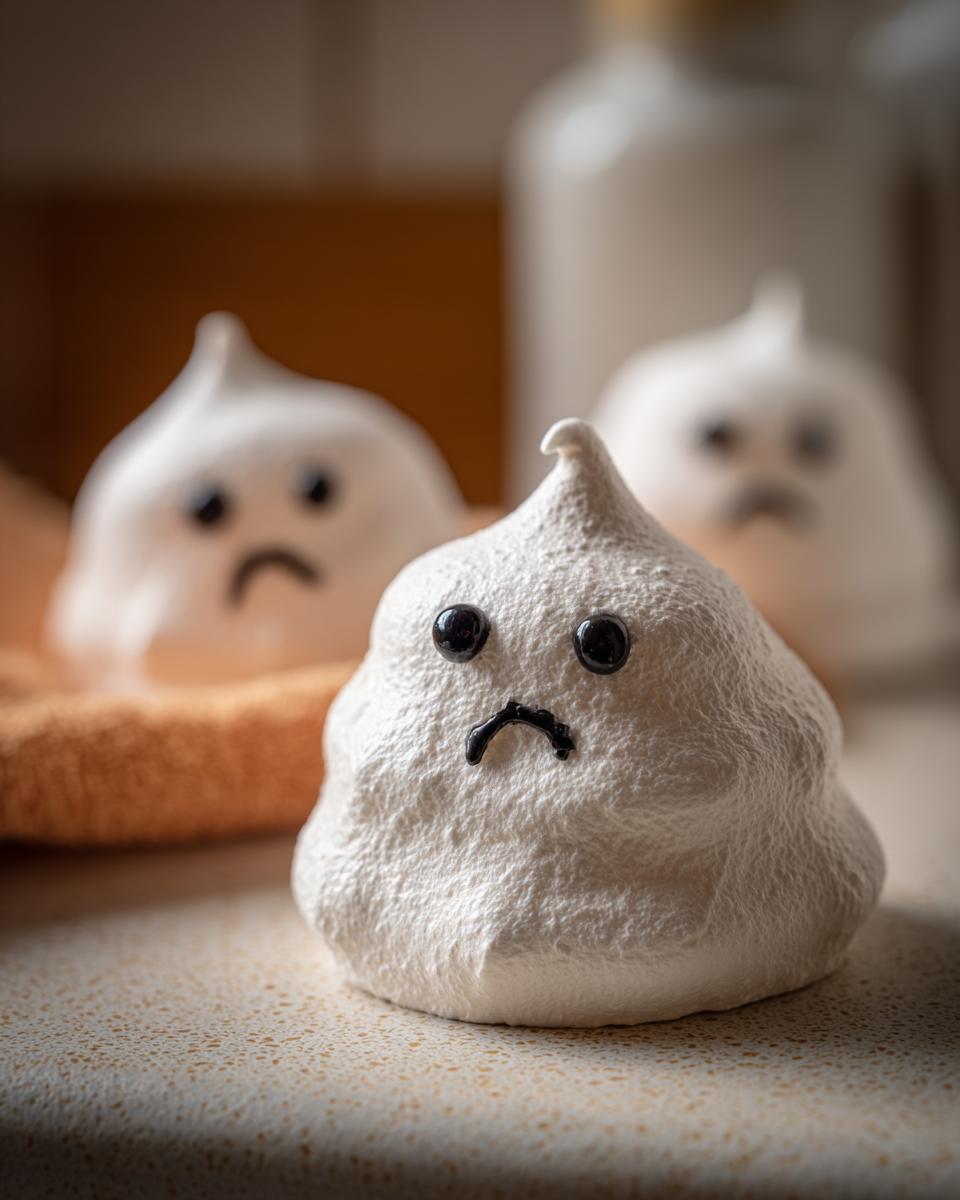
Now, while these classic little ghosts are absolutely darling, don’t be afraid to get creative and add your own spooky flair! You can totally play with the sizing – maybe some tiny ones for a ghostly swarm, or bigger ones that really make a statement. If you’re feeling extra adventurous, a tiny drop of black or even purple food coloring mixed into the meringue before piping can give you some really cool, subtle effects for your ghosts. You could even switch up their expressions; maybe a few surprised ghosts, or even some with little zig-zag mouths! I also have some super cute Ghost Cupcakes that are a big hit, and definitely don’t miss my Spider Web Brownies or these adorable Halloween Oreo Balls. They’re all perfect for wowing your party guests!
Serving and Storing Your Ghost Meringues
Once your little ghost meringues are all drawn up and looking spooky, they’re ready to be the stars of your Halloween dessert table! They look absolutely darling arranged on a platter, maybe with a few chocolate Halloween Oreo Balls or some ghost cupcakes. Now, if you happen to have any leftovers (which is rare in my house!), just pop them into an airtight container. They’ll stay perfectly crisp and delicious at room temperature for up to a week. Easy peasy!
Frequently Asked Questions about Ghost Meringues
Got questions about our ghostly little meringues? Don’t worry, I’ve got you covered! These sweet treats are pretty straightforward, but here are a few things people often ask to make sure your baking goes perfectly smooth.
Can I make Ghost Meringues without a piping bag?
Absolutely! If you don’t have a piping bag, no sweat. You can use two spoons! Just scoop a generous dollop of meringue mixture for the base, then use another spoon to gently place a smaller mound on top for the head. They might not be as perfectly shaped, but they’ll still be adorable ghosts!
Why are my Ghost Meringues sticky?
Sticky meringues usually happen for a couple of reasons. It might be the humidity – meringues aren’t fans of a damp day! Or, they might need a little more time in the oven to really dry out. Make sure they’re firm and lift easily off the parchment before you cool them down.
How long do Ghost Meringues last?
These little guys are pretty resilient! Once they’re totally cool and you’ve drawn those cute little faces, just pop them into an airtight container. They’ll stay nice and crisp at room temperature for about a week. Perfect for whipping up a batch ahead of your Halloween bash!
Nutritional Information for Ghost Meringues
Now, a little note on the delicious details! On average, each of these sweet little ghosts comes in at about 40 calories, with around 10g of sugar and 10g of carbs. They’re pretty much fat-free and have just a touch of protein. Keep in mind these numbers are estimates, of course, and can vary a bit depending on exactly how you pipe them and your specific ingredients!
Share Your Spooky Creations!
I just can’t wait to see your adorable ghost meringues! Did you make them extra tall and wispy? Give them funny faces? Please share your photos and tell me all about it in the comments below, or even better, share them on your favorite social media and tag me! You can find more fun recipes and inspiration over on my blog. I love seeing how you make these recipes your own. If you tried any fun variations, I’d love to hear about those too. Your feedback and pictures really make my day and inspire everyone else who visits the blog!
PrintGhost Meringues
Create spooky and delightful ghost meringues for your Halloween party. This easy recipe yields a charming and delicious homemade dessert that will impress your guests.
- Prep Time: 20 min
- Cook Time: 1 hr 15 min
- Total Time: 1 hr 35 min
- Yield: 24 meringues 1x
- Category: Dessert
- Method: Baking
- Cuisine: American
- Diet: Vegetarian
Ingredients
- 4 large egg whites, at room temperature
- 1 cup granulated sugar
- 1 teaspoon white vinegar
- 1 teaspoon vanilla extract
- Black edible marker
Instructions
- Preheat your oven to 250°F (120°C). Line two baking sheets with parchment paper.
- In a clean, dry bowl, beat the egg whites with an electric mixer on medium speed until soft peaks form.
- Gradually add the granulated sugar, one tablespoon at a time, while continuing to beat on high speed. Continue beating until stiff, glossy peaks form and the sugar is completely dissolved.
- Beat in the white vinegar and vanilla extract.
- Transfer the meringue mixture to a piping bag fitted with a large round tip.
- Pipe ghost shapes onto the prepared baking sheets. For each ghost, pipe a round base, then a slightly smaller round on top for the head. You can add a little swirl at the top for a wispy effect.
- Bake for 1 hour to 1 hour and 15 minutes, or until the meringues are firm and lift easily off the parchment paper.
- Turn off the oven, prop the door open slightly, and let the meringues cool completely inside the oven. This prevents cracking.
- Once cooled, use the black edible marker to draw eyes on each ghost meringue.
Notes
- Ensure your bowl and beaters are completely free of grease, as this can prevent the egg whites from whipping properly.
- You can test if the sugar is dissolved by rubbing a little meringue between your fingers; it should feel smooth, not gritty.
- Store cooled meringues in an airtight container at room temperature for up to a week.
Nutrition
- Serving Size: 1 meringue
- Calories: 40
- Sugar: 10g
- Sodium: 5mg
- Fat: 0g
- Saturated Fat: 0g
- Unsaturated Fat: 0g
- Trans Fat: 0g
- Carbohydrates: 10g
- Fiber: 0g
- Protein: 1g
- Cholesterol: 0mg