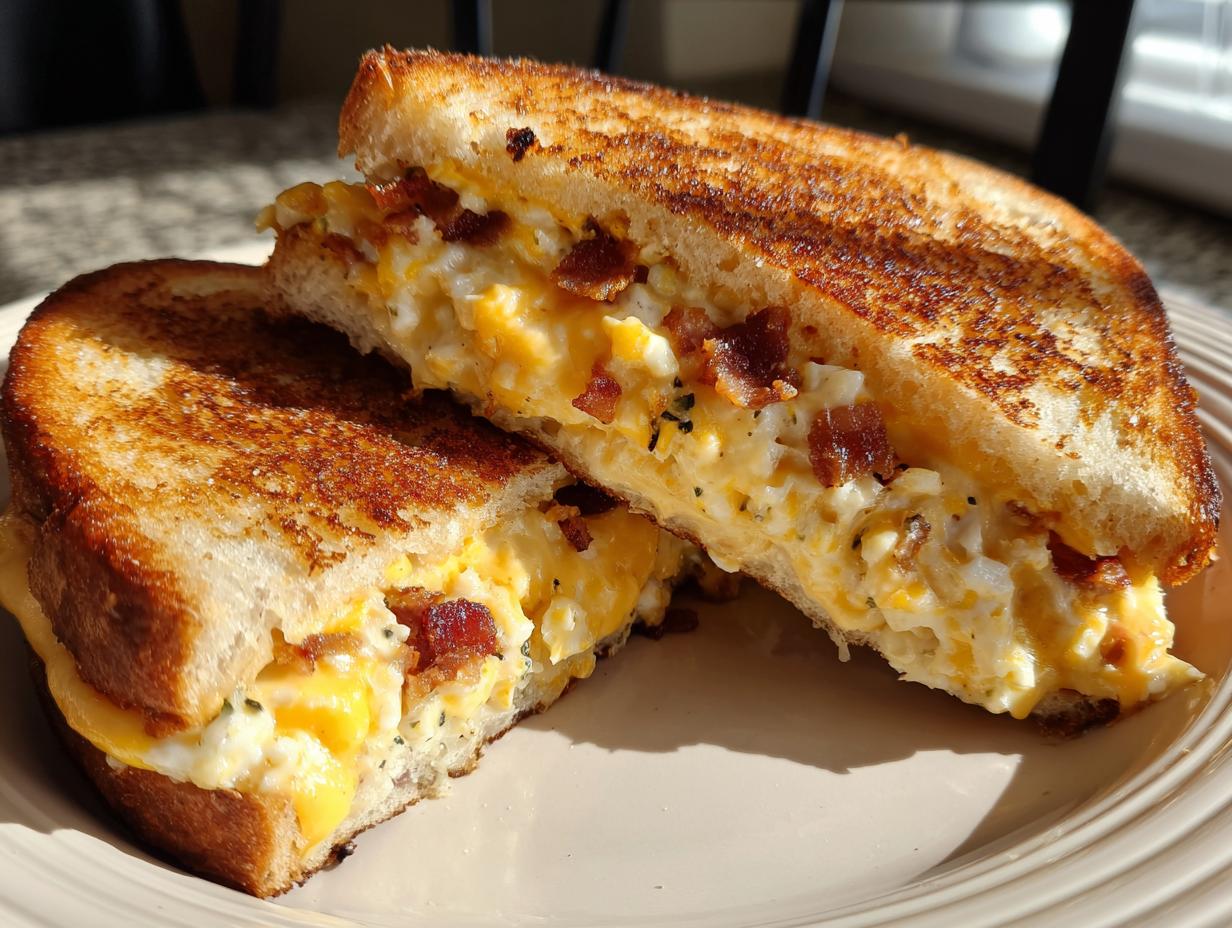

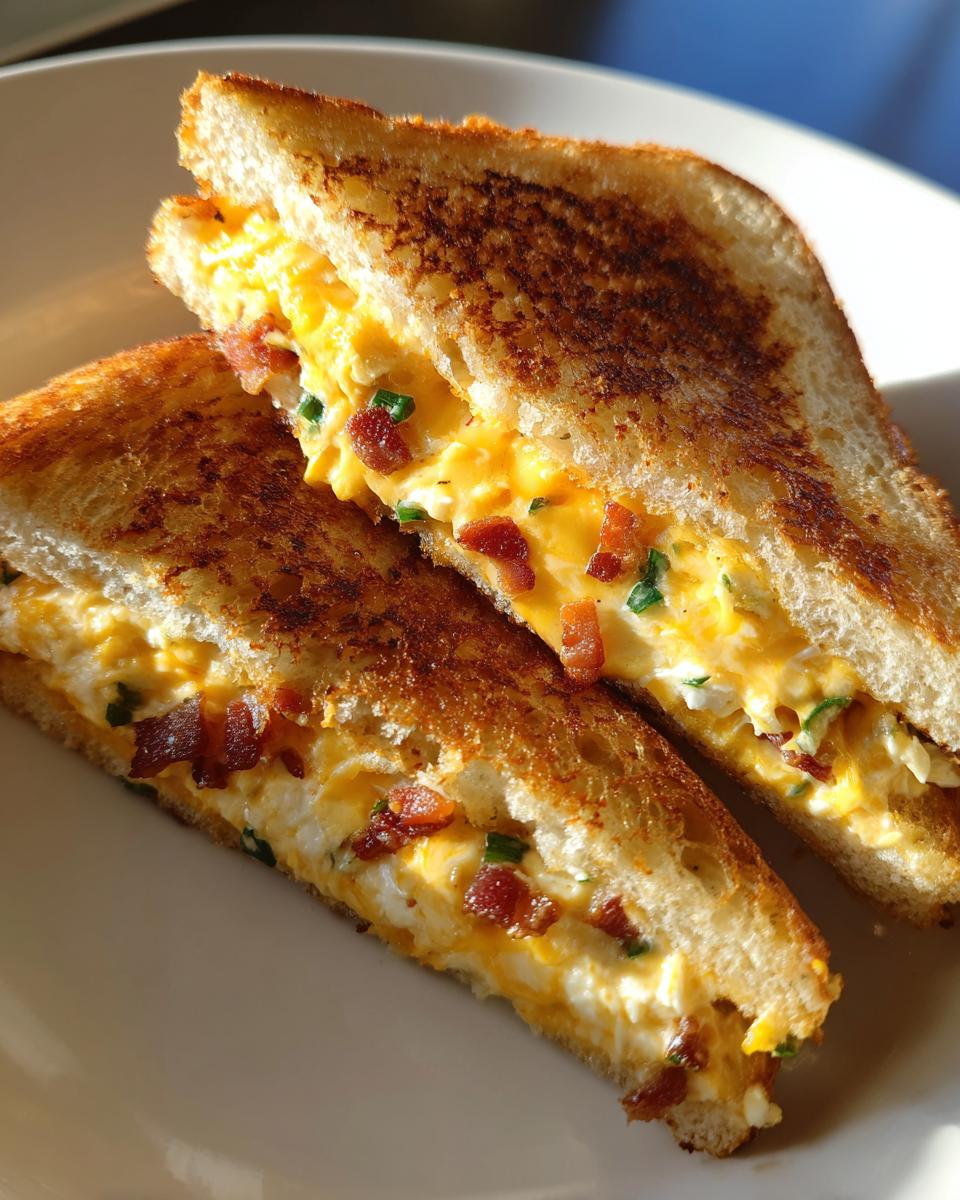
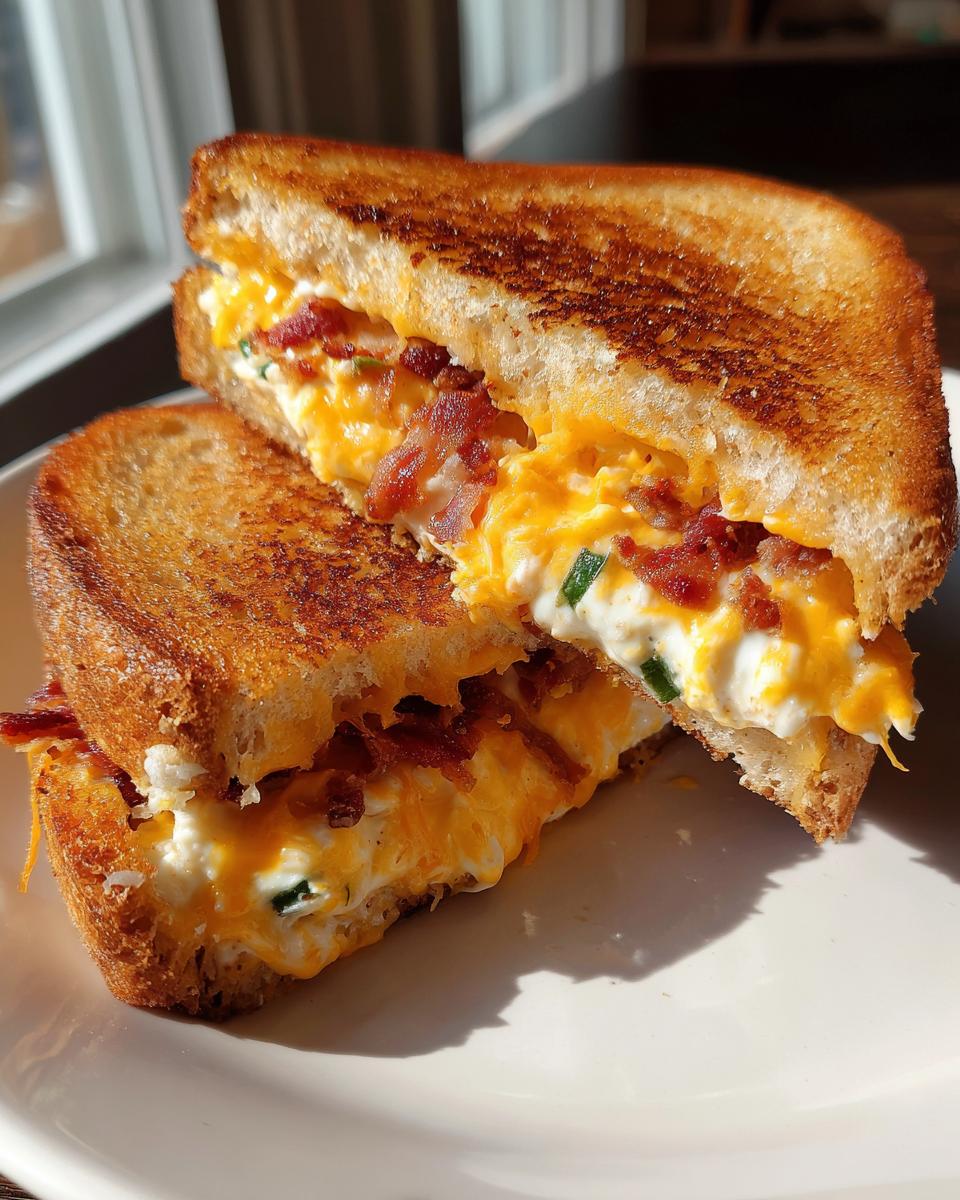
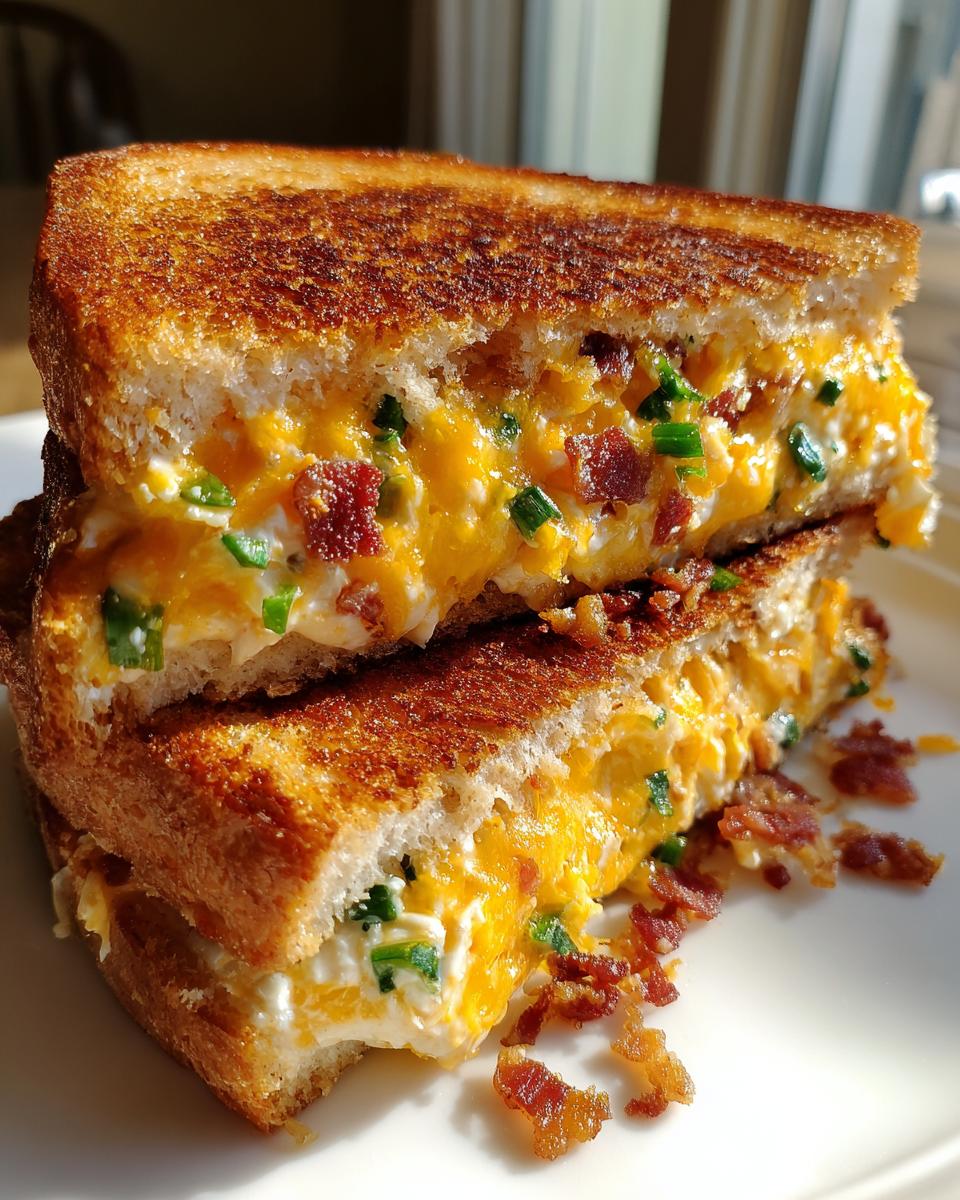
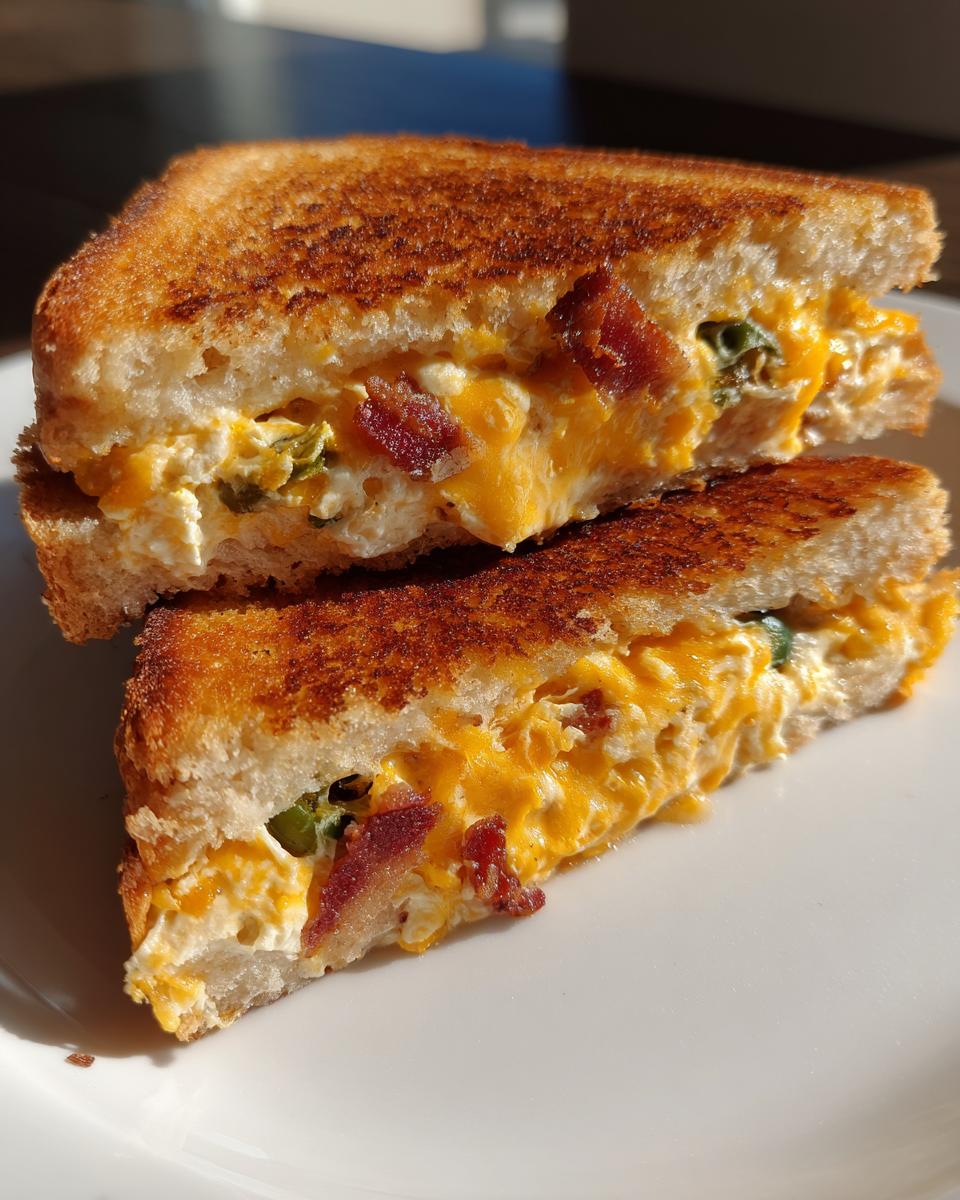
Oh, hello there! If you’re anything like me, comfort food holds a special place in your heart, and sometimes you just need something that feels a little bit decadent, a little bit spicy, and a whole lot cheesy. That’s where this amazing Jalapeño Popper Grilled Cheese comes in! It takes all those fantastic flavors we love from a jalapeño popper – that creamy, cheesy kick with a hint of heat – and tucks it perfectly between two slices of golden, crispy bread. I remember the first time I experimented with this after a neighborhood potluck where someone brought the *best* layered jalapeño dip. I thought, “Why can’t I just sandwich that deliciousness?!” And just like that, this beauty was born. It’s become my go-to for a quick lunch that feels incredibly special.
- Why You'll Love This Jalapeño Popper Grilled Cheese
- Gather Your Ingredients for the Perfect Jalapeño Popper Grilled Cheese
- Step-by-Step: How to Make a Jalapeño Popper Grilled Cheese
- Serving Your Jalapeño Popper Grilled Cheese
- Make-Ahead and Storage for Your Jalapeño Popper Grilled Cheese
- Frequently Asked Questions about Jalapeño Popper Grilled Cheese
- Nutritional Information for Jalapeño Popper Grilled Cheese
- Share Your Jalapeño Popper Grilled Cheese Creations!
Why You’ll Love This Jalapeño Popper Grilled Cheese
Seriously, who wouldn’t love this sandwich? Here’s why it’s a keeper:
- Flavor Explosion: It’s got that irresistible combo of creamy, spicy, cheesy, and savory all rolled into one glorious bite.
- Texture Heaven: We’re aiming for a perfectly golden, super-crispy exterior with a warm, gooey, melty center. That contrast is just *chef’s kiss*.
- So Easy!: You can whip this up in about 20 minutes, making it perfect for a speedy lunch or an easy weeknight dinner.
- Versatile Crowd-Pleaser: Great for lunch, a quick dinner, or even as a fun snack on game day! It just makes people happy.
Gather Your Ingredients for the Perfect Jalapeño Popper Grilled Cheese
Alright, let’s talk about what you need to get this cheesy, spicy masterpiece on your plate! It’s not a lot, and the magic really happens with just a few key players.
- 2 slices of bread: I’m a big fan of sturdy sourdough or thick-cut Texas toast here. They really hold up to all that gooey filling without getting soggy, which is a HUGE plus.
- 2 tablespoons butter, softened: Make sure it’s softened, not melted! It spreads way easier and gives us that perfect golden crust.
- 2 ounces cream cheese, softened: This is the creamy base for our jalapeño popper dream filling. Softened is the key so it mixes up beautifully.
- 1/4 cup shredded cheddar cheese: For that classic cheesy bite and a nice orange hue.
- 1/4 cup shredded Monterey Jack cheese: Monterey Jack melts like a dream and adds to that epic cheese pull we’re all after!
- 1-2 jalapeños, finely minced: This is where you control the heat! Fresh or pickled both work, but start with just one if you’re shy about spice. Remember to remove those seeds and membranes if you want it milder.
- Optional: 2 slices cooked bacon, crumbled: Because bacon just makes everything better, right? It adds that smoky, salty crunch.
- Optional: Pinch of garlic powder: Just a little touch to give the filling an extra pop of savory flavor. So good!
Ingredient Notes and Substitutions for Your Jalapeño Popper Grilled Cheese
So, about those ingredients! That sturdy bread, like sourdough or Texas toast? It’s truly your best friend for preventing a sad, soggy sandwich. Trust me on this one! If you can’t find those, grab a good, hearty white bread. As for the jalapeños, fresh will give you a brighter, sharper heat, while pickled ones bring a lovely vinegary tang that’s also super yummy. If cheddar and Monterey Jack aren’t your jam, feel free to swap in Colby Jack or even some pepper jack for extra zing! And hey, if bacon isn’t your thing, a sprinkle of chives or a dash of smoked paprika in the filling works wonders too. It’s all about making it *your* perfect sandwich!
Step-by-Step: How to Make a Jalapeño Popper Grilled Cheese
Alright, let’s get down to business and create this absolute cheesy dream! It’s pretty straightforward, but a few little tricks make all the difference. Think of it like building the perfect sandwich – you want all those layers to sing together!
- First things first, grab your bread slices and that softened butter. I like to spread it right to the edges on one side of each slice. This is what’s going to give us that beautiful, golden-brown crust when it hits the pan. Don’t skimp here!
- Now for the star of the show: the filling! In a little bowl, just combine that softened cream cheese, both shredded cheddar and Monterey Jack cheeses, your minced jalapeños (remember, more seeds = more heat!), and those optional little flavor boosters like garlic powder and crumbled bacon if you’re using them. Give it all a good stir until it’s nicely mixed. It should be thick and creamy, ready to ooze.
- Take one of your buttered bread slices and flip it over so the unbuttered side is facing up. Now, spread that glorious jalapeño cream cheese mixture all over it. Get it all the way to the edges – we want maximum flavor in every single bite!
- Carefully place the second slice of bread on top, making sure that buttered side is facing UP. We’re building this masterpiece for a perfect toast!
- Get your skillet or griddle nice and warm over medium-low heat. Seriously, resist the urge to crank it up super high! We want that cheese to melt its heart out before the bread even thinks about burning.
- Gently place your assembled sandwich into the warm skillet. Now, let it cook for about 3 to 5 minutes on the first side. You’re looking for that bread to turn a gorgeous golden brown.
- Carefully flip that bad boy over using a spatula. Cook the second side for another 3 to 5 minutes, or until it’s just as golden as the first and you can see that cheese starting to peek out and get all melty.
- Once it’s looking perfect – golden, crispy, and oozing – slide it onto a cutting board. Let it sit for just a minute so the cheese doesn’t all run out immediately. Then, slice it in half, show off that incredible cheesy interior, and dig in! This is way better than waiting for another sandwich, like the smash burgers we make, or anything like those easy BBQ chicken foil packets.
Tips for the Perfect Crispy Bread and Melty Center
Okay, listen up, because this is *key* to grilled cheese perfection! That medium-low heat is your best friend. It might take a little longer, but it ensures the inside gets hot and gooey while the outside toasts up beautifully, not burnt. If you see it browning too fast, just turn the heat down even more. And seriously, preheating your pan is a must. It gives the bread that initial perfect sear, which helps prevent sogginess and gives you that satisfying crunch we’re all after. Don’t crowd the pan if you’re making more than one; give them space to toast evenly!
Achieving an Epic Cheese Pull
Ah, the cheese pull! It’s practically a requirement for a truly epic grilled cheese, right? To get that jaw-dropping stretch, make sure your cheese is good quality and that it has enough time to truly melt. That medium-low heat helps here too, as it allows the cheese to get nice and gooey all the way through. Using a blend of cheeses like cheddar and Monterey Jack really helps because they melt differently and give you that wonderful elasticity. And, fresh is best – pre-shredded cheese sometimes has anti-caking agents that can make it melt a little less smoothly.
Serving Your Jalapeño Popper Grilled Cheese
Okay, so your masterpiece is ready! I always like to slice my Jalapeño Popper Grilled Cheese right down the middle. It’s not just for show (though seeing all that gooey cheese ooze out is pretty spectacular!), but it also makes it easier to handle. This sandwich is hearty enough to be a meal on its own, but if you’re feeling it, it’s AMAZING with a side of something cool and refreshing to balance the heat. Think a crisp German potato salad, or even just a simple side salad from our soups and salads collection. It’s honestly perfect for a cozy lunch, a quick dinner when you need a serious comfort food fix, or whenever you’re hosting a game day get-together!
Make-Ahead and Storage for Your Jalapeño Popper Grilled Cheese
You know, this sandwich is best made fresh, like most grilled cheeses, because nobody wants a soggy bread situation. BUT! If you need to get a head start, you can totally mix up that glorious jalapeño cream cheese filling a day or two ahead of time and keep it in an airtight container in the fridge. When you’re ready to make your sandwich, just let the filling sit out for about 15-20 minutes to soften up a bit before spreading it on the bread. For leftovers? Honestly, they’re just not *quite* the same once the bread has cooled and maybe gotten a bit soft, but if you must, store wrapped sandwiches in the fridge for up to a day. Reheating in a skillet over medium-low heat is your best bet to try and salvage some crispiness!
Frequently Asked Questions about Jalapeño Popper Grilled Cheese
Got questions about making the ultimate jalapeño popper grilled cheese? You’ve come to the right place! We get asked a bunch, so here are some quick answers to help you out. If you have more questions, feel free to reach out!
How to Adjust the Heat Level
This is probably the most common question! To dial up or down the heat, it all comes down to the jalapeños. For less spice, make sure you remove all the seeds and the white membranes inside the jalapeño before mincing them. For *more* heat, leave them in! You can also use pickled jalapeños, which tend to be a bit milder and add a nice tangy flavor. And of course, the number of jalapeños you use makes a big difference – start with one and add more if you dare!
Can I Make This Jalapeño Popper Grilled Cheese Without Bacon?
Absolutely! This sandwich is still fantastic without the bacon. The creamy, cheesy, spicy filling is more than enough on its own. If you’re going bacon-free, you could totally add a little sprinkle of smoked paprika to the cheese mixture for a similar smoky vibe, or even some finely chopped chives for a fresh oniony note. It’s really flexible, so feel free to make it perfect for you!
Nutritional Information for Jalapeño Popper Grilled Cheese
Now, let’s talk numbers for this indulgent little treat! The Jalapeño Popper Grilled Cheese is definitely a rich dish, and the nutrition facts reflect that. Keep in mind these are just estimates, okay? Because depending on the exact bread you use, the type of cheese, and how much bacon you sneak in (no judgment here!), your results might vary a bit. It’s best enjoyed as a delicious treat!
- Serving Size: 1 sandwich
- Calories: approx. 550
- Fat: approx. 40g
- Saturated Fat: approx. 20g
- Carbohydrates: approx. 30g
- Protein: approx. 18g
- Sodium: approx. 900mg
Share Your Jalapeño Popper Grilled Cheese Creations!
I really hope you try making this Jalapeño Popper Grilled Cheese! It’s such a fun and delicious sandwich. If you do whip one up, please, please, please let me know how it turned out in the comments below! I absolutely LOVE seeing your creations and hearing about your experiences – it’s like we’re all cooking together. Feel free to share photos on social media and tag me, or just tell me your favorite part of the recipe! You can also check out more fun recipes on our blog or learn more about my story. Happy cooking!
PrintJalapeño Popper Grilled Cheese
A spicy and cheesy grilled cheese sandwich inspired by jalapeño poppers, featuring a creamy jalapeño and cheese filling, crispy bread, and optional bacon.
- Prep Time: 10 min
- Cook Time: 10 min
- Total Time: 20 min
- Yield: 1 sandwich 1x
- Category: Lunch
- Method: Pan-Frying
- Cuisine: American
- Diet: Vegetarian
Ingredients
- 2 slices sourdough or Texas toast bread
- 2 tablespoons butter, softened
- 2 ounces cream cheese, softened
- 1/4 cup shredded cheddar cheese
- 1/4 cup shredded Monterey Jack cheese
- 1–2 jalapeños, finely minced (fresh or pickled, adjust to your heat preference)
- Optional: 2 slices cooked bacon, crumbled
- Optional: Pinch of garlic powder
Instructions
- Spread butter on one side of each bread slice.
- In a small bowl, mix together the softened cream cheese, cheddar cheese, Monterey Jack cheese, minced jalapeños, and optional garlic powder and crumbled bacon.
- Spread the cheese mixture evenly onto the unbuttered side of one bread slice.
- Top with the other bread slice, buttered side up.
- Heat a skillet or griddle over medium-low heat.
- Place the sandwich in the skillet and cook for 3-5 minutes per side, or until the bread is golden brown and the cheese is melted and gooey. Adjust heat as needed to prevent burning.
- Slice and serve immediately.
Notes
- For a less spicy sandwich, remove the seeds and membranes from the jalapeños before mincing.
- To prevent soggy bread, ensure your skillet is preheated and cook over medium-low heat to allow the cheese to melt thoroughly before the bread burns.
- Using sturdy bread like sourdough or Texas toast helps maintain the sandwich’s structure.
- For an epic cheese pull, ensure your cheese is fully melted.
Nutrition
- Serving Size: 1 sandwich
- Calories: 550
- Sugar: 3g
- Sodium: 900mg
- Fat: 40g
- Saturated Fat: 20g
- Unsaturated Fat: 18g
- Trans Fat: 1g
- Carbohydrates: 30g
- Fiber: 2g
- Protein: 18g
- Cholesterol: 90mg