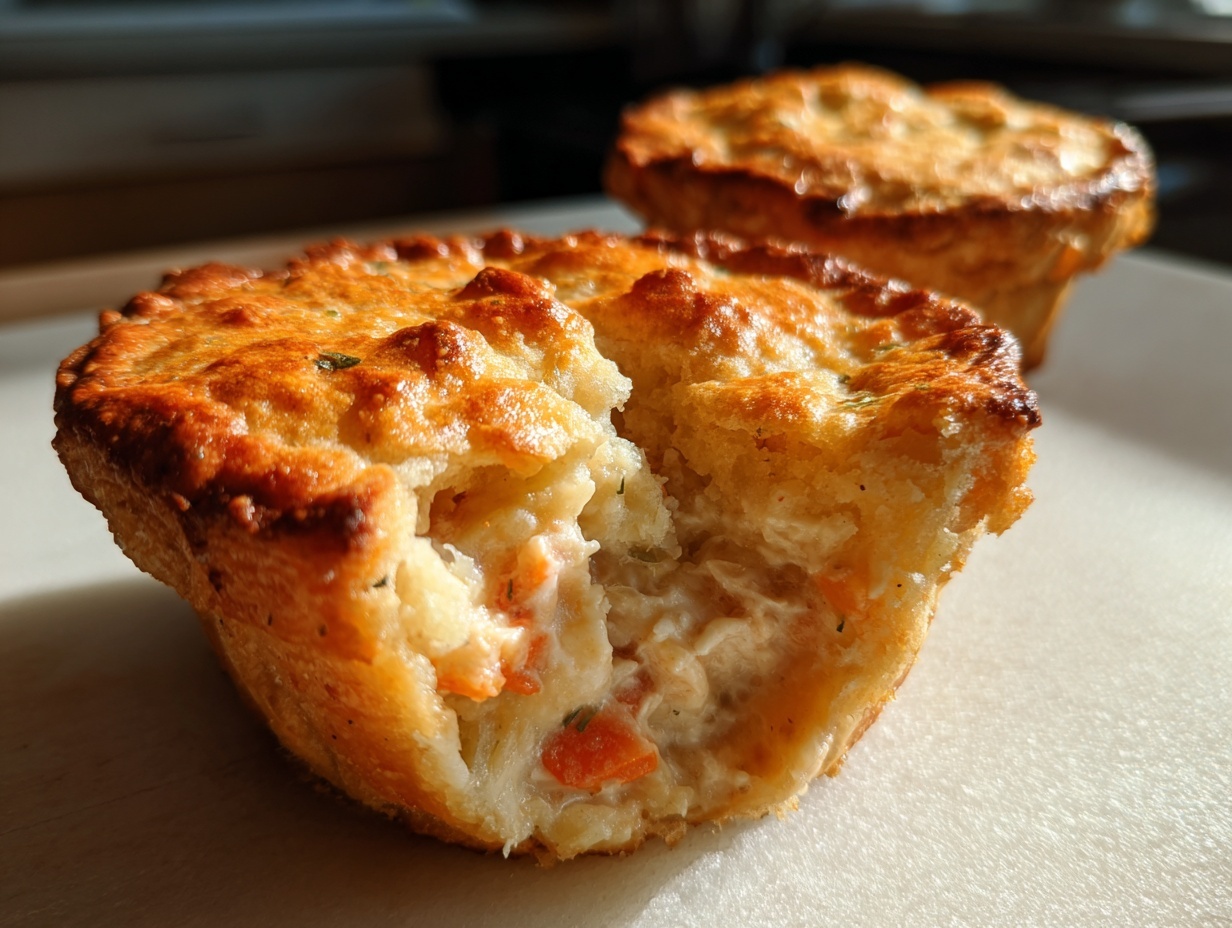

There is just something about that first chilled evening of the year that makes me crave the deep, creamy comfort of a savory pie. Forget wrestling with a full-sized crust that threatens to crack; sometimes, you just need the perfect, handheld portion. That’s precisely why I developed my recipe for mini chicken pot pies. It brings all that cozy, familiar flavor—think rich chicken, tender vegetables, and a warm hug of cream—but in an elegant, individual size that’s simple enough for a Tuesday night. After spending time developing skills in culinary school, my goal is always Approaching Elegance, and these little bites are perfect inspiration, much like my chicken gnocchi soup. You don’t need hours of fuss to achieve this comforting meal.
- Why You Will Love These Easy Mini Chicken Pot Pies
- The Simple Ingredients for Perfect Mini Chicken Pot Pies
- Step-by-Step Guide to Making Your Mini Chicken Pot Pies
- Tips for Perfect Biscuit Crust Savory Pies
- Serving Suggestions for Your Mini Chicken Pot Pies
- Make Ahead and Storage for Mini Chicken Pot Pies
- Variations on these Individual Chicken Pot Pies
- Frequently Asked Questions About Mini Chicken Pot Pies
- Nutritional Estimates for These Quick Comfort Food Meals
- Share Your Story: Making Mini Chicken Pot Pies
Why You Will Love These Easy Mini Chicken Pot Pies
These little pockets of goodness hit every note for a successful weeknight meal. They are quick, control those portions perfectly, and taste just like the classic version you remember. They are certainly a hit when I serve them as a kid friendly dinner recipe.
- Ready in under 40 minutes total time.
- Portion control means no leftovers hiding in the fridge!
- The flaky biscuit crust is incredibly simple to manage.
- Ideal as an impressive appetizer or hearty main course.
The Simple Ingredients for Perfect Mini Chicken Pot Pies
The true beauty of this recipe lies in its minimalism. I designed these mini chicken pot pies to rely on incredibly simple pantry staples. When I teach these methods, I always stress that quality basic ingredients make all the difference, letting the home cook shine even when moving fast. The star, of course, is the dough! Using refrigerated dough truly makes this an accessible canned biscuit recipe for even the busiest nights.
Here is exactly what you need to gather for a batch of twelve:
- 2 cans (16.3 ounces each) refrigerated biscuit dough
- 1 tablespoon butter
- 1 cup cooked, shredded chicken
- 1 cup frozen mixed vegetables (peas, carrots, corn)
- 1 can (10.5 ounces) cream of chicken soup
- 1/2 cup chicken broth
- 1/4 teaspoon black pepper
- 1 egg, beaten (for egg wash)
That’s it! With just a few easy components, we create a wonderfully rich filling perfect for these handheld pot pies.
Step-by-Step Guide to Making Your Mini Chicken Pot Pies
When I start a recipe, I need strict structure, especially when I’m moving fast and aiming for that elegant finish. This guide to assembling our mini chicken pot pies breaks down the process so you can move confidently from mixing bowl to oven. Remember, the resting time at the end is just as important as the initial prep when dealing with these delicious simple chicken recipes.
Preparing the Biscuit Crust for your Mini Chicken Pot Pies
First things first: get your oven warmed up to 375 degrees Fahrenheit and make sure your standard 12-cup muffin tin is greased well. Now, take those refrigerated biscuits and carefully separate them. You want to gently press one biscuit into the bottom of each cup, making sure it travels up the sides to create a nice little bowl for the filling. Don’t worry if the dough stretches a bit; that’s what we want for a solid base.
Mixing the Creamy Filling for your Mini Chicken Pot Pies
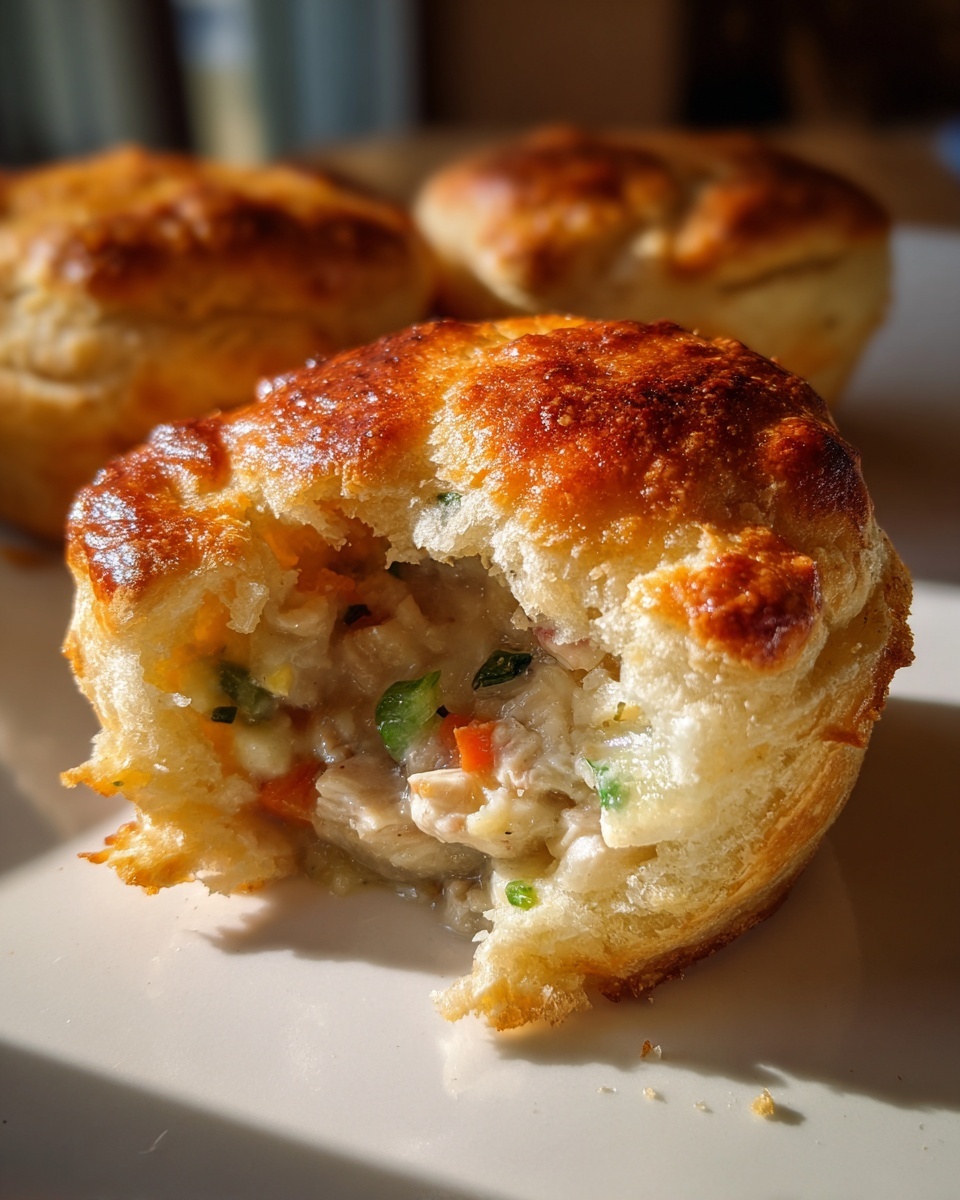
This is where the magic happens, super fast! Melt that tablespoon of butter in a medium bowl—I often just do this right in the microwave for speed. Then, toss in your shredded chicken, the frozen mixed veggies, the cream of chicken soup, the chicken broth, and that touch of pepper. Stir everything thoroughly until the filling contents are completely and evenly combined. Using pre-cooked chicken means we get to enjoy these amazing quick comfort food meals without waiting around!
Assembling and Baking the Handheld Pot Pies
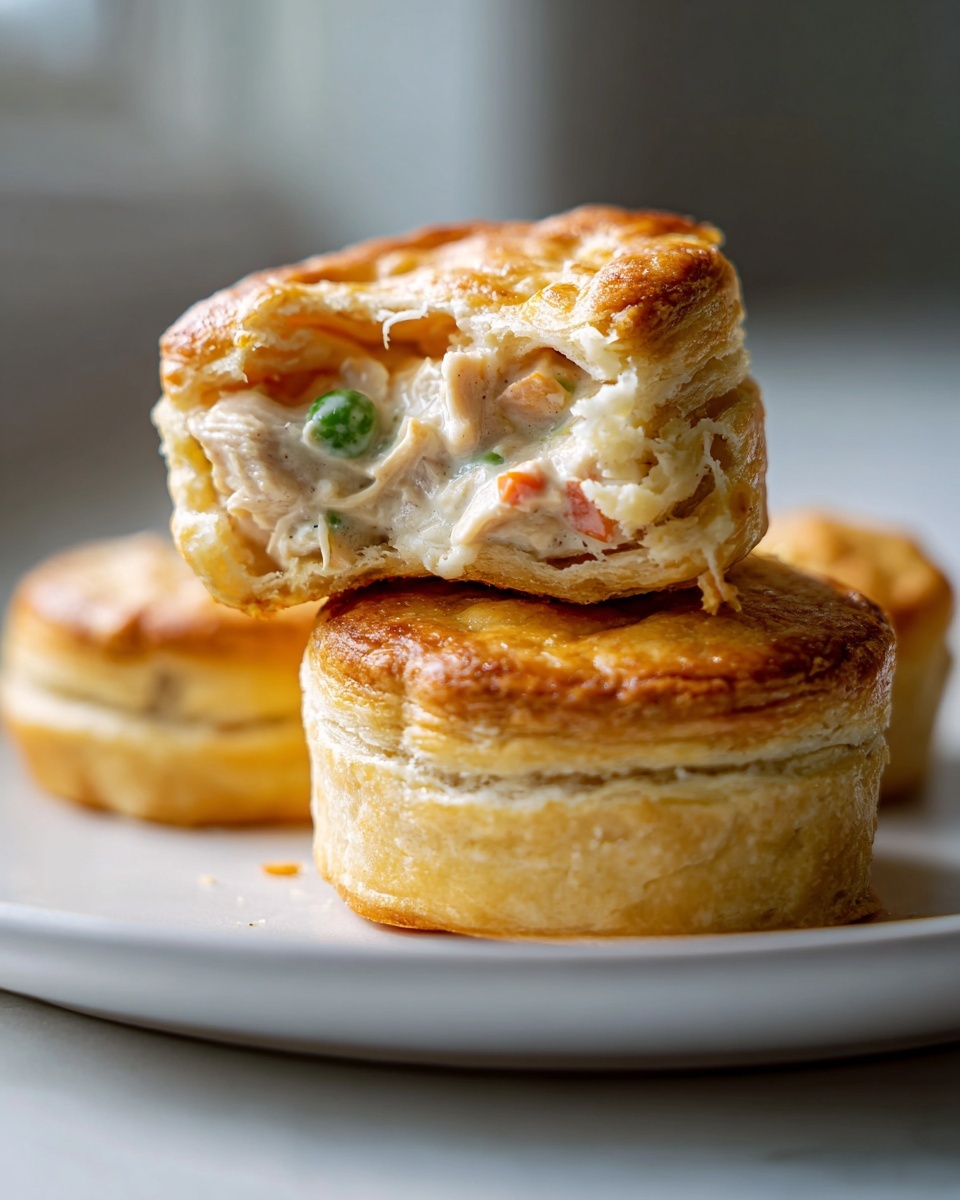
Now we cap it off! Spoon the chicken mixture into those biscuit-lined cups until they are about three-quarters full. Take your second piece of biscuit dough for each cup and place it right on top of the filling. The key here is sealing them shut—crimp the edges of the top and bottom dough layers together tightly so none of that yummy sauce escapes. Poke a small slit on the top of each pie for steam. Finally, brush the tops lightly with your beaten egg wash for that beautiful golden, professional shine.
Slide them into the oven and bake them for 18 to 22 minutes. You are looking for a bubbly filling and a gorgeous golden-brown crust. Once they are out, let the muffin tin pot pies rest for just five minutes before gently lifting them out. Perfect!
Tips for Perfect Biscuit Crust Savory Pies
Working with refrigerated biscuit dough for individual chicken pot pies is a blessing for speed, but it has its own little quirks. Since this crust is oil-based rather than butter-heavy like a traditional pie dough, we have to treat it gently so it doesn’t tear or end up heavy. Think of it like tissue paper you need to handle with care during assembly.
When you press the dough into the muffin tin cups, try not to work it too much with your fingers. Overworking develops the gluten too quickly, which can make the finished crust tough instead of flaky. Just gently coax it up the sides—if it tears, just pinch it back together! The egg wash helps mask any little imperfections, trust me.
If you struggle with the bottom of the crust getting soggy from the creamy filling (a common issue with any kind of muffin tin pot pie), I have a trick I learned from experimenting with quick brunch cups. After you press your bottom crust in, give the cups a very brief, minute-long stint in the hot oven *before* you fill them. This slight par-bake sets the dough just enough to fend off the moisture from the soup and broth. It takes two extra minutes, but it results in a far superior bottom crust.
And speaking of speed—if you are truly racing the clock, the absolute best shortcut is leaning on a high-quality rotisserie chicken. Shredding that right off the bone instead of cooking and doing it yourself saves a solid twenty minutes, allowing you more time to enjoy crafting that perfect golden egg wash on top!
Serving Suggestions for Your Mini Chicken Pot Pies
One of the things I adore most about these little pockets of comfort is how versatile they are! They transition seamlessly from a hearty main course to an elegant appetizer just based on what you serve alongside them. They truly shine as substantial bite sized savory pies.
For a cozy, satisfying weeknight dinner, these mini chicken pot pies need only a light, bright accompaniment to balance the richness of the cream and biscuit. I often pair them with a vibrant, fresh salad. If you want something crunchy and cool, my recipe for creamy, crunchy coleslaw is the absolute perfect foil to the warm filling.
If you are serving these at a gathering—say, for game day or as party appetizers chicken dreams are made of—let them mingle on a platter with some colorful crudités and a sharp dip. Since they are easy to pick up and eat in just a few bites, people tend to grab two or three! They feel special, even though we both know how quick they were to assemble.
The main rule I follow is this: if the pot pie is the star, keep the side dish simple and fresh. Nothing heavy, since the filling is already so satisfying. A simple mixed green salad with a bright vinaigrette is always a winner!
Make Ahead and Storage for Mini Chicken Pot Pies
I know how life is; some days you want to have dinner ready right when you walk in the door, and other days you simply don’t have the oven space! That’s why I love that these mini chicken pot pies are fantastic for both making ahead and freezing. Having these on hand means you always have a potential, crowd-pleasing meal ready to slip into the oven—a true lifesaver for busy weeks or unexpected guests.
This recipe fits perfectly into the category of make ahead freezer meals. When you’ve assembled the pies right up until the baking step—meaning the filling is in, the top crust is crimped, and you’ve brushed on the egg wash—you’re ready to pause them. Just place the entire muffin tin into the freezer until the pies are completely solid. Once they are frozen solid, carefully pop them out of the tin and transfer them into a large, freezer-safe zip-top bag or an airtight container. They should keep beautifully for about three months.
The best part? Baking them from frozen is hardly any trouble at all! You don’t need to thaw them first, which saves crucial time on a busy evening. Simply preheat your oven to 375 degrees Fahrenheit as usual, but you must account for that frozen core. You’ll need to add about 5 to 10 extra minutes to the standard baking time. Keep an eye on them, though. You’re aiming for that golden-brown top and a filling that is aggressively bubbly hot all the way through. If you check the center and it seems like it might still be cold, just tent them loosely with foil to prevent the top from burning while the inside finishes cooking. It’s the easiest weeknight dinner insurance you could ask for!
Variations on these Individual Chicken Pot Pies
While I truly adore the speed and texture we get from using those refrigerated biscuits, I completely understand that sometimes you want to mix things up! Having developed full recipes like my classic chicken pot pie recipe, I know how adaptable this filling is. These individual chicken pot pies are essentially little flavor delivery vehicles, capable of handling a few happy tweaks.
Think about that filling we created—it’s creamy, it’s savory, and it’s ready in minutes. If you happen to have leftover roasted chicken from a Sunday dinner, toss that in instead of buying fresh, shredded meat. It adds an extra layer of roasted flavor that is just divine. Or, for my friends who love a richer bite, try stirring in half a cup of shredded white cheddar or Gruyère cheese right before you cap the pies with the top biscuit. It melts into those creamy vegetable pockets beautifully!
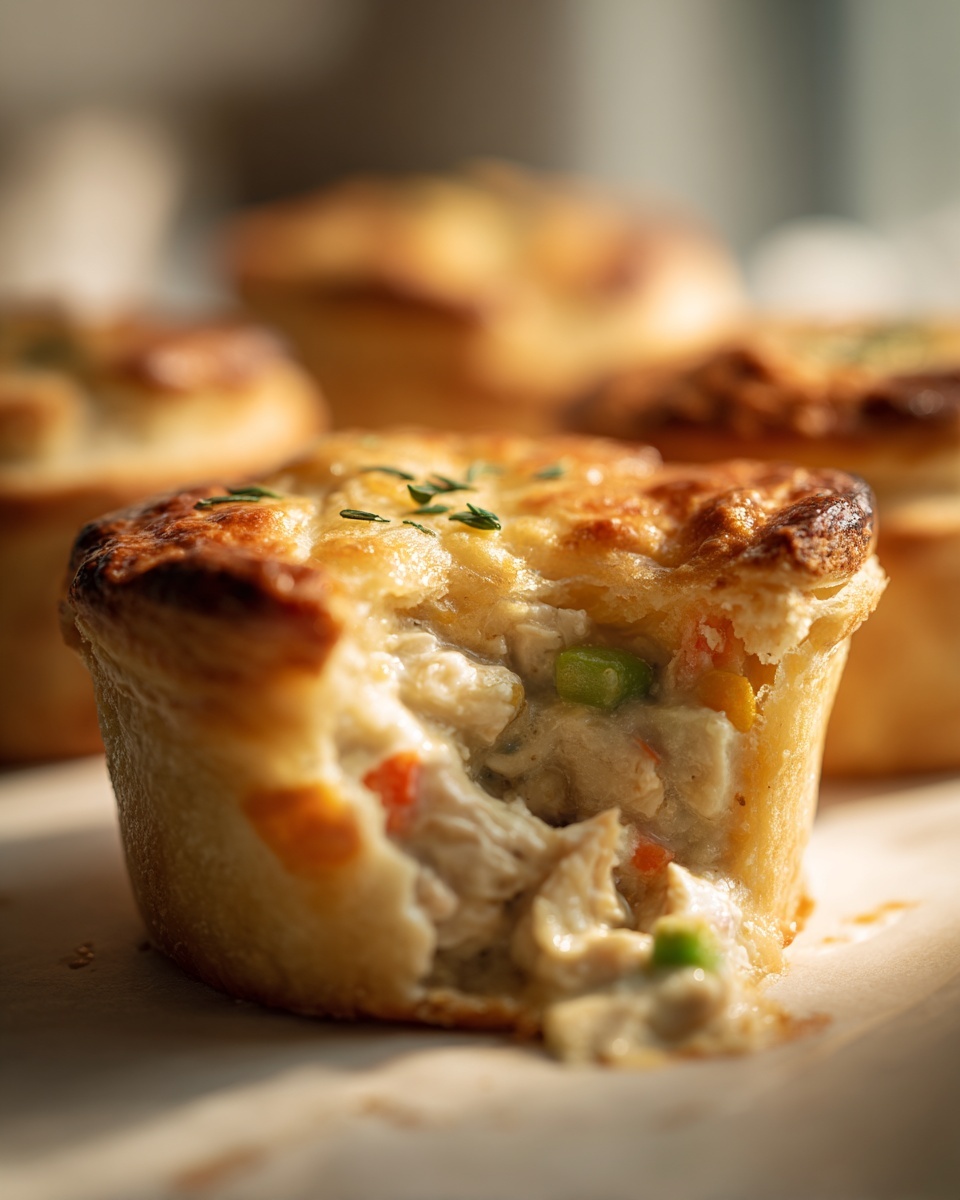
For herbs, don’t be shy! A half-teaspoon of dried thyme or a tiny pinch of sage right into the soup mixture makes the entire kitchen smell like a cozy fall evening. It deepens that comforting profile immediately.
Now, what if you *do* have time for a proper crust? If you’re looking to move away from the biscuit and create a more traditional, buttery structure, you can absolutely use a store-bought flaky crust pot pie dough instead. If you do this, you’ll want to roll the dough out thinly and use a cookie cutter slightly larger than the muffin tin opening to cut out your tops and bottoms. Instead of pressing it in, you use the rolled pieces to line the tin and then place the top sheet over the filling. If you want guidance on making a truly decadent, from-scratch crust, I have a great guide for you! You might also find inspiration with these biscuit-free bites mentioned elsewhere, like those you can see over at this great resource.
Ultimately, these pot pie bites are flexible. Treat the creamy base as your canvas and customize based on what you have ready to go!
Frequently Asked Questions About Mini Chicken Pot Pies
I get so many wonderful questions after sharing a quick recipe like this! It confirms for me that you all are thoughtful home cooks who want to tweak things just right for your family. Here are some common things people ask me about making these easy mini chicken pot pies.
Can I use puff pastry instead of refrigerated biscuits?
Oh, absolutely! If you prefer a lighter, airier top crust, puff pastry is a wonderful substitute. Keep in mind that puff pastry expands a lot more than the biscuit dough. You’ll want to slightly thaw the puff pastry sheet first, then cut circles just large enough to gently lay over the filling without squeezing out too much once it puffs up during baking. You get a different texture—less dense, more shatteringly flaky—but it is delicious! It moves this slightly toward a more decadent appetizer feel.
How do I prevent the filling from leaking out of my handheld pot pies?
This is the number one issue I hear about, especially when people are preparing these for parties or as formal appetizers! Remember that step where we crimp the edges? That’s your primary defense. After you place the top biscuit layer on, use the tines of a fork to press firmly all the way around the edge where the top and bottom dough meet. This seals the dough firmly. Also, make sure you don’t overfill them—filling only three-quarters full gives the dough room to handle the steam without blowing out the sides. If you do get a little leak, don’t panic; cleanup is easy, and one slightly messy pot pie still tastes amazing!
Can I make these vegetarian or use other meats?
Yes, these are wonderfully adaptable! For a strictly vegetarian version, you can skip the chicken and increase the frozen vegetables to about 1.5 cups total. You might want to add a can of drained chickpeas or some sautéed mushrooms to give it more ‘body’ where the chicken used to be. Or, you could swap out the chicken for leftover shredded turkey or pork shoulder. These make excellent weeknight dinner ideas chicken substitutes as well!
Can these be used as freezer-friendly meals for later?
As I mentioned in the tips section, these are fantastic for freezing! You prepare them uncooked, freeze them solid on the tray, and then store them in a sealed bag. They truly shine as make ahead freezer meals. You just add about 10 minutes to the bake time when cooking from frozen. Having these on hand means you always have a satisfying, ready-to-bake dinner when you need a quick comfort food meal, making busy nights so much easier.
How do I know if the filling is cooked through without burning the crust?
Because these are small, they cook quite quickly, but the creamy soup inside needs to reach a safe, hot temperature. The visual cue is the best: the filling must be actively bubbling up vigorously through that steam vent you cut. If the crust is looking too dark but the filling still seems hesitant, immediately grab a sheet of aluminum foil. Tent the muffin tin loosely with the foil—this shields the top from direct heat while allowing the center to heat through completely. It’s the perfect last-minute rescue trick!
If you discover other great tips while playing with this recipe, feel free to share them over on my contact page!
Nutritional Estimates for These Quick Comfort Food Meals
When we bring a recipe like this into our home kitchen, we know we aren’t aiming for diet food; we are aiming for soul-satisfying comfort! These mini chicken pot pies feel hearty because they are, but when portioned out into twelve individual servings, the numbers look quite reasonable for a classic comfort dish. I always use the nutrition information as a general guide, not a hard-and-fast rule, because the brand of biscuits or the exact size of your shredded chicken can shift things quickly.
That said, here is the breakdown based on the recipe proportions listed. These estimates help me plan if I’m serving these party appetizers chicken alongside other rich dishes or if I’m keeping the side light, like that salad I mentioned earlier.
- Serving Size: 1 pie
- Calories: 280
- Fat: 15g (Saturated Fat: 5g)
- Carbohydrates: 25g
- Protein: 12g
- Sugar: 3g
- Sodium: 650mg
Please remember, this data serves as a helpful estimate for these individual chicken pot pies. If you swap the cream of chicken soup for a reduced-sodium version or use leaner chicken breast, your specific results will vary! But even as listed, these handheld pies offer a lovely balance of protein and carbs to make for a wonderfully cozy and satisfying meal.
Share Your Story: Making Mini Chicken Pot Pies
This recipe for mini chicken pot pies is more than just a quick fix for dinner; it’s a culinary moment you can easily weave into your own story. I sincerely hope you take the time to try these—maybe next time you’re hosting friends and need simple, elegant party appetizers chicken, or perhaps just when you need a taste of instant comfort after a long week.
I truly value knowing how my recipes land in your kitchens. Did you use rotisserie chicken? Did your kids devour them in three bites? Did you try adding cheddar cheese? Please, don’t be shy! Drop a rating below and share your experience. Hearing from you helps me continue developing approachable elegance that works for real home cooks like us.
If you have any brilliant customizations or questions that pop up after baking, you are always welcome to reach out via my contact page. Happy baking, and I can’t wait to hear how these delightful little pies turn out for you. If you are looking for more inspiration for impressive, easy bites, you should also check out this lovely version over at this kitchen for reference!
PrintEasy Mini Chicken Pot Pies with Biscuit Crust

Create comforting, individual chicken pot pies using a simple biscuit crust. These handheld bites are perfect for quick weeknight dinners or as party appetizers.
- Prep Time: 15 min
- Cook Time: 20 min
- Total Time: 35 min
- Yield: 12 mini pies 1x
- Category: Dinner
- Method: Baking
- Cuisine: American
- Diet: Vegetarian
Ingredients
- 2 cans (16.3 ounces each) refrigerated biscuit dough
- 1 tablespoon butter
- 1 cup cooked, shredded chicken
- 1 cup frozen mixed vegetables (peas, carrots, corn)
- 1 can (10.5 ounces) cream of chicken soup
- 1/2 cup chicken broth
- 1/4 teaspoon black pepper
- 1 egg, beaten (for egg wash)
Instructions
- Preheat your oven to 375 degrees Fahrenheit. Lightly grease a standard 12-cup muffin tin.
- Separate the biscuit dough into individual biscuits. Press one biscuit piece into the bottom and up the sides of each muffin cup to form a crust.
- In a medium bowl, melt the butter. Add the shredded chicken, frozen vegetables, cream of chicken soup, chicken broth, and black pepper. Stir until the filling is evenly combined.
- Spoon the chicken mixture evenly into the biscuit-lined muffin cups, filling them about three-quarters full.
- Place a second biscuit piece on top of the filling in each cup to create a top crust. Crimp the edges of the top and bottom biscuits together to seal. Cut a small slit in the top of each pie to allow steam to escape.
- Brush the tops of the pies lightly with the beaten egg wash for a golden finish.
- Bake for 18 to 22 minutes, or until the crust is golden brown and the filling is bubbly.
- Let the mini pot pies cool in the tin for about 5 minutes before carefully removing them. Serve warm.
Notes
- For an even quicker meal, use pre-cooked rotisserie chicken.
- You can prepare these ahead of time; cool completely, then freeze unbaked. Bake from frozen, adding 5-10 minutes to the baking time.
- Serve these handheld pot pies with a simple side salad for a complete family dinner.
Nutrition
- Serving Size: 1 pie
- Calories: 280
- Sugar: 3
- Sodium: 650
- Fat: 15
- Saturated Fat: 5
- Unsaturated Fat: 10
- Trans Fat: 0
- Carbohydrates: 25
- Fiber: 1
- Protein: 12
- Cholesterol: 30