
The holidays are wonderful, but let’s be honest—they bring a certain level of baking stress, especially when it comes to the most important dessert on the table! You want that iconic, perfectly spiced centerpiece, but you don’t want cracked filling or a sad, soggy crust haunting your Thanksgiving feast. Forget those moments of panic! After years refining flavors through my formal culinary training, I’ve perfected this **pumpkin pie recipe** to deliver exactly what you need: approachable elegance in a slice. If you want to know more about my journey from PR to pastry, check out my story here!
This isn’t just another recipe; it’s your dependable guide to achieving that rich, **velvety pumpkin pie** everyone dreams about. We focus on simple techniques that guarantee a stunning, reliable result every time. So pour yourself a glass of wine, and let’s bypass the drama and get straight to the comfort food!
- Why This is the Best Classic Pumpkin Pie Recipe You Will Make
- Gathering Ingredients for Your Pumpkin Pie Recipe
- Step-by-Step Instructions for the Classic Pumpkin Pie Recipe
- Tips for the Ultimate Pumpkin Pie Recipe Success
- Serving Suggestions for Your Spiced Custard Pie
- Storage and Reheating Instructions for this Pumpkin Pie Recipe
- Frequently Asked Questions About the Classic Pumpkin Pie Recipe
- Nutritional Estimates for Your Holiday Pie Recipes
- Share Your Perfect Pumpkin Pie Recipe Results
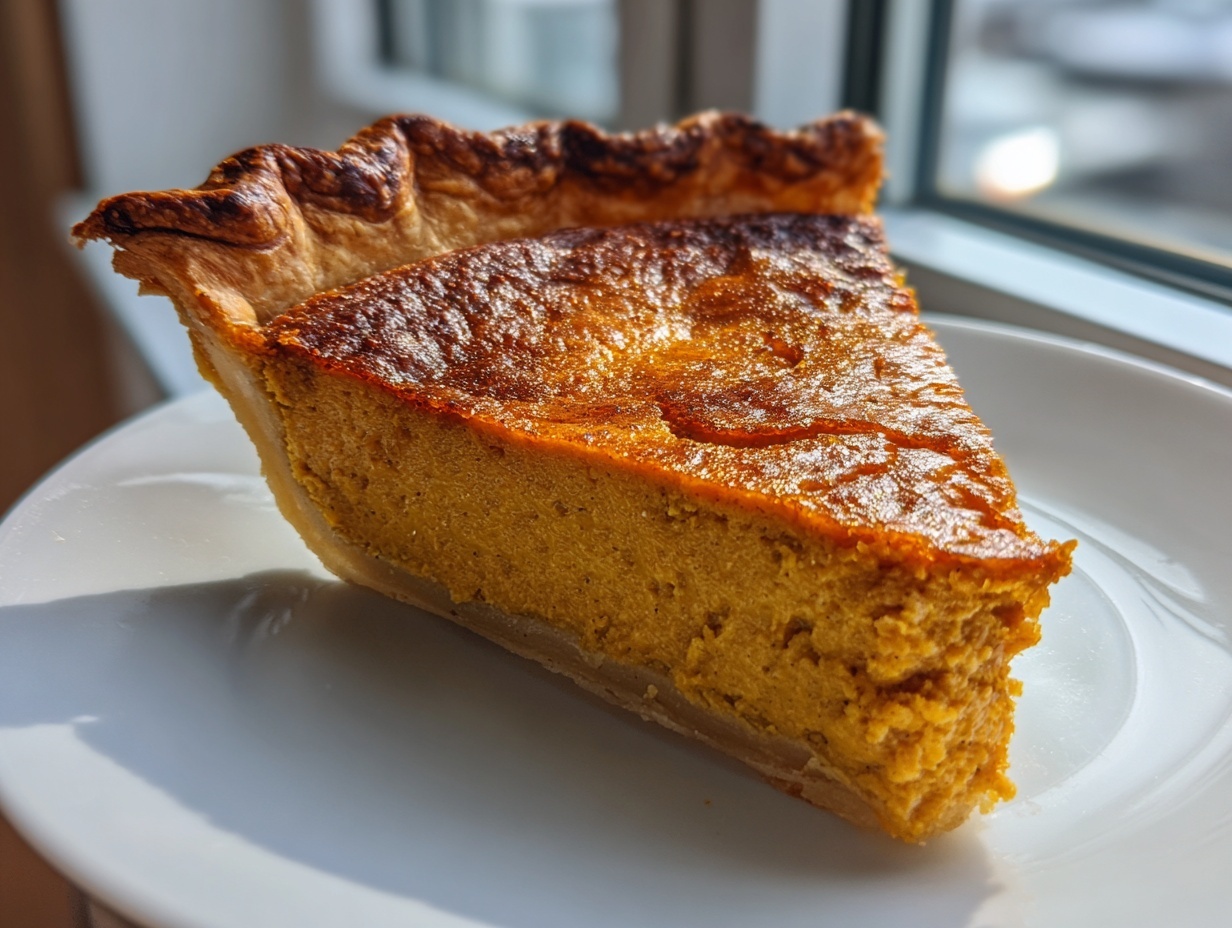
Why This is the Best Classic Pumpkin Pie Recipe You Will Make
When you’re hosting for the holidays, you need a dessert you can trust implicitly. What sets this recipe apart is its focus on texture—we’re chasing that elusive, perfectly smooth consistency you only find in the best bakeries. This **classic pumpkin pie recipe** guarantees a genuinely **velvety pumpkin pie** every single time. My culinary training taught me that technique trumps fancy ingredients when it comes to custard, and that’s what we’re focusing on here. You can see great examples of how others love this style right here.

Achieving a Velvety Pumpkin Pie Filling
The secret to that luxurious mouthfeel is twofold: precise spice measurement and gentle mixing. That traditional blend of cinnamon, nutmeg, and cloves has to be perfectly balanced so it melts into the custard rather than tasting chalky. We mix the wet ingredients first until they are completely homogenous, and then we’re incredibly gentle when adding the spices and sugar. Over-whisking incorporates too much air, and that leads to a spongy texture later on. We want smooth silk, not sponge cake!
Foolproof Steps for a No Crack Pumpkin Pie
Nobody wants to serve a pie that looks like the surface of the moon! Dealing with cracks is probably the biggest fear in fall baking. Trust me, I learned this the hard way years ago. The absolute key to a **no crack pumpkin pie** is our two-stage baking method. That initial blast of high heat sets the edges firmly, and then slowly decreasing the temperature allows the center to gently finish cooking without scrambling the structure. It’s foolproof, and the payoff is a smooth, pristine surface ready for toppings.
Gathering Ingredients for Your Pumpkin Pie Recipe
When it comes to a **classic pumpkin pie recipe**, you want reliability. That’s why I rely on pantry staples for this **easy pumpkin pie**. You might notice the notes mention using either evaporated milk or sweetened condensed milk. For the creamiest result, I prefer evaporated milk, but if you want an extra rich, almost decadent filling, go ahead and swap in the condensed version! We’re aiming for that perfect spiced custard here, so measure your spices carefully.
Ingredients for the Creamy Pumpkin Pie Filling
Here is exactly what you’ll need ready to go before you even preheat the oven:
- 1 (15-ounce) can pure pumpkin puree
- 1 (12-ounce) can evaporated milk (or use sweetened condensed milk for extra richness)
- 2 large eggs, lightly beaten
- 3/4 cup granulated sugar
- 1 teaspoon ground cinnamon
- 1/2 teaspoon ground nutmeg
- 1/4 teaspoon ground cloves
- 1/2 teaspoon salt
- 1 (9-inch) unbaked pie crust (homemade or store-bought for an easy pumpkin pie)
Pie Crust Notes and Options
We are keeping this simple, which is why I often lean on a good quality store-bought crust! But if you are determined to make your **homemade pumpkin pie from scratch**, make sure your crust is completely chilled before you start filling it. If you need my absolute favorite recipe for that golden, flaky base, you can find my tips for flaky pie crust recipes right here. Remember, this pie goes in completely unbaked, so make sure your crust is pressed nicely into your 9-inch pie plate.
Step-by-Step Instructions for the Classic Pumpkin Pie Recipe
Okay, here is the moment of truth! Following these steps exactly is how you transform simple cans and spices into what I promise will be the **best pumpkin pie** you’ve ever made. Don’t rush the cooling stages—that’s the real secret weapon for that beautiful, **creamy pumpkin pie filling** you’re after. We are working toward that perfectly spiced custard, so let’s focus on the timing here. If you didn’t make your crust from scratch, I know you saved this excellent flaky pie crust recipe, right?
Preparing the Oven and Crust
First things first, let’s get the oven hot! Preheat your oven right up to 425 degrees F. You want that heat ready to go. Take your unbaked 9-inch pie crust—whether you made it or bought it, it’s fine!—and set it gently onto a sturdy baking sheet. Placing it on a sheet helps catch any drips, which always seems to happen just when you think you’re being careful!
Mixing the Spiced Custard Filling
Grab a large bowl. Start by whisking together the pumpkin puree, your evaporated milk (or condensed milk, if you chose that richer route), and your two large eggs until they look completely combined and smooth. Now, gently whisk in the sugar, the cinnamon, nutmeg, cloves, and salt. Remember what I said? We’re mixing until everything is integrated, but stop right there. Stop before you feel the urge to whip it vigorously. Overmixing right now is how you bust the velvety texture!
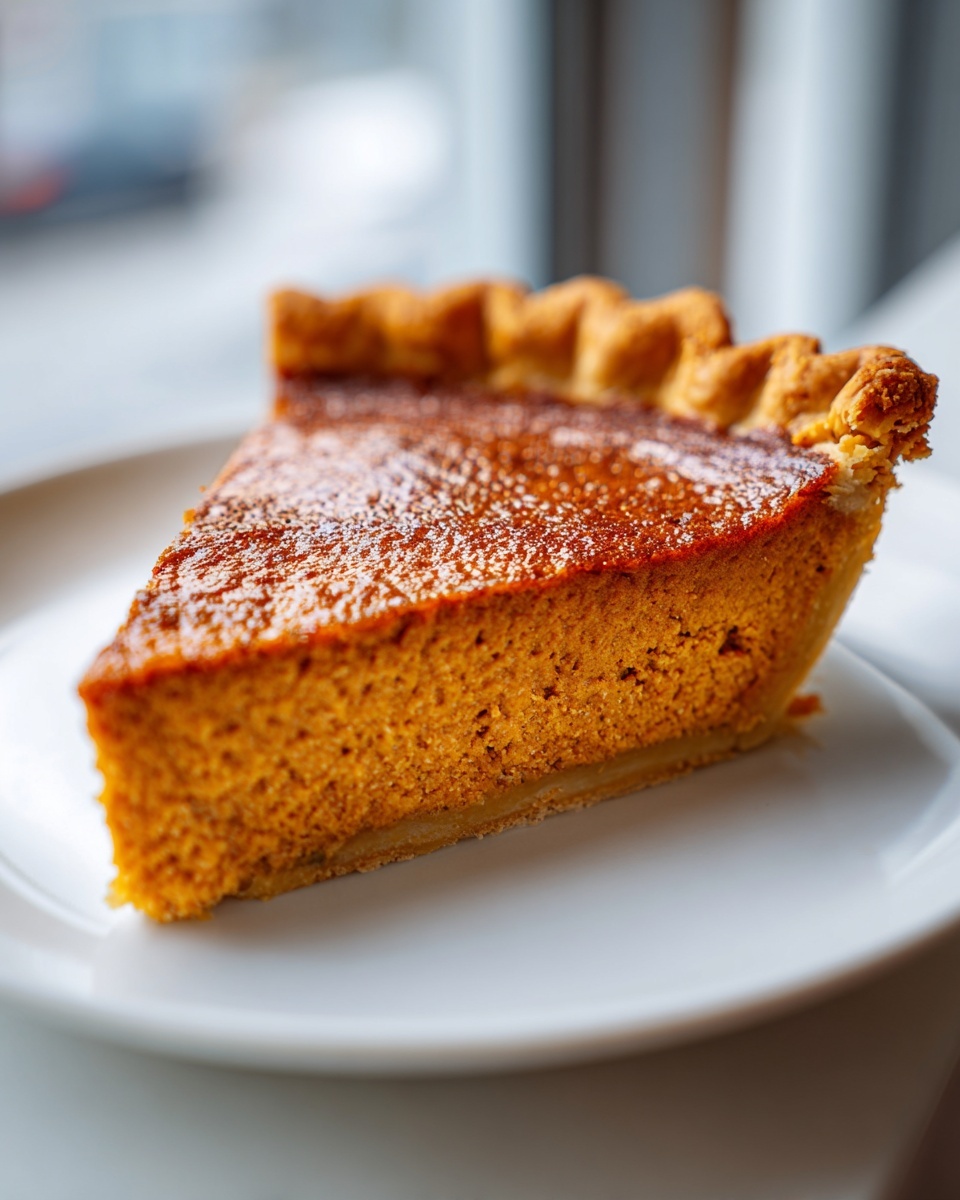
The Two-Stage Baking for Perfect Pumpkin Pie
Pour your beautiful filling carefully into that unbaked crust. The first stage is fast: bake this at 425 degrees F for exactly 15 minutes. This quick, hot blast is crucial—it helps set the crust base immediately so you don’t have to worry about leaks or sogginess! After those 15 minutes, lower your oven temperature right down to 350 degrees F. Continue baking for another 35 to 45 minutes. You know it’s done when a thin knife inserted near the center comes out clean. Seriously, pull it out as soon as it’s clean; overbaking is the number one cause of cracks.
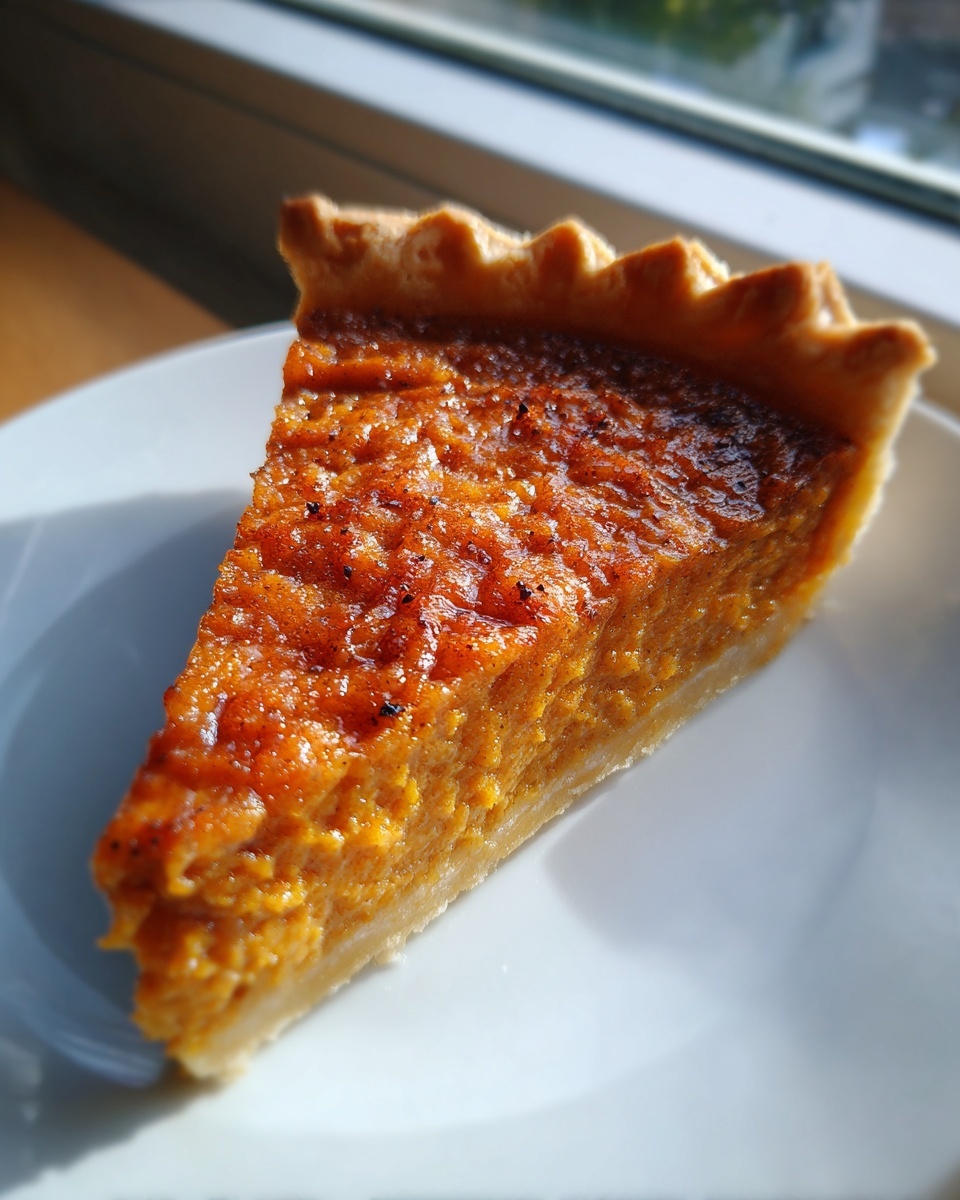
Cooling and Chilling Your Pumpkin Pie
This is the willpower test! Once it looks perfect, pull that pie out and let it cool completely on a wire rack. This takes at least 2 hours. Honestly, for the absolute best, silkiest texture that defines this **creamy pumpkin pie filling**, you must chill it again for at least another 2 hours in the fridge. Don’t skip this chilling time; it lets the custard fully set into that perfect sliceable state.
Tips for the Ultimate Pumpkin Pie Recipe Success
We’ve got the main bake down, but a truly successful holiday pie, one worthy of being the star of your **Thanksgiving dessert recipes**, needs a little finesse around the edges. As a former PR professional, I learned that details make all the difference! These small tricks, rooted in my culinary training, will ensure your pie earns rave reviews. If you’re looking for other fantastic **fall baking ideas** that minimize day-of stress, you might want to check out my recipe for pumpkin dump cake too, right here!
Preventing Over-Browning on the Crust Edges
Sometimes, even with the two-stage bake, the edges of your crust decide they want to bake faster than the filling. It’s frustrating, right? If you notice the beautiful crimped edges starting to look a little too dark while the center is still setting (usually during that lower 350-degree bake), you don’t need to panic or pull the whole thing out. Just grab a little strip of aluminum foil—maybe about an inch wide—and loosely tent it over the crust edge. It acts like a tiny sunshade, protecting the pastry while letting the custard finish cooking perfectly. It’s such a simple fix, but it keeps the whole presentation looking professional, which I love!
Making Ahead: Best Make Ahead Thanksgiving Desserts
If you’re hosting Thanksgiving, you should never feel like you have to do everything on Thursday. My pie is fantastic made ahead, which is why I categorize it under the **best make ahead Thanksgiving desserts**! I follow the cooling instructions completely, and then I cover the chilled pie tightly with plastic wrap. You can safely refrigerate this pie for up to two days before serving. It actually tastes even better the next day once those spices have really settled into the custard. You can pull it out an hour before serving, and you’ve instantly checked one major item off your holiday to-do list. For more reliable holiday magic, take a peek at this other great recipe source.
Serving Suggestions for Your Spiced Custard Pie
Once your pie has gone through that crucial chilling phase, it’s ready for its grand unveiling! This **spiced custard pie** is intensely flavorful on its own, which is exactly why I love its simplicity, but presentation is everything when you’re hosting. You want that final touch that elevates it from a simple baked good to a centerpiece.
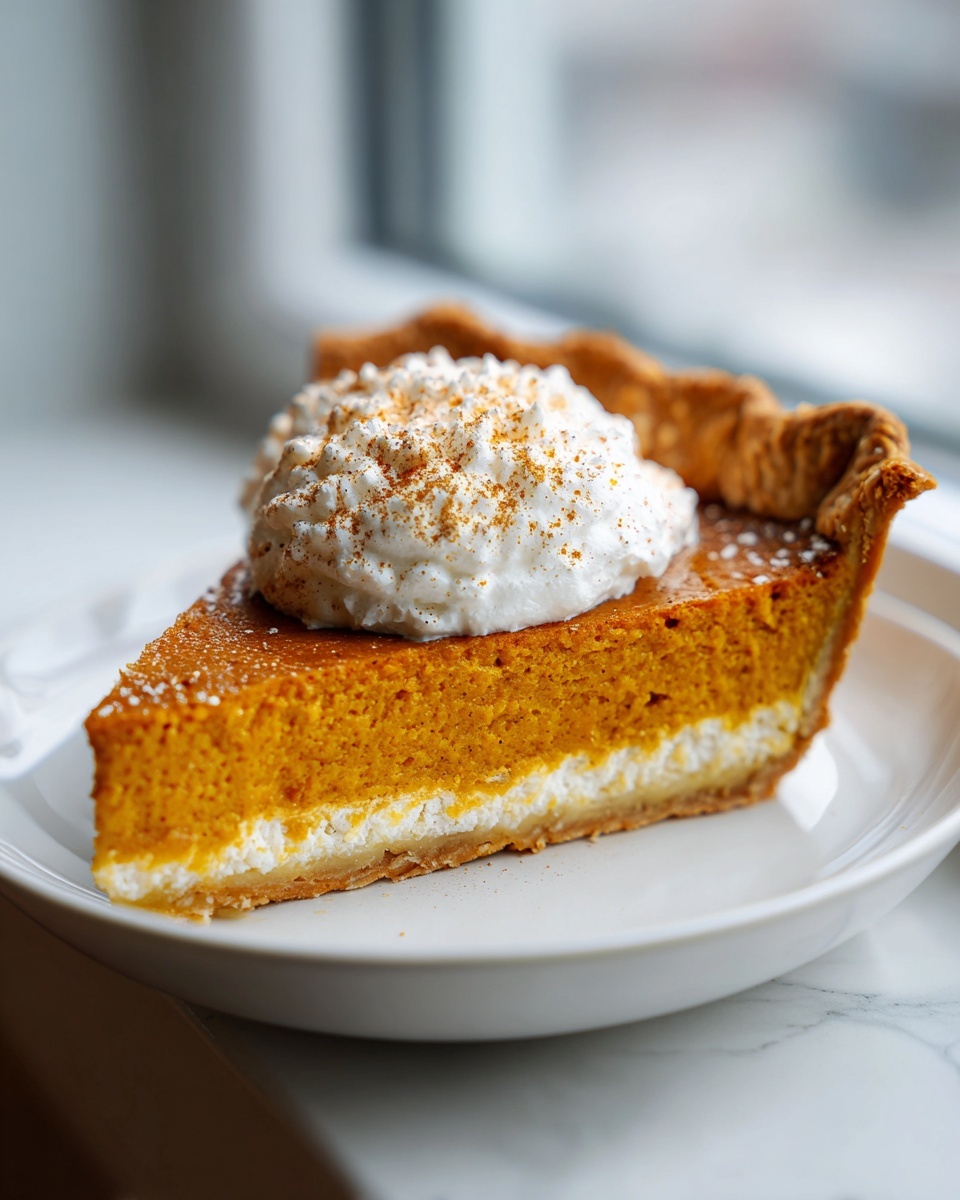
Honestly, for me, the absolute classic pairing is a big, generous dollop of freshly whipped cream. I make mine right before serving—it just has a better texture and flavor than anything you buy in a can. If you want to get a little fancy (and who doesn’t at the holidays?), try sprinkling just a tiny pinch of extra cinnamon or a whisper of freshly grated nutmeg right over the cream just before you take it to the table. It smells incredible!
If you have guests who prefer a little contrast, a small scoop of high-quality vanilla bean ice cream works like a charm, especially if you’re serving it slightly warmer than fridge-cold. But truly, this deeply flavored pumpkin pie doesn’t need much adornment. It speaks for itself!
Storage and Reheating Instructions for this Pumpkin Pie Recipe
Once this gorgeous pie has cooled completely and you’ve enjoyed the first slices, the next question is always: how do I save the rest? Because we’ve worked so hard to get that perfect, velvety texture, we need to treat this pie right in the fridge. Custard-based pies, like this one, are really best served cool straight from refrigeration, so I rarely recommend reheating it.
The structure sets up beautifully when cold, which is why that final chill time is so vital. If you try to warm it up, you risk deflating that beautiful custard and potentially softening your flaky crust again—and we certainly don’t want a soggy bottom!
Here’s the simple guide for storage:
- Refrigeration Time: Cover your cooled pie tightly with plastic wrap, making sure the wrap doesn’t press directly onto the surface if you decided to add whipped cream (if you did, you should remove the cream topping first). This pie keeps wonderfully well in the refrigerator for up to three or four days.
- Serving Temperature: Whenever possible, try to serve it chilled. It just tastes cleaner, and the texture holds up better. If you are serving it right after taking it out of the fridge, let it sit on the counter for just 15 to 20 minutes before slicing. This takes the hard chill off without warming the center too much.
- Freezing (If You Must): While I prefer it fresh, if you absolutely need to freeze it, wrap it extremely well in a layer of plastic wrap followed by a layer of foil. Freeze for up to one month. Thaw it slowly in the refrigerator overnight before serving.
Honestly, this pie is so easy to make ahead that you shouldn’t need to worry about storing leftovers for long—it’s usually the first thing gone at our holiday gatherings!
Frequently Asked Questions About the Classic Pumpkin Pie Recipe
It’s totally normal to have questions when you’re aiming for the **best pumpkin pie** for your big holiday meal. I get asked so many things about custard pies! Don’t stress; that’s why I’ve gathered the most common worries right here to make sure your **fall baking** goes smoothly. If you ever want to try another cozy autumn treat, my pumpkin bread pudding recipe is a winner, you can find it over here.
Can I use fresh pumpkin instead of canned for this pumpkin pie recipe?
You absolutely can roast and puree your own pumpkin for a spectacular flavor, but I always recommend the canned stuff—pure pumpkin puree, not pumpkin pie filling!—for this recipe. Why? Consistency, my friend. Homemade puree varies widely in water content. If yours is too wet, you risk messing up the delicate balance needed for that **creamy pumpkin pie filling**. If you use fresh, you must cook it down until it feels almost dry to reduce the moisture before measuring, which adds a ton of time to this **easy pumpkin pie**.
What is the best way to substitute evaporated milk in this creamy pumpkin pie filling?
If you’re out of evaporated milk, don’t worry, it happens! You can generally substitute it with an equal amount of light or regular canned coconut milk if you want to keep that rich, creamy texture. Whole milk is okay in a pinch, but because it’s thinner, your final pie will be slightly softer and might not hold its shape quite as perfectly. If you want to bump up the richness even more and you skipped the recipe note, you could replace the evaporated milk entirely with sweetened condensed milk for an intensely rich, sweet custard!
How do I know exactly when my pumpkin pie is done baking?
This is crucial for avoiding that dreaded crack! The instructions specify pulling it when a knife inserted near the center comes out clean, but here’s the final visual cue: the edges of the filling should look set and firm, but the very center—about the size of a golf ball—should still have a slight, gentle jiggle when you carefully nudge the baking sheet. It’s called residual heat! It will solidify completely while it cools on the rack. If the knife comes out with wet batter, it needs more time, but if it looks totally firm, pull it out right away to prevent cracking.
Nutritional Estimates for Your Holiday Pie Recipes
When we are planning our big **Thanksgiving dessert recipes** or Christmas spreads, it’s smart to have a general idea of what we are serving, even if it’s just a comfort food classic like this pie. Now, I have to be very clear here, because my sweet sister often forgets this part: these numbers are only estimates! My formal culinary training taught me that everything changes depending on the brand of crust you use or whether you opted for evaporated milk instead of sweetened condensed milk. So please, treat these figures as a helpful guideline rather than gospel.
This information is based on using one slice of the finished product, assuming a standard 9-inch flaky crust made with conventional ingredients for this **pumpkin pie recipe**.
Here is the breakdown you asked for:
- Serving Size: 1 slice
- Calories: 320
- Fat: 15g
- Saturated Fat: 7g
- Carbohydrates: 42g
- Sugar: 28g
- Protein: 7g
- Cholesterol: 75mg
- Sodium: 250mg
You can see that the sugar content reflects why this is such a comforting, indulgent **fall dessert**! But look at that protein—that’s thanks to those eggs and the milk we use to create that wonderful, satisfying custard. It’s rich, but it’s worth every single bite when you’re celebrating!
Share Your Perfect Pumpkin Pie Recipe Results
There you have it! My absolute favorite, most reliable recipe for turning out a gorgeous, **velvety pumpkin pie** year after year. After all that talk about spice blends and careful cooling, the best part is hearing from you all!
I truly want to know how this **classic pumpkin pie recipe** fared on your holiday table. Did it earn you rave reviews? Did any of your guests ask for the recipe right away? These are the moments that make all the effort in the kitchen worth it for me.
Please, drop a comment below! Let me know what you served it with—was it strictly whipped cream, or did you try a fancy ice cream pairing? If you tried one of my tips, like the foil trick for the crust edges, tell me how it worked for you. Your feedback helps the whole Unfold Recipes community bake with more confidence.
And if you’ve been busy baking up a storm this season and want to see what else I’m working on, you can always check out my latest posts on the main blog here. Happy holidays, and thank you for letting my recipe be part of your family’s story this year!
PrintThe Ultimate Classic Pumpkin Pie Recipe for a Velvety Holiday Dessert
This recipe delivers a rich, creamy, and perfectly spiced pumpkin pie custard in a flaky crust. It is simple to make and ideal for your Thanksgiving or Christmas dessert table.
- Prep Time: 15 min
- Cook Time: 60 min
- Total Time: 2 hours 15 min
- Yield: 8 servings 1x
- Category: Dessert
- Method: Baking
- Cuisine: American
- Diet: Vegetarian
Ingredients
- 1 (15-ounce) can pure pumpkin puree
- 1 (12-ounce) can evaporated milk (or use sweetened condensed milk for extra richness)
- 2 large eggs, lightly beaten
- 3/4 cup granulated sugar
- 1 teaspoon ground cinnamon
- 1/2 teaspoon ground nutmeg
- 1/4 teaspoon ground cloves
- 1/2 teaspoon salt
- 1 (9-inch) unbaked pie crust (homemade or store-bought for an easy pumpkin pie)
Instructions
- Preheat your oven to 425 degrees F. Place your unbaked 9-inch pie crust on a baking sheet.
- In a large bowl, whisk together the pumpkin puree, evaporated milk, and lightly beaten eggs until fully combined.
- Add the sugar, cinnamon, nutmeg, cloves, and salt to the pumpkin mixture. Whisk until the spices are evenly distributed and the filling is smooth. This creates the creamy pumpkin pie filling.
- Pour the filling carefully into the unbaked pie crust.
- Bake at 425 degrees F for 15 minutes. This initial high heat helps set the crust and prevents a soggy bottom.
- Reduce the oven temperature to 350 degrees F. Continue baking for 35 to 45 minutes, or until a knife inserted near the center comes out clean. Avoid overbaking to prevent a cracked filling.
- Cool the pie completely on a wire rack for at least 2 hours. For the best texture, chill the pie for an additional 2 hours before slicing and serving.
- Serve this classic pumpkin pie with fresh whipped cream for a perfect fall baking treat.
Notes
- To achieve a velvety pumpkin pie, do not overmix the filling once the eggs are added. Mix just until smooth.
- If you notice the crust edges browning too quickly during the second baking stage, cover them loosely with aluminum foil strips.
- This pie is excellent made ahead; cover and refrigerate up to two days before your holiday gathering.
Nutrition
- Serving Size: 1 slice
- Calories: 320
- Sugar: 28
- Sodium: 250
- Fat: 15
- Saturated Fat: 7
- Unsaturated Fat: 8
- Trans Fat: 0
- Carbohydrates: 42
- Fiber: 3
- Protein: 7
- Cholesterol: 75