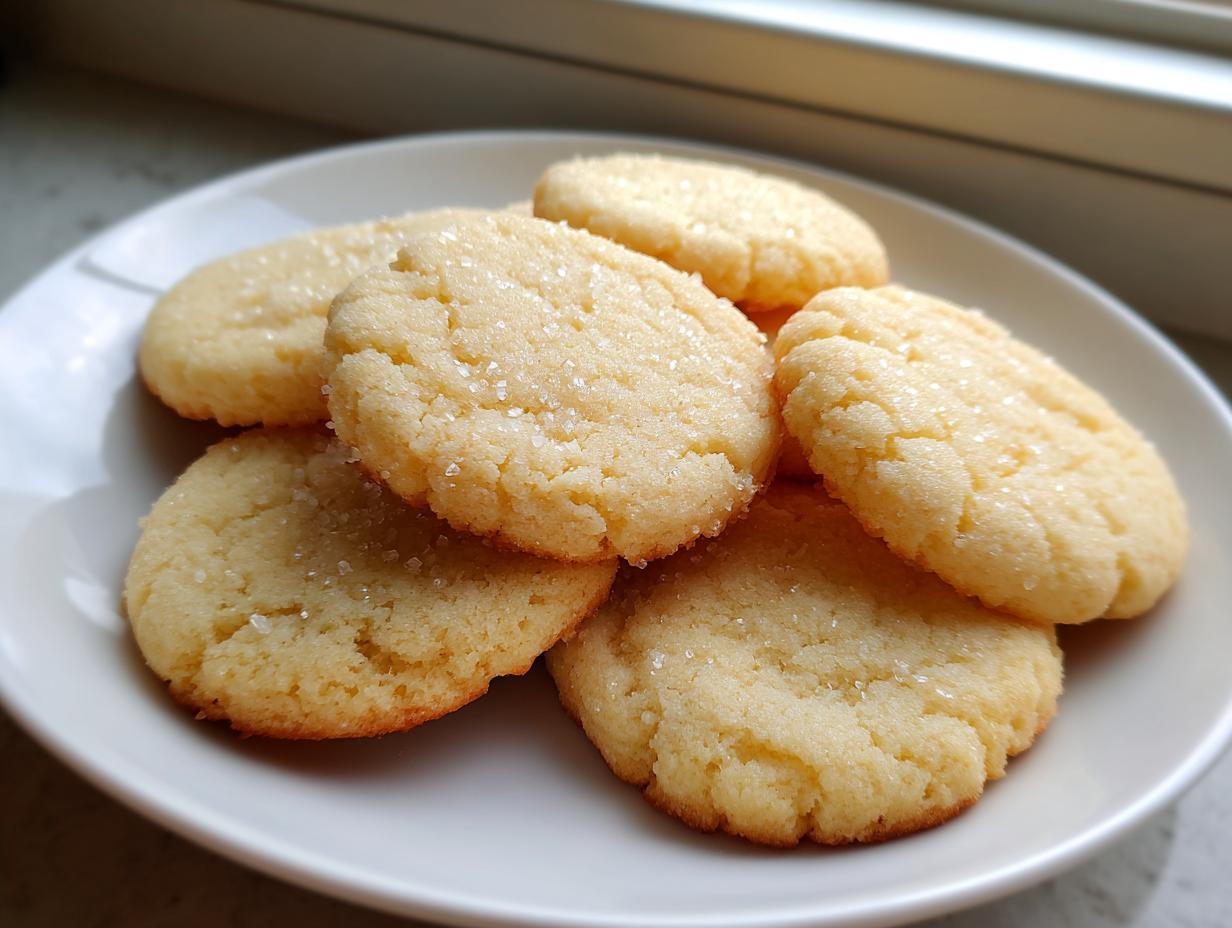

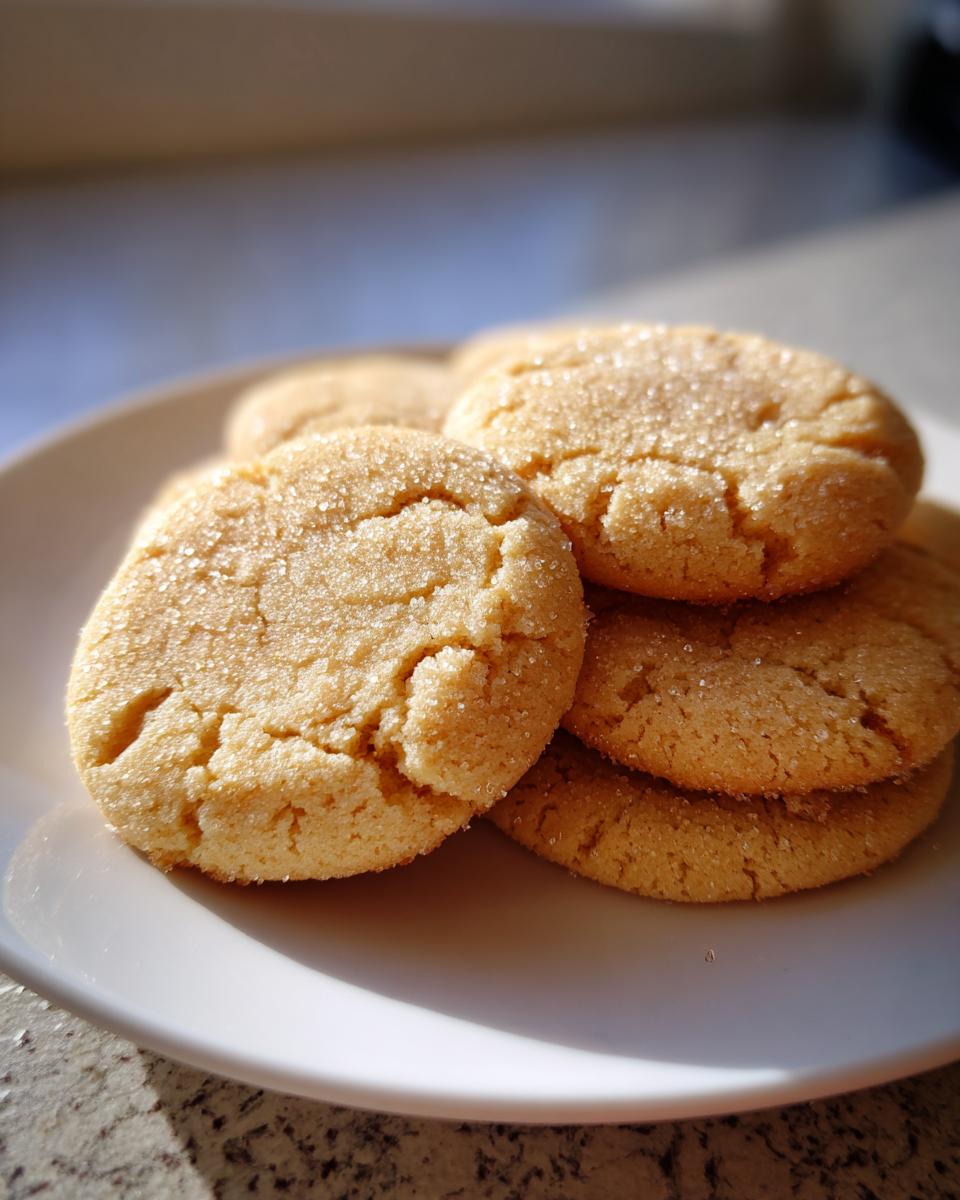
Oh, if there’s one thing I love, it’s walking into the kitchen during the holidays and smelling that unmistakable scent of vanilla and sweet butter. It instantly transports me back home. But let’s be honest, the search for the Best Sugar Cookie Recipe is filled with heartbreak! Cookies that taste heavenly but melt the second you touch them, or cookies sturdy enough for decorating but taste like cardboard. Trust me, I’ve spent years nailing this balance. After countless tests guided by my commitment to delivering approachable elegance in every bake, I finally put together the perfect hybrid: these are wonderfully soft and buttery sugar cookies, yet they are sturdy enough to hold the cleanest cutouts imaginable. This is the recipe you’ll keep forever. If you want to know more about the philosophy that drives my testing in the kitchen, you can always read about my journey on the About Page.
- Why This Soft Cutout Sugar Cookie Recipe Is Your New Favorite
- Gathering Ingredients for Your Perfect Sugar Cookie
- Step-by-Step Instructions for Amazing Sugar Cookie Cut Outs
- Expert Tips for the Best Sugar Cookie Recipe Results
- Decorating Your Homemade Sugar Cookies
- Storage and Keeping Your Sugar Cookies Fresh
- Frequently Asked Questions About This Sugar Cookie Recipe
- Making Meal Planning Easier Alongside Your Sugar Cookie Baking
- Share Your Perfect Sugar Cookie Creations
Why This Soft Cutout Sugar Cookie Recipe Is Your New Favorite
Finding the perfect sugar cookie that satisfies everyone around the holiday table is like striking gold. This recipe isn’t just *good*—it’s the holy grail that combines two seemingly opposite goals into one beautiful batch.
- They are wonderfully Soft Sugar Cookies that melt in your mouth.
- They are sturdy enough to become your favorite Cut Out Sugar Cookies for decorating.
- It really is one of the most Easy Sugar Cookies recipes you’ll ever use!
- We guarantee these are the Perfect Sugar Cookies for your festive baking needs.

The Secret to Perfect Sugar Cookie Cutouts
How do we get that soft inside without turning into disappointing puddles on the baking sheet? It all comes down to the balance of ingredients and, honestly, patience. Chilling the dough properly is non-negotiable here. When you give the gluten time to relax and the fats time to firm up, you ensure those clean edges stay exactly where you cut them. This is a tested, reliable method, so you can always trust the outcome!
Flavor Profile of Our Buttery Sugar Cookies
Structure is important, but flavor is everything! These aren’t just boring shapes; we pack a punch of flavor in here. Sure, they are incredibly Buttery Sugar Cookies because we use real butter (always!), but I add a splash of almond extract alongside the vanilla. It’s just a little secret that brightens up the whole cookie without tasting overtly of almonds. It makes for a more complex and incredibly delicious simple cookie.
Gathering Ingredients for Your Perfect Sugar Cookie
Before we dive into the mixing madness—and trust me, it’s fun madness—let’s talk supplies! Having quality ingredients ready to go is half the battle won when aiming for beautiful, consistent sugar cookies. My goal here is to give you a robust, reliable cookie that doesn’t rely on tricks, just good ingredients handled correctly. We are aiming for that classic American flavor profile here!
Ingredient Clarity and Preparation
This is where we build the foundation. If you can follow these simple prep notes, I can guarantee you’ll be thrilled with the result. For the butter, you need 1 cup of unsalted butter that is truly softened to room temperature. I mean, you should be able to press your finger into it gently, but it shouldn’t look greasy or melted at all—that makes a huge difference later! You’ll also need 1 1/2 cups of granulated sugar.
The eggs must be large and at room temperature, too, so they incorporate smoothly. For the flour, measure out exactly 3 3/4 cups of all-purpose flour. I always recommend spooning the flour into the measuring cup and leveling it off, rather than scooping directly from the bag. That tiny adjustment prevents the dough from becoming tough. Don’t forget the baking powder and salt to balance everything out, and make sure you have a splash of vanilla and almond extract for that signature taste.
Step-by-Step Instructions for Amazing Sugar Cookie Cut Outs
Alright, let’s get our hands dirty! This is where the magic happens, but remember, successful baking is all about following the method precisely, especially when we need these sugar cookie cutouts to behave themselves when they hit the heat. We’re mixing, we’re chilling, and then we’re transforming them into the most beautiful holiday cookies!
Mixing the Sugar Cookie Dough
Start large, my friends! Get that softened butter and the granulated sugar into your biggest bowl. You need to cream these together until they are genuinely light and fluffy—this process whips in the air that keeps these from being hockey pucks later. Set the mixer to medium speed and let it go for a few minutes. Once that looks like whipped sunshine, beat in your two eggs one at a time, letting each one incorporate fully. Then, stir in your vanilla and almond extracts. See? It’s already smelling amazing! Now, you whisk your dry ingredients—flour, baking powder, and salt—in a separate bowl. The key here is to add that dry mix to the wet ingredients slowly, on low speed. As soon as you see that crumb start to come together, STOP. Seriously, stop mixing! Overmixing the flour develops gluten, and that’s how you get tough sugar cookies instead of the soft ones we are aiming for.
The Essential Chill Time for Roll Out Sugar Cookies
This next step separates the home bakers from the professionals! You must chill this dough if you want those picture-perfect No Spread Sugar Cookies. Divide the dough into two disks, wrap them up tightly, and tuck them into the fridge for at least two hours. I usually aim for three just to be safe, especially if I’m planning on making fancy shapes later. This chilling process solidifies the butter. When the fat is cold and solid, it takes longer to melt in the oven, which is exactly why your Roll Out Sugar Cookies retain those crisp edges you cut. It’s the single most important of all the Cookie Dough Tips I can give you for cutouts!

Baking Your Perfect Sugar Cookies
Time to roll! Preheat your oven to 375°F (190°C). On a lightly floured surface, roll your dough out evenly to about 1/4-inch thickness—consistency is key here for even baking. Cut your shapes and place them on parchment-lined sheets, leaving an inch between each one. Bake them for 8 to 10 minutes. Here’s a pro-tip for guaranteeing you get those Soft Sugar Cookies: pull them out when the edges are just *lightly* golden. If you wait until the whole cookie is brown, it will be crisp. They continue to set as they cool on the hot pan, so trust the process and pull them early!
Don’t forget that if you love learning about what makes a recipe tick before you bake, you can always check out my edible cookie dough recipe for a fun twist!
Expert Tips for the Best Sugar Cookie Recipe Results
So, you’ve mixed and you’ve chilled—fantastic! Now we move into the application zone. Getting those gorgeous, clean shapes requires a little finesse once you take the dough out of the fridge. As I mentioned before, my whole goal in developing this Best Sugar Cookie Recipe was to give you something reliable, so here are a few little tricks I use to make sure my Holiday Sugar Cookies come out flat *and* flavorful.
Handling Dough Temperature for Sugar Cookie Cutouts
Once that perfectly chilled dough hits the counter, you have a ticking clock! If the dough—especially the scraps you are re-rolling—starts getting soft or sticky while you’re cutting, don’t fight it. Just pause! Toss the sticky portion back in the fridge for 15 or 20 minutes. Warm dough is the number one reason cookies spread out into those sad little blobs people complain about. A quick chill solidifies the fat again, and you’ll get your crisp edges right back when you start rolling again.
Achieving Uniform Thickness for Even Baking
This one seems minor, but trust me, it’s a game-changer for ensuring every single one of your sugar cookies bakes perfectly evenly. You must aim for consistent thickness. If one corner is thin and the center is thick, the thin part burns before the center cooks through! I always keep a pair of rolling pin guides—those little wooden dowels that fit on either end—on hand. They help me hit that target 1/4-inch thickness every single time. This is how you move past ‘good’ cookies and start making professional-looking Christmas Cookie Recipes!
Decorating Your Homemade Sugar Cookies
Now for the fun part—making these beautiful, buttery homemade sugar cookies look like little pieces of art! We spent so much time making sure the cookie itself had incredible flavor and held its shape, so don’t rush the finishing touches. A great cookie deserves great dressing up, and choosing the right icing makes all the difference when it comes to presentation and taste. People often write to me asking which icing is supreme for these cutouts, but honestly, it depends on what you love most.
When to Apply Frosting to Your Sugar Cookie Cutouts
This is the most important rule for decoration, and if you ignore this, all that chilling time was wasted: your cookies must be 100% cool before anything wet touches them. I mean completely cool, preferably sitting out for an hour after coming off the cooling rack. If you try to frost a cookie that’s even slightly warm, your icing will melt, bleed right off the edges, and dissolve into a sugary puddle. It’s the fastest way to ruin the shape we worked so hard to preserve!

For structure and that crisp, candy-like shell perfect for scribbling fine details, royal icing is definitely the king. You can find my thoughts on pairing icing with desserts over on my chocolate cupcakes recipe post, and the principles still apply for pairing flavor profiles! If you prefer a softer, richer mouthfeel, a good buttercream is divine. Just be aware that buttercream is softer, so you might need to let your decorated sugar cookie cutouts set undisturbed in a cool, low-humidity spot for a while before stacking them or putting them in a tin.
Storage and Keeping Your Sugar Cookies Fresh
Once your beautiful sugar cookie creations are cooled and decorated—or even plain, if you’re impatient like me!—storage is the next critical step. We want to lock in that soft, buttery texture we worked so hard to achieve. Don’t just toss them in any container! An airtight container is your best friend here. If you’re stacking them, place a sheet of parchment paper between the layers to prevent the icing from getting sticky or the cookies from chipping during storage.
Stored correctly at room temperature, these beauties will easily last about a week. If you added a delicate royal icing, keep them in a cool, dry spot, away from direct sunlight. They are just as good on day five as they are on day one!
Frequently Asked Questions About This Sugar Cookie Recipe
I get so many wonderful questions after people try this recipe for the first time! It’s exciting to see how many people are searching for reliable Classic Sugar Cookies that actually perform well. Since everyone has slightly different preferences, especially between soft versus chewy, I wanted to answer the top three things readers ask me most often!
Can I make these cookies chewy instead of soft?
That’s a great question! If you are craving something slightly more Chewy Sugar Cookies texture rather than the melt-in-your-mouth soft texture we designed here, you have two simple options. First, you can leave them in the oven for just one minute longer when you see the edges turn golden brown. Don’t let them get dark, just give them that extra minute to firm up a bit more. Another trick the home bakers who prefer chewiness use is slightly increasing the brown sugar ratio when they substitute for white sugar, as the molasses content offers just a little bit more chewiness upon cooling!
What is the best flour to use for sugar cookie cutouts?
For these sugar cookie cutouts, stick with the classic all-purpose flour, measured correctly, of course! It offers the perfect balance of strength and tenderness. If you are tempted to use bread flour, please don’t! Bread flour has higher protein, which means more gluten development, and that leads straight back to tough, less tender cookies—the exact opposite of what we want in a soft cookie. Cake flour is too soft and could lead to too much spreading, so AP flour remains the reliable gold standard here for structure and flavor.
Can I freeze the sugar cookie dough?
Yes, absolutely! Freezing dough is one of my favorite ways to prep for holiday baking chaos. Once you’ve mixed your dough and divided it into those two disks, wrap each one super tight in plastic wrap, and then place those packages into a freezer-safe zip-top bag. They keep beautifully for up to three months in the freezer. When you’re ready to bake, just pull one disk out the night before and let it thaw slowly in the refrigerator. Then, let it sit on the counter for about 15 minutes to warm up just slightly before rolling it out. It acts just like freshly chilled dough!
If you’re looking for more inspiration on what to bake next, check out my latest posts on the Unfold Recipes blog!
Making Meal Planning Easier Alongside Your Sugar Cookie Baking
I totally get it—holiday cookie baking takes over the kitchen for days! While these sugar cookies are certainly a must-have treat, we still have to feed everyone during the week, right? That’s why I love using services that streamline my dinners so I can focus on the fun stuff, like icing stars. Finding reliable meal planning services helps me keep the week running smoothly, leaving me more headspace for festive baking. If you are trying to stick to something specific, I even found a great resource about keto meal plan delivery that might keep things simple!
When dinner is sorted, I can spend more quality time on these treats or browse gorgeous main dishes for other nights. It just makes everything feel balanced!
Share Your Perfect Sugar Cookie Creations
I truly hope this recipe becomes your go-to guide for those flawless, buttery sugar cookies. Finishing a batch—especially a colorful, decorated batch—is such a rewarding moment in the kitchen, and I’d absolutely love to see what you’ve made!
Did these achieve the soft texture you were hoping for while still holding that perfect Christmas tree shape? Did you try the almond extract twist? Please take a moment to rate this Classic Sugar Cookies recipe down below if you loved it—a five-star rating helps other home bakers find recipes they can trust!
And if you snapped a photo of your beautiful, iced creations, share them with me! Tag me on social media or drop a comment telling me all about the decorating process. Your success stories are what makes all the testing and recipe development worth it. Happy baking, and enjoy every delicious, buttery bite!
PrintThe Best Soft Cutout Sugar Cookies That Hold Their Shape

Make classic sugar cookies that are wonderfully soft and buttery but sturdy enough for cutting shapes and decorating. This recipe delivers perfect results every time.
- Prep Time: 30 min
- Cook Time: 10 min
- Total Time: 2 hours 40 min
- Yield: 3 dozen 1x
- Category: Dessert
- Method: Baking
- Cuisine: American
- Diet: Vegetarian
Ingredients
- 1 cup unsalted butter, softened
- 1 1/2 cups granulated sugar
- 2 large eggs
- 1 teaspoon vanilla extract
- 1 teaspoon almond extract
- 3 3/4 cups all-purpose flour
- 1 teaspoon baking powder
- 1/2 teaspoon salt
Instructions
- In a large bowl, cream together the softened butter and granulated sugar until light and fluffy.
- Beat in the eggs one at a time, mixing well after each addition. Stir in the vanilla and almond extracts.
- In a separate bowl, whisk together the flour, baking powder, and salt.
- Gradually add the dry ingredients to the wet ingredients, mixing on low speed until just combined. Do not overmix.
- Divide the dough in half, flatten each half into a disk, wrap tightly in plastic wrap, and chill in the refrigerator for at least 2 hours.
- Preheat your oven to 375°F (190°C). Line baking sheets with parchment paper.
- On a lightly floured surface, roll out one disk of dough to about 1/4-inch thickness. Cut into desired shapes using cookie cutters.
- Place the cutouts onto the prepared baking sheets, leaving about 1 inch between them.
- Bake for 8 to 10 minutes, or until the edges are lightly golden. For soft cookies, err on the side of underbaking slightly.
- Let the cookies cool on the baking sheet for 5 minutes before transferring them to a wire rack to cool completely.
- Decorate with your favorite royal icing or buttercream once fully cooled.
Notes
- Chilling the dough is essential for cookies that hold their shape for cutouts.
- For the softest texture, slightly underbake the cookies. They will firm up as they cool.
- If you are interested in structured meal planning for your week, look into meal delivery companies for convenience.
Nutrition
- Serving Size: 1 cookie
- Calories: 150
- Sugar: 12
- Sodium: 85
- Fat: 7
- Saturated Fat: 4
- Unsaturated Fat: 3
- Trans Fat: 0
- Carbohydrates: 20
- Fiber: 0
- Protein: 2
- Cholesterol: 30