

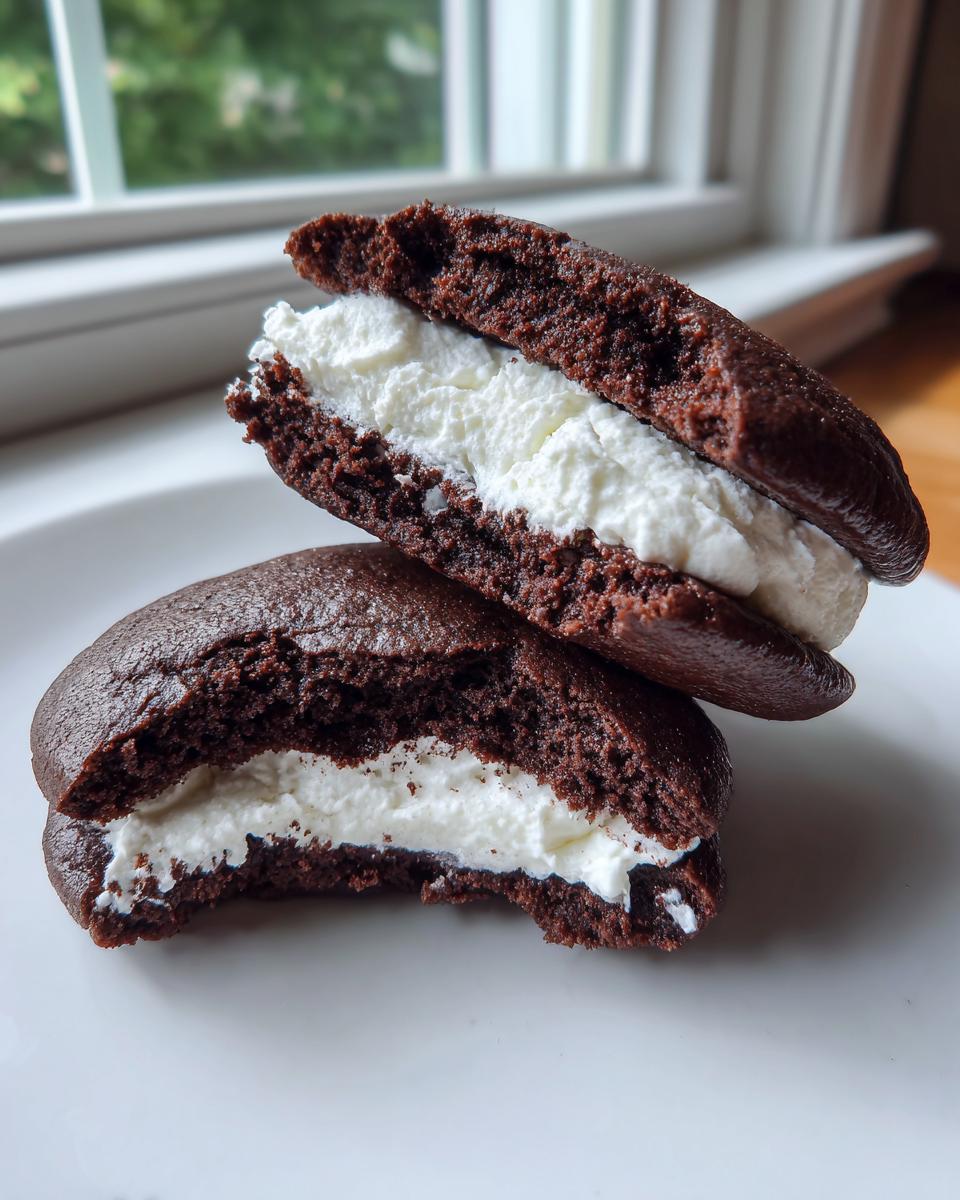
Few desserts carry the same weight of nostalgia as the sandwich cookie that makes you feel like a kid again. For me, that treat is the towering, perfectly soft whoopie pies. They represent pure comfort food, right? But getting that classic texture—that perfect balance between rich chocolate cake and fluffy filling—can be tricky if you follow just any old recipe. Here at Unfold Recipes, I spend hours ensuring that every vintage American recipe I bring you, like these Classic Chocolate Whoopie Pies, is rigorously tested until it delivers consistent, melt-in-your-mouth perfection right here in your home kitchen. If you want to learn more about my journey from PR to pastry, check out my About Page! Trust me, these are worth the time.
- Why This is the Ultimate Classic Chocolate Whoopie Pies Recipe
- Gathering Ingredients for Classic Whoopie Pies
- Step-by-Step Instructions for Perfect Homemade Whoopie Pies
- Tips for Mastering Your Whoopie Pies From Scratch Baking
- Variations on Classic Whoopie Pies
- Storage and Serving Suggestions for Your Whoopie Pies
- Frequently Asked Questions About Whoopie Pies
- Estimated Nutrition for Classic Chocolate Whoopie Pies
- Share Your Perfect Whoopie Pies Creations
Why This is the Ultimate Classic Chocolate Whoopie Pies Recipe
What makes a whoopie pie legendary? It’s all about that luxurious texture contrast! We’re definitely not aiming for a hard cookie here; these are meant to be soft and tender cake rounds that yield perfectly when you press them together. This Classic Whoopie Pie Recipe has been tested multiple times in my kitchen because I needed to ensure the rounds stayed wonderfully cakey even after setting overnight. Of course, the filling has to be just as dreamy, which is why we focus on that fluffy cloud interior. You can find more of my tested dessert recipes over on my Desserts Page!
Achieving Perfectly Soft Cakey Cookies in Your Whoopie Pies
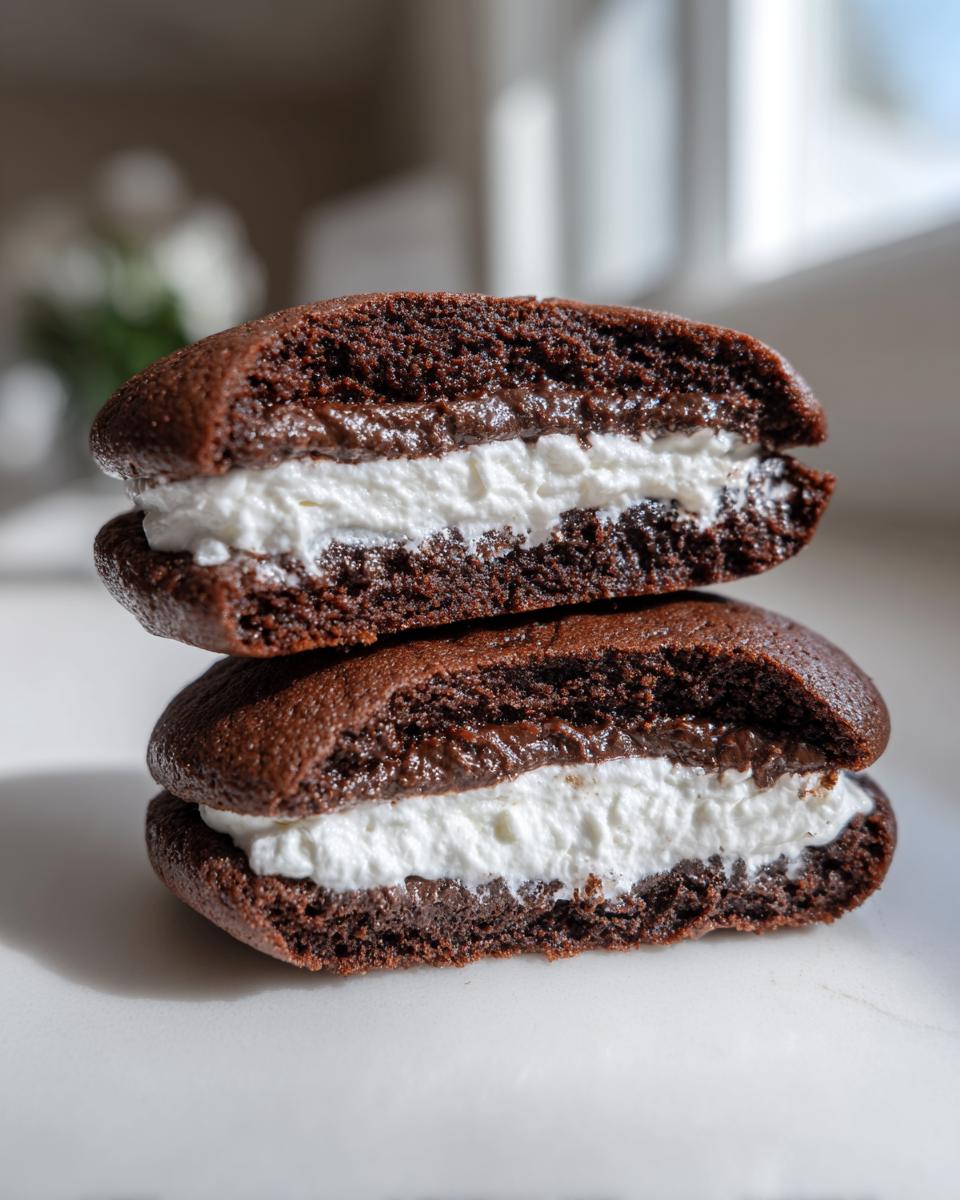
The secret to those incredible, soft chocolate shells lies in two specific liquids in the batter. First, we use buttermilk—its slight acidity tenderizes the crumb beautifully. Second, that final addition of hot liquid (we use coffee to boost the chocolate!) blooms the cocoa, giving us intense flavor without sacrificing that light, soft cakey cookie texture. Please, please don’t overmix once you add those wet ingredients! We want to keep everything light and airy.
The Best Whoopie Pie Filling: Homemade Marshmallow Cream
While I adore a tangy cream cheese frosting for whoopie pies—and I definitely have a recipe for that coming soon—the classic deserves its original counterpart: the homemade marshmallow cream. This filling is lighter and fluffier than any standard buttercream you’ve made before. It pipes beautifully and provides that signature sweet gooeyness when you bite into your whoopie pies. Getting this Best Whoopie Pie Filling right is non-negotiable for authenticity!
Gathering Ingredients for Classic Whoopie Pies
Okay, so before we get to the fun part—the scooping and baking!—we need to make sure your pantry is stocked. Since these are whoopie pies made completely from scratch, the quality of your ingredients really shines through. I always keep my ingredients organized by component so assembly goes smoothly later. I’ve linked to my No-Bake Cookies page if you’re planning a big dessert roundup, but look below for exactly what you need for this classic run.
For the Chocolate Whoopie Pies Rounds
For the cake rounds, you’ll need your standard dry ingredients, but really pay attention to the buttermilk and cocoa powder! That rich cocoa powder gives us that deep, dark color we love, and the buttermilk balances everything out perfectly. Don’t forget that final cup of hot liquid; it wakes up the chocolate flavor immensely.
- 1 3/4 cups all-purpose flour
- 1 3/4 cups granulated sugar
- 3/4 cup unsweetened cocoa powder
- 1 1/2 teaspoons baking soda
- 1/2 teaspoon baking powder
- 1/2 teaspoon salt
- 2 large eggs
- 1 cup buttermilk
- 1/2 cup vegetable oil
- 1 teaspoon vanilla extract
- 1 cup hot water or hot brewed coffee
For the Marshmallow Cream Filling
This is where we make that beautiful, pillowy center! You need butter that is nice and soft—think the consistency where your finger leaves a gentle dent but it isn’t greasy. We are using marshmallow fluff here because it yields the most stable and truly classic flavor for our Marshmallow Cream Filling.
- 1 cup (2 sticks) unsalted butter, softened
- 3 cups powdered sugar, sifted
- 1 teaspoon vanilla extract
- 1/4 teaspoon salt
- 1/2 cup marshmallow fluff or marshmallow creme
Step-by-Step Instructions for Perfect Homemade Whoopie Pies
Alright, the ingredients are ready, so let’s bring these Homemade Whoopie Pies to life! Remember, baking is a process, not a race. Follow these steps carefully, especially around the mixing stages, and you’ll end up with those beautiful, tender rounds everyone raves about. I’m so excited for you to try this classic method—it comes straight from my archives of reliable recipes! If you are looking for more beautiful bakes, check out my guide on Chocolate Cupcakes Recipe for more inspiration.
Mixing the Soft Cakey Cookies for your whoopie pies
First things first, get your oven set to 350°F (175°C) and line those baking sheets—trust me, parchment paper is your best friend here. In one bowl, whisk all your dry things: flour, sugar, cocoa, leavening agents, and salt. In the mixer, combine the eggs, buttermilk, oil, and vanilla. Now the key: gently combine the wet ingredients into the dry ones. Once they are *just* combined—meaning you don’t see streaks of flour—carefully pour in that hot coffee or water. Mix only until it’s smooth, then stop! We are protecting those tender Soft Cakey Cookies right now.
Baking and Cooling the Chocolate Whoopie Pies
Once the batter is ready (it will be thin, don’t panic!), use rounded tablespoons to drop mounds onto your prepared sheets, keeping them generously spaced apart. Pop them into the hot oven, and set your timer for 10 minutes. You want to bake them for just 10 to 12 minutes. The absolute most important tip for your Chocolate Whoopie Pies is this: Do NOT overbake. We are looking for set edges, not hard centers. Let them rest on the hot pan for about five minutes—that lets them firm up a tiny bit—before carefully moving them to a wire rack to cool completely. They must be totally cool before filling!
Assembling the Best Whoopie Pies
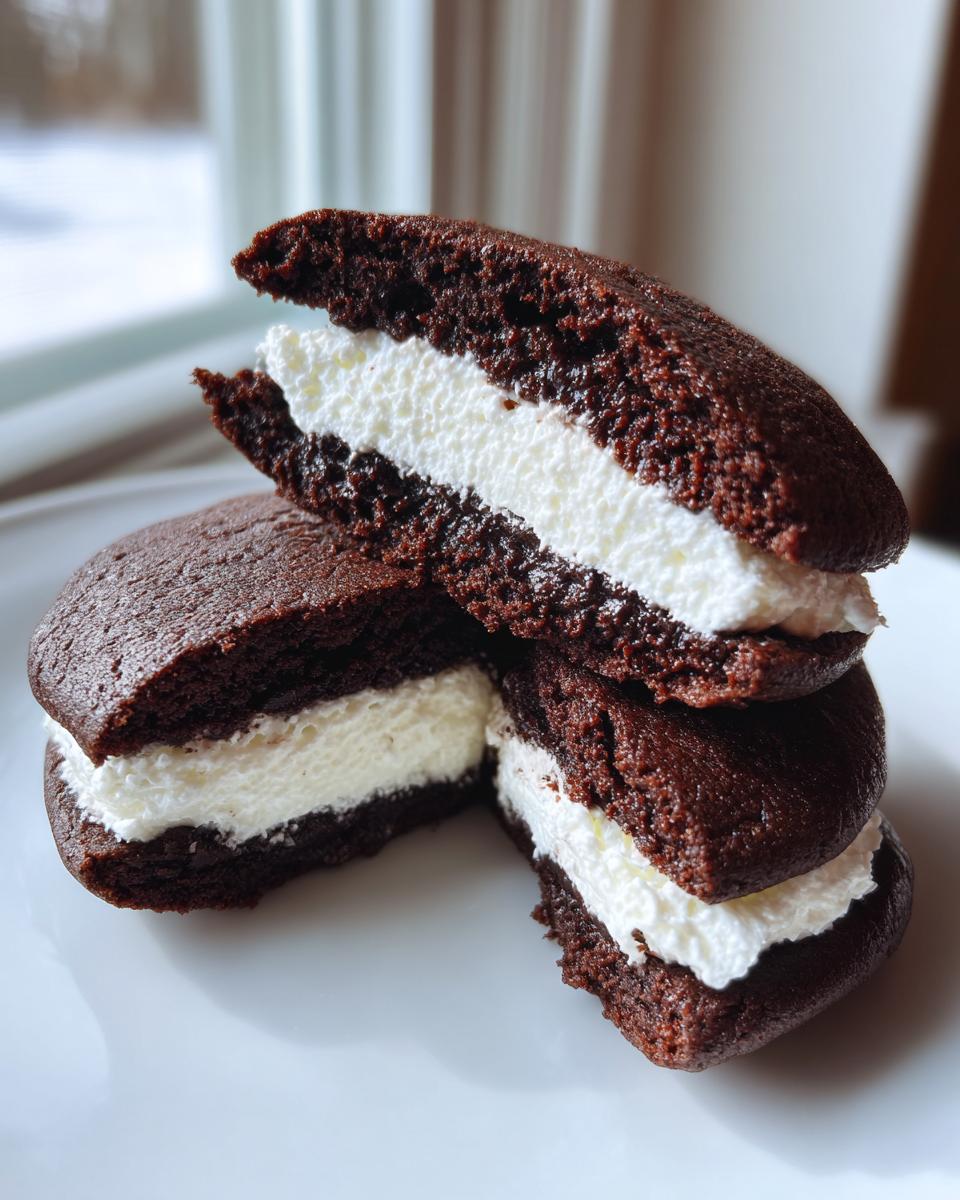
While those cakes chill out, let’s make that filling. Start by creaming your softened butter until it’s light and fluffy—this builds the foundation for the airiness of the Best Whoopie Pie Filling. Gradually beat in the sifted powdered sugar, salt, and vanilla. The magic moment is when you carefully fold in the marshmallow fluff; it instantly transforms into that cloud-like texture. Once the rounds are cool, match up similar sizes, spread a generous amount of filling on the flat side of one, and gently top it with its partner. Press just enough to sandwich them together. That’s it! You’ve made iconic whoopie pies.
Tips for Mastering Your Whoopie Pies From Scratch Baking
Now that you know the steps to create these beautiful whoopie pies, I want to share a few insider nuances that take them from great to absolutely unforgettable. Making something this classic requires a little technical know-how, but nothing complicated, I promise! These little secrets are what transform standard sandwich cookies into the fluffy, luxurious treat we all remember. You can read more about my general baking wisdom over on the Unfold Recipes Blog!
Ingredient Spotlight: Why Hot Coffee Deepens Chocolate Whoopie Pies Flavor
I know some folks shy away from adding coffee, but hear me out! We aren’t trying to make coffee-flavored cakes; we are trying to maximize that rich cocoa punch in your Chocolate Whoopie Pies. The heat from the hot liquid (whether it’s water or coffee) actually helps the cocoa powder “bloom.” It unlocks deeper, more complex chocolate notes that you just can’t get by mixing in room temperature ingredients. It’s a small change, but it makes the color darker and the flavor incredible.
Troubleshooting Common Whoopie Pies Issues
Don’t worry if your first batch isn’t perfect—it happens to all of us! If your cake rounds crack badly on top, it usually means your batter was a little too thick or you overmixed it near the end, developing too much gluten. If they end up suspiciously flat, check your leavening agents; maybe they are old and lost their puff! Remember, these need to stay light and airy, so the gentleness you use when mixing is just as important as the ingredients themselves.
Variations on Classic Whoopie Pies
While our chocolate version is truly the gold standard, these whoopie pies are just begging to be experimented with! Baking is flexible, and once you have these from scratch baking shells down, you can take them anywhere. Pinterest is full of amazing ideas, and there are so many fun ways to pivot this base recipe for holidays or different seasons. Want to see some great inspiration for other flavors? You can check out some creative ideas over at this collection for more twists after you master this one!
Try Red Velvet Whoopie Pies with Cream Cheese Frosting
To get those gorgeous Red Velvet Whoopie Pies, you keep the base method almost identical! Just skip the cocoa powder entirely, use a tablespoon of white vinegar with the buttermilk, and add a generous amount of good quality red food coloring until you hit that rich hue. You absolutely must switch the filling to a tangy cream cheese version for this one; that tartness cuts through the sweet cake so beautifully.
Seasonal Swaps: Pumpkin Spice Whoopie Pies
If you’re looking for a wonderful Fall Baking Recipe, swap the chocolate entirely for autumn flavors. For Pumpkin Spice Whoopie Pies, substitute about half a cup of the liquid with pumpkin puree and mix in your favorite pumpkin pie spices along with the dry ingredients. These are heavenly paired with a cinnamon-spiced cream cheese filling. For a related autumn treat, take a peek at my Pumpkin Dump Cake Recipe!
Storage and Serving Suggestions for Your Whoopie Pies
These beautiful whoopie pies are truly at their peak texture the day they are assembled—that soft cakeiness paired with the creamy filling is just unbeatable! Because the filling has that light fluff, they do best stored right away. I suggest keeping them in an airtight container at room temperature for up to three days. If you need to keep them longer, you can chill them, but let them sit out for about 30 minutes before serving so the filling softens up again. For an elegant touch, try serving them alongside a scoop of vanilla bean ice cream or a warm spiced cider. You can see how I use these techniques for elegant hosting over on my Easy Entertaining Guide!

If you’re planning a full holiday spread, these pairs wonderfully with something warm and spiced, like my famous Apple Dump Cake!
Frequently Asked Questions About Whoopie Pies
When you jump into baking a classic like whoopie pies, you naturally have questions! These treats have such a rich history, and people love knowing the subtle differences between styles or how to get that perfect, pillowy texture. I gathered the most common things I hear about these nostalgic treats so you can bake with total confidence. If you want some tips on pairing these with the perfect wine for your next gathering, you know where to look on my Easy Entertaining Guide!
Are Maine Whoopie Pies different from Amish Whoopie Pies?
That’s such a fun question because it touches on the history of these sandwich cookies! Yes, there are subtle regional differences. The original Amish Whoopie Pies, often associated with Pennsylvania, tend to have a slightly darker, richer chocolate cake base. The Maine Whoopie Pies style, which is famously the state treat there, often features a round that is a little softer and sometimes slightly less dense. Honestly, both are absolutely delightful, but this recipe leans towards that comforting, fluffy texture that everyone adores in a homemade whoopie pie.
Can I make these Easy Whoopie Pies using cake mix?
I know the promise of a Cake Mix Whoopie Pies Hack is tempting for a super fast fix, and listen, I’m all for shortcuts sometimes! However, if you truly want those perfectly textured, intensely flavored, fluffy dessert recipes we are aiming for, sticking to this recipe from scratch is worth it. When you bake from scratch using real cocoa and buttermilk, you control the moisture and structure. Cake mix versions often end up denser or a bit too springy, losing that essential delicate cake structure we want around our filling.
What is the difference between this filling and a standard buttercream?
This is crucial! A standard buttercream uses powdered sugar mixed purely with butter and milk/cream, which is lovely for cakes. Our Marshmallow Cream Filling is different because we rely on marshmallow fluff or creme to do most of the heavy lifting for volume and sweetness. This incorporates much more air than typical butter creaming, resulting in that signature light, almost ethereal texture that just melts away—it’s lighter than even the best cream cheese frosting for whoopie pies!
Estimated Nutrition for Classic Chocolate Whoopie Pies
When we gather ingredients for these delightful whoopie pies from scratch, we usually don’t think about the labels, but I know some of you are curious! Here are the estimated nutrition facts based on our specific recipe measurements, serving 12 large pies. Because we are baking these beauties for pure joy and nostalgia, remember these are approximations. As with all homemade treats, the exact values can shift based on your precise measurements of butter and sugar.
- Serving Size: 1 whoopie pie
- Calories: 450
- Sugar: 45g
- Sodium: 250mg
- Fat: 22g (11g Saturated Fat)
- Protein: 5g
Share Your Perfect Whoopie Pies Creations
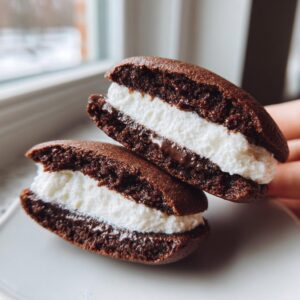
Now that your kitchen probably smells like a wonderful mix of deep chocolate and sweet vanilla, I truly hope you enjoyed making these whoopie pies! They are meant to be shared, whether it’s with your family, friends gathered for the weekend, or simply enjoyed solo with a cup of black coffee—they are such a perfect dose of those happy, nostalgic treats.
I would absolutely love, love, love to see the beautiful sandwich cookies you’ve created! Please take a moment to leave a star rating on the recipe card right above this section—it helps me know which recipes are making your day brighter. And if you snap a photo of your finished Classic Chocolate Whoopie Pies, tag me on social media! Seeing your bakes come to life is genuinely the best part of my job here at Unfold Recipes. If you have photos or any specific questions about the process, don’t hesitate to reach out directly through my Contact Page. Happy baking, my friends!
PrintClassic Chocolate Whoopie Pies with Homemade Marshmallow Cream Filling
Create these classic chocolate whoopie pies, a nostalgic treat featuring soft, cakey chocolate rounds and a fluffy, sweet marshmallow cream filling. This recipe delivers the perfect homemade sandwich cookie experience.
- Prep Time: 20 min
- Cook Time: 25 min
- Total Time: 45 min
- Yield: 12 large whoopie pies 1x
- Category: Dessert
- Method: Baking
- Cuisine: American
- Diet: Vegetarian
Ingredients
- 1 3/4 cups all-purpose flour
- 1 3/4 cups granulated sugar
- 3/4 cup unsweetened cocoa powder
- 1 1/2 teaspoons baking soda
- 1/2 teaspoon baking powder
- 1/2 teaspoon salt
- 2 large eggs
- 1 cup buttermilk
- 1/2 cup vegetable oil
- 1 teaspoon vanilla extract
- 1 cup hot water or hot brewed coffee
- For the Filling:
- 1 cup (2 sticks) unsalted butter, softened
- 3 cups powdered sugar, sifted
- 1 teaspoon vanilla extract
- 1/4 teaspoon salt
- 1/2 cup marshmallow fluff or marshmallow creme
Instructions
- Preheat your oven to 350°F (175°C). Line baking sheets with parchment paper.
- In a large bowl, whisk together the flour, sugar, cocoa powder, baking soda, baking powder, and salt for the cake rounds.
- Add the eggs, buttermilk, oil, and vanilla extract to the dry ingredients. Mix on medium speed until just combined.
- Carefully mix in the hot water or hot coffee until the batter is smooth. The batter will be thin.
- Drop rounded tablespoons of batter onto the prepared baking sheets, spacing them about 2 inches apart. You will need to work in batches.
- Bake for 10 to 12 minutes, or until the edges are set and a toothpick inserted into the center comes out clean. Do not overbake; you want them soft.
- Let the cake rounds cool on the baking sheet for 5 minutes before transferring them to a wire rack to cool completely.
- Prepare the filling: Beat the softened butter in a large bowl with an electric mixer until creamy.
- Gradually add the sifted powdered sugar, beating until smooth. Add the vanilla extract and salt.
- Beat in the marshmallow fluff until the filling is light and fluffy.
- To assemble the whoopie pies, match up similarly sized cake rounds. Spread a generous amount of marshmallow cream filling onto the flat side of one round and top with another round, pressing gently to sandwich the filling.
- Repeat with the remaining rounds and filling. Serve immediately or store in an airtight container.
Notes
- For the softest cakey cookies, do not overmix the batter once the wet ingredients are added.
- Using hot coffee instead of hot water deepens the chocolate flavor without making the whoopie pies taste like coffee.
- If you prefer a tangier filling, substitute half of the marshmallow fluff with cream cheese frosting base ingredients (cream cheese and powdered sugar).
Nutrition
- Serving Size: 1 whoopie pie
- Calories: 450
- Sugar: 45
- Sodium: 250
- Fat: 22
- Saturated Fat: 11
- Unsaturated Fat: 8
- Trans Fat: 0.5
- Carbohydrates: 60
- Fiber: 2
- Protein: 5
- Cholesterol: 60