
When I look back on my time in culinary school, what stays with me isn’t complex sauces or daunting techniques—it’s the power of simplicity. That’s the guiding principle behind this recipe. If you’ve ever wanted a truly elegant, decadent chocolate treat that feels like it belongs on a Parisian menu but takes almost no time, you’ve found it. Forget the egg-heavy, complicated classic chocolate mousse; we are making the Easiest 3-Ingredient Silky Chocolate Mousse. This dessert proves how focusing on beautiful ingredients and solid technique—the things I learned formally—can result in something breathtakingly simple. It’s approachable elegance ready for any dinner party or quiet evening treat.
- Why This 3-Ingredient Chocolate Mousse is Your New Favorite Dessert
- Ingredients for the Easiest 3-Ingredient Chocolate Mousse
- Step-by-Step Instructions for Your Silky Chocolate Mousse
- Making Your Chocolate Mousse a Make Ahead Dessert
- Serving Suggestions for Your Decadent Chocolate Treat
- Troubleshooting Common Issues with Homemade Chocolate Mousse
- Frequently Asked Questions About This Chocolate Mousse Recipe
- Estimated Nutritional Information for This Creamy Chocolate Dessert
- Share Your Simple Elegant Dessert Experience
Why This 3-Ingredient Chocolate Mousse is Your New Favorite Dessert
I know what you’re thinking: only three ingredients? Can this really deliver that rich, luxurious experience we expect from a proper chocolate mousse? Absolutely, yes! This recipe cuts straight to the heart of what makes a dessert truly satisfying: amazing flavor and incredible texture. It’s the definition of a 3 ingredient dessert that punches way above its weight class.
We skip the complex steps and focus entirely on the payoff, which is why this recipe is such a huge hit for last-minute needs.
Achieving a Truly Silky Chocolate Mousse Texture
The goal here is that melt-in-your-mouth sensation—that impossibly silky chocolate mousse texture that feels both airy and deeply satisfying. Because we aren’t using eggs or tempering chocolate, we rely purely on the balance between melted, high-quality chocolate and perfectly whipped cream. This blend, achieved through gentle folding in our no-bake method, creates those microscopic pockets of air that make it feel utterly velvety on your tongue. It never gets grainy, I promise.

The Magic of This Quick Dessert Ideas
When I need something impressive for guests who drop by unexpectedly, this is my lifeline. You honestly spend about 15 minutes actively working, and then the fridge does the rest of the heavy lifting. It feels miles away from those lengthy traditional French chocolate mousse recipes that require careful tempering and separation of eggs. This is pure speed, meaning you can serve a truly decadent chocolate treat with minimal fuss.
Ingredients for the Easiest 3-Ingredient Chocolate Mousse
When a recipe relies on so few components, quality is truly everything, my friends. We aren’t hiding anything with layers of flavor; the chocolate has to shine! For this specific chocolate mousse, we keep it lean, but we demand perfection from those three elements. Remember, if you’re hoping for that incredibly creamy chocolate dessert experience, the quality of what goes in dictates what comes out.
You will need:
- 200g dark chocolate (70% cacao or higher)
- 1 cup heavy whipping cream, divided
- 1 tablespoon granulated sugar (optional, adjust to taste)
That optional sugar is there purely for balancing any bitterness if your dark chocolate is very intense. Don’t feel you need it if you prefer less sweetness!
Ingredient Notes and Substitution Advice
Listen, this is where my culinary training kicks in. Because this is a no bake chocolate mousse, the melt and blend depend entirely on the chocolate itself. Please, skip anything below 70% cacao unless you truly love milk chocolate—it’s too sweet and often has stabilizers that prevent that desired melt. You need good quality baking chocolate for the best foundation for this rich dessert recipe.
As for the sugar, if you run out of granulated sugar but have maple syrup or powdered sugar on hand, you can substitute it 1:1 in this small quantity. Just make sure you whisk it in while the chocolate is hot so it dissolves completely, otherwise, you might end up with a gritty texture instead of that lovely velvety chocolate pudding feel.
Step-by-Step Instructions for Your Silky Chocolate Mousse
Now for the fun part! Transforming those three lovely ingredients into something truly spectacular. Remember what I said about technique? It matters here, especially when building air into this decadent dessert. Pay close attention to the temperatures, because rushing this will affect the final look of your chocolate mousse. Follow these steps carefully, and you’ll have a gorgeous, airy dessert ready for chilling.
For a great folding guide, I always refer back to my tips on making quick no-bake cookies, as the technique of incorporating different textures gently is almost identical!
Melting the Chocolate Base for Rich Dessert Recipe
First, chop that high-quality dark chocolate—smaller pieces melt faster and more evenly, trust me. Take just a quarter cup of your heavy cream and heat it slowly in a small saucepan until you see those tiny bubbles creeping up the side. That’s your cue! Pour that warm cream right over your chopped chocolate and just—wait. Set a timer for two full minutes before you even touch it with a whisk. That resting time allows the heat to do the hard work evenly, promising a smooth melt for your rich dessert recipe! Then, whisk gently until it’s totally smooth and lump-free, whisking in any optional sugar now.
Folding Technique for an Airy Mousse Recipe
Before we touch the chocolate, whip the rest of your cold cream until you get stiff peaks. This is critical for that airy mousse recipe structure. Now, take about one-third of that whipped cream and fold it into your cooled chocolate base. You don’t need to be gentle with this first addition; you are “sacrificing” it to lighten up the dense chocolate. Once that’s incorporated, add the remaining whipped cream in two more additions.
Here’s the secret: when folding, always use a sweeping motion from the bottom up and turn the bowl. Stop mixing the second you no longer see white streaks. Overmixing is the enemy here—it knocks all the glorious air out and turns your light mousse into something closer to a dense ganache. We want airy!
Making Your Chocolate Mousse a Make Ahead Dessert
One of my absolute favorite things about this particular chocolate mousse is that it insists on being made ahead of time! It’s the dream make ahead dessert because the chilling process is when the custard structure truly sets up, giving you that perfect sliceable yet light consistency without baking. When I host friends for dinner, I always mix this up the morning before, or even the day before, and it’s waiting patiently in the fridge.
You need at least four hours for it to properly firm up, but honestly? I taste-tested a batch that had been chilling for 24 hours, and the depth of chocolate flavor was even richer—it was incredible. This recipe handles overnight chilling beautifully, allowing you more time to enjoy your guests instead of scrambling at the last minute. You can even learn more about using it as a filling for cakes via chocolate mousse filling ideas on the blog!
Serving Suggestions for Your Decadent Chocolate Treat
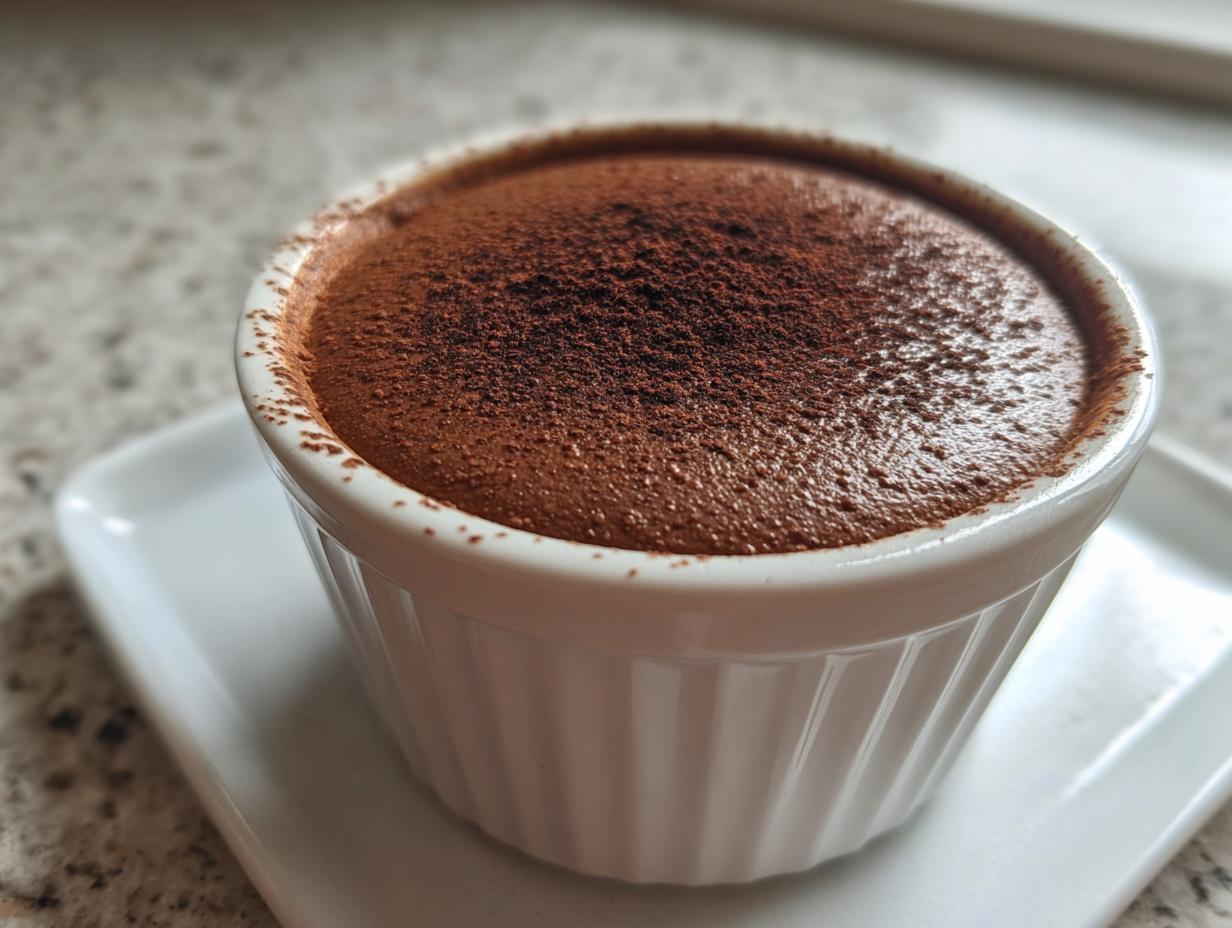
This chocolate mousse begs to be dressed up, even though it’s so simple underneath! Presentation is everything when you’re striving for that signature ‘approachable elegance’ that I love to teach. The easiest way to make this look like a showstopper is to serve it in individual mousse cups—think small glasses, elegant ramekins, or even sturdy espresso cups. It keeps things neat and portion-controlled.

Before serving your creamy chocolate dessert, think about texture. A light dusting of high-quality cocoa powder is always classic. For a pop of color that sings next to the dark chocolate, top each serving with three fresh raspberries or a single candied orange slice. If you’re looking for more inspiration on finishing touches for your desserts, check out my main page!

Troubleshooting Common Issues with Homemade Chocolate Mousse
Even the easiest recipes can sometimes throw us a curveball! Don’t panic if your smooth, velvety chocolate pudding texture doesn’t appear immediately. When you’re relying on just three ingredients, minor hiccups can seem like major failures, but they are almost always fixable. My goal is to equip you with the knowledge to save that beautiful chocolate base and keep your dream of an airy mousse recipe alive.
If your chocolate seems grainy or seized after adding the hot cream, this usually means the cream wasn’t quite hot enough, or maybe you whisked too vigorously too soon. For a quick rescue: add one teaspoon of fresh, warm water or milk to the mixture and whisk slowly. This often re-emulsifies the chocolate beautifully!

The other main issue is deflated whipped cream. If your cream won’t hold stiff peaks, it’s likely either not cold enough, or you used a mixer that was too warm. If it’s already folded in, there’s little saving the air, but remember: next time, always chill your bowl and whisk attachment for 15 minutes beforehand. A slightly deflated mousse is still delicious, though—just perhaps more of a creamy chocolate dessert than a true mousse!
Frequently Asked Questions About This Chocolate Mousse Recipe
I get so many lovely messages about this recipe! Since it’s so simple, people often wonder about natural substitutions or storage worries. Here are the most common things I hear about creating the perfect batch of chocolate mousse.
Can I use milk chocolate instead of dark chocolate?
You certainly can try, but be warned, it will drastically change the final product! Because this is a no bake chocolate mousse relying on only three ingredients, the chocolate is the backbone of the flavor. Milk chocolate has much more sugar and less cacao solids, resulting in a very soft, overly sweet texture that might never fully set up into that signature firmness we are aiming for. Stick to 70% cacao or higher for that true rich dessert recipe quality.
Does this chocolate mousse need eggs?
Nope! That’s the beauty of this particular method. This recipe bypasses raw eggs entirely, making it wonderfully approachable and safe for everyone. We achieve the airy structure purely through whipping the heavy cream stiffly, then folding it in. It yields a texture that feels so much like a decadent, velvety chocolate pudding without any of the egg hassle.
How long does this dessert really keep in the fridge?
It keeps wonderfully! Since it’s chilled, it’s perfect for planning ahead. You can safely serve this creamy chocolate dessert for up to two days after making it. After about 36 hours, the texture might start to get just slightly denser, but the flavor remains fantastic. If you want an update on my latest culinary adventures, you can always check out my recipe blog!
Estimated Nutritional Information for This Creamy Chocolate Dessert
When we create something this delicious, I believe in transparency about what we are enjoying! Since this chocolate mousse is rich in dark chocolate and heavy cream, it’s certainly an indulgence, but knowing what’s in it helps us appreciate it even more. Because this recipe relies on such simple, whole ingredients, the nutritional profile is quite straightforward.
These figures represent the estimate for one of the four generous servings, based on the ingredients listed in this creamy chocolate dessert recipe:
- Calories: Approximately 350
- Fat: Around 30g (with 18g being saturated fat)
- Total Carbohydrates: About 22g
- Protein: Roughly 5g
Now, before you write these down as exact science, please know this is where that ‘approachable’ part of my approach comes in handy! This is an estimate, folks. If you swapped out 70% chocolate for 85%, or if you decide to use a touch less sugar, those numbers shift slightly. Since we aren’t sending this off to a lab, think of this as a helpful guide rather than strict dietary accounting. Enjoy this treat knowing it’s made with simple, quality components!
Share Your Simple Elegant Dessert Experience
Now that you have created your own perfectly silky chocolate mousse, I truly hope you enjoyed the process as much as I do. Seeing how this simple creation transforms into something so elegant when plated is my favorite part of sharing these recipes with you!
This community thrives on shared experiences. Whether this was your first time making a no bake chocolate mousse or you are a seasoned professional, I want to know how it turned out for you. Did you serve it in those beautiful individual mousse cups we talked about? Did you decide on fresh berries or just a simple dusting of cocoa?
Please take a moment to leave a star rating below and share your thoughts in the comments. Your feedback helps future home cooks feel confident attempting this easy chocolate mousse recipe. I read every single note, and sharing your results truly helps unfold the story of this recipe in our growing kitchen family. Happy baking—or, well, happy chilling!
PrintEasiest 3-Ingredient Silky Chocolate Mousse

Create a rich, velvety chocolate mousse using only three simple ingredients. This recipe delivers an elegant, no-bake dessert that is surprisingly easy to make and perfect for any occasion.
- Prep Time: 15 min
- Cook Time: 0 min
- Total Time: 4 hours 15 min
- Yield: 4 servings 1x
- Category: Dessert
- Method: No Bake
- Cuisine: French
- Diet: Vegetarian
Ingredients
- 200g dark chocolate (70% cacao or higher)
- 1 cup heavy whipping cream, divided
- 1 tablespoon granulated sugar (optional, adjust to taste)
Instructions
- Chop the dark chocolate finely and place it in a heatproof bowl.
- Place 1/4 cup of the heavy cream in a small saucepan and heat over medium heat until it just begins to simmer around the edges. Do not boil.
- Pour the hot cream over the chopped chocolate. Let it sit undisturbed for 2 minutes, then whisk gently until the chocolate is completely melted and smooth. If using, whisk in the optional sugar now. Set the chocolate mixture aside to cool to room temperature.
- In a separate, chilled bowl, pour the remaining 3/4 cup of heavy cream. Using an electric mixer or a whisk, beat the cream until stiff peaks form.
- Gently fold about one-third of the whipped cream into the cooled chocolate mixture to lighten it.
- Carefully fold the remaining whipped cream into the chocolate mixture in two additions until just combined. Avoid overmixing to keep the mousse airy.
- Spoon the silky chocolate mousse into individual serving cups or ramekins.
- Chill the mousse in the refrigerator for at least 4 hours, or until firm. Serve cold.
Notes
- For an extra decadent treat, use high-quality chocolate; the flavor directly impacts the final result.
- If you prefer a lighter texture, use a hand mixer to whip the cream to medium peaks instead of stiff peaks before folding.
- This is a wonderful make ahead dessert; it holds well in the refrigerator for up to 2 days.
- Garnish with fresh raspberries or a dusting of cocoa powder before serving for an elegant presentation.
Nutrition
- Serving Size: 1 cup
- Calories: 350
- Sugar: 18
- Sodium: 35
- Fat: 30
- Saturated Fat: 18
- Unsaturated Fat: 12
- Trans Fat: 0.5
- Carbohydrates: 22
- Fiber: 3
- Protein: 5
- Cholesterol: 100