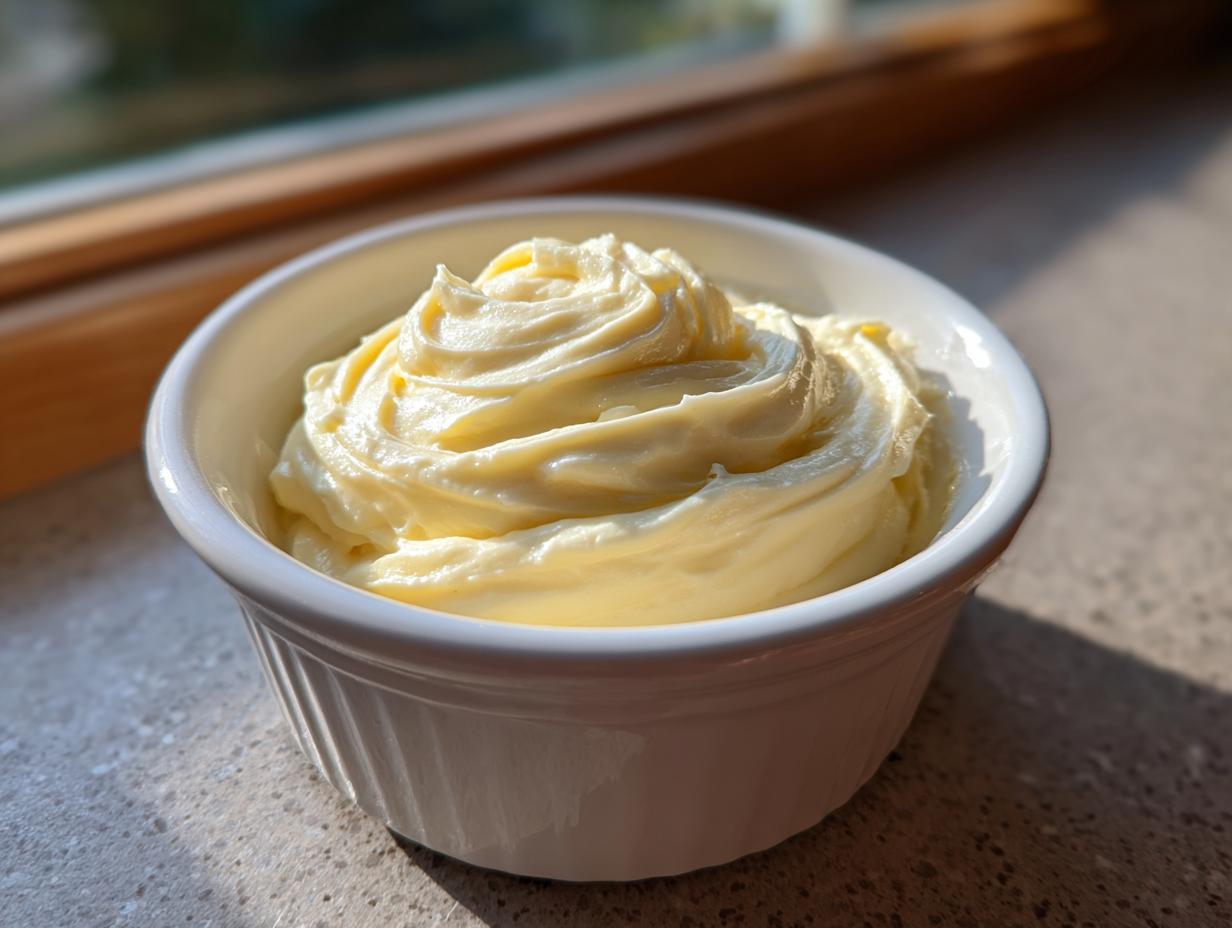

Sometimes, the simplest dishes deserve the biggest flavor upgrade, and that’s where a truly luxurious sauce comes in. I’ve always believed that preparing elegant food doesn’t have to mean spending hours in the kitchen—it just takes knowing the right trick. That’s why I’m sharing what I consider the crown jewel of quick condiments: The Ultimate 5-Minute Creamy Garlic Aioli. Forget those sad, thin jars you find at the store; this homemade garlic aioli delivers that rich, restaurant style perfection you crave, instantly transforming fries, sandwiches, or grilled vegetables. It’s approachable elegance, perfected in under five minutes, exactly how I love to cook!
- Why This 5-Minute Creamy Garlic Aioli is Your New Favorite Garlic Condiment
- Ingredients for the Best Homemade Garlic Aioli
- How to Prepare Your 5 Minute Aioli Recipe
- Tips for Success Making Homemade Garlic Aioli
- Flavor Variations on the Classic Garlic Aioli
- Serving Suggestions for Your Quick Aioli Dip
- Storage and Reheating Instructions for Garlic Aioli
- Frequently Asked Questions About Making Garlic Aioli
- Nutritional Snapshot of This Garlic Spread Recipe
Why This 5-Minute Creamy Garlic Aioli is Your New Favorite Garlic Condiment
Honestly, I used to think real aioli—the kind emulsified slowly with raw egg yolk and oil—was something reserved for special occasions. It was beautiful, sure, but who has time on a Tuesday night? That’s why I developed this version. It’s the best easy aioli recipe because it bypasses all the stress but keeps all the incredible flavor. I’ll never forget the time I was rushing dinner and had plain baked chicken, and just whipping this up turned it into something special. It’s truly a lifesaver!
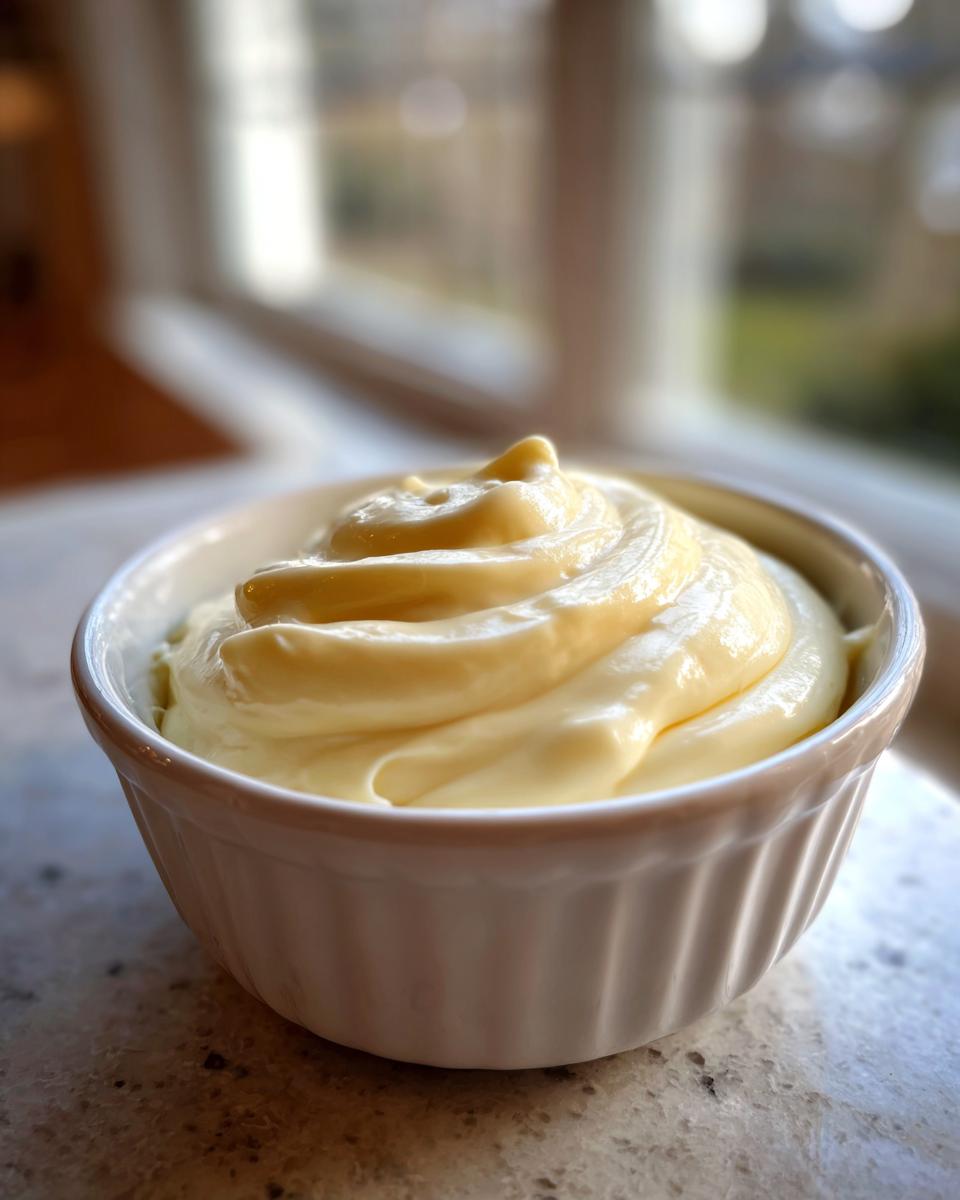
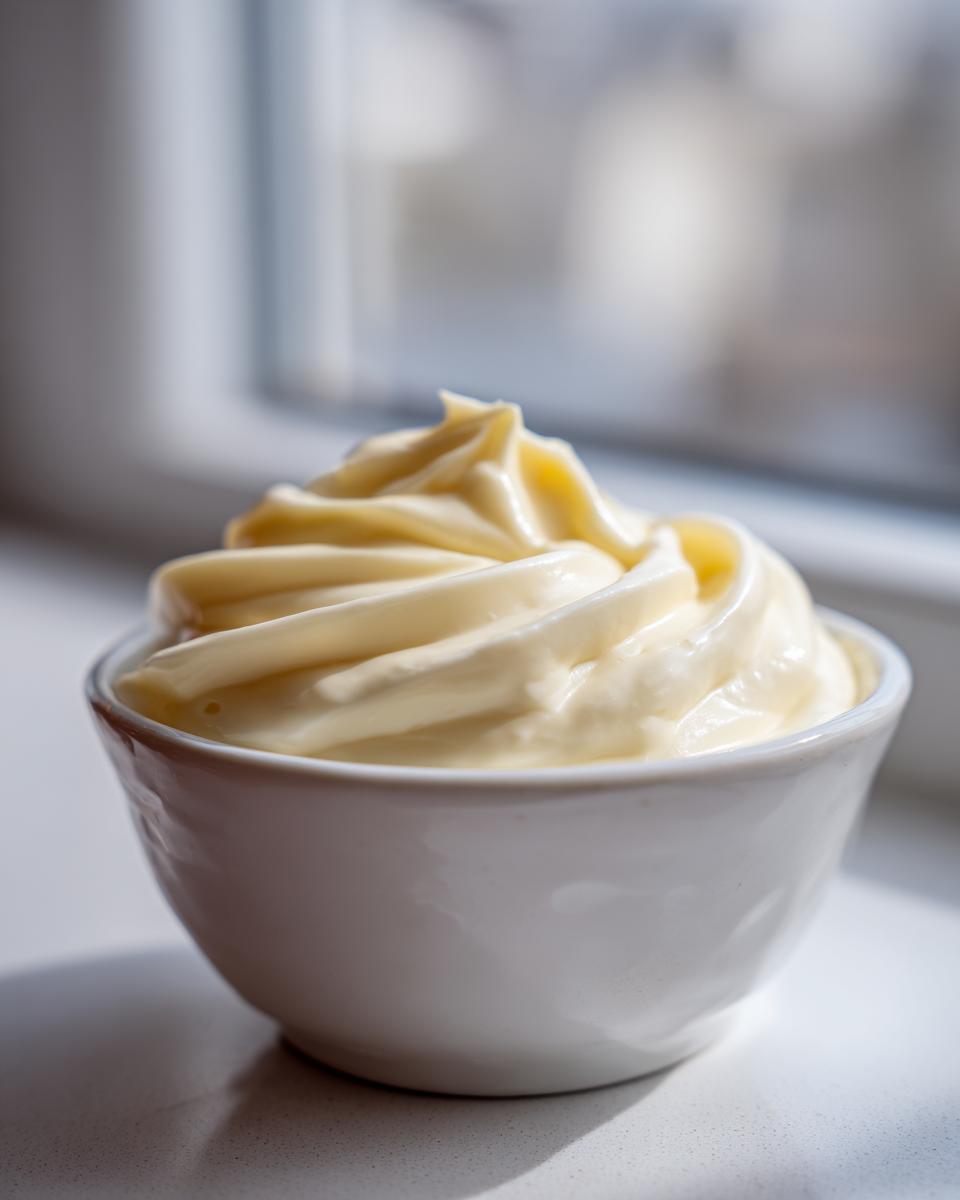
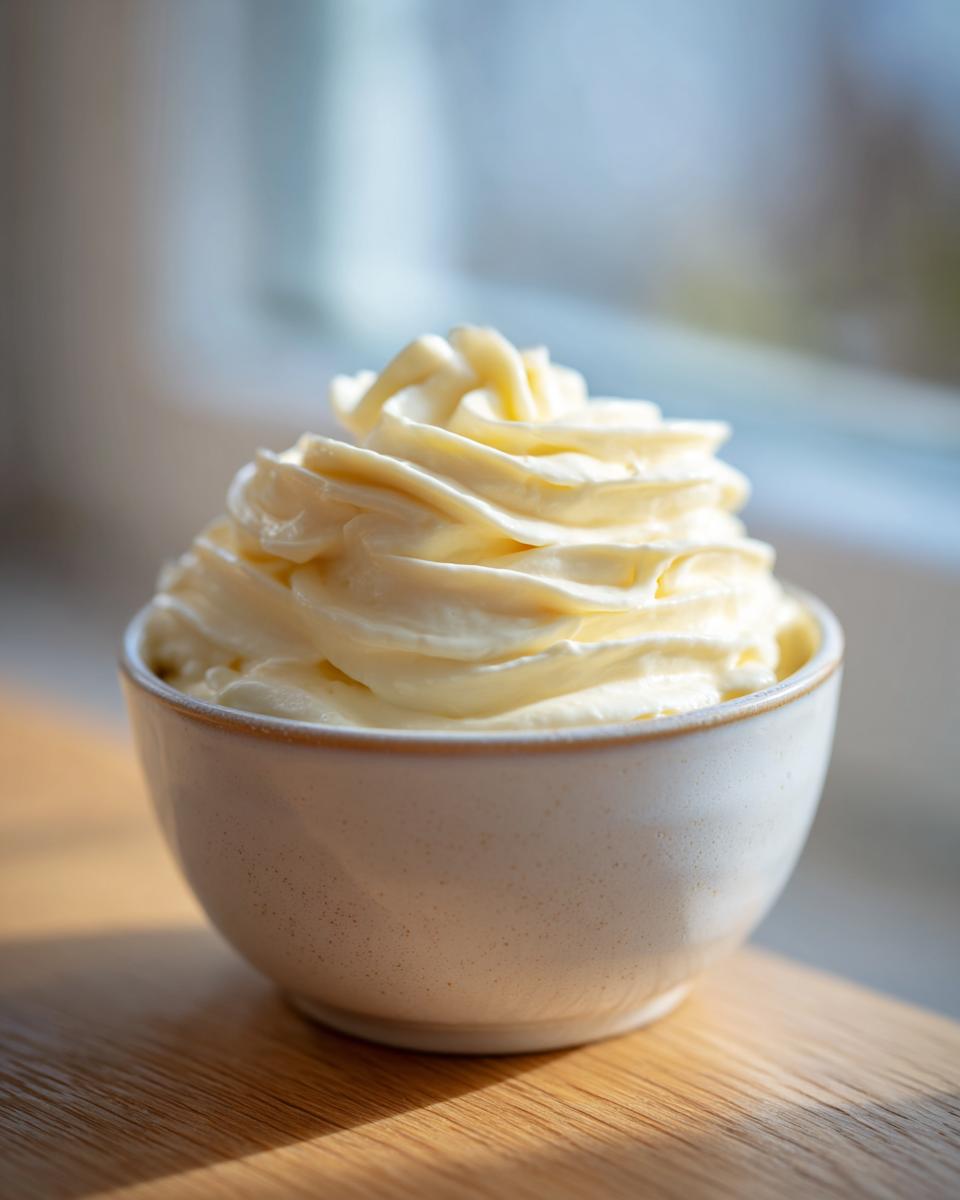
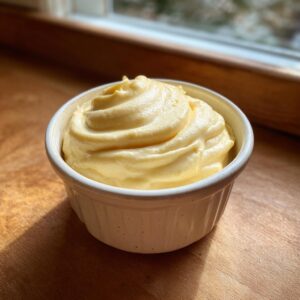
This incredibly flavorful, creamy garlic sauce comes together faster than you can find the takeout menu. It’s thick, savory, and intensely garlicky—exactly what you want coating your side dishes.
Restaurant Style Aioli Flavor Without the Fuss
Since we’re using high-quality mayonnaise as our base, we skip the tricky emulsification stage entirely. This shortcut means you get that luscious body and luxurious coating characteristic of a perfect restaurant style aioli instantaneously. The sharpness of the fresh garlic and the brightness of the lemon do all the heavy lifting, mimicking hours of slow work!
The Ultimate Versatile Sauce Recipe
Once you have this in your fridge, you’ll find yourself reaching for it constantly. It is the definition of a versatile sauce recipe. I use it as a decadent dip for my air fryer sweet potatoes (you should totally check out my method for quick refrigerator pickled carrots to serve alongside!). It’s also amazing as a zesty spread on turkey sandwiches or drizzled over any tender grilled fish.
Ingredients for the Best Homemade Garlic Aioli
Gathering your ingredients for this homemade garlic aioli is half the battle, and honestly, you probably have most of this right now! Because we’re not cooking anything, the quality of what you put in really shines through. We are aiming for rich flavor infused into a smooth base, so choose wisely!
- 1 cup good quality mayonnaise (Don’t skimp here!)
- 3 large cloves fresh garlic, minced very fine or grated
- 1 tablespoon fresh lemon juice
- 1 teaspoon Dijon mustard
- 1/4 teaspoon fine sea salt, or to taste
- Freshly ground black pepper, to taste
Ingredient Notes and Substitutions for Your Garlic Aioli
Listen, since this is essentially a cold sauce, the mayonnaise matters a lot. If you can find one that’s richer—maybe one made with avocado oil—that’s fantastic. If you find the raw garlic too sharp after mixing, don’t panic! You can always taste it raw, but remember that chilling later helps tame it down. If you don’t have fresh lemon juice on hand, a tablespoon of white wine vinegar will work in a pinch to give you that necessary acidic brightness.
How to Prepare Your 5 Minute Aioli Recipe
This is where the magic of the easy aioli recipe truly shines—it takes virtually no time! Since we are relying on mayonnaise, we just need to get everything perfectly combined. Grab your favorite small bowl and your whisk; we want this garlic condiment smooth as silk before we even think about serving it. If you’ve mastered my Caesar dressing, you know how important proper mixing is, and that lesson applies here tenfold! Remember to check out my guide on making homemade Caesar dressing for more sauce secrets!
- First things first, get all your ingredients measured out and ready to go, because once you start mixing, it’s fast!
- In your small bowl, combine the mayonnaise, that finely minced garlic, the Dijon mustard, and the zingy fresh lemon juice. Don’t forget the salt and pepper!
- Now, whisk! Seriously, this takes less than a minute. You need to whisk until the color is totally uniform—no streaks of just mayo or just lemon juice allowed. Stop as soon as it looks beautifully blended. Trust me, this minimal effort yields maximum flavor payoff.
- Taste it now! This is your moment to nail the seasoning before the chilling step. More salt? A tiny squeeze more lemon? Make it perfect for you.
- Crucially, cover the bowl and put it in the fridge for at least 15 minutes. You need this chilling time! It allows the harshness of the raw garlic to chill out and mellow beautifully, and the sauce firms up just enough to be truly luxurious. If you skip this, you miss out on the best texture.
Achieving the Perfect Creamy Garlic Sauce Consistency
Because we are using mayo, achieving that creamy texture is simple if you just whisk thoroughly until everything is incorporated. If you taste it right now and realize you prefer something slightly looser—maybe you’re dipping thick steak fries and need that perfect drizzle—don’t worry! You can easily adjust the thickness. Just add water or a tiny bit more lemon juice, a half teaspoon at a time, whisking well after each addition until you get that perfect garlic mayo sauce consistency you’re looking for. Don’t go too thin too fast, though; remember, it thickens up more once it’s cold!
Tips for Success Making Homemade Garlic Aioli
Even though this garlic aioli recipe is about as simple as it gets, taking just a couple of extra little steps will elevate it from ‘good’ to ‘wait, where did you buy this?’ That’s my job here—to turn simple into sophisticated, right? Trust me, a few little adjustments make all the difference in your final garlic condiment.
My biggest tip, especially if you want to impress someone, is to step up your garlic game. While the recipe calls for fresh, raw minced garlic for speed, if you have an extra 30 minutes, you absolutely must try roasting it first. Roasting garlic makes it soft, sweet, and incredibly deep in flavor, removing that raw bite. You just toss the whole heads with a little olive oil, wrap them in foil, and let them bake until pillowy soft. It introduces a completely different dimension to your sauce!
For those using the raw garlic method, remember what I said about chilling it? That 15 minutes in the fridge is vital. Cold temperature mutes the harshness of the allicin compounds in fresh garlic. If you taste it right after mixing and it seems too sharp, just cover it and walk away until it’s properly chilled. It’s amazing how much smoother the flavor becomes.
Also, make sure your salt is fine sea salt! Coarse salt won’t dissolve properly in this cold sauce and you might end up with little crunchy salt crystals, which is never fun in a super smooth sauce. If you’re looking for other easy sauces that really pack a punch without effort, I have a fantastic quick creamy horseradish sauce recipe you need to try next!
Flavor Variations on the Classic Garlic Aioli
The beauty of this simple base is how brilliantly it takes on other flavors! I love showing off the versatility of a quick garlic aioli by turning it into something tailor-made for whatever I’m serving. You mentioned variations, and I have so many ideas for you. It’s where my culinary training really kicks in—taking one great thing and making it ten different things!
If you want something bright, you are already halfway to a fantastic homemade salsa recipe vibe! Just double the fresh lemon juice you added. That bright citrus lift creates a beautiful lemon garlic aioli recipe that is absolutely mandatory for grilled shrimp or flaky white fish. It just sings against seafood.
For those who like heat, creating a spicy aioli variation is super easy. Whisk in about a quarter teaspoon—or more, depending on your palate—of good quality cayenne pepper or a dash of your favorite hot sauce right at the mixing stage. It adds such a lovely warmth to roasted vegetables.
And, of course, if you happened to roast your garlic like I suggested in the tips section earlier? Congratulations, you’ve just created a truly decadent roasted garlic aioli. It’s creamy, complex, and tastes like it took all day to make. See? Effortless elegance!
Serving Suggestions for Your Quick Aioli Dip
Now that you have this potent, homemade garlic aioli ready to go, the only real question is: what are you going to dip in it first? This sauce is so rich and creamy that it really shines when paired with simple, crunchy, or grilled items. Honestly, I often make a batch just solely for snack time, and it disappears far too quickly!
First up, we have to talk about the classics. If you’re looking for that elevated pub experience at home, this is the perfect partner for aioli for fries—whether they are crispy shoestring potatoes or thick-cut sweet potato wedges. Use it straight out of the fridge; it cools down the heat beautifully!
It’s also an absolute dream on sandwiches. Forget plain mayonnaise! A thin layer of this spread on a turkey club, a grilled chicken sandwich, or even basic toasted sourdough elevates the whole experience. It gives you that satisfying, savory moisture.
But because this recipe has that bright lemon note that feels very much in line with those vibrant, fresh flavors I grew up with, it is just heavenly with Mediterranean fare. You must try pairing it with something lightly charred. It’s divine drizzled over perfectly seasoned, flaky fish. In fact, this aioli is a beautiful complement to my sheet pan salmon and veggies—the smokiness of the salmon just melts into the cool garlic cream. It truly takes an easy weeknight dinner and makes it feel like a culinary event!
Storage and Reheating Instructions for Garlic Aioli
This garlic aioli is definitely one of those condiments you want on hand, thankfully, it keeps really well! Because we’re relying on store-bought mayonnaise—which is already preserved—this sauce is quite stable. You just need to make sure you treat it right in the fridge to keep that creaminess locked in.
The rule here is simple: airtight storage only. I use nice little glass jars with tight-fitting lids for leftovers. You don’t want it sitting uncovered in the fridge; it’ll just start drying out on the surface, and who wants crusty aioli? If you keep it sealed up tight, this garlic condiment stays wonderfully fresh in the refrigerator for about a week. I usually make a batch on Sunday and it barely lasts through Wednesday night just because we put it on everything!
Now, let’s talk about reheating, because I know someone is going to ask! This is a cold sauce, darling, so you definitely do *not* want to heat it up. Putting this mayonnaise-based sauce in the microwave or trying to gently heat it on the stove is just asking for disaster. It will separate immediately, and you’ll end up with oily, sad garlic water. Yuck!
If your sauce has tightened up a bit too much after a few days in the cold—which happens—don’t try to heat it. Instead, just pull it out of the fridge about 10 minutes before you plan to serve it. Letting it warm up just slightly to room temperature often brings back that perfect, easily dippable consistency. If it’s still too stiff, add half a teaspoon of fresh lemon juice or even a single drop of water, whisk it gently with a fork, and that should loosen it right up without breaking that beautiful emulsion we worked so hard to create!
Frequently Asked Questions About Making Garlic Aioli
Is this technically authentic aioli?
Oh, that is such a great question that gets right to the heart of cooking history! Traditionally, true aioli—especially in Mediterranean regions—is an emulsion made only from garlic, salt, and olive oil, pounded together until creamy. It’s basically garlic paste bound with fat. Because we are using mayonnaise as our base here—which is already an oil-and-egg emulsion—we call this a “cheater’s aioli” or a garlic-mayo sauce. But honestly? It delivers that intense flavor and creamy texture in five minutes flat, which is why it’s so popular for easy entertaining! For more on the history, you can check out this interesting note on whether garlic aioli is the same as garlic sauce here.
Can I use raw egg yolk instead of mayonnaise?
You absolutely can! If you want to make a more traditional, from-scratch version, you would replace the cup of mayonnaise with about two large, room-temperature egg yolks. Then, instead of just mixing, you would slowly, slowly drizzle in about a cup of a neutral oil (like light olive oil) while whisking constantly. It takes patience, which is why I love the mayo version for speed! If you try the yolk method and it splits, don’t stress; you can often save broken aioli by starting over with one fresh yolk in a clean bowl and slowly whisking the broken mixture into that new yolk.
My sauce looks too runny! How do I fix my garlic aioli?
If your incredible garlic condiment is a little too thin, it’s usually because you added too much liquid (lemon juice) too quickly. Fortunately, it’s easily fixed! The best trick is to add just a few drops of water *or* a small pinch of salt, and whisk vigorously. Sometimes, chilling it for an extra 15 minutes helps firm it up naturally, too. If it’s still too thin for dipping, try whisking in a teaspoon of cornstarch slurry (a tiny bit of cornstarch dissolved in cold water) and let it chill again. That starch will definitely help bind it up.
Is this recipe compatible with low-carb or keto diets?
Yes, this recipe is fantastic for anyone watching their carb intake! Since we are using mayonnaise, we skip sugary caramelizing steps and unnecessary thickeners. This makes it a wonderful base for a keto aioli. Just make sure the specific brand of mayonnaise you buy is low in sugar, as some commercial brands add hidden sweeteners. If your mayo is compliant, this creamy garlic sauce makes a decadent dipping sauce for keto-friendly vegetables or meats!
What if my raw garlic is too strong?
That sharp, biting flavor from raw garlic is completely natural! As I mentioned in the tips, the best way to mellow it is patience—give it that full 15-20 minutes chilling time. If you still find it too overpowering after chilling, you might have used a very large or very fresh clove. To adjust, simply whisk in another tiny squeeze of lemon juice (acidity cuts sharpness) or perhaps even another teaspoon of that plain mayonnaise base to dilute the overall garlic concentration. For future batches, remember my advice to try the roasted garlic for incredible depth without the aggressive bite!
You can always find more inspiration for other dips and sauces over on my cooking blog, but for now, enjoy this simple powerhouse!
Nutritional Snapshot of This Garlic Spread Recipe
I always feel a little sheepish sharing the nutrition facts for creamy dips like this, because let’s be honest, this garlic spread recipe is rich! We are working primarily with mayonnaise, which means we are definitely in the ‘treat yourself’ category here. However, I believe in knowing what goes into your body, even when it’s pure delicious decadence.
Please remember that these numbers are just fantastic estimates based on the ingredients listed in the recipe above, using standard store-bought mayonnaise as the baseline. Your actual counts might vary slightly depending on the exact brands you choose. Nutritional information is important, but flavor always comes first in my book!
Here is the breakdown per two-tablespoon serving:
- Serving Size: 2 tablespoons
- Calories: 190
- Fat: 21g
- Saturated Fat: 3.5g
- Carbohydrates: 0.5g
- Protein: 0.3g
- Sodium: 250mg (Adjust salt in the recipe if you are counting sodium closely!)
- Sugar: 0.2g
- Cholesterol: 10mg
See? It’s loaded with healthy fats, which is great, but it’s also high in calories, so use it generously but thoughtfully! It pairs perfectly with leaner proteins or fresh veggies, making the overall meal feel more balanced.
PrintThe Ultimate 5-Minute Creamy Garlic Aioli (Restaurant Style at Home)
Create a restaurant-style garlic aioli in just five minutes using this simple, creamy recipe. This versatile garlic condiment elevates fries, sandwiches, and seafood instantly.
- Prep Time: 5 min
- Cook Time: 0 min
- Total Time: 5 min
- Yield: About 1 cup 1x
- Category: Condiment
- Method: No Cook
- Cuisine: Mediterranean Inspired
- Diet: Vegetarian
Ingredients
- 1 cup good quality mayonnaise
- 3 large cloves fresh garlic, minced very fine or grated
- 1 tablespoon fresh lemon juice
- 1 teaspoon Dijon mustard
- 1/4 teaspoon fine sea salt, or to taste
- Freshly ground black pepper, to taste
Instructions
- Gather all your ingredients. You need a small bowl for mixing.
- Place the mayonnaise, minced garlic, fresh lemon juice, and Dijon mustard into the bowl.
- Add the salt and pepper.
- Use a whisk or a small spatula to mix all ingredients together until the mixture is completely smooth and uniform. This should take less than one minute.
- Taste the aioli. Adjust salt or lemon juice as needed to balance the flavor.
- Cover the bowl and chill the garlic aioli in the refrigerator for at least 15 minutes before serving. Chilling allows the garlic flavor to mellow slightly and the sauce to thicken.
- Serve this creamy garlic sauce with french fries, as a sandwich spread, or alongside grilled fish or vegetables.
Notes
- For a richer, deeper garlic flavor, roast the garlic cloves before mincing and adding them to the mayonnaise base.
- If you prefer a thinner consistency, add a teaspoon of water or a little more lemon juice until you reach your desired texture.
- Store leftover garlic aioli in an airtight container in the refrigerator for up to one week.
Nutrition
- Serving Size: 2 tablespoons
- Calories: 190
- Sugar: 0.2
- Sodium: 250
- Fat: 21
- Saturated Fat: 3.5
- Unsaturated Fat: 17.5
- Trans Fat: 0.1
- Carbohydrates: 0.5
- Fiber: 0.1
- Protein: 0.3
- Cholesterol: 10