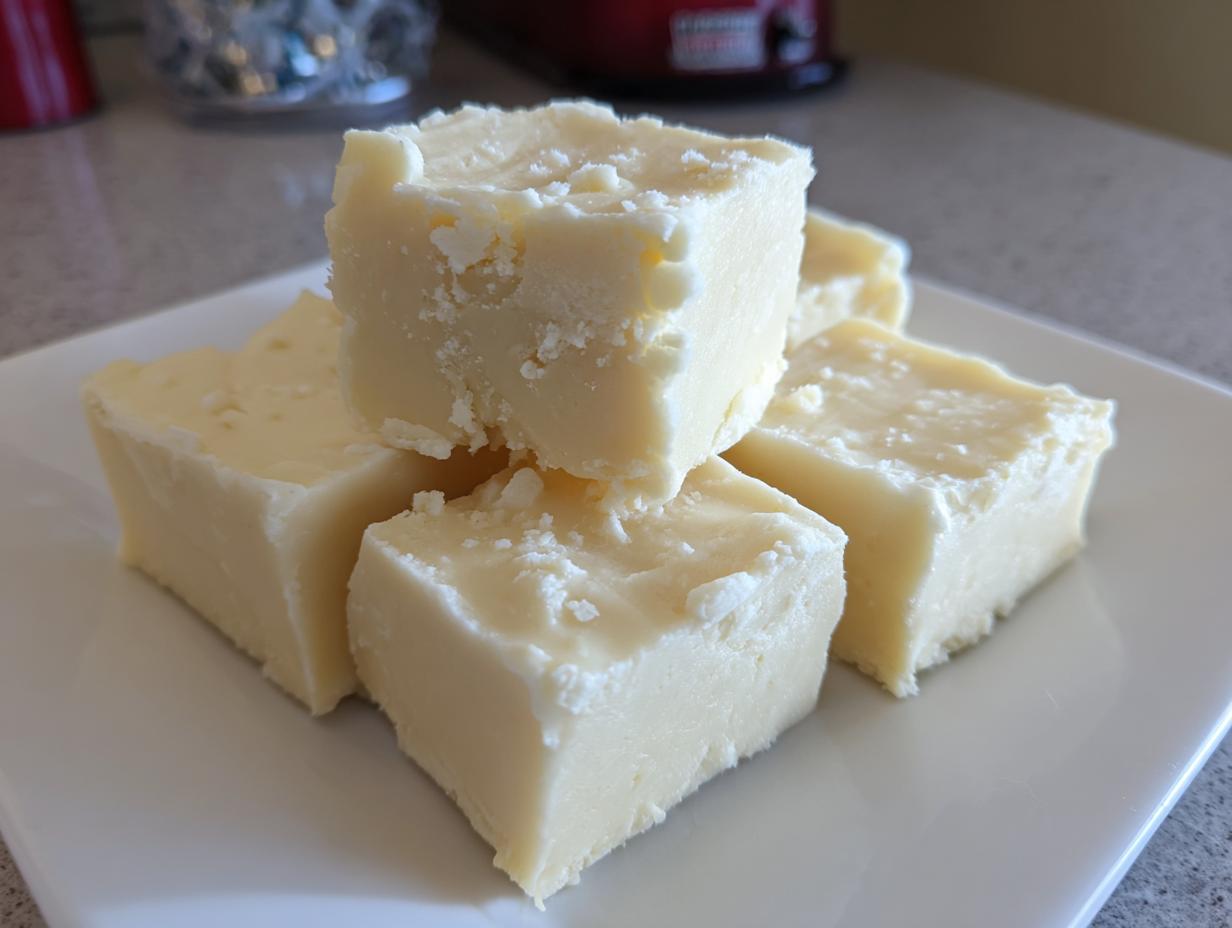

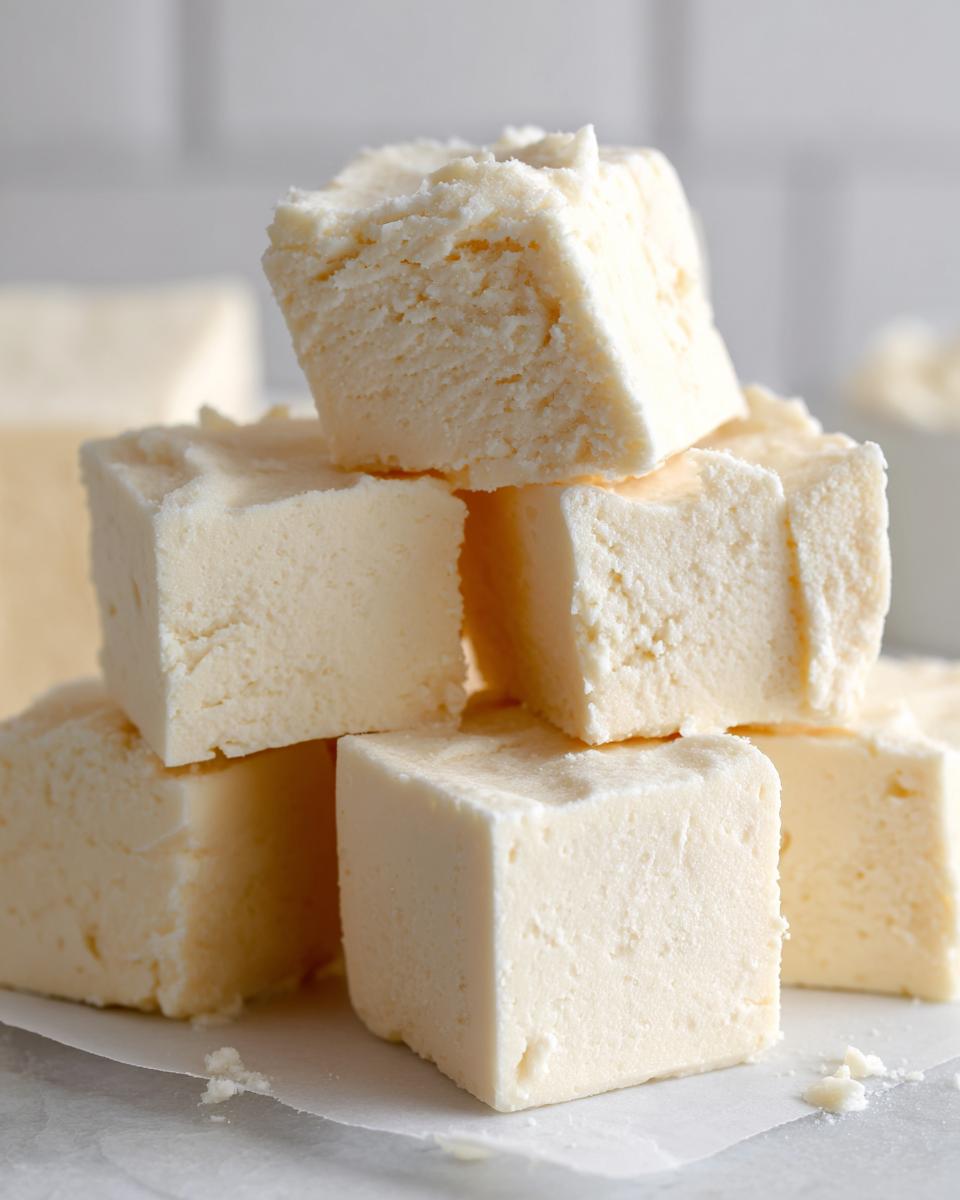
Sometimes, you crave something truly decadent, something that tastes like you spent hours fussing over it, but life just doesn’t allow for hours in the kitchen, right? I completely get that! My philosophy at Unfold Recipes is all about approaching food with approachable elegance. That’s why I want to share the absolute quickest path to heaven: my no-bake white chocolate fudge. Forget the fuss; this is the creamiest, melt-in-your-mouth white chocolate fudge you will ever make, relying on just three key ingredients.
For me, creating something simple yet stunning is the ultimate joy. I learned early on that the best memories are often made with the easiest recipes. This particular version is astonishingly reliable and delivers those perfect, smooth squares every single time. If you’ve been hesitant about making homemade candy, consider this your gentle push! After a long day of storytelling, I often turn to simple elegance, much like the inspiration I draw from the journey behind Unfold Recipes. I promise, this recipe has become my little secret weapon for instant sweet satisfaction.
- Why This is the Best Creamy White Chocolate Fudge Recipe
- Gathering Ingredients for Your White Chocolate Fudge with Condensed Milk
- Mastering the Simple White Fudge Recipe: Step-by-Step
- Tips for Perfect Melt in Your Mouth Fudge
- Variations for Your White Chocolate Fudge
- Serving and Gifting Your White Chocolate Fudge
- Storage Instructions for Homemade White Chocolate Candy
- Frequently Asked Questions About White Chocolate Fudge
- Nutritional Estimates for This Vanilla Fudge Recipe
Why This is the Best Creamy White Chocolate Fudge Recipe
When I tell you this is the best white chocolate fudge recipe, I mean it because it eliminates all the tricky science! Forget thermometers and worrying about crystallization. This straightforward method cuts down all the stress. You get that incredible, velvety texture that defines true melt in your mouth fudge without breaking a sweat. This truly is an easy white chocolate fudge recipe you can rely on, whether you are new to candy making or just need a fast, impressive treat.
Quick Dessert Fudge: Ready in Minutes
When you see the 10-minute prep time, know that I’m not kidding! Most of the time we spend is just waiting for it to chill. The active time is practically nothing, making this the ultimate emergency sweet fix. It’s an absolute champion of a quick dessert fudge when you need something delicious *today*.
No Bake White Chocolate Fudge Simplicity
This entire operation happens right on the stovetop—or really, just the microwave! We skip the oven completely, which is a huge win in the summer months. If you are looking for pure, unadulterated no bake white chocolate fudge, this recipe is your golden ticket. You can find more straightforward sweets like this when you check out my thoughts on no-bake cookies.
Gathering Ingredients for Your White Chocolate Fudge with Condensed Milk
Let’s talk supplies! The beauty of this recipe is its brevity. You only need three main players, and using the right ones makes all the difference in achieving that perfect texture in your white chocolate fudge with condensed milk. Seriously, don’t skip out on quality here if you can help it!
Here is what you need for our creamy batch:
- 1 (14 ounce) can sweetened condensed milk
- 2 cups white chocolate chips
- 1 teaspoon vanilla extract
Ingredient Clarity and Preparation Notes
I always stress that your white chocolate chips should be fresh—old chips can absolutely be the culprit if your fudge seizes! The sweetened condensed milk must be room temperature or slightly warmed; cold milk shocks the chocolate, and trust me, we aren’t looking for seized chocolate here. That little dash of vanilla extract acts like a gentle whisper, deepening the sweet flavor and really leaning into that classic vanilla fudge recipe profile.
Mastering the Simple White Fudge Recipe: Step-by-Step
This is where the magic happens for our simple white fudge recipe, and trust me, it’s practically foolproof. We don’t need any fancy stirring techniques that last for thirty minutes; we’re keeping this quick and elegant, just like I aim for in all my baking.
Preparing the Pan and Melting the Chocolate
First things first, get your 8×8 inch pan lined with parchment paper. Make sure you leave an overhang on the sides—that’s your handle for lifting the entire fudge block out later! Give the paper a tiny spritz of oil so nothing sticks. Next, place those white chocolate chips in a microwave-safe bowl. Here is the most important part: microwave in short bursts—only 30 seconds at a time. Seriously, no peeking! Stir well after every 30 seconds until it’s *mostly* melted. If you walk away, it will scorch, and nobody wants bitter fudge that needs a rescue mission!
Combining Base Ingredients for Creamy White Chocolate Fudge
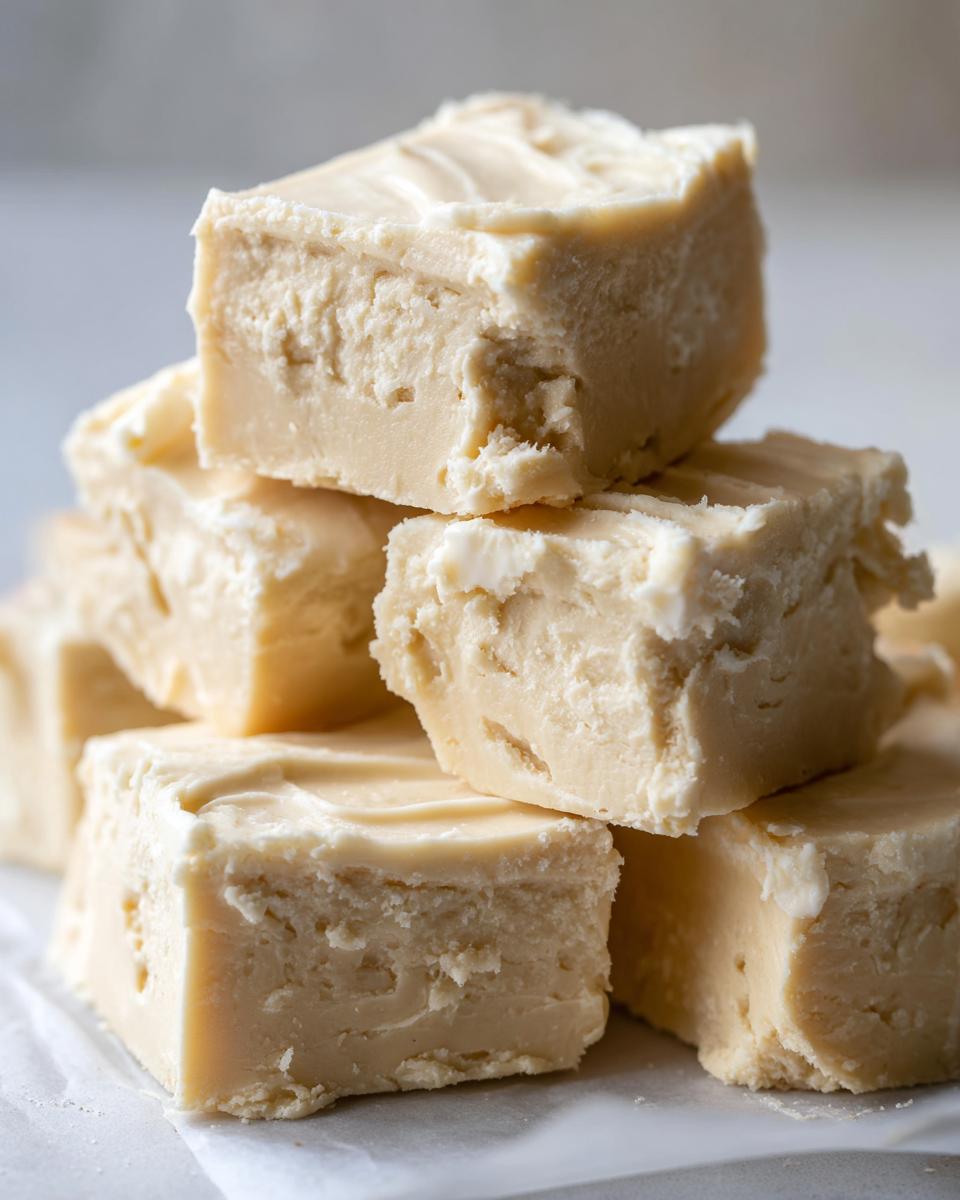
Once you have that smooth, liquid chocolate pool, pour in the sweetened condensed milk and the teaspoon of vanilla extract. Now, you just mix! Stir intentionally until everything becomes one uniform, gorgeous pale color. You are looking for consistency here—no streaks of milk or separate chocolate pockets. If it looks completely smooth, you have officially achieved that beautiful creamy white chocolate fudge texture we are aiming for.
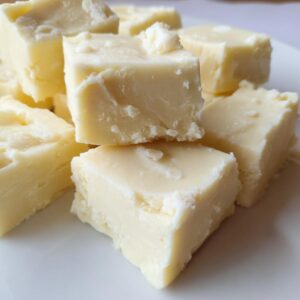
Setting and Cutting Your Homemade White Chocolate Candy
Pour that delicious mixture right into your prepared pan and gently spread it out evenly. Don’t worry about making it perfect; it settles nicely on its own. Now, we wait. Slide this into the refrigerator for at least 2 full hours. You need it firm enough to handle. Once it’s solid, use those parchment overhangs (your handles!) to lift the whole block out onto a cutting board. Then, slice it into those perfect little squares. Enjoy your speedy homemade white chocolate candy!
Tips for Perfect Melt in Your Mouth Fudge
Listen, I want everyone who tries this recipe to experience that pure, luxurious moment when the fudge just dissolves on your tongue. Getting that true melt in your mouth fudge texture isn’t accidental; it’s about respecting the chocolate and the milk.
My biggest piece of advice, which I tucked into a note in the recipe card, is about the chocolate chips themselves. Chocolate can be moody, especially white chocolate! If your chips are old or have sat around in a hot pantry, they struggle to melt smoothly. A fresh bag melts evenly, leading to that signature liquid silk texture we need before stirring in the condensed milk.
If you want to upgrade this already amazing base, now is the time to customize! This is where you slide in a half cup of mix-ins. I adore folding in 1/2 cup of dried cranberries, the tartness is amazing against the sweet white chocolate. Chopped walnuts or pecans work beautifully too, adding a little needed texture contrast. Just make sure you fold them in gently—we don’t want to deflate the beautiful smoothness we just created!
Also, don’t rush the chilling time. Resist the urge to cut into it when it’s still slightly soft. If you try to slice it prematurely, you’ll end up with sticky, gooey messes instead of clean squares. Patience truly is rewarded here, and two hours chilling in the fridge sets the fudge beautifully for clean cuts later. You can check out more of my kitchen wisdom over on my main site blog!
Variations for Your White Chocolate Fudge
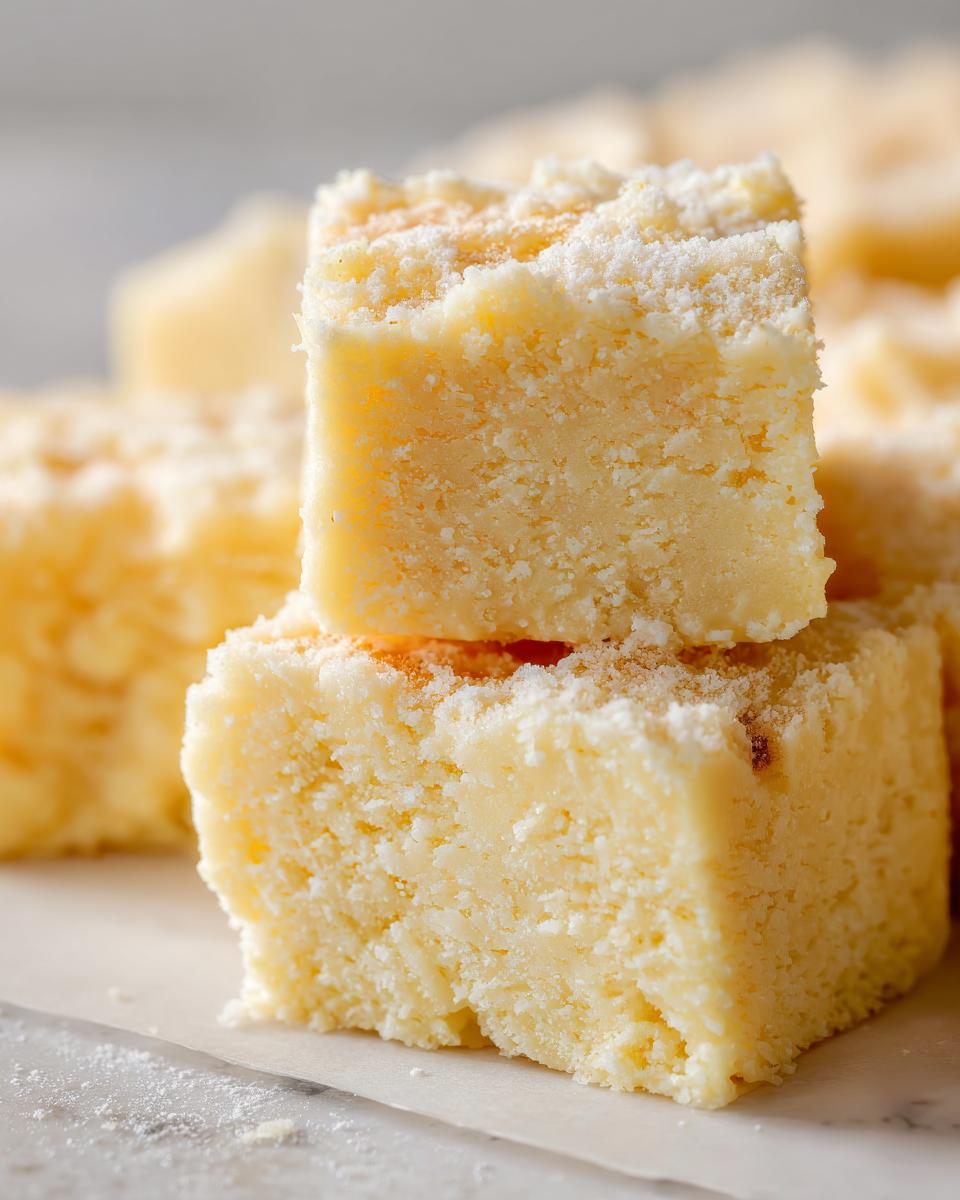
This three-ingredient base is fantastic on its own, but honestly, I love making an elegant dessert look even more special with a few thoughtful additions. This is where we turn our simple fudge into gorgeous little white chocolate dessert squares perfect for any occasion. Since this recipe is so quick, experimenting with mix-ins is part of the fun!
You can transform this base into something completely different just by stirring in flavor bursts right before you spread it into the pan. Think about how lovely it would look layered in a glass dish or wrapped individually for gifting. If you need a little more inspiration for layered sweets, you might enjoy the process for my Sopapilla Cheesecake Bars.
Adding Fruit or Crunch to White Chocolate Fudge
The key here is using dried fruit, as fresh fruit releases too much water and can interfere with the setting process. As I mentioned earlier, dried cranberries are spectacular—the tart burst against the sweet white chocolate is just divine. You can easily find recipes that use tart dried raspberries, too, which work beautifully with the vanilla notes in this recipe. If you’re looking for that specific sweet-tart combination, I highly recommend seeing how others incorporate them in this creamy white chocolate cranberry fudge guide.
If you prefer crunch over chewiness, try folding in 1/2 cup of finely crushed toffee bits for a buttery crunch, or perhaps some toasted pecans. Remember, since we aren’t baking these, whatever you add needs to be ready to eat right out of the fridge!
Serving and Gifting Your White Chocolate Fudge
One of the best things about making simple candy like this is how gorgeous it looks when presented! Since this fudge recipe for gifting is so ridiculously easy, I often make a huge batch just to box up for friends and neighbors. It truly feels elegant but requires absolutely zero baking stress from me.
Remember those clean squares we talked about cutting? That’s all about presentation. For gifting, don’t just throw them in a container! I usually line small decorative boxes or cellophane bags with a bit of shredded white paper shred or even just a pretty liner. You want the white chocolate dessert squares to look pristine against the packaging.
For the holidays, a sprinkle of crushed peppermint just before it sets makes them look instantly festive. And if you are making them for Valentine’s Day—and honestly, this sweet vanilla base is perfect for any sweet celebration—a tiny drizzle of melted pink colored white chocolate over the top elevates it instantly. If you need more inspiration for elegant holiday sweets, you should definitely take a peek at my tutorial for my Halloween Oreo Balls; the decorating techniques are totally transferable!
If you are making this for a special date night, something like the White Chocolate Valentine Fudge mentioned elsewhere shows how just a touch of color can transform the mood. However you choose to present it, remember that homemade gifts are always the most cherished. It shows you took the time, even if that time was only about 10 minutes of active work!
Storage Instructions for Homemade White Chocolate Candy
Now that you’ve made this incredible batch of homemade white chocolate candy, the question is, how do we keep it tasting like it just came out of the fridge? The good news is that fudge is quite stable, especially this condensed milk version. It’s actually fantastic because it doesn’t rely on butter that can go rancid quickly, which is a huge plus for make-ahead gifts!
For short-term storage—say, if you plan to devour the squares within a week—an airtight container at room temperature works just fine. Just make sure the container is truly airtight to prevent any smells from creeping in, which white chocolate tends to absorb easily. I usually place a layer of wax paper between the layers of fudge just to make sure the squares don’t stick together, which is super helpful when you reach for that second piece later.
If you need the fudge to last longer, or if your kitchen runs warm (which is rough for fudge!), the refrigerator is your best friend. Keep it tightly wrapped or sealed, and it should maintain its beautiful texture for up to three weeks. When you are ready to serve it after refrigeration, pull it out about 15 minutes before slicing or serving. This lets it soften just slightly, enhancing that wonderful melt-in-your-mouth quality we worked so hard to achieve!
Frequently Asked Questions About White Chocolate Fudge
It’s totally normal to have a few questions before diving into a new candy recipe! Since this is such a simple approach, most questions center around getting that perfect, luxurious texture we promised. I’ve gathered the most common queries right here so you can approach this with total confidence. If you love this simple candy, you might also enjoy the process for my chocolate cupcakes recipe—another example of simple elegance!
Can I make this easy white chocolate fudge recipe without condensed milk?
Oh, I get why you ask! I know some people hunt for a two-ingredient fudge recipe, perhaps using heavy cream instead. But for this specific texture—the one that is wonderfully creamy white chocolate fudge and nearly foolproof—the sweetened condensed milk is absolutely non-negotiable. It provides the exact amount of sugar and stabilizers needed to set up perfectly without needing any boiling or cooking. If you skip it, you’ll likely end up with chocolate that just stays soft and oily, becoming more of a sauce than a delicious, sliceable treat!
Why did my white chocolate fudge seize up?
This is the scariest moment, isn’t it? Seizing happens when the chocolate gets too hot or encounters even a tiny bit of water or steam. When melting your chips in the microwave, remember my rule: short bursts and constant stirring. If you overheat it, the cocoa butter separates, and the sugar clumps together into a grainy mess. Also, check your utensils! If there was even a drop of water residue on your spatula or bowl, that can trigger a seizure immediately. It’s fixable sometimes with a tiny drop of oil, but honestly, starting fresh is usually tidier with white chocolate.
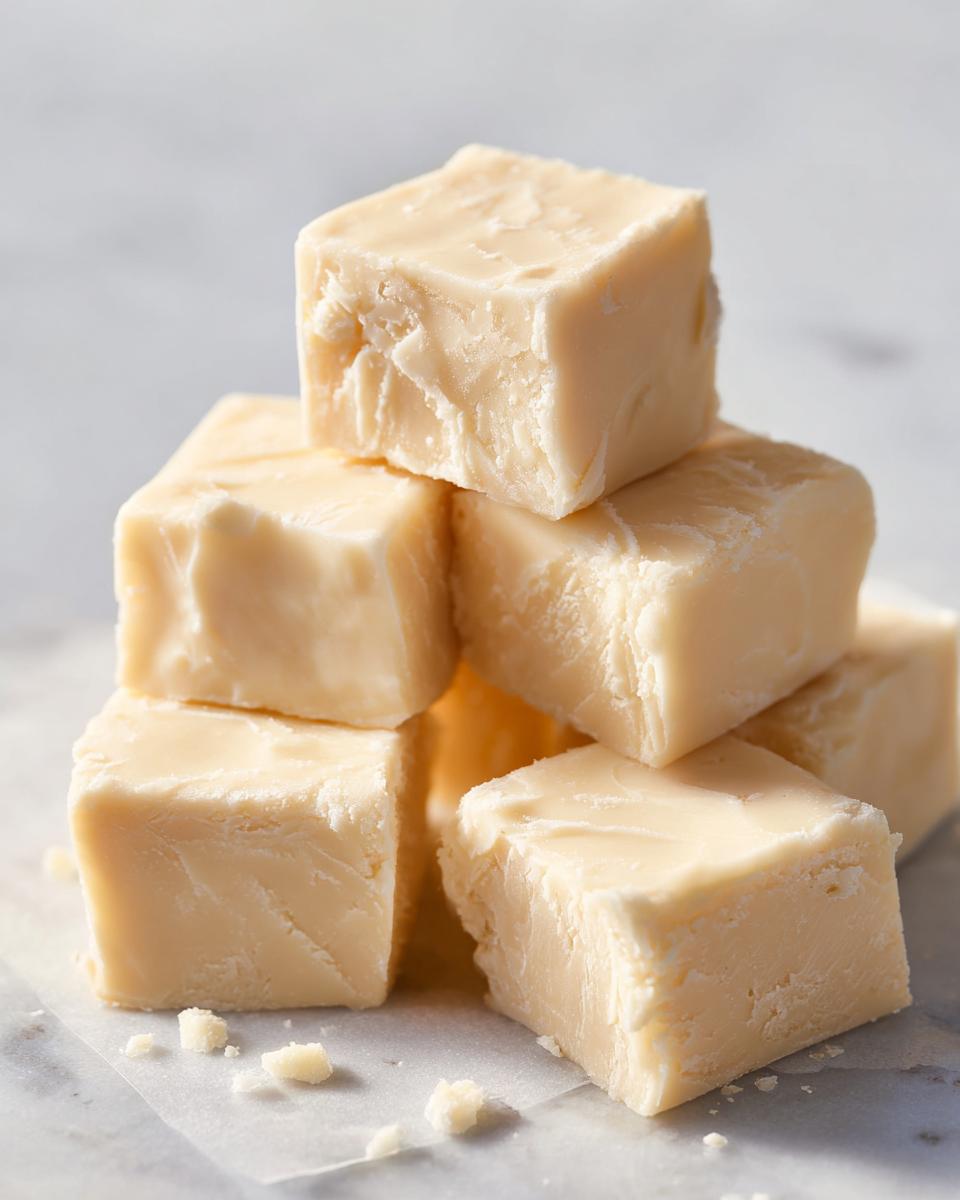
What is the best way to cut white chocolate dessert squares cleanly?
I always suggest chilling the fudge until it is rock hard—don’t try to cut it even slightly soft! Once it’s fully set and you’ve lifted it out using the parchment handles, take a large, sharp knife and dip it into a tall mug of hot water. Wipe the blade completely dry with a towel before making your first cut. The hot blade slices right through the fudge like butter, leaving you with those pristine, beautiful white chocolate dessert squares. Wipe the knife clean and re-dip it in hot water between every single cut to keep those edges sharp and clean!
Nutritional Estimates for This Vanilla Fudge Recipe
While we are firmly in the realm of elegant indulgence here, I know many of you keep an eye on what you are serving, whether it’s for a holiday gathering or just a thoughtful host gift. Even though this is a rich treat, because it’s so dense and we cut them into small squares, the portion size is quite manageable. This is certainly a sweet finale for any meal!
Keep in mind that these values are always estimates—different brands of white chocolate chips can shift the numbers slightly. But this gives you a wonderful guide for what to expect from our vanilla fudge recipe. This information is based on yielding 36 small squares, as detailed in the recipe card.
- Serving Size: 1 square
- Calories: 135
- Sugar: 18g
- Sodium: 35mg
- Fat: 6g (Saturated Fat: 4g)
- Protein: 2g
- Cholesterol: 10mg
See? That’s why I love this approach—it’s pure decadence broken down into small, manageable bites. If you’re looking for more sweet solutions that balance flavor and portion, feel free to explore the rest of the dessert section on Unfold Recipes. Happy sweet making!
PrintBest White Chocolate Fudge: Creamy, No-Bake Recipe
Discover the easiest way to make velvety, melt-in-your-mouth white chocolate fudge. This simple, no-bake recipe uses only three ingredients for a quick dessert perfect for gifting or holidays.
- Prep Time: 10 min
- Cook Time: 2 min
- Total Time: 2 hr 12 min
- Yield: 36 small squares 1x
- Category: Dessert
- Method: No-Bake
- Cuisine: American
- Diet: Vegetarian
Ingredients
- 1 (14 ounce) can sweetened condensed milk
- 2 cups white chocolate chips
- 1 teaspoon vanilla extract
Instructions
- Line an 8×8 inch baking pan with parchment paper, leaving an overhang on the sides for easy removal. Lightly grease the paper.
- Place the white chocolate chips in a microwave-safe bowl.
- Microwave the white chocolate chips in 30-second intervals, stirring well after each interval, until the chocolate is mostly melted. This prevents scorching.
- Stir the mixture until it is completely smooth.
- Pour the sweetened condensed milk and vanilla extract into the melted chocolate. Stir until the mixture is fully combined and uniform in color.
- Pour the fudge mixture into the prepared pan and spread it evenly.
- Refrigerate for at least 2 hours, or until the fudge is firm enough to cut.
- Use the parchment overhang to lift the fudge block from the pan. Cut into small squares before serving.
Notes
- For the creamiest texture, ensure your white chocolate chips are fresh and melt them slowly.
- If you want a variation, fold in 1/2 cup of dried cranberries or chopped nuts after mixing the base ingredients.
- This homemade white chocolate candy is excellent for holiday gifting when cut into small squares and placed in decorative boxes.
Nutrition
- Serving Size: 1 square
- Calories: 135
- Sugar: 18
- Sodium: 35
- Fat: 6
- Saturated Fat: 4
- Unsaturated Fat: 2
- Trans Fat: 0
- Carbohydrates: 20
- Fiber: 0
- Protein: 2
- Cholesterol: 10